php editor Xinyi brings you a tutorial on how to use CorelDRAW to create graffiti effect text. Whether you are a designer or a hobbyist, with a few simple steps you can easily create unique text with graffiti effects. This tutorial will explain each step to you in detail and provide practical tips and advice. Let's get started and explore how to use CorelDRAW to create stunning graffiti effect text!
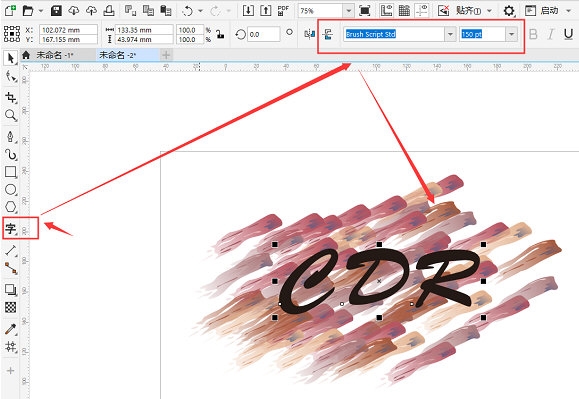
1. Open the CorelDRAW software, click [Hand Drawing Tool] to select the appropriate pen type to draw a few lines

2. Use the [Text Tool] to enter the desired text, adjust the size and position

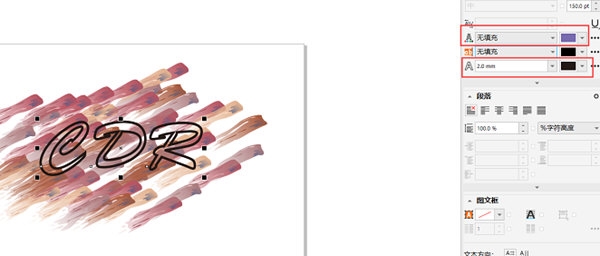
3. Click on the color palette, select No Fill, right-click on the color Apply a black outline to the board and set the outline size to an appropriate value

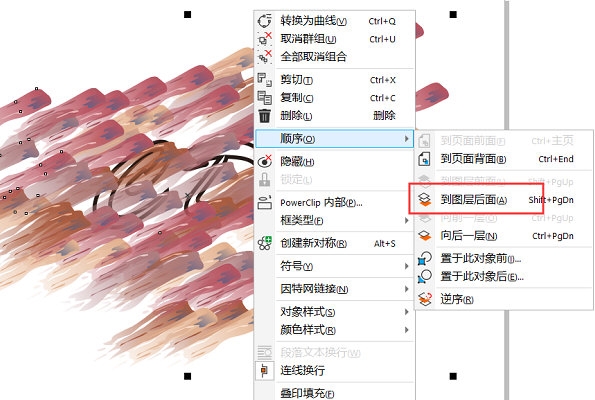
4. Move the text to the blank space, select all lines [Ctrl G] to combine, and drag the text Return to the graffiti line combination, adjust the layer order, and place the graffiti at the bottom

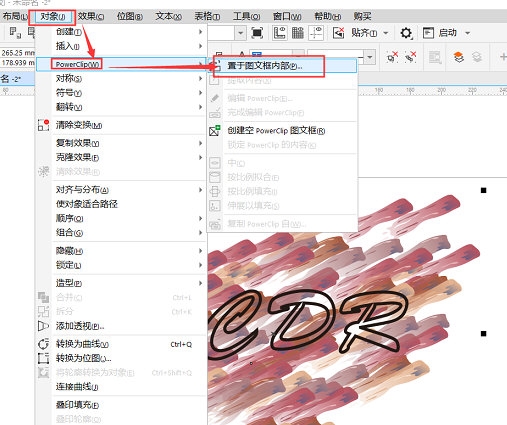
5. Convert the graffiti layer to a bitmap, click [Inside PowerClip], Select "Place inside the frame" and click the text

. If you don't like the position, you can also choose the Edit PowerClip button and move the frame when the blue line border appears. . The above is the CorelDRAW related tutorial brought by the editor, I hope it can help everyone!
The above is the detailed content of How to create graffiti effect text in CorelDRAW with just a few simple steps. For more information, please follow other related articles on the PHP Chinese website!
 Blue screen code 0x000009c
 A collection of common computer commands
 You need permission from admin to make changes to this file
 Tutorial on turning off Windows 11 Security Center
 How to set up a domain name that automatically jumps
 What are the virtual currencies that may surge in 2024?
 The reason why header function returns 404 failure
 How to use js code


