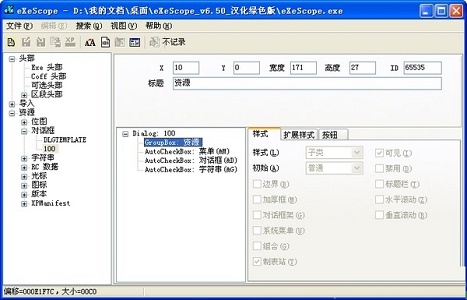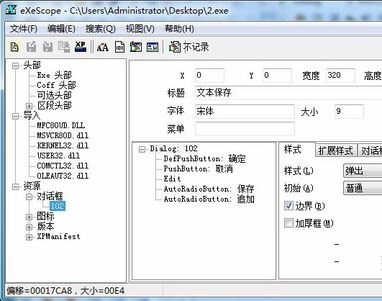
The default memory size display of win7 is to match our real physical memory, but the display here can be changed. We can change the win7 memory size display without changing the real memory. The specific method is as follows, let’s take a look Just give it a try.
1. First, we need to download an exescope software.
2. Then we find the file "systdm.cpl" in the path "C:\WINDOWS\system32" and back it up first.

3. Then open the exescope you downloaded and installed previously.

4. Find "101" in Resource>Dialog.
5. Then remove "Visible" from the 4th and 5th files;
6. From the 1st to 3rd and 6th to 9th files, "link" Window" coordinates were changed to (129,137); (141,163); (141,149); Sixth (141,177);
7. Then change the Caption="6.60 GHz, 1GB of memory" (the numbers here It is the memory size display we want to change to);(141,229);(141,241);(141,253);
8. After the modification is completed, save. Just exit at the end.

The above is the detailed content of How to change memory size display in Windows 7. For more information, please follow other related articles on the PHP Chinese website!