
Many friends often partition the disk according to their own needs when using computers. So how should we restore it when the partitioning is not satisfactory? In fact, we only need to perform the reverse operation. Let's take a look at the specific operation method with the editor.
1. Merged partitions
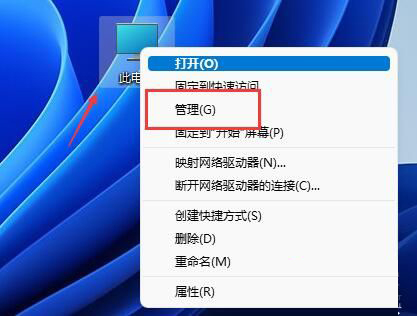
1. Find "This PC" on the desktop, right-click it and click "Manage".
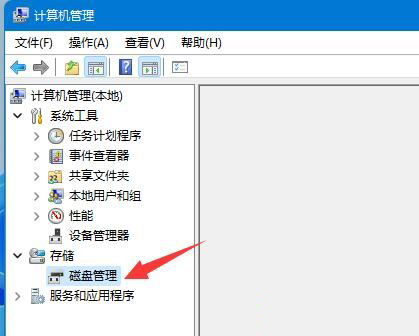
#2. Then find and open "Disk Management" in the left column.
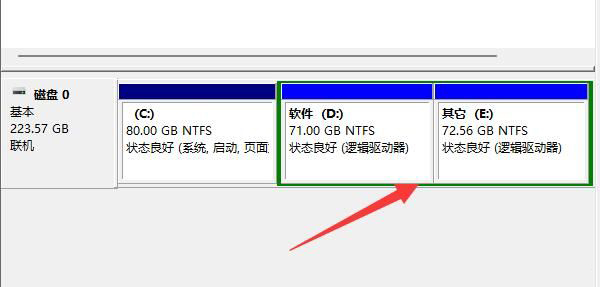
#3. After opening, we find the merged partition and right-click it.
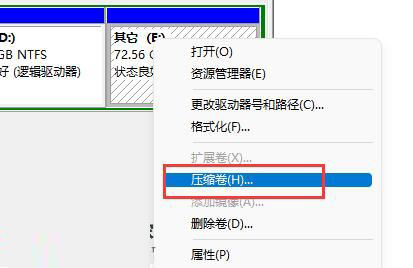
#4. Select "Compress Volume" in the right-click menu.
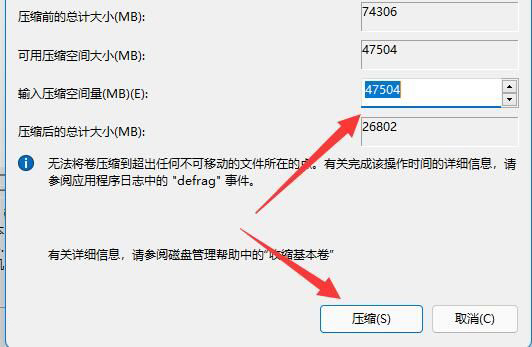
#5. Then select the amount of partition space to be merged, and then click "Compress".
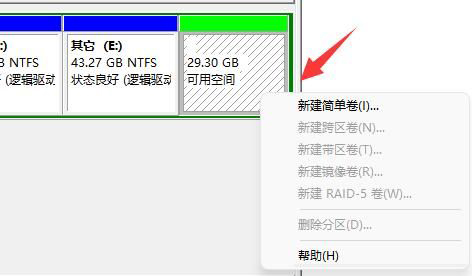
#6. After the compression is completed, right-click the newly added free space and select "New Simple Volume".
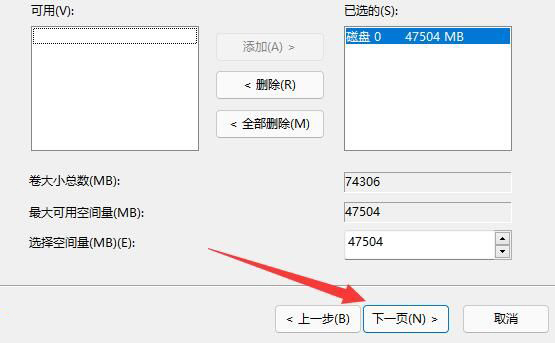
#7. Then select the partition size and keep clicking "Next Page". (The rest of the settings remain as default)

8. Finally, click "Finish" to restore the previous partition.

2. New partition is added
1. If an unnecessary partition is added, just right-click the partition.
2. Then click "Delete Volume" to delete it as free space.

#3. After deleting, right-click the disk next to it and click "Extend Volume".

#4. Finally, select the amount of space and click "Next Page" continuously to merge it back into the partition.
The above is the detailed content of How to restore disk partitioning to its previous state on Win11. For more information, please follow other related articles on the PHP Chinese website!


