Computers are the tools we use most in our work and life. However, during use, we will inevitably encounter problems such as blue and black screens, which require reinstalling the system to solve them. Recently, some users have expressed interest in the detailed tutorial of Chinese cabbage USB disk installation system, so today I will give you a detailed introduction on how to operate Chinese cabbage USB disk installation system. Let’s take a look below!
Preparation work:
1. Download the Big Cabbage USB disk startup production tool.
2. Make the USB disk into a USB boot disk.
3. Download the system image and save it to the USB boot disk.
Detailed tutorial for installing the Chinese cabbage USB disk system:
Preparation work:
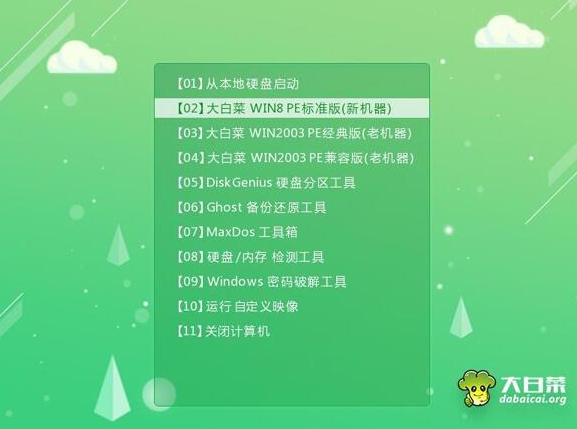
1. Insert the USB boot disk into the USB interface, restart the computer and enter the Chinese cabbage menu interface. Select [02] Chinese Cabbage WIN8 PE Standard Edition (new machine) and press Enter to enter.

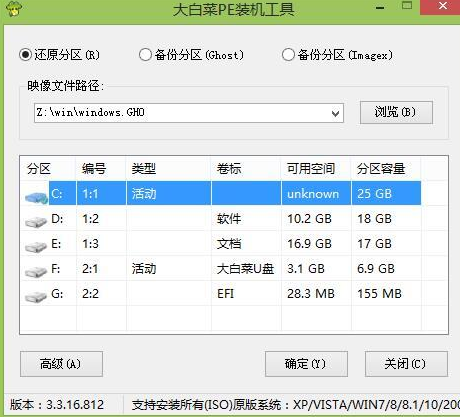
#2. Click Browse to open the system file, select C drive and click OK.

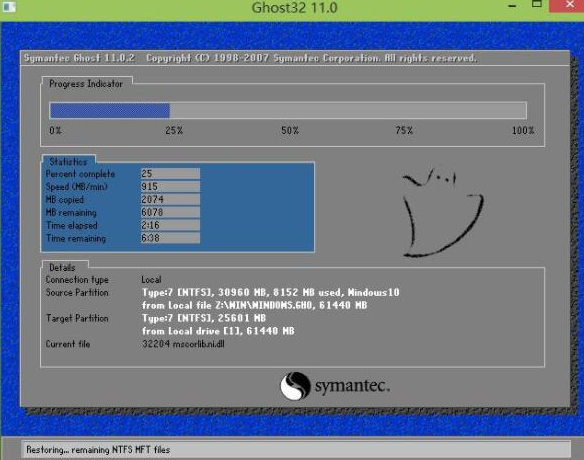
#3. Wait for the system release to be completed, enter the ghost restore system and restart the computer.

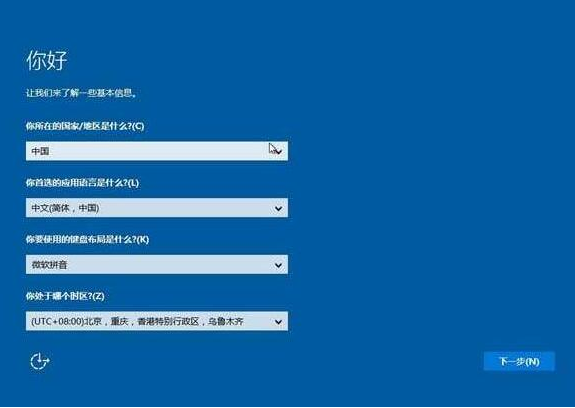
#4. After the system settings are completed, we can use the system normally!

#The above is a detailed tutorial on how to operate the Dabaicai USB disk installation system! Hope it helps everyone!
The above is the detailed content of Detailed tutorial on installing Dabaicai USB disk system. For more information, please follow other related articles on the PHP Chinese website!


