
Use Authing's OIDC Provider as the authenticator for AWS API Gateway to protect Lambda functions. There is no need to write any authentication code, just configure it on both sides. It also demonstrates Authing's ability to issue OIDC IdToken for custom fields based on different contexts.
Register an Authing account
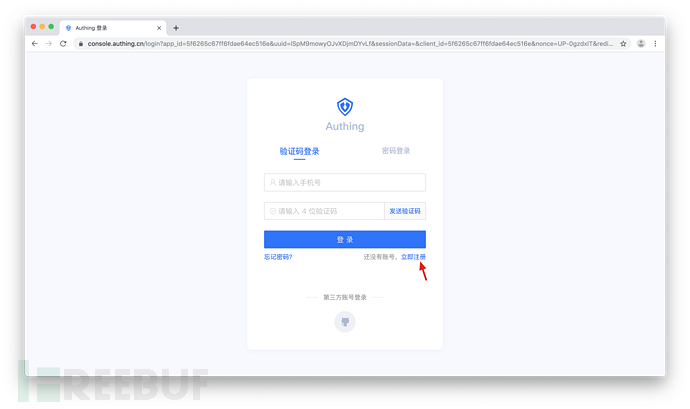
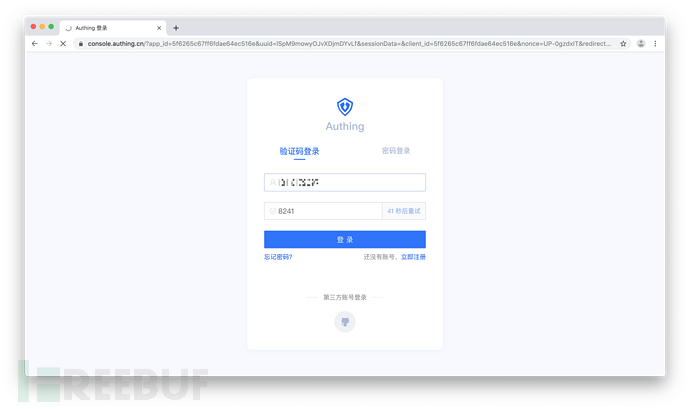
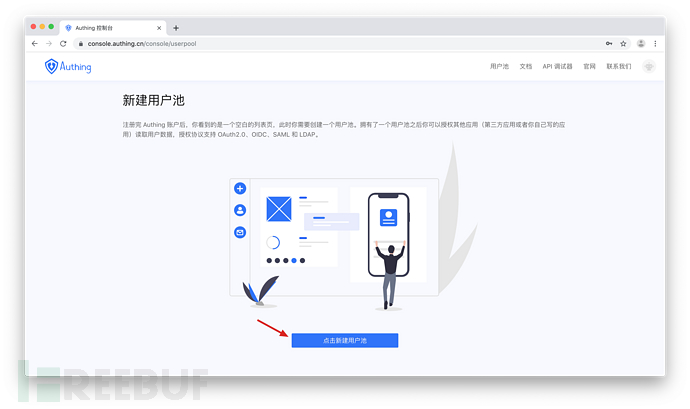
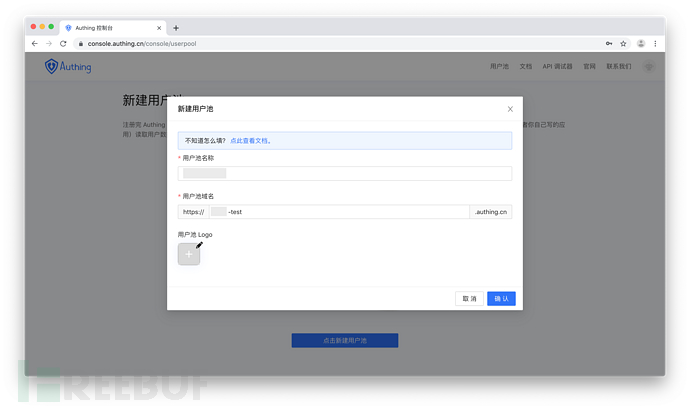
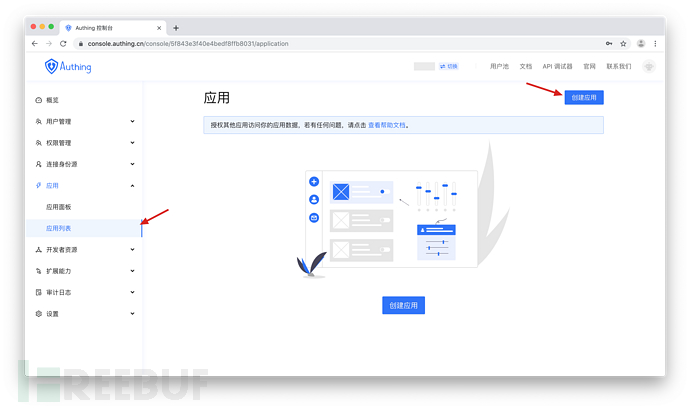
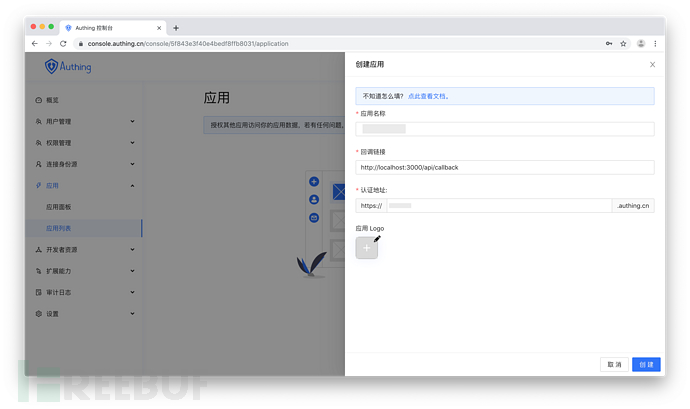
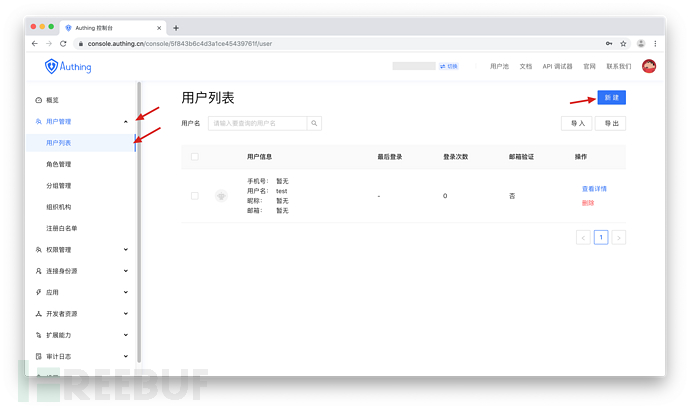
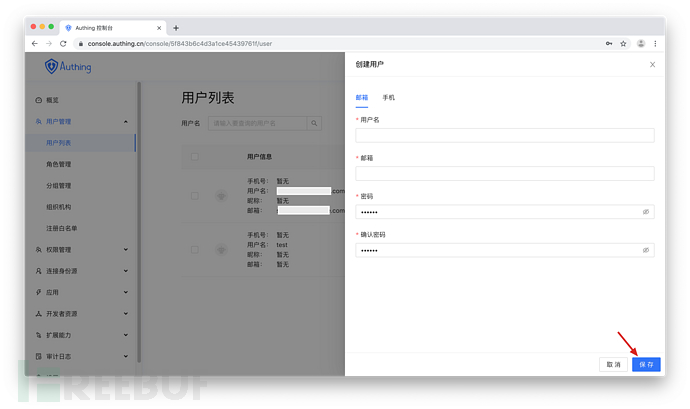
User Management> User List, click the New button in the upper right corner, create two users, and finally click Save.
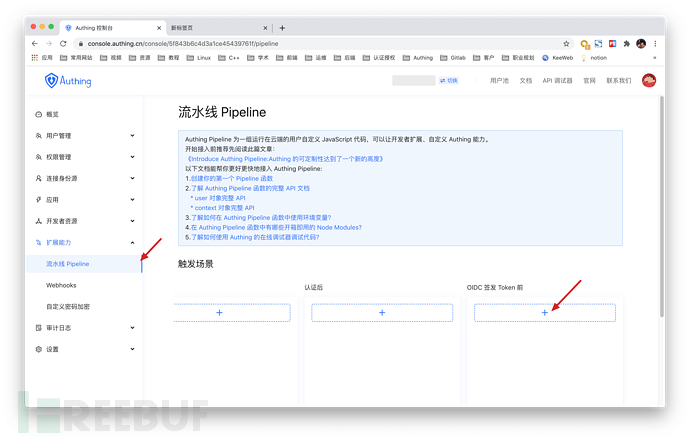
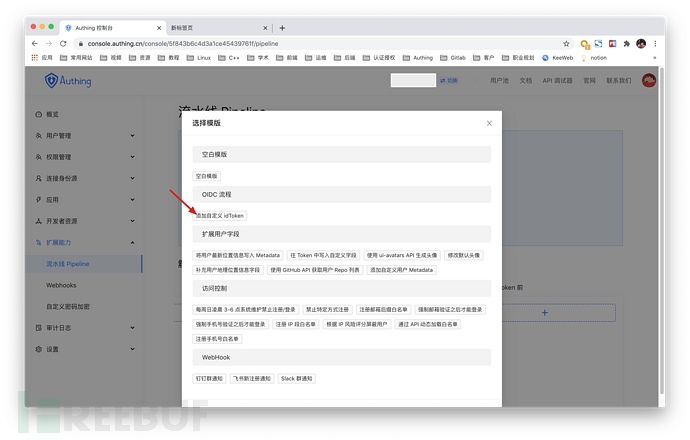
Extension capabilities> Pipeline Pipeline, click the plus sign below at the "Before OIDC issues Token" position on the far right.
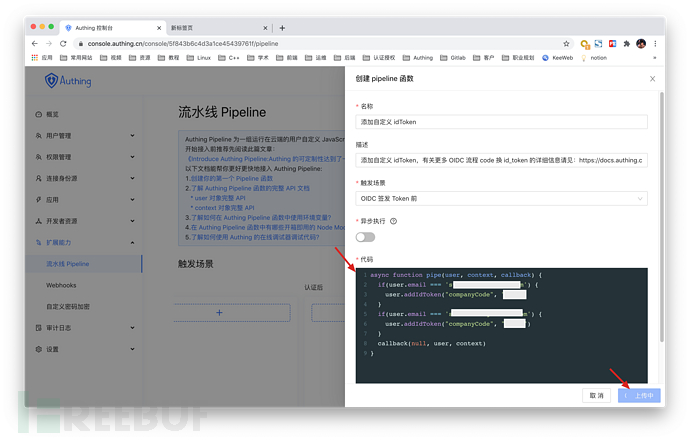
async function pipe(user, context, callback) {
  if(user.email === 'sample@sample.com') {
    user.addIdToken("companyCode", "sample")
  }
  if(user.email === 'sample2@sample.com') {
    user.addIdToken("companyCode", "sample2")
  }
  callback(null, user, context)
}
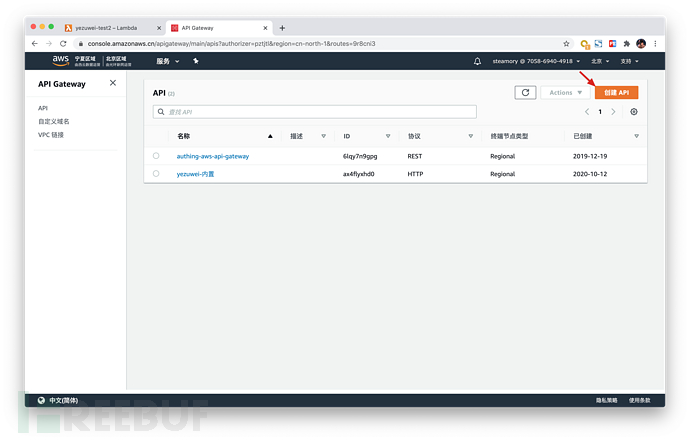
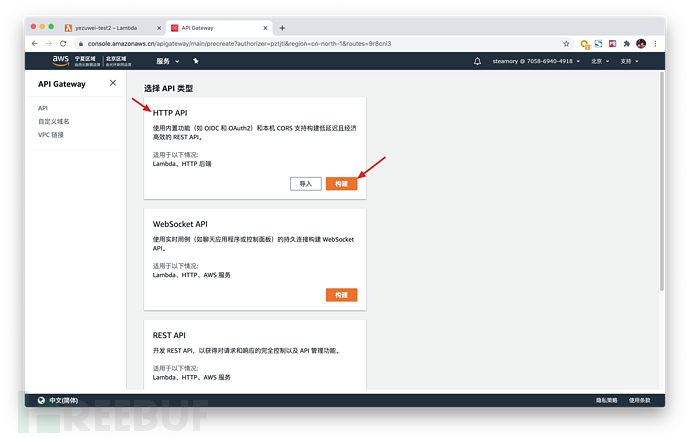
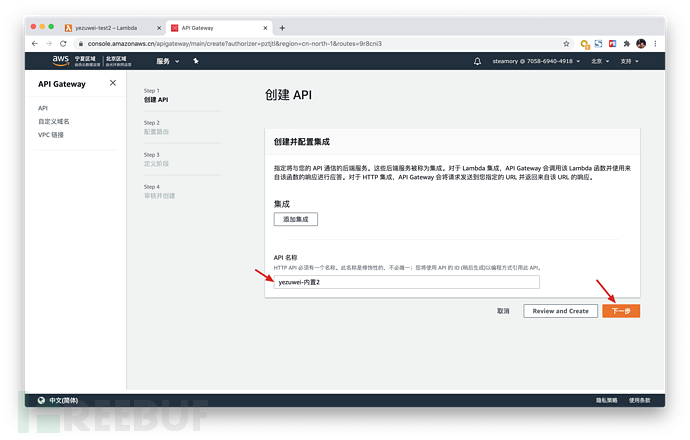
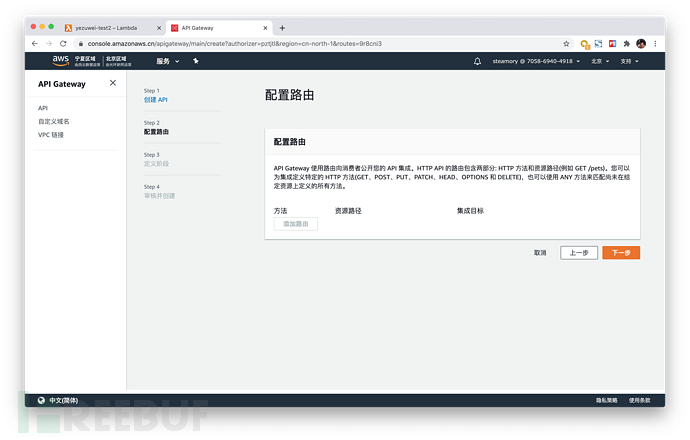
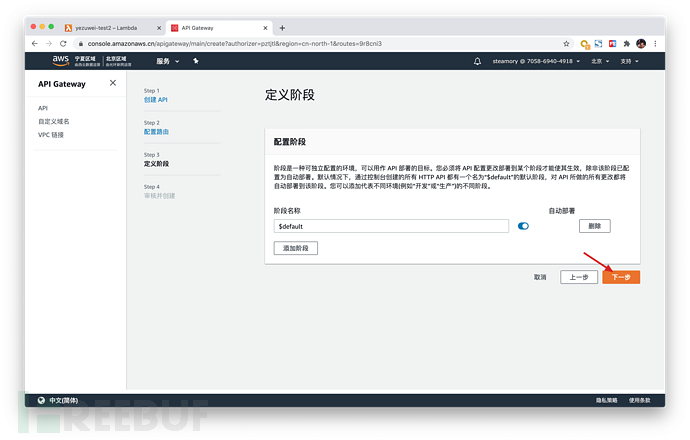
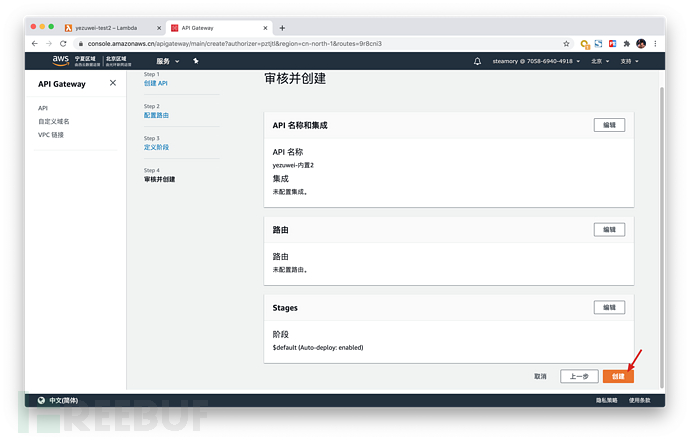
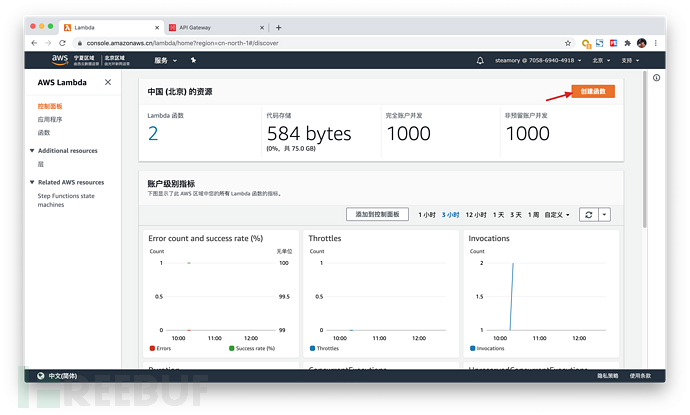
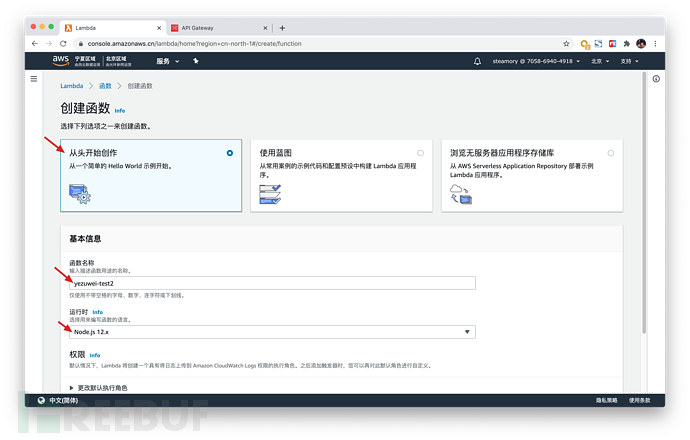
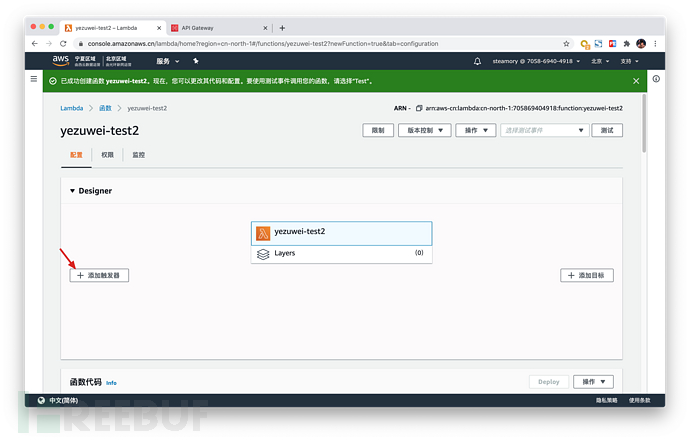
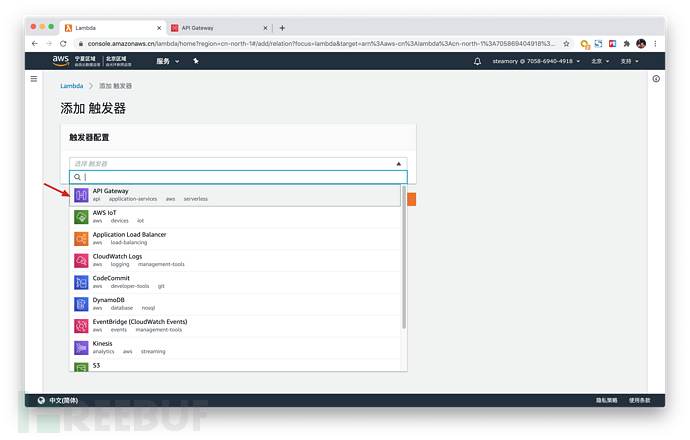
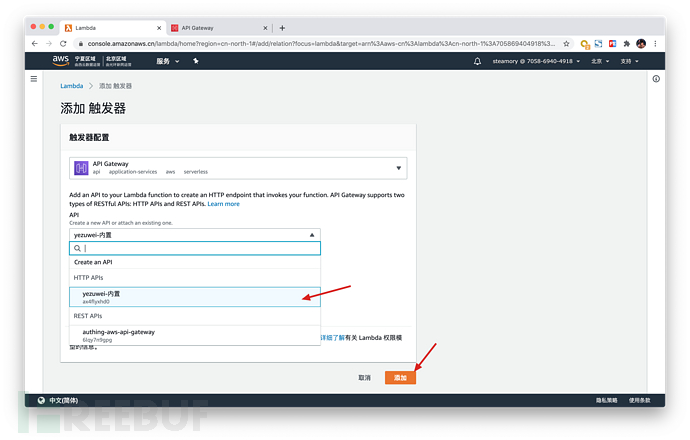
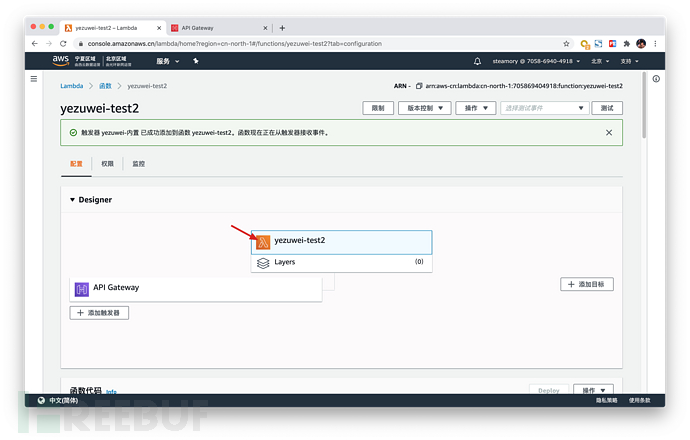
点击 Lambda 函数,向下滚动浏览器窗口,进入编辑界面。
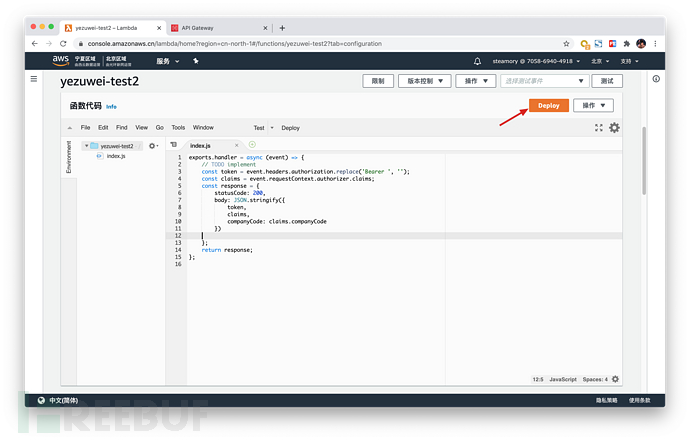
输入以下代码,用于返回 Token 中的信息,包括 companyCode。
exports.handler = async (event) => {
    // TODO implement
    const token = event.headers.authorization.replace('Bearer ', '');
    const claims = event.requestContext.authorizer.claims;
    const response = {
        statusCode: 200,
        body: JSON.stringify({
            token,
            claims,
            companyCode: claims.companyCode
        })

    };
    return response;
};最后点击「Deploy」。
设置 API Gateway 路由 Authorizer
进入 AWS API Gateway 控制台,找到刚创建的 API。
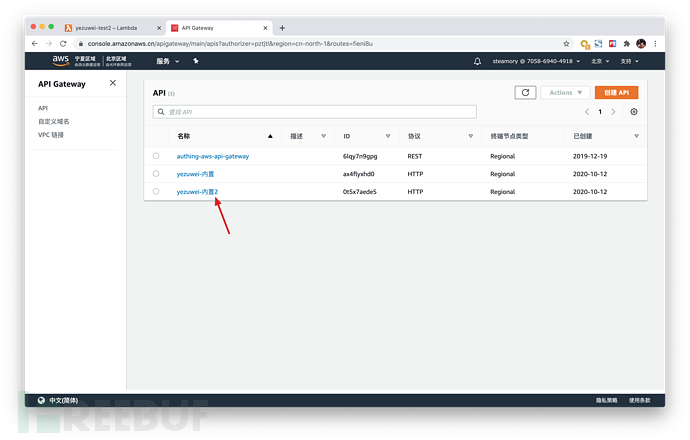
找到刚刚为 Lambda 函数设置的触发器路由,点击「附加授权」。
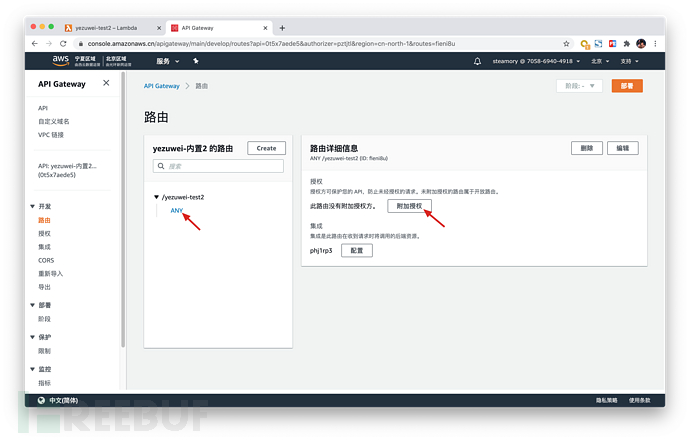
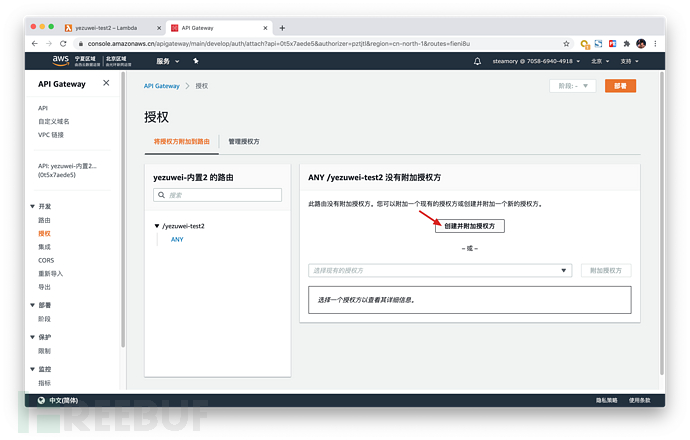
点击「创建并附加授权方」。
选择 JWT 授权方类型
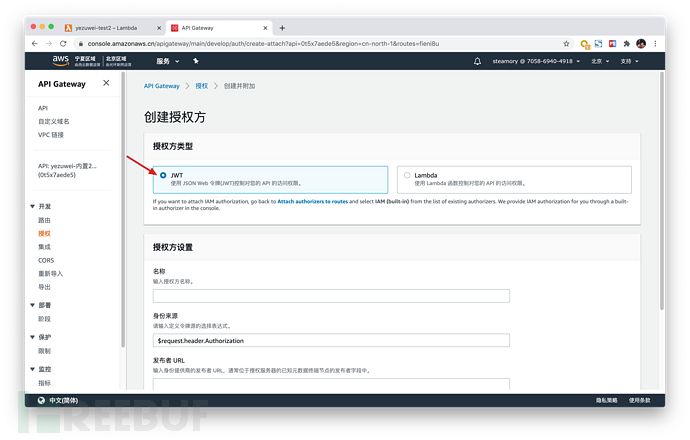
授权方按照以下方式设置。
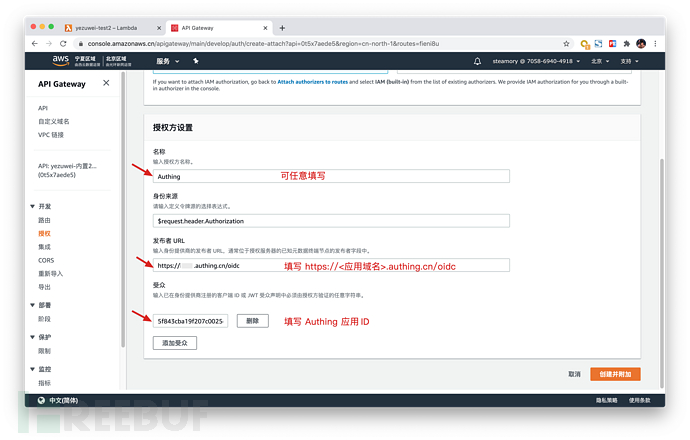
上面的信息可以在 Authing 控制台找到:
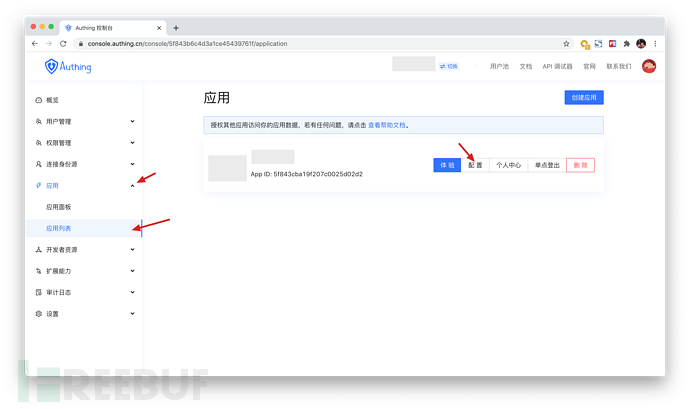
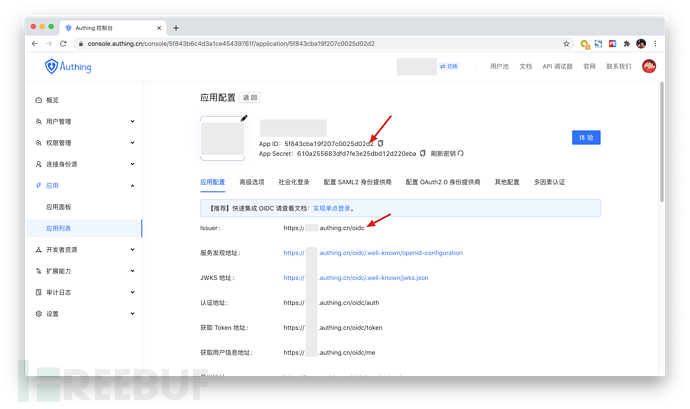
在应用> 应用列表,找到你的应用,点击「配置」。
发布者 URL 填写这里的 Issuer,受众填写应用 ID。
最后点击「创建并附加」。
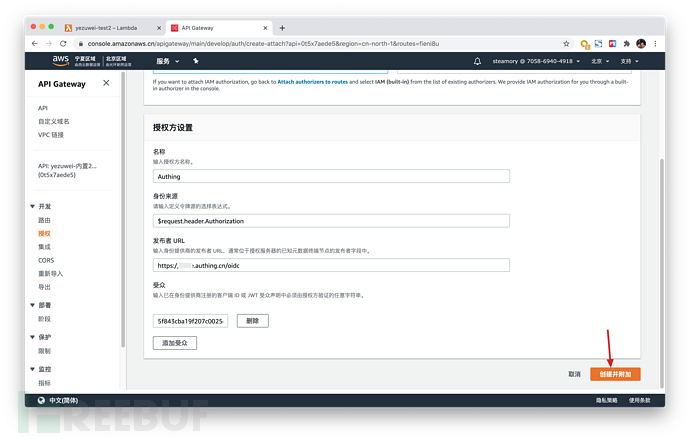
到此所有配置完毕
登录示例
安装 NodeJS
http://nodejs.cn/download/
克隆项目
git clone https://git.authing.co/yezuwei/sample-poc
安装依赖
cd sample-poc
npm install
运行
node bin/www
然后在浏览器访问 https://kone.authing.cn
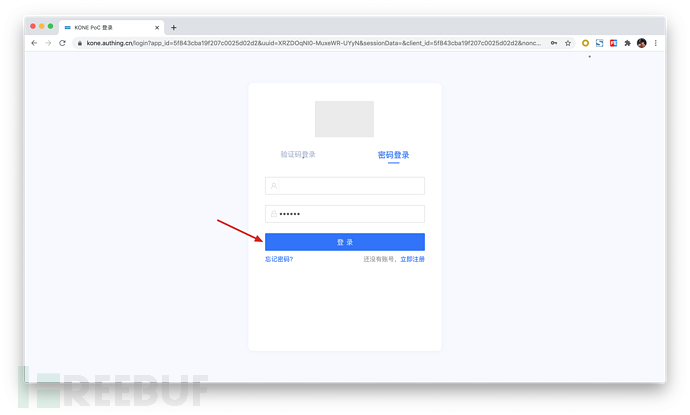
在登录页面输入账号和密码
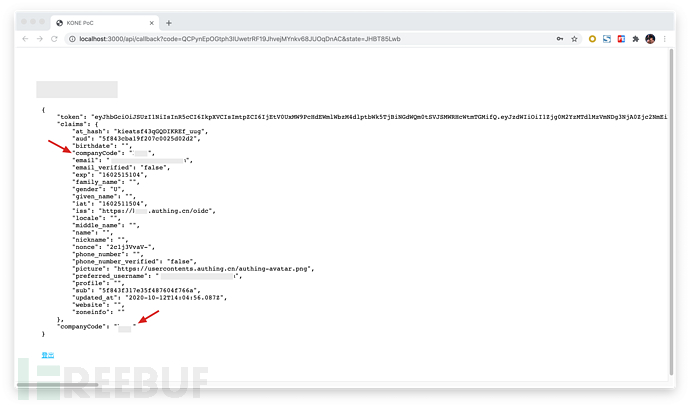
收到来自 Lambda 的响应:
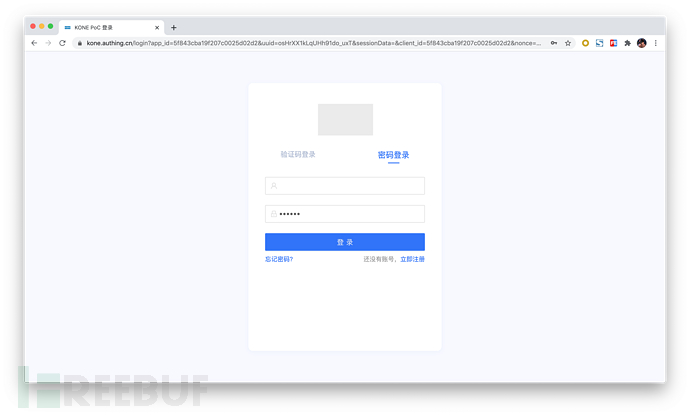
点击登出,再使用账号和密码登录
收到来自 Lambda 的响应:
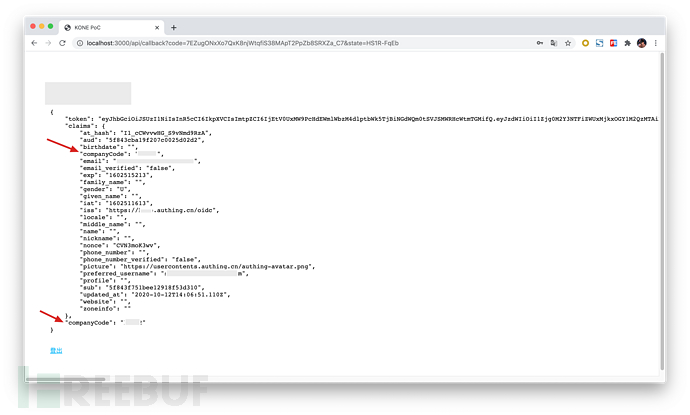
注意 companyCode 已经根据用户的信息字段,进行逻辑判断然后返回了另外一个。
The above is the detailed content of How to replace Cognito with Authing and AWS JWT Authorizer. For more information, please follow other related articles on the PHP Chinese website!


