
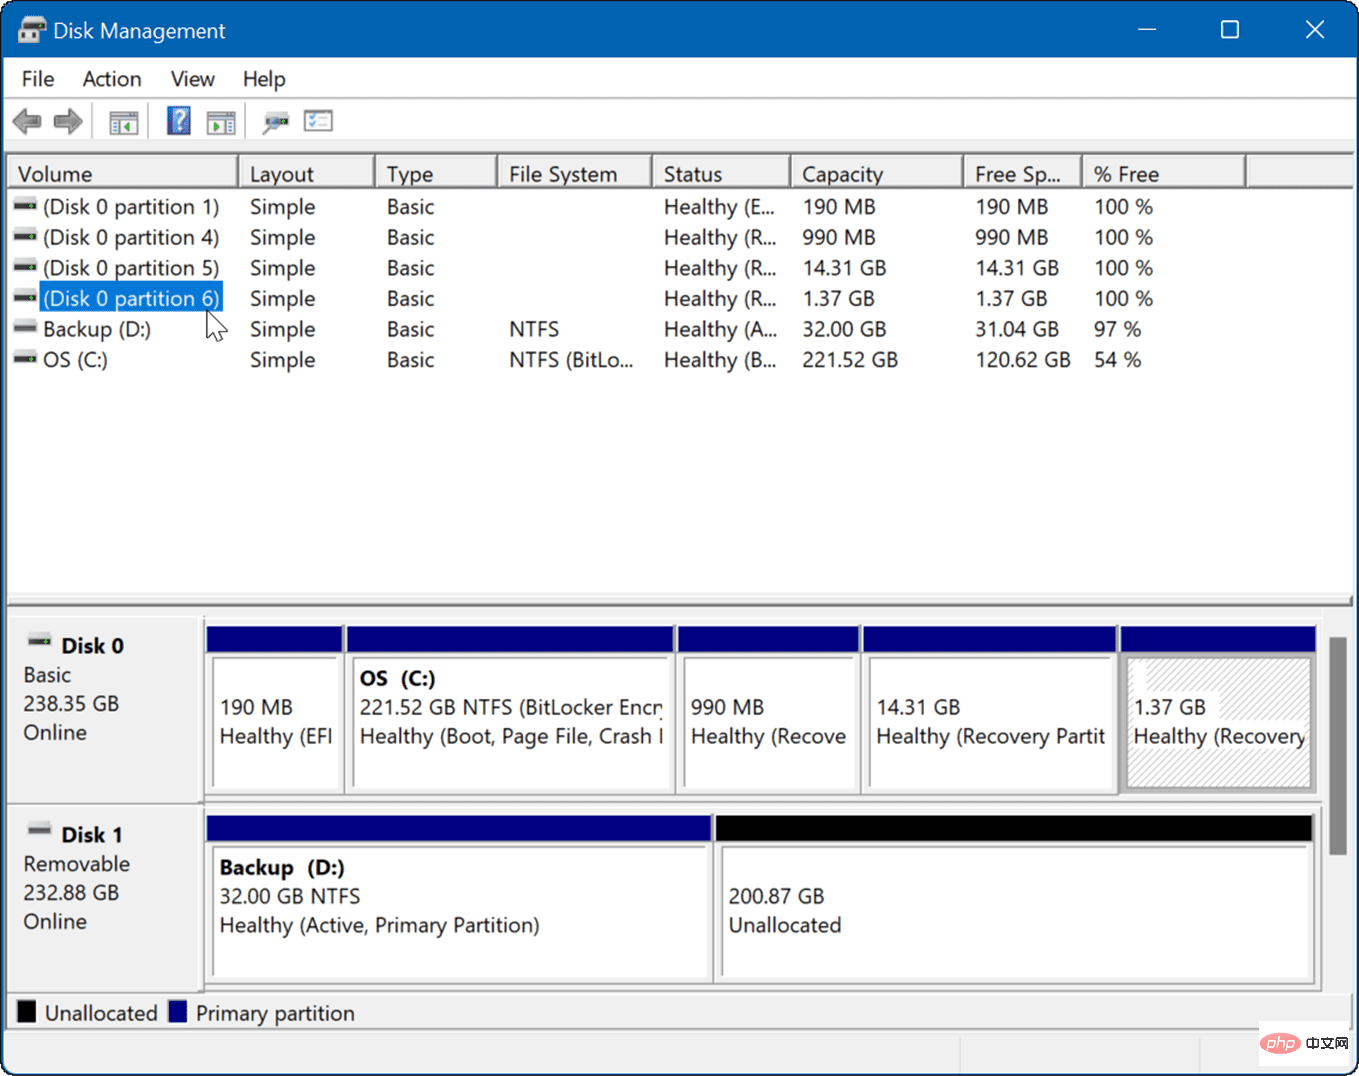
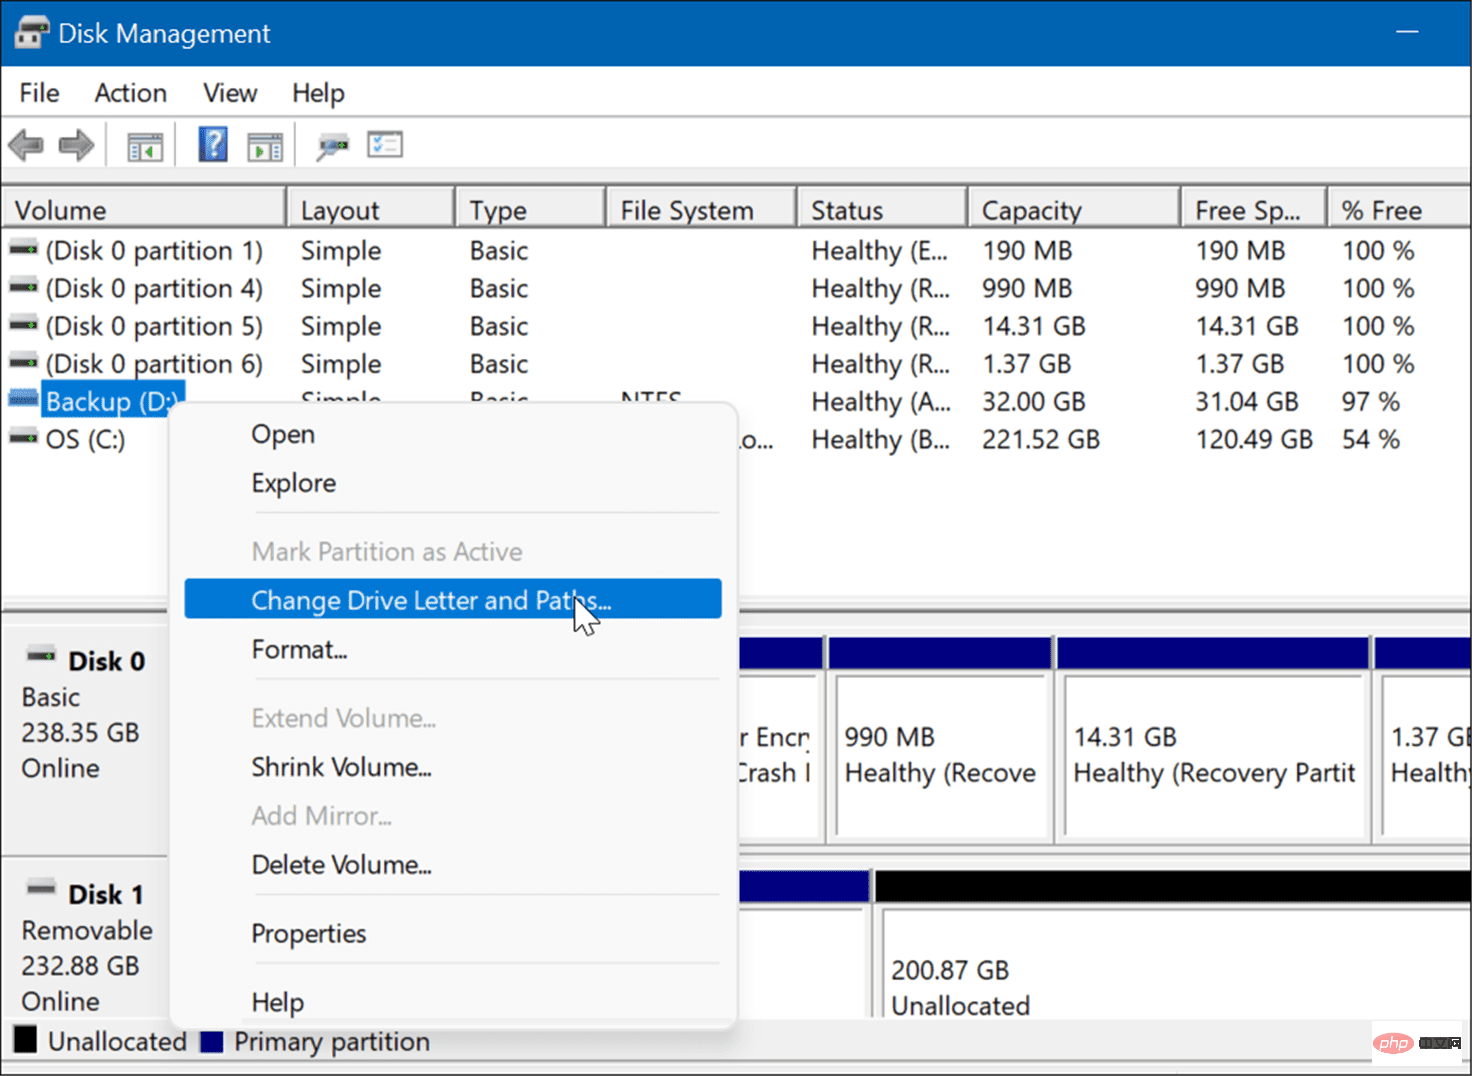
If you want to create and resize partitions, initialize hard drives, change drive letters, etc. on Windows 11, you need to use the Disk Management tool.
You can use this tool in a variety of ways, as well as open it. If you want to speed up your workflow, here are six different ways to turn on Disk Management in Windows 11.
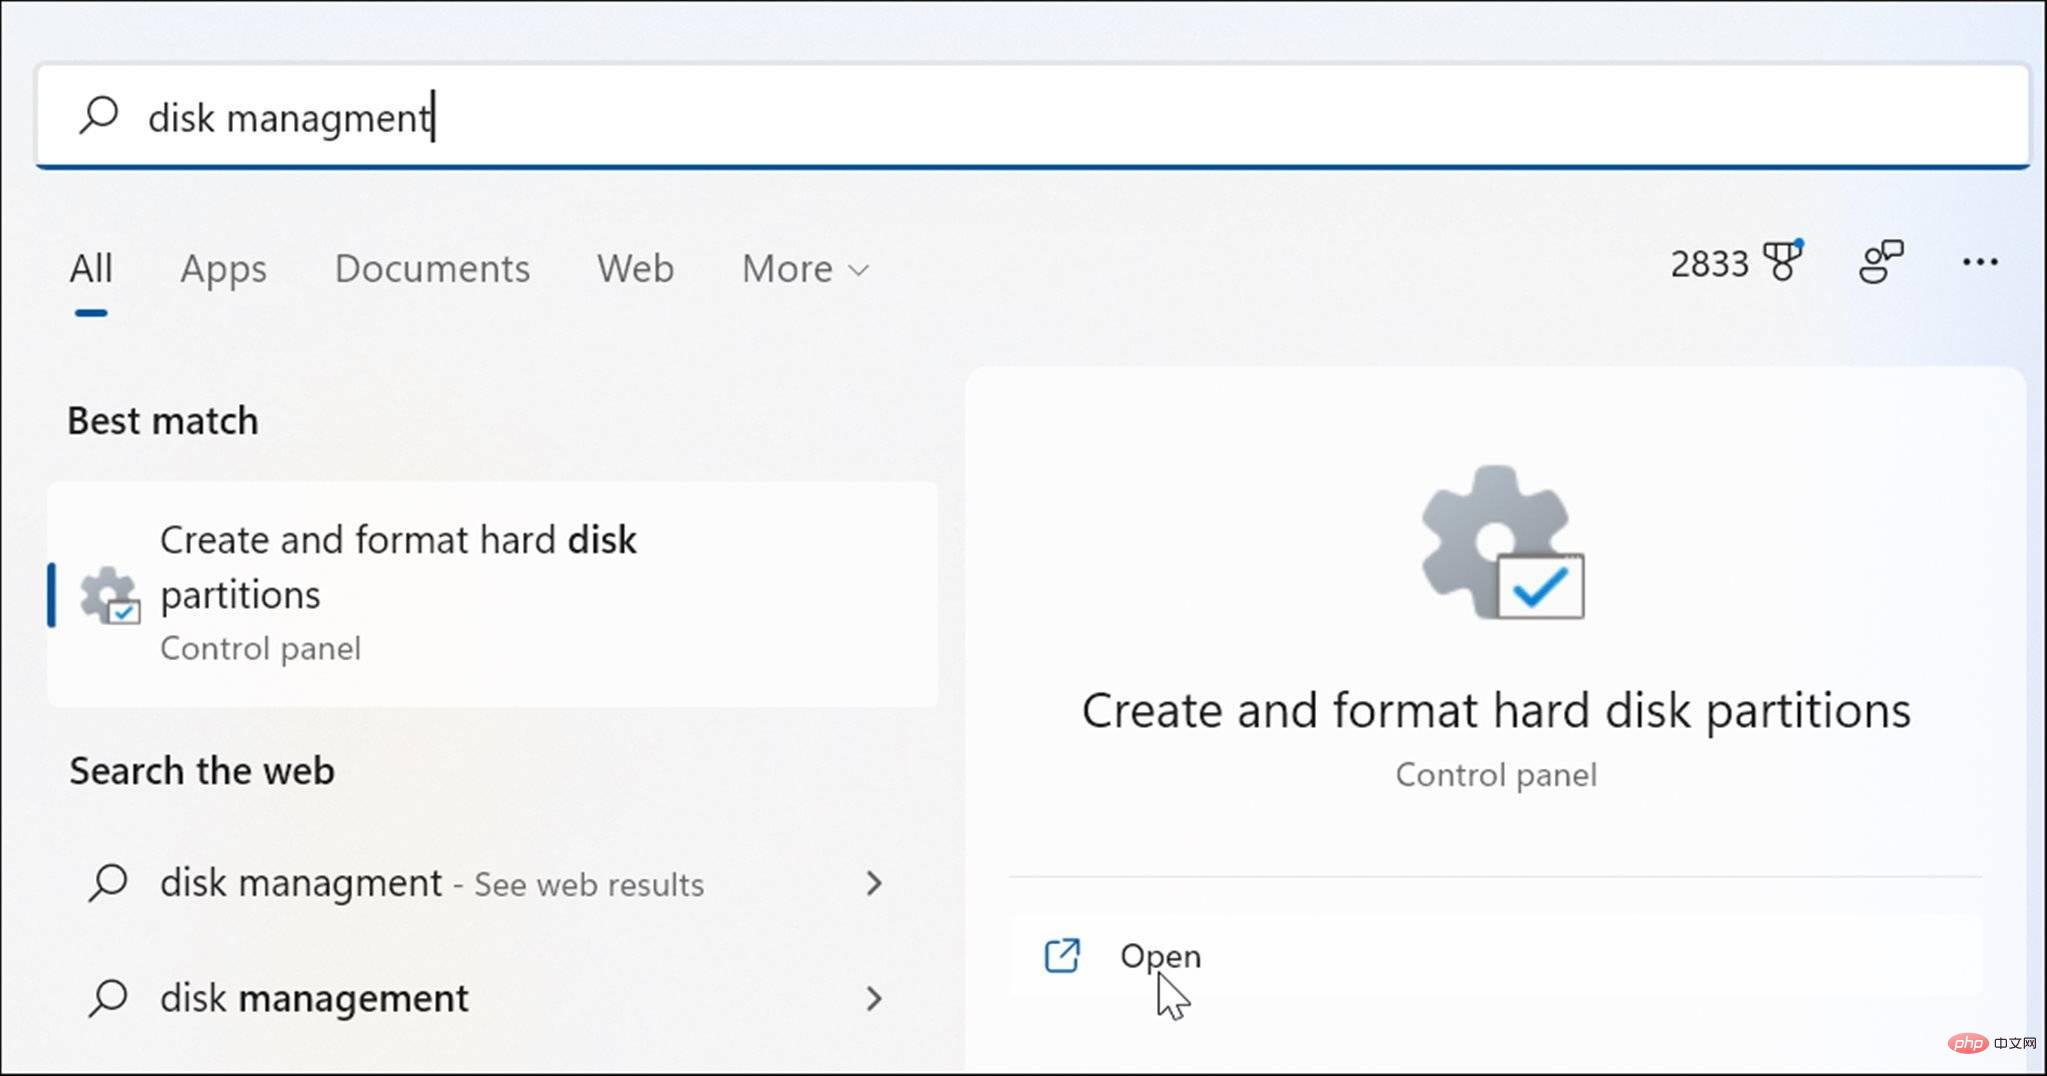
To avoid clicking through the menu, you can search for Disk Management and open it directly.
To open Disk Management using the search bar in the Start menu, use the following steps:
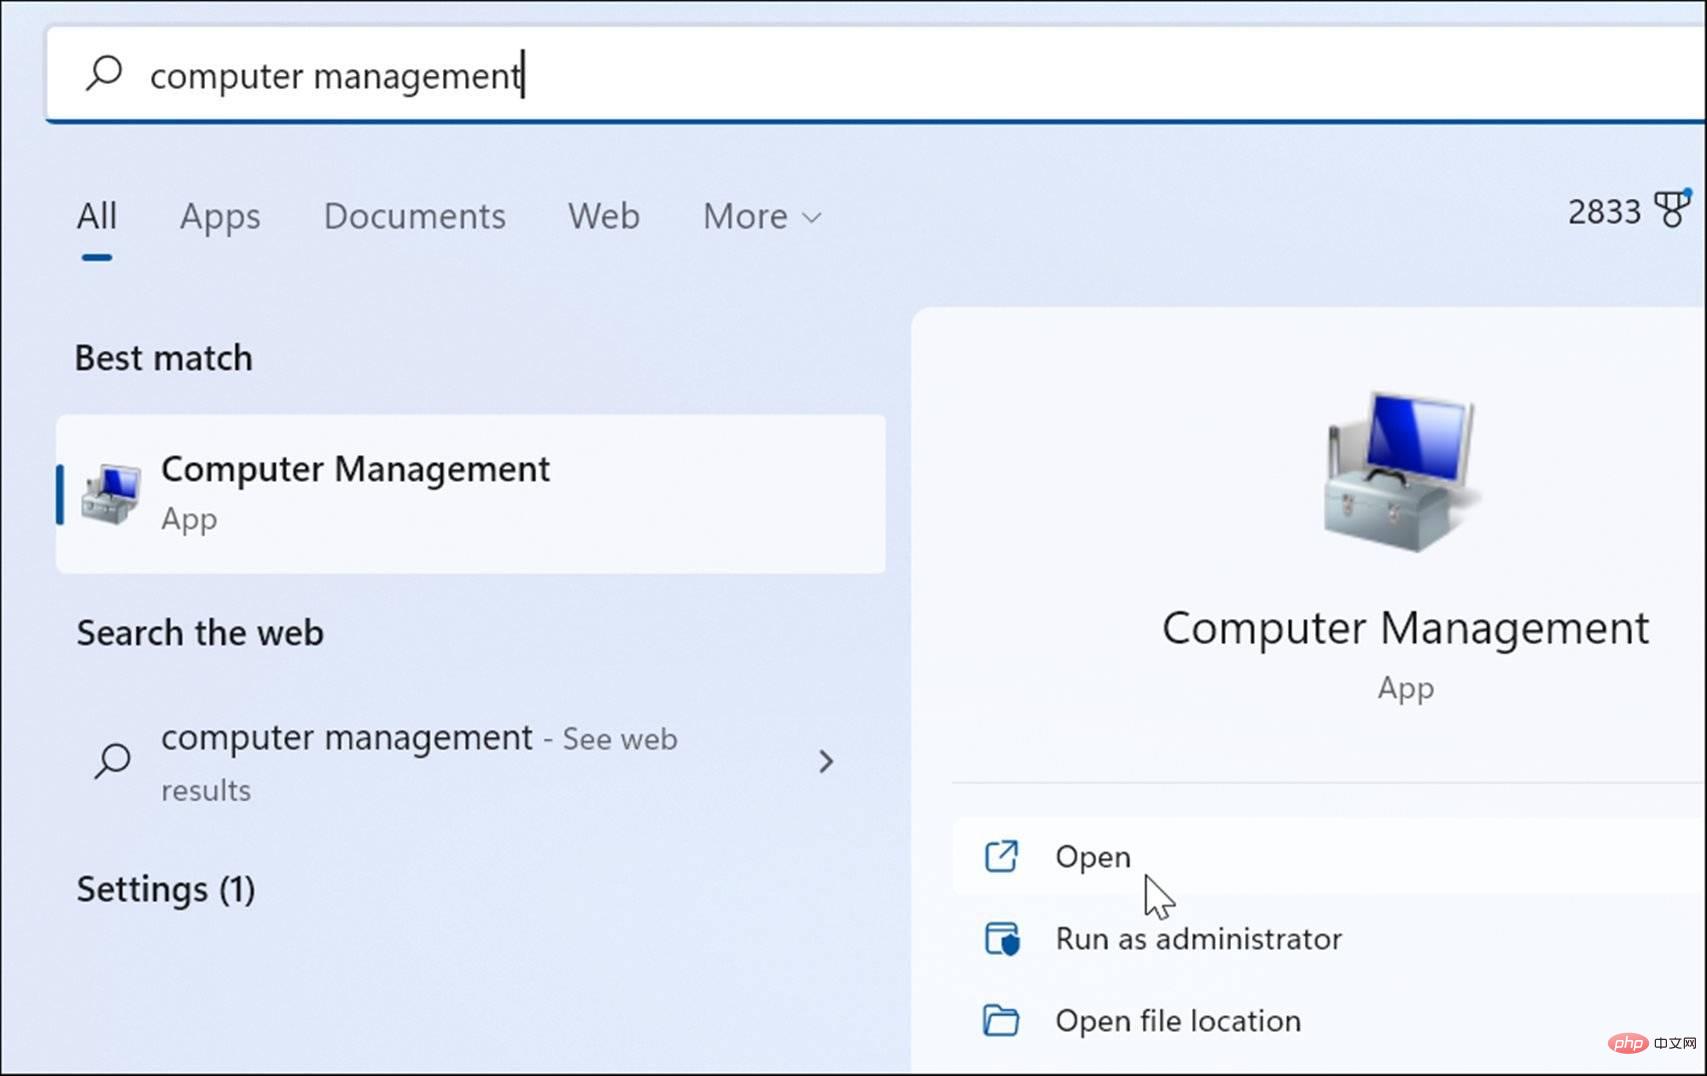
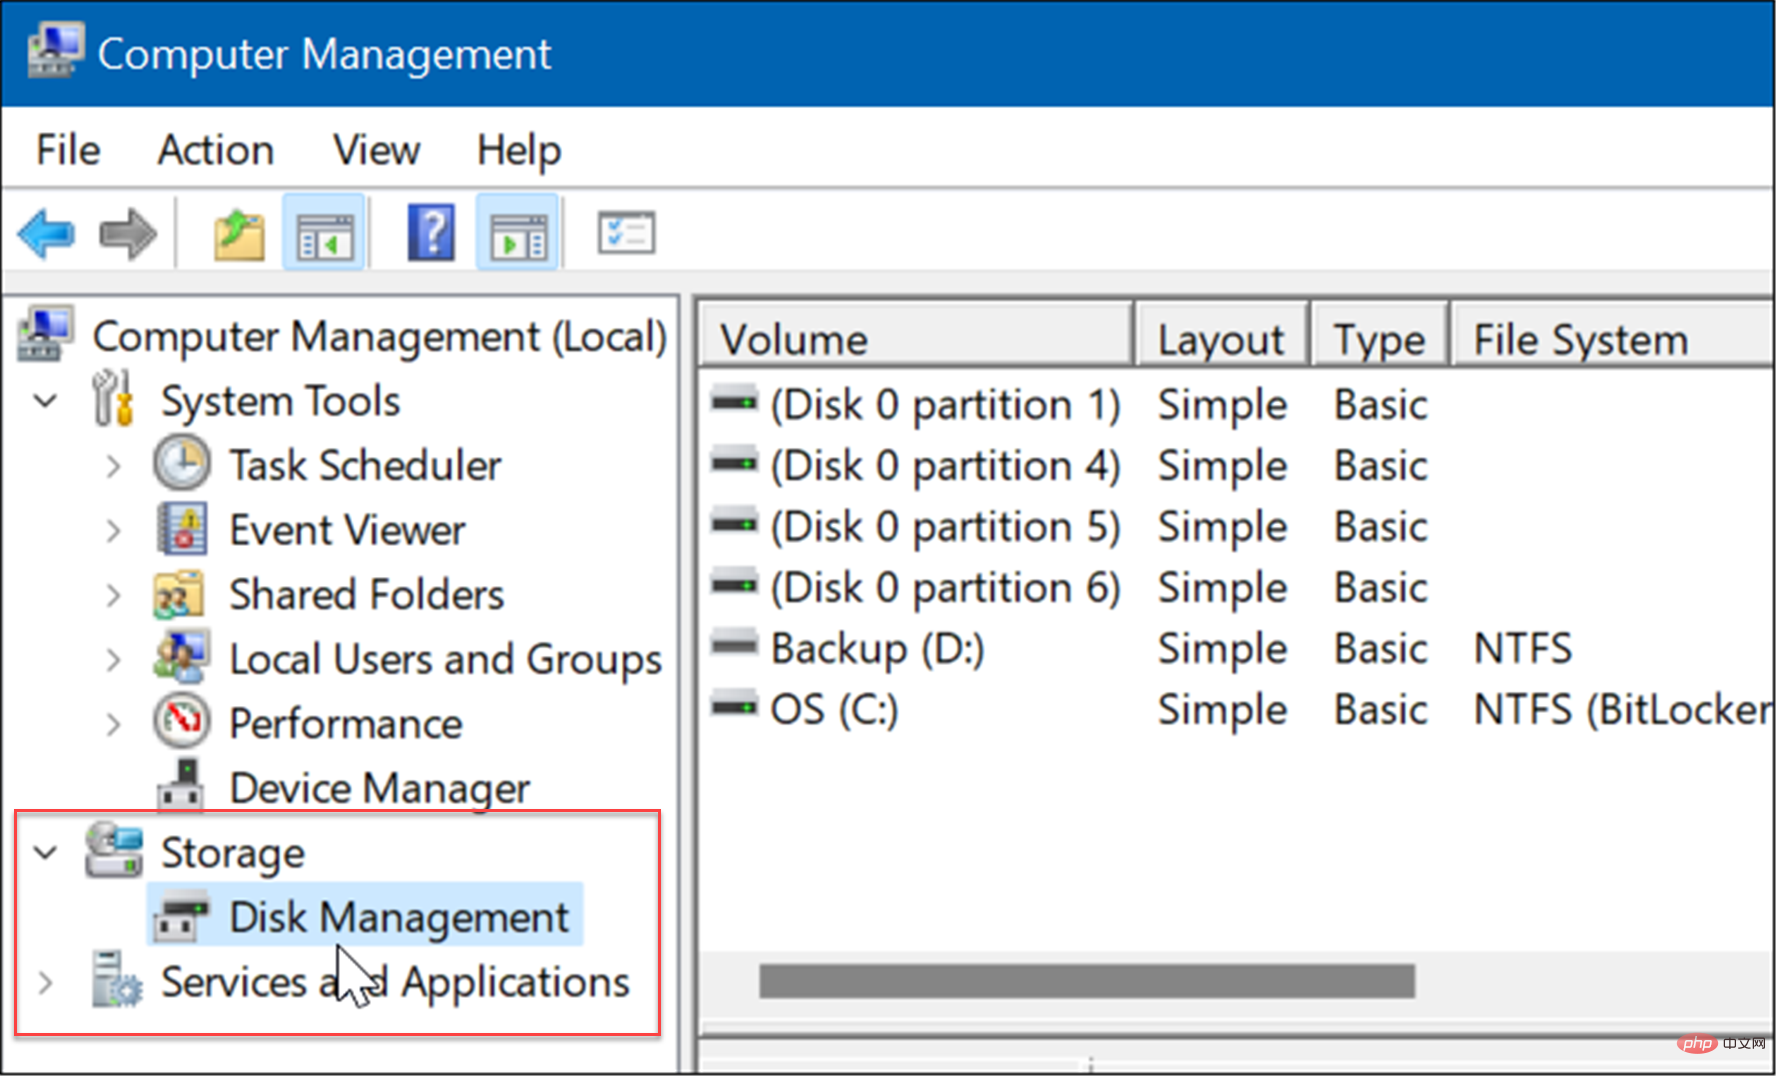
Another way to open Disk Management is to use the Computer Management tool.
To start Disk Management using Computer Management:
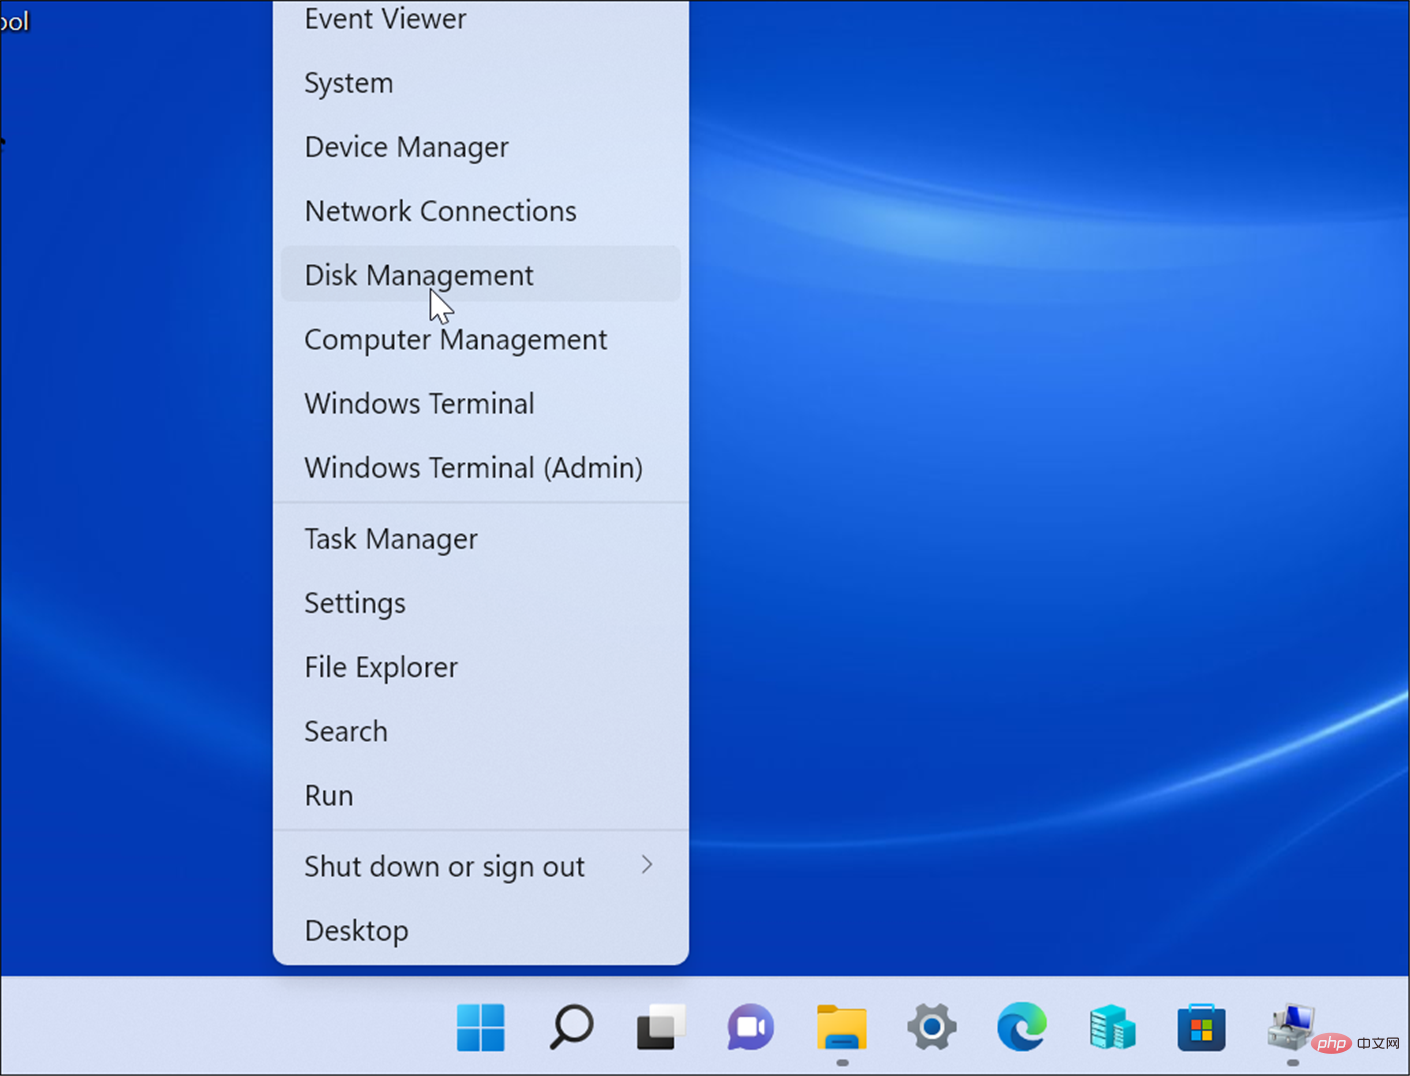
Available items on the Power User Menu (e.g. Windows key X ) has changed slightly in Windows 11. However, you can right-click the Start button or press the Windows key X to launch it and access Disk Management.
Use the following steps to launch Disk Management from the Power User menu:
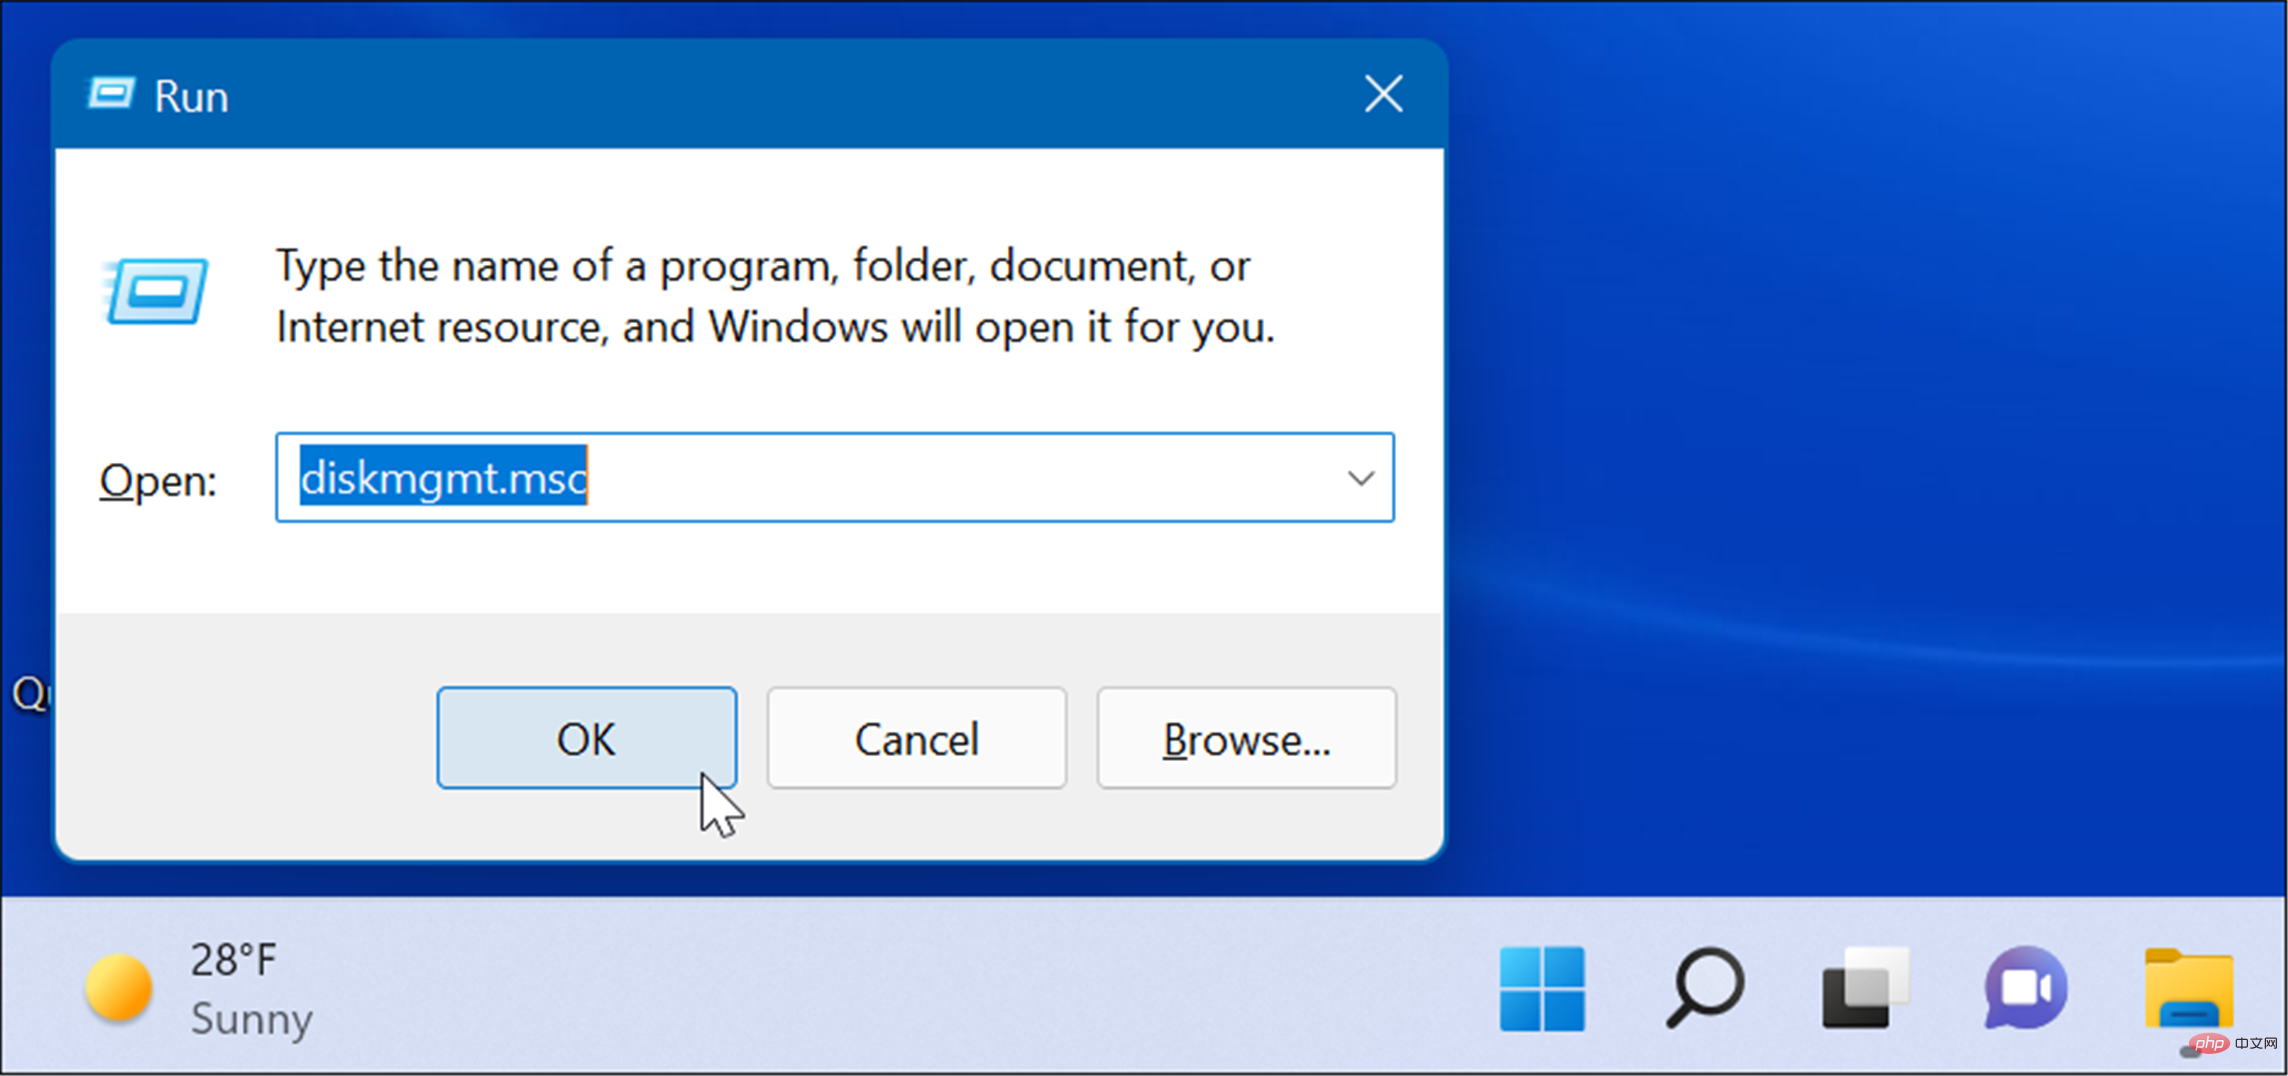
Another option available to you is to launch Disk Management from the Runmenu.
To start Disk Management from the run line:

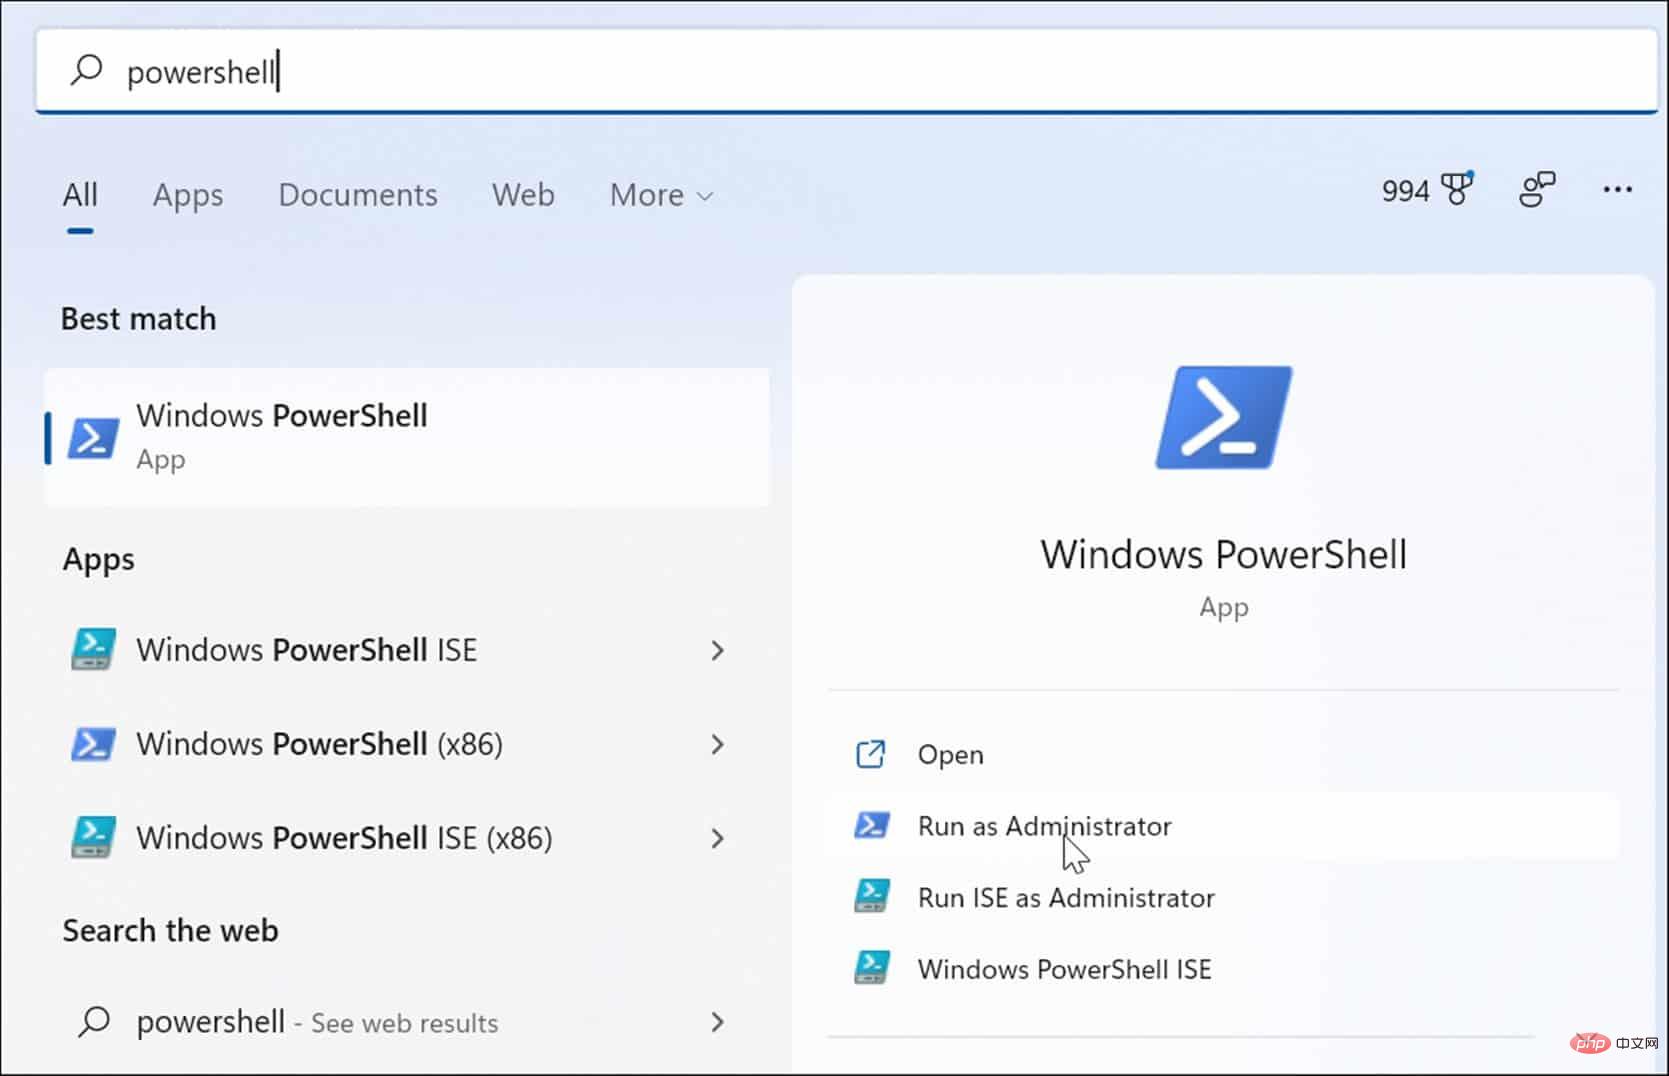
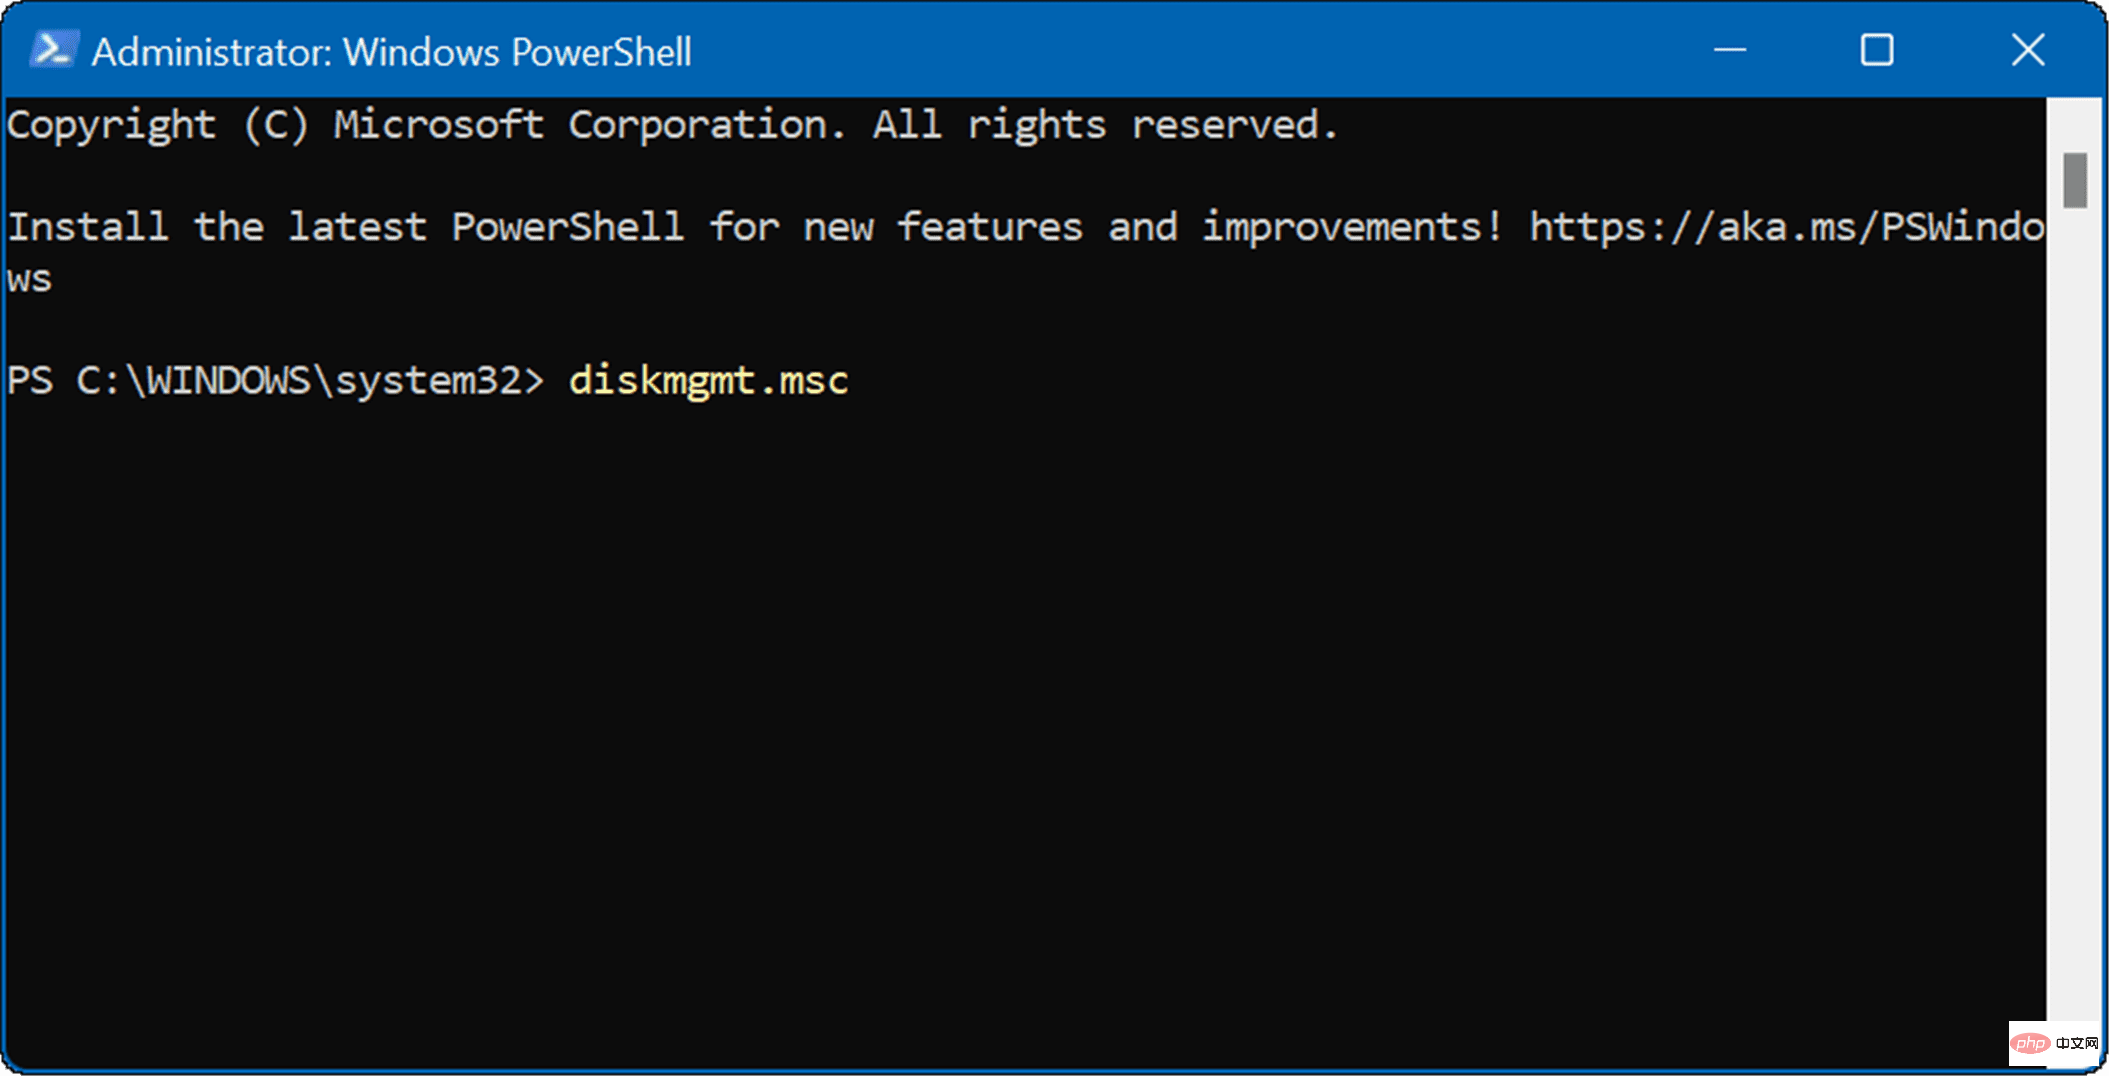
If you prefer the command line approach, you can open Disk Management from the PowerShell terminal. Use the following steps to launch it:

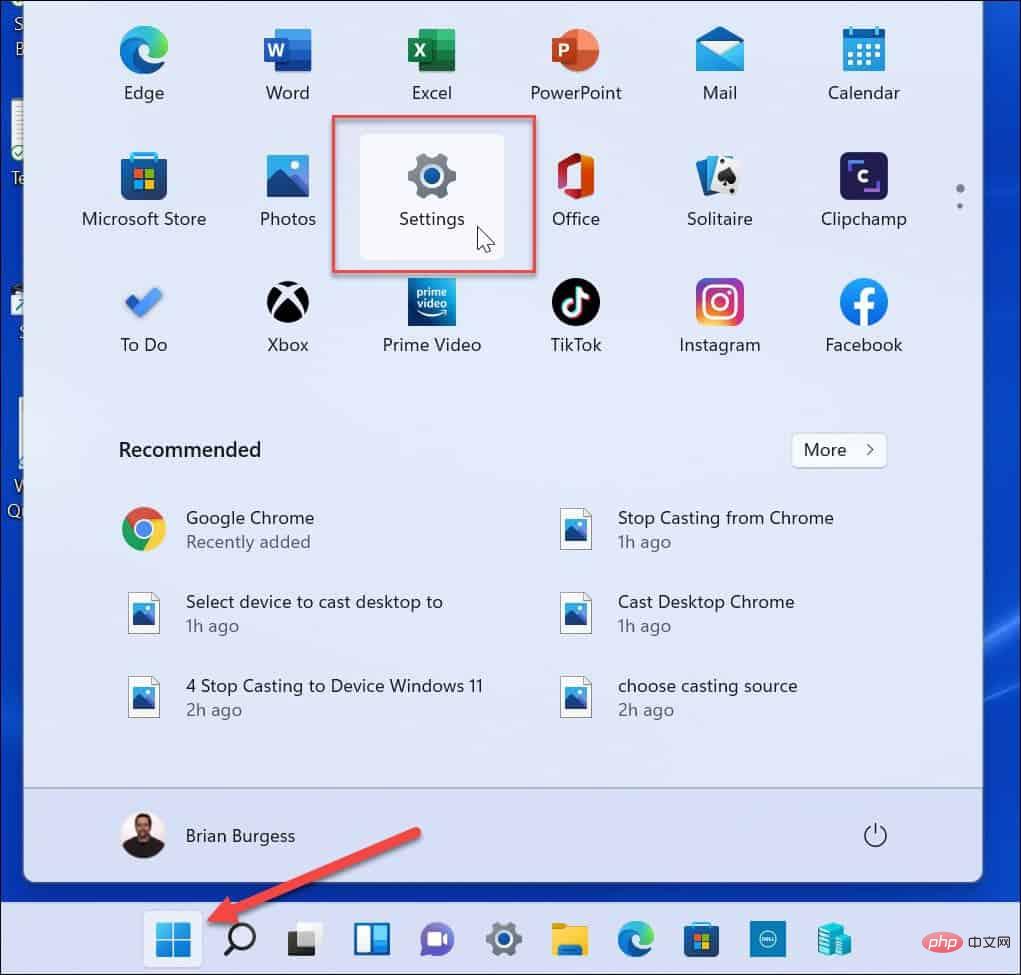
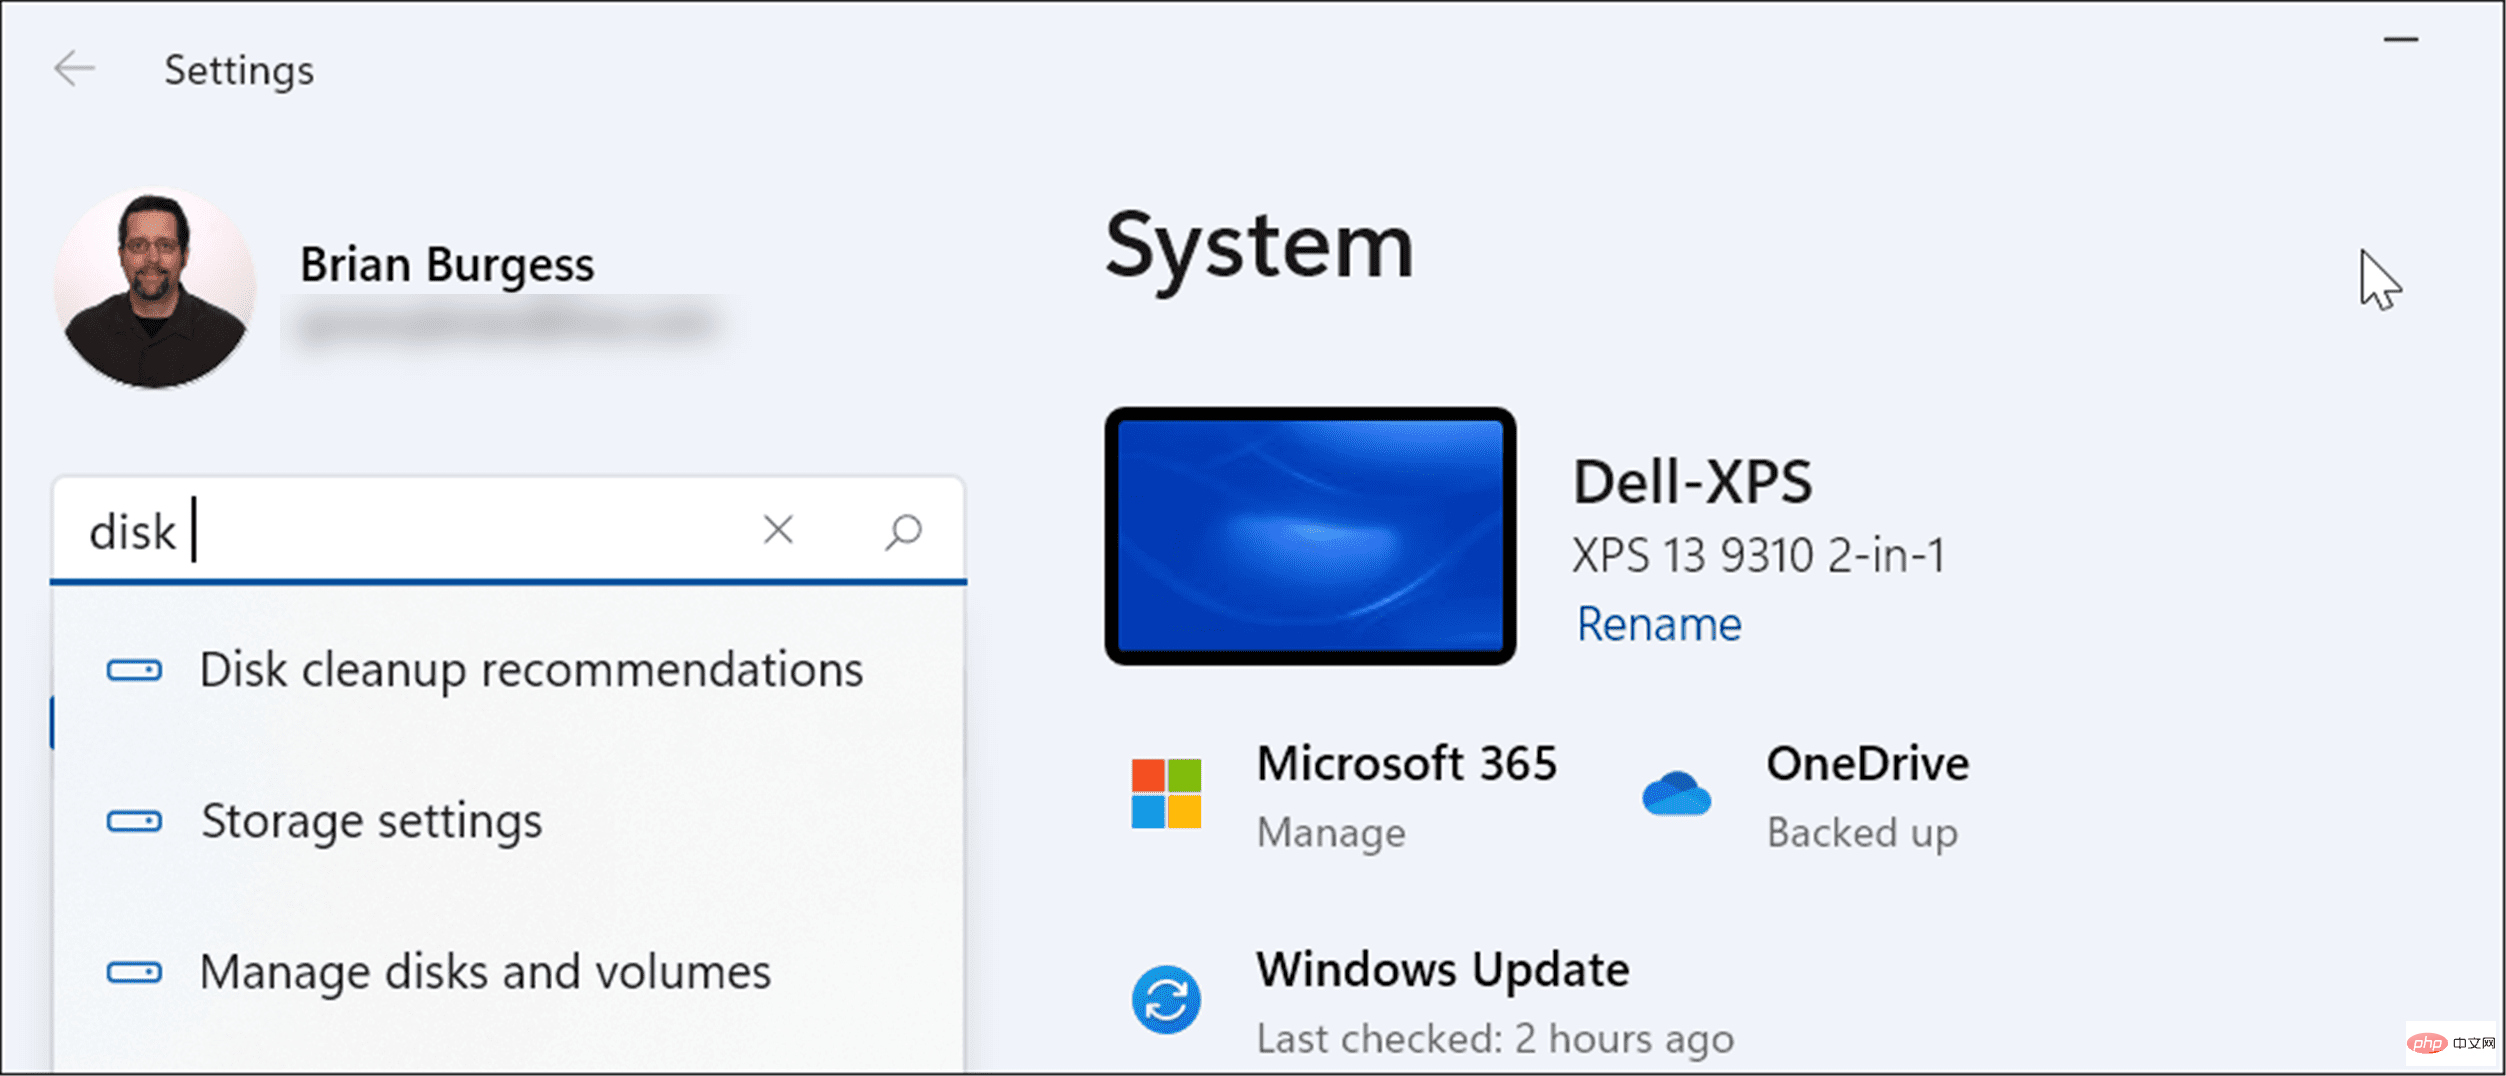
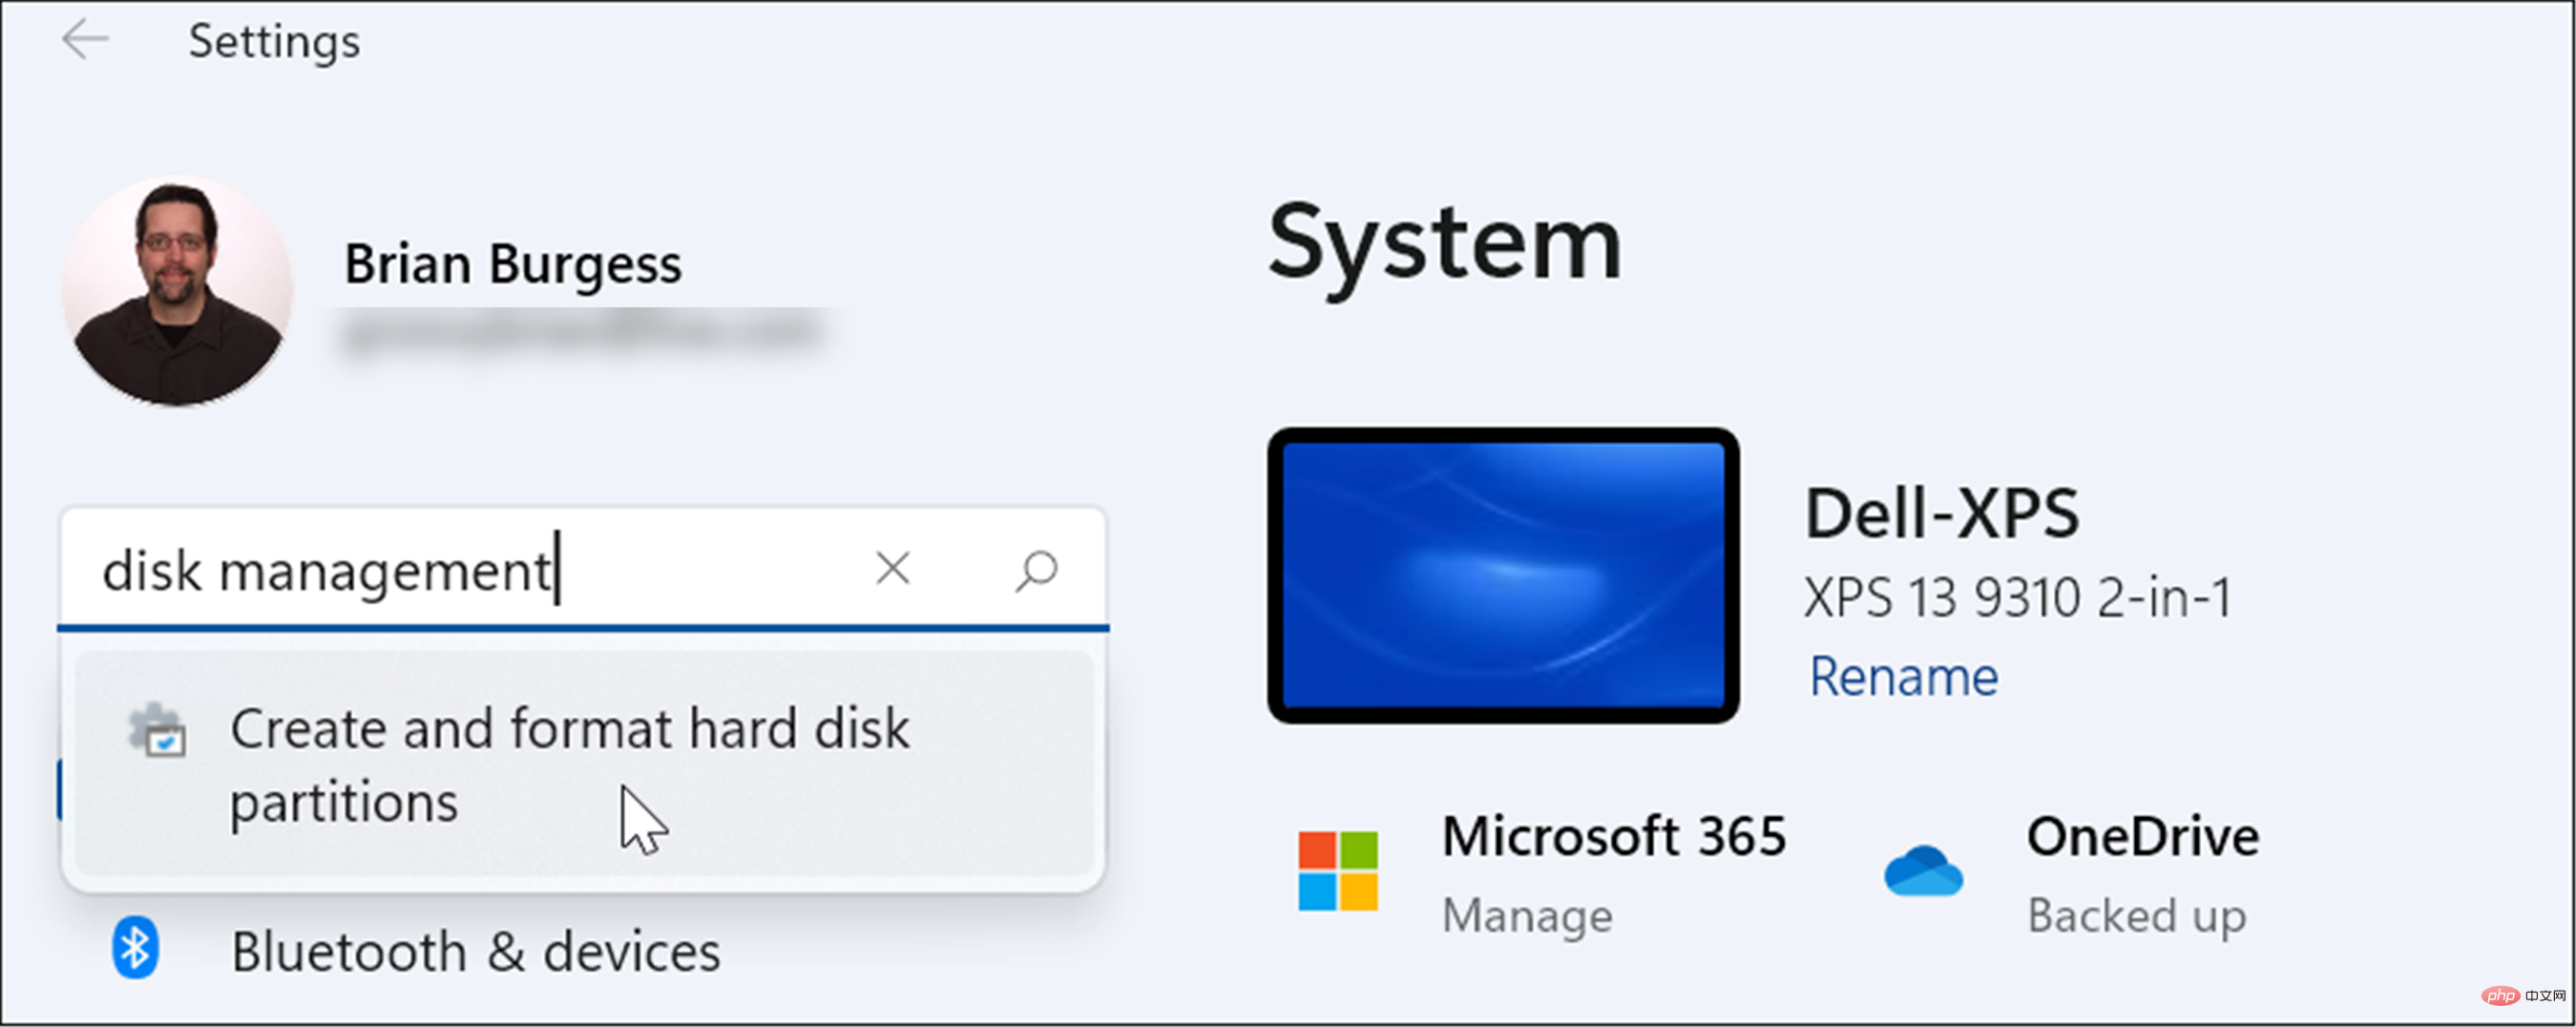
You can also open Disk Management directly from Settings - it's just named differently.
Use the following steps to open Disk Management directly from Windows 11 Settings:
The Disk Management tool is a very useful tool to use on Windows 11. It allows you to quickly resize or delete partitions and change new drive letters. However, you can also change the drive letter on Windows 11 using the Settings app.
Windows 11 has other useful built-in tools when it comes to maintaining your drives. For example, you can enable and configure Storage Sense to keep your drives clean. You can also use the Cleanup Suggestions tool to reclaim drive space on Windows 11.
The above is the detailed content of 6 Ways to Turn on Disk Management on Windows 11. For more information, please follow other related articles on the PHP Chinese website!
 Computer is infected and cannot be turned on
 How to prevent the computer from automatically installing software
 Summary of commonly used computer shortcut keys
 Computer freeze screen stuck
 How to measure internet speed on computer
 How to set the computer to automatically connect to WiFi
 Computer 404 error page
 How to set up computer virtual memory


