
The first thing you need to run Android apps on Windows 11 is to join the Windows Insider Program. You need to be in the Beta channel and have the latest version of Windows 11 and the Microsoft Store.
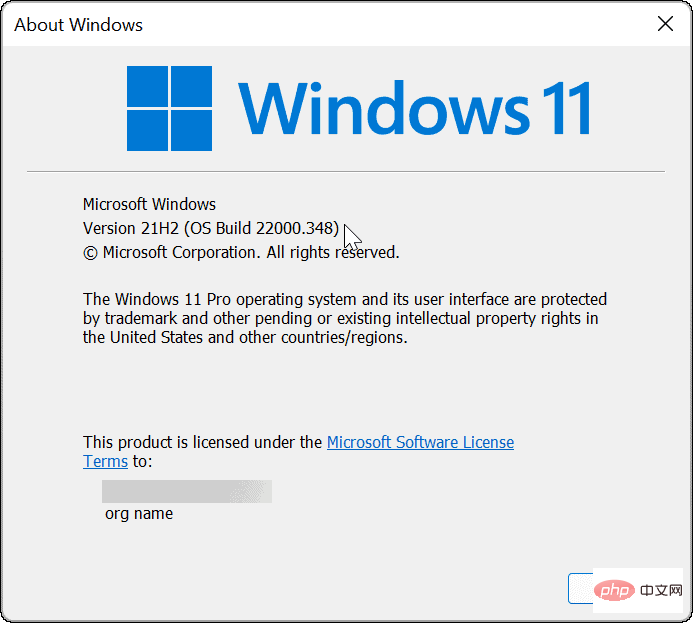
You will also need to run build 22000.282 or higher. If you've been getting new releases regularly, you should have it.
To confirm your Windows build number, press the Windows key R on your keyboard to check your version and build number. When the "Run" dialog box opens, enter winver and press Enter or click "OK" .
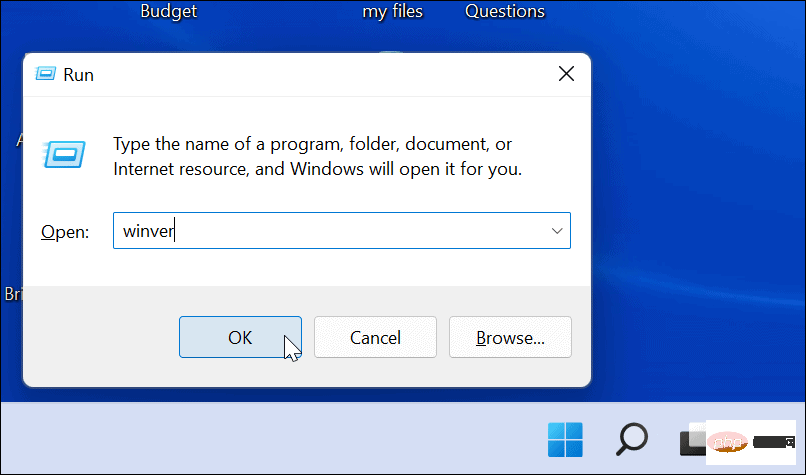
This will open a window showing your version and build number.
Windows 11 runs Android applications in a virtual environment. Windows Subsystem for Android or WSA is a VM powered by Hyper-V that is used to run Android applications. So another thing to do is make sure Hardware Virtualization is enabled. You may be familiar with it as it is a prerequisite for enabling virtualization on Windows 11.
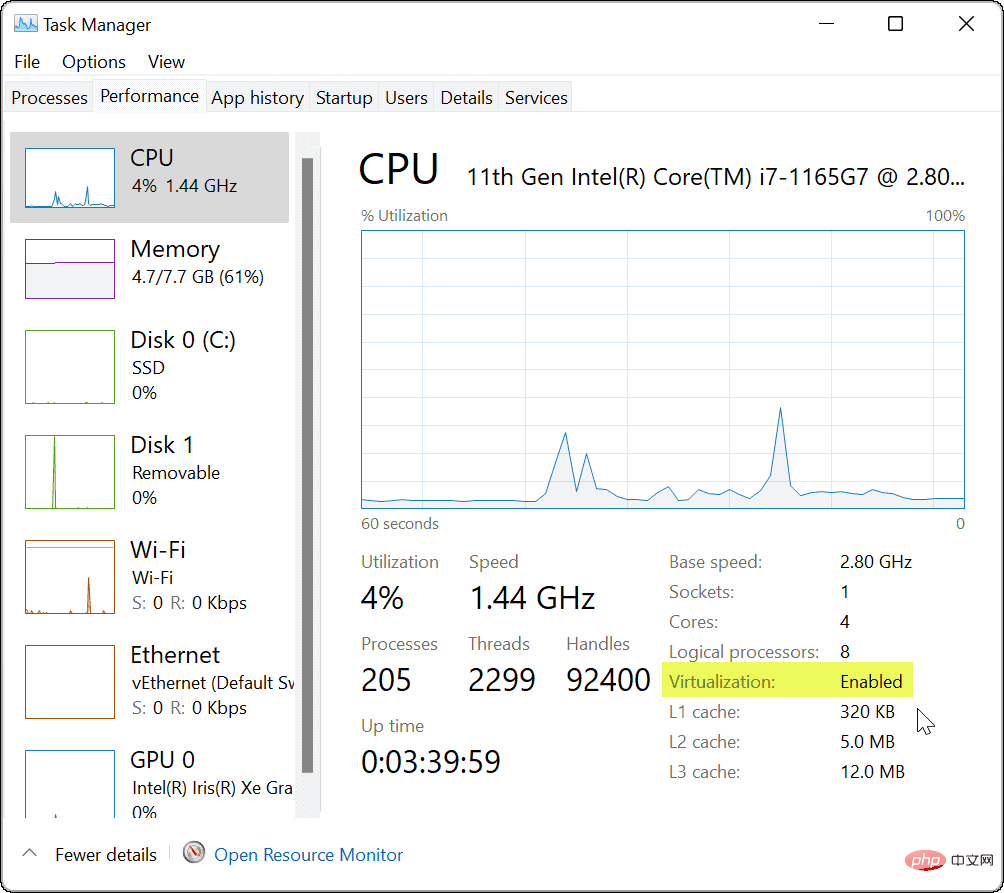
To see if hardware virtualization is enabled, start Task Manager. Open the Performance tab and look at the Virtualization entry in the lower right corner.
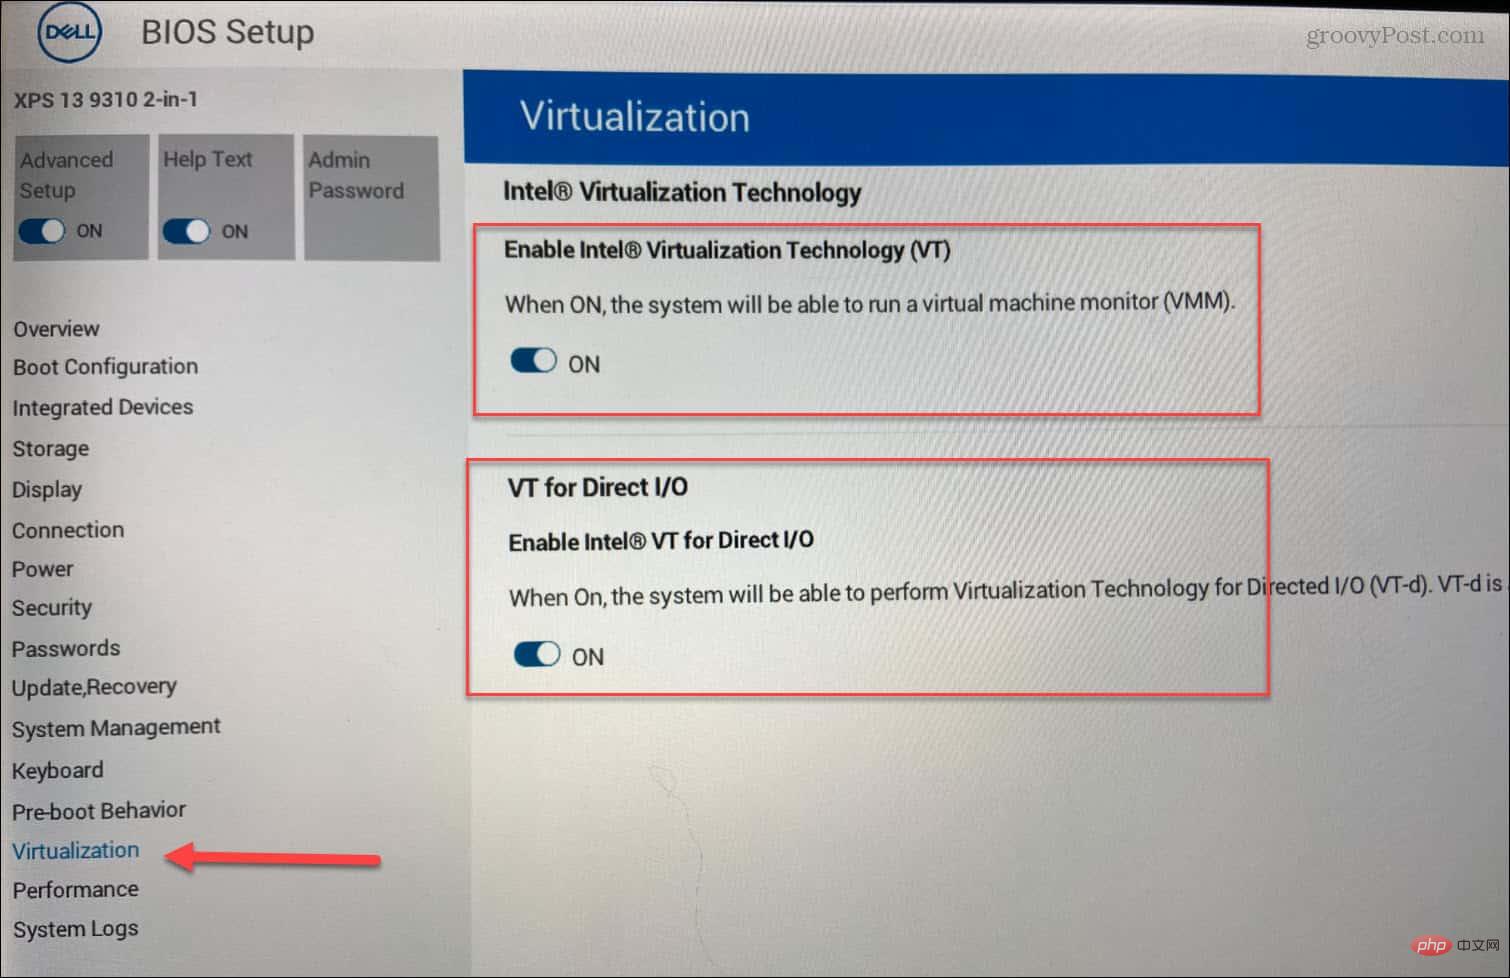
If it is not enabled, you can turn it on in BIOS/UEFI settings. Entering BIOS/UEFI varies from system to system, so check your PC's support documentation. Typically, you'll press F2, F12, or other function keys when your PC boots up.
Look under System Configuration > Virtual Technology or something similar to enable virtual technology.
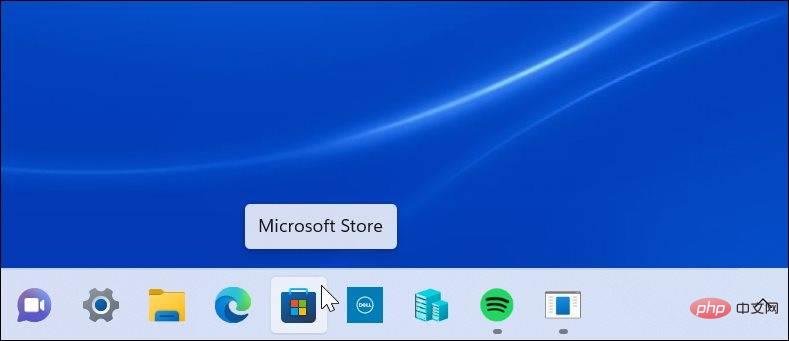
Now, in summary, you need to make sure you have the latest version of the Microsoft Store app. You can launch the app store from the taskbar or start menu.
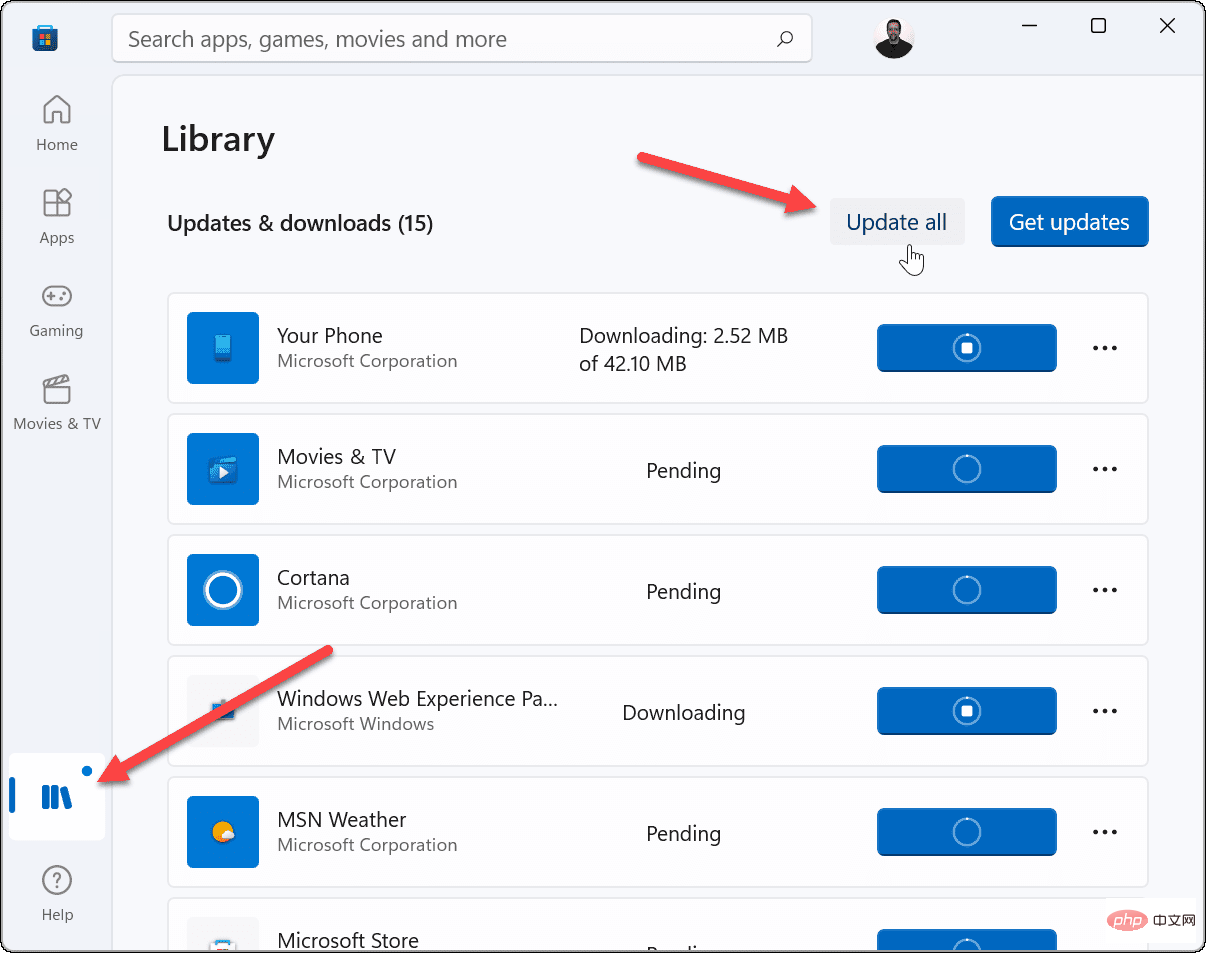
When it opens, go to the "Library" section and click to update all apps. This will update all Microsoft apps with pending updates and the Microsoft Store itself.
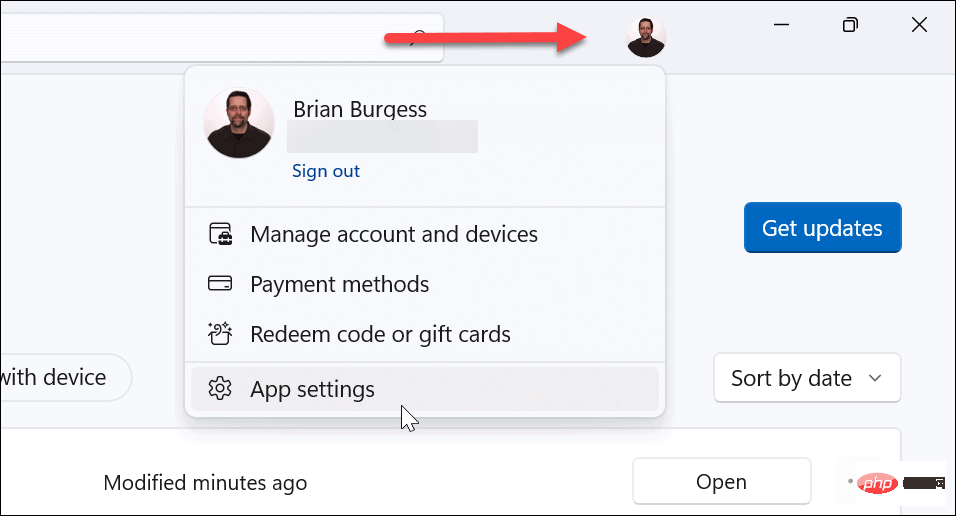
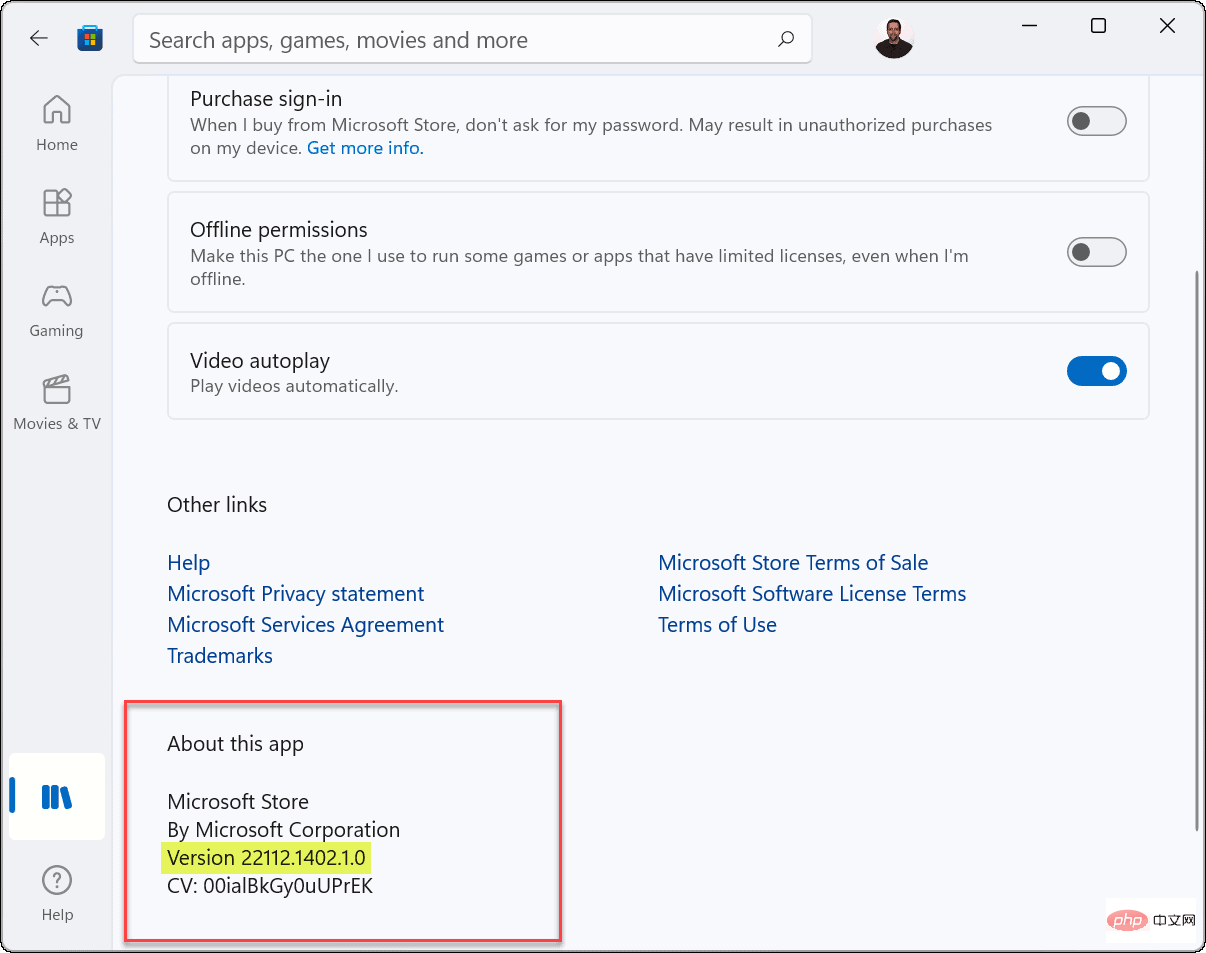
Microsoft Store app requires version 22110.1402.6.0 or higher. To check, click your profile icon in the upper right corner and click App Settings.
Scroll down the page and the version number is listed at the bottom under the "About this App" section.
Another thing to note is that you will see Microsoft Store Preview in the top left corner of the app.

Now that you have everything set up, it’s time to start installing Android apps by doing the following:
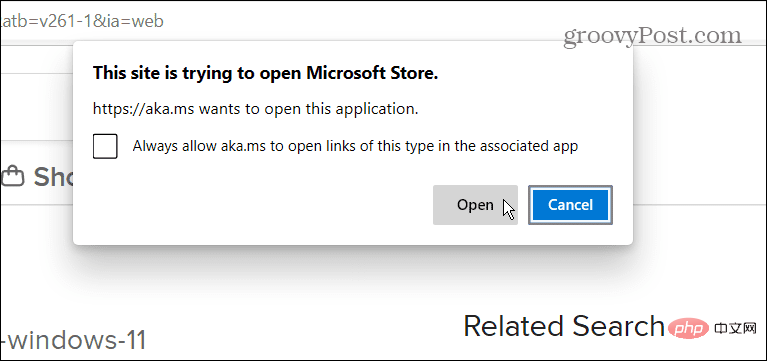
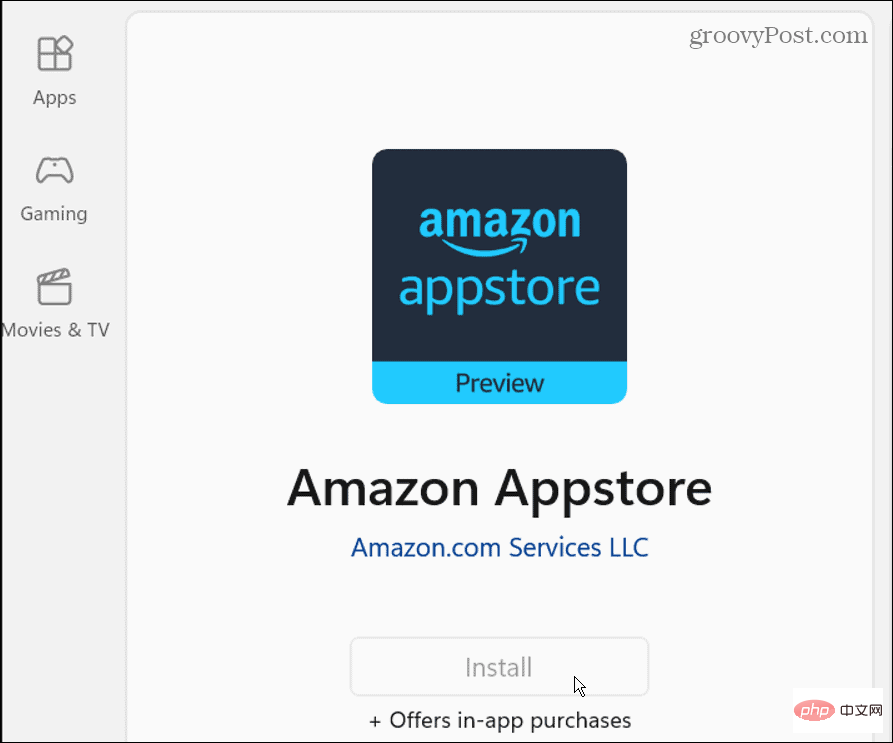
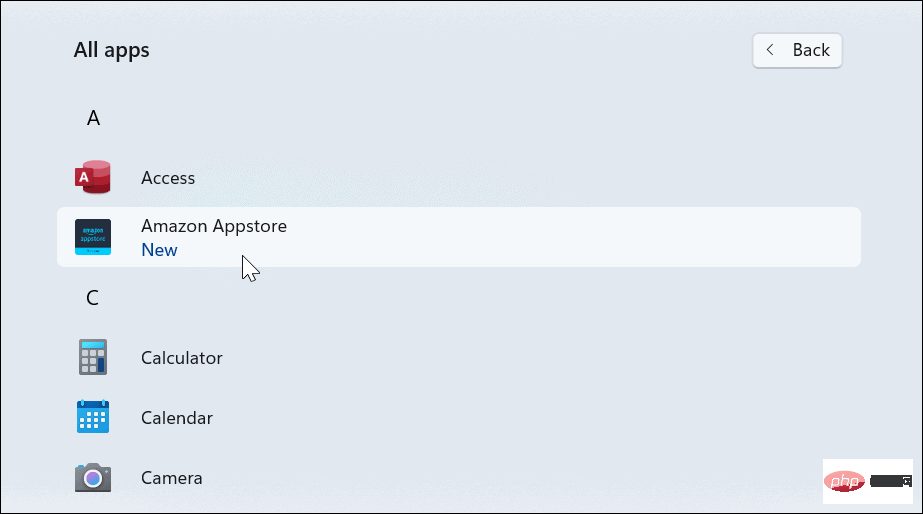
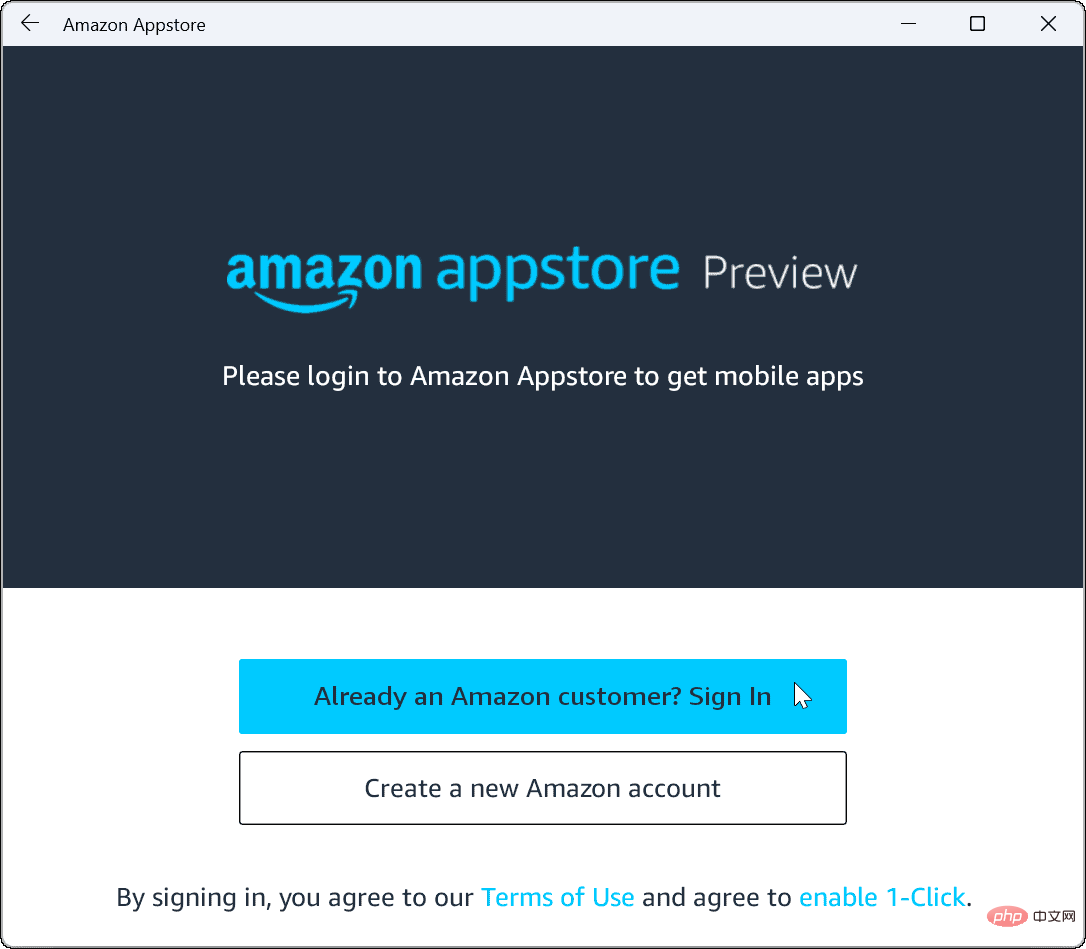
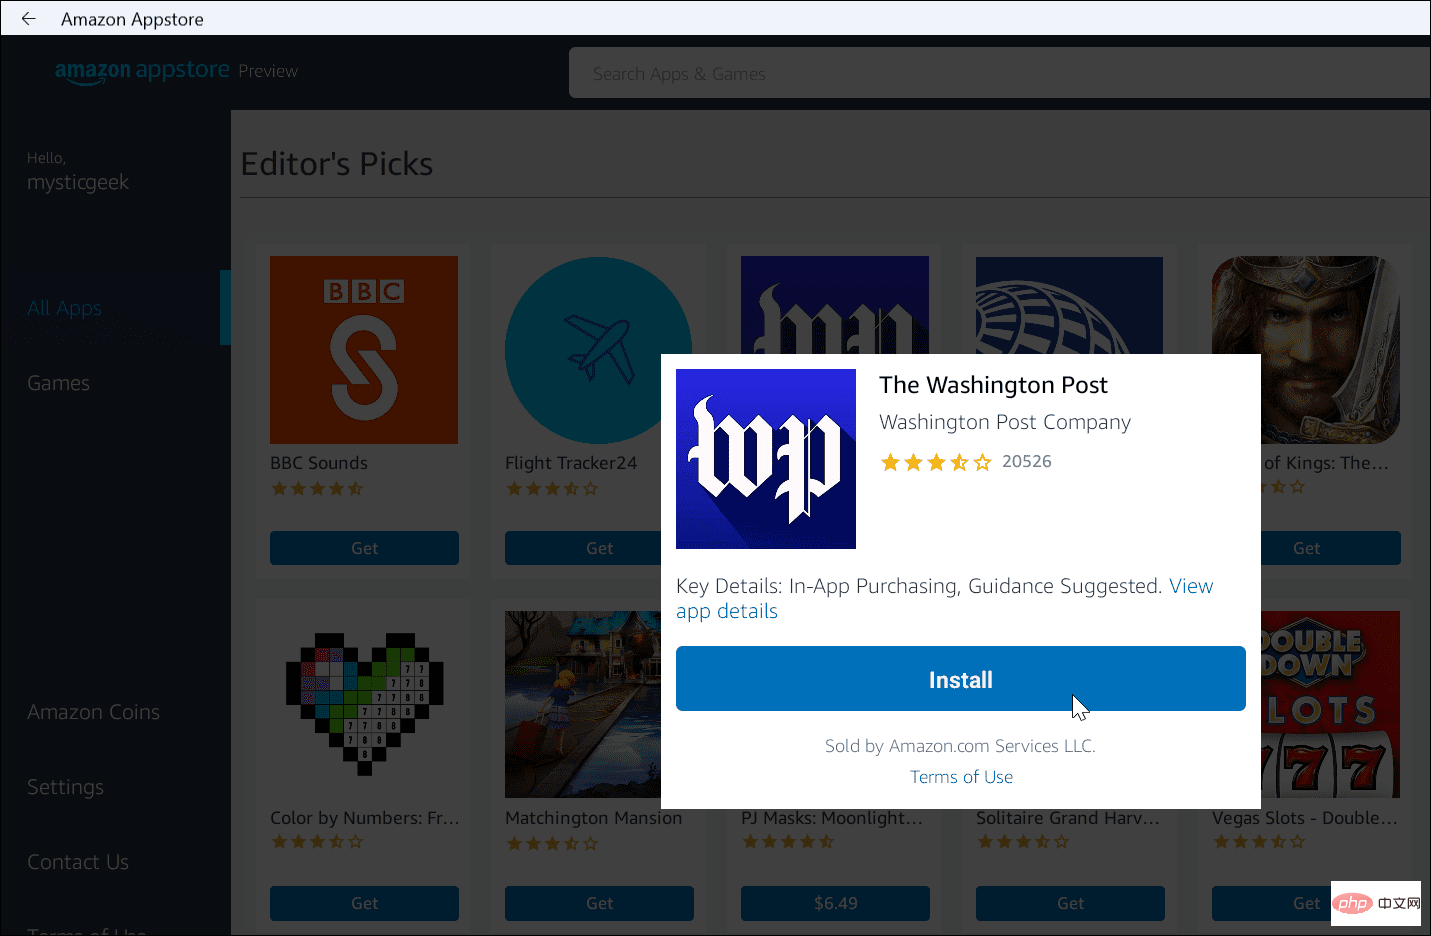
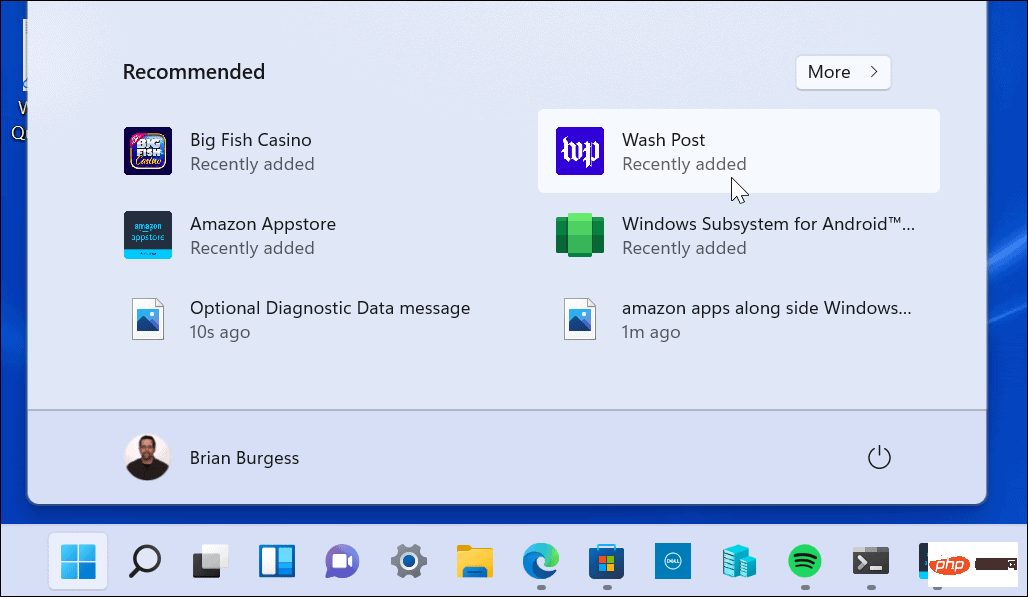
Keep in mind that the Amazon Appstore (and Insider builds of Windows 11) are still in beta stage. So everything may not work as expected. Even if you meet the prerequisites and your hardware meets the system requirements. For example, you might encounter an error when installing the Amazon Appstore.
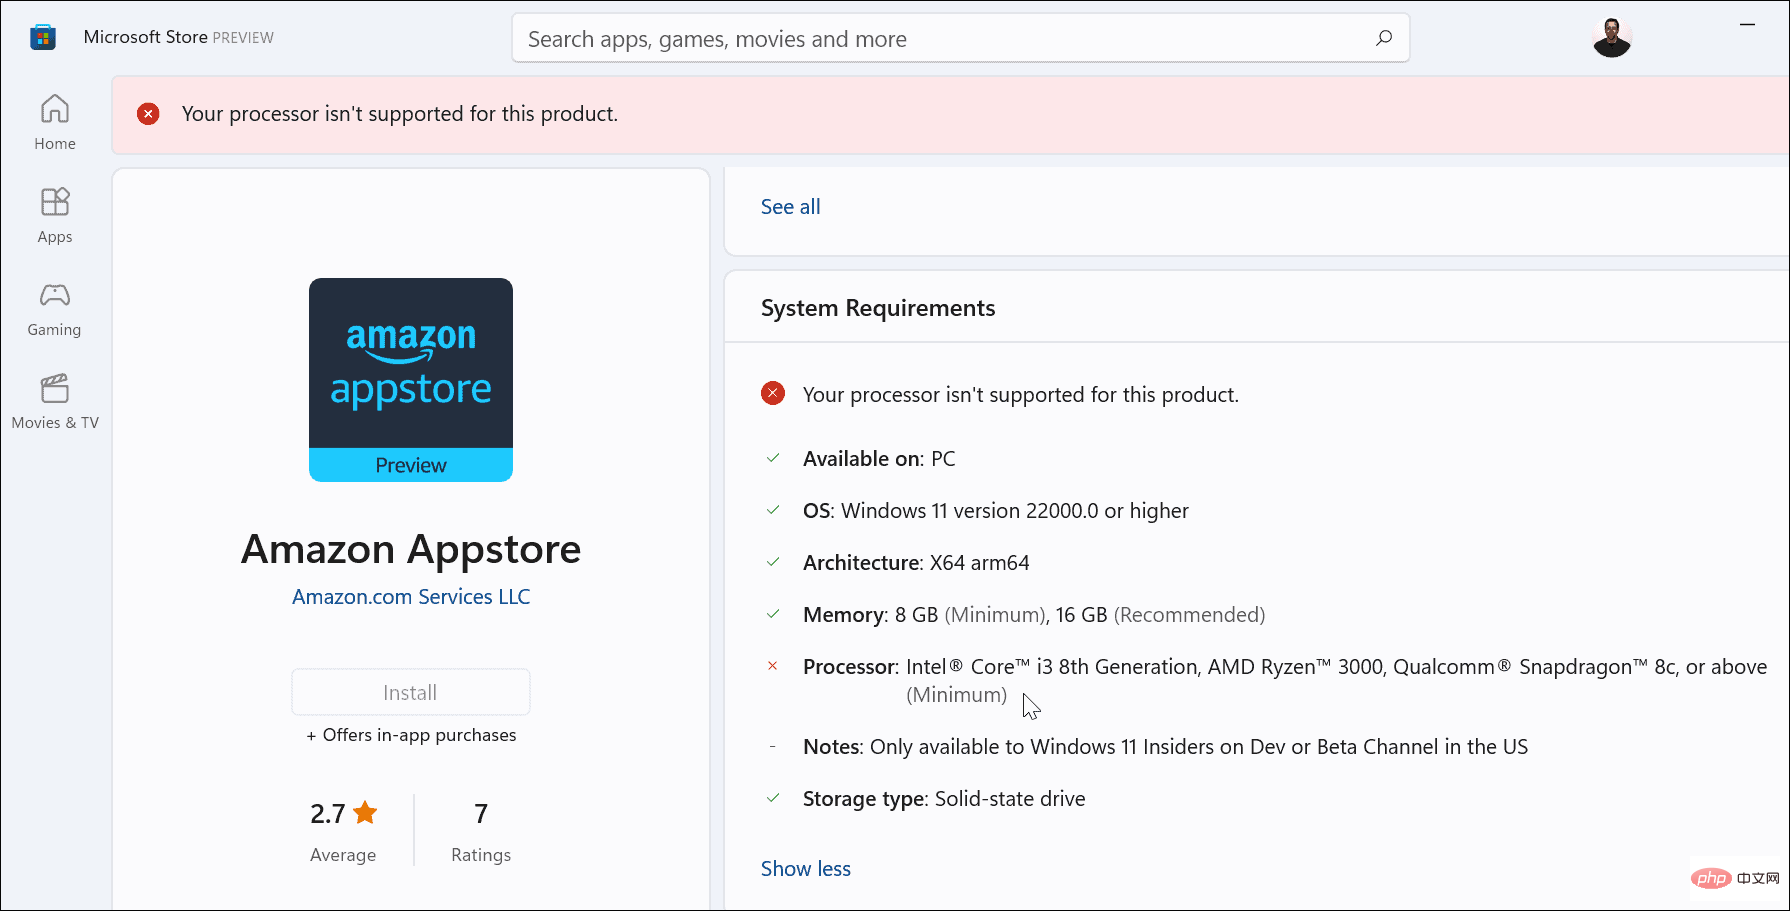
#If the above steps don't work, you can manually install Windows Subsystem for Android (WSA).
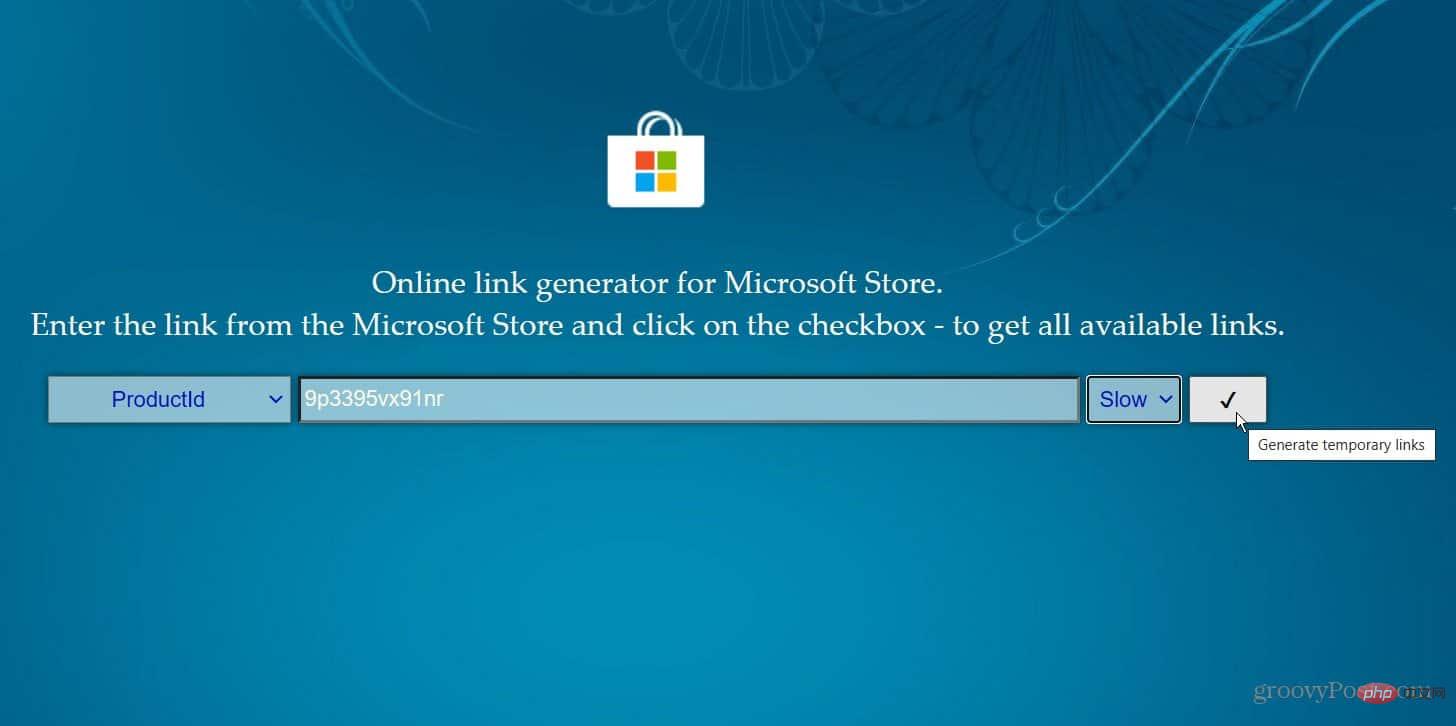
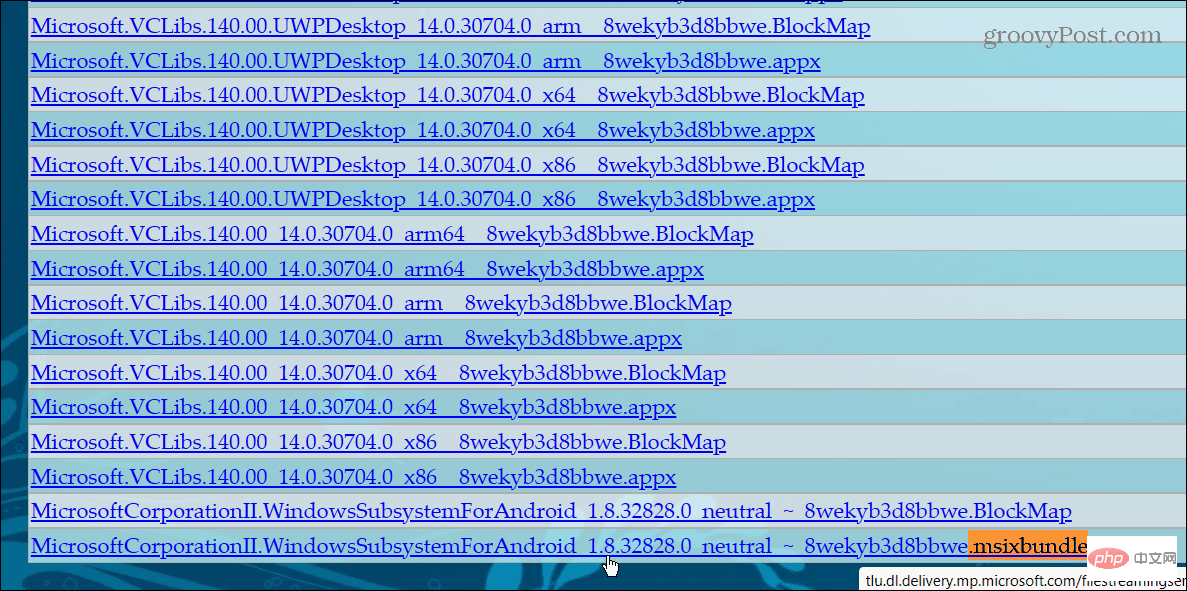
A list of files will be generated and you want to find the .msixbundle file - it should be the last one in the list. If you need an easy way to view it, press Ctrl F and search for it on the page. Click the link to download the file. It's just over 2 GB, so allow time to download.
After the file is downloaded, continue with the following steps:
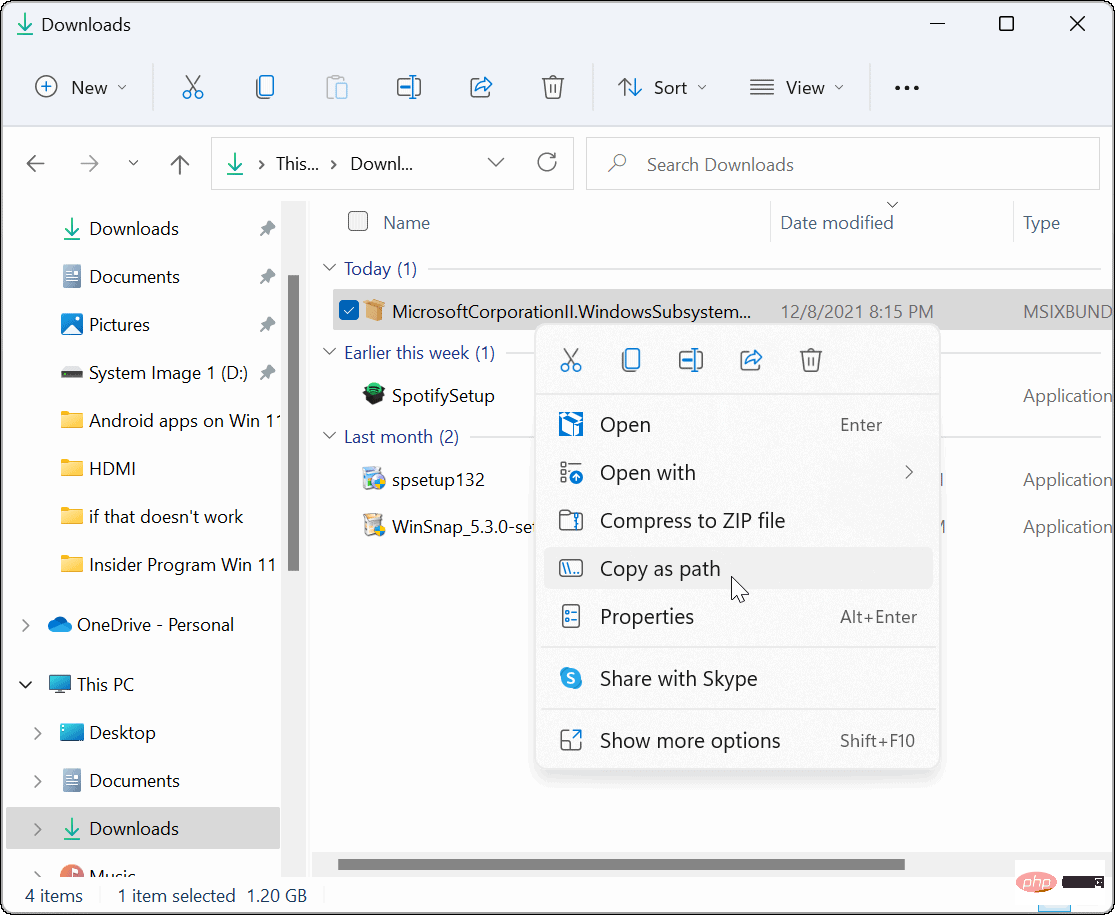
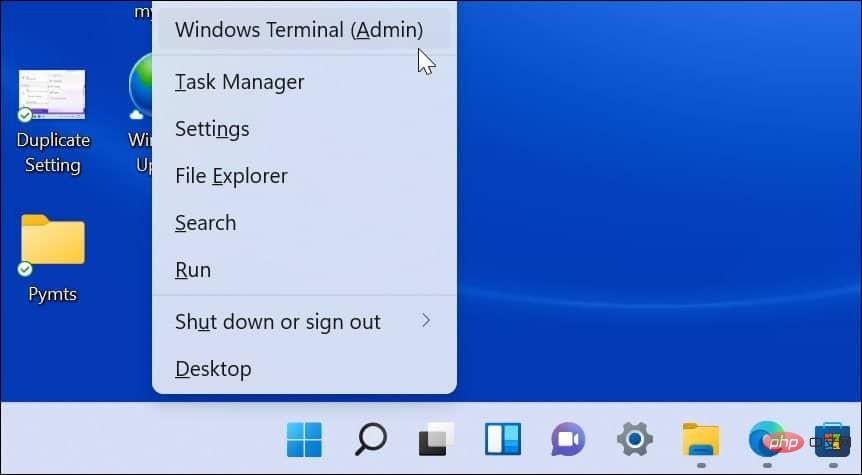 In Terminal, type
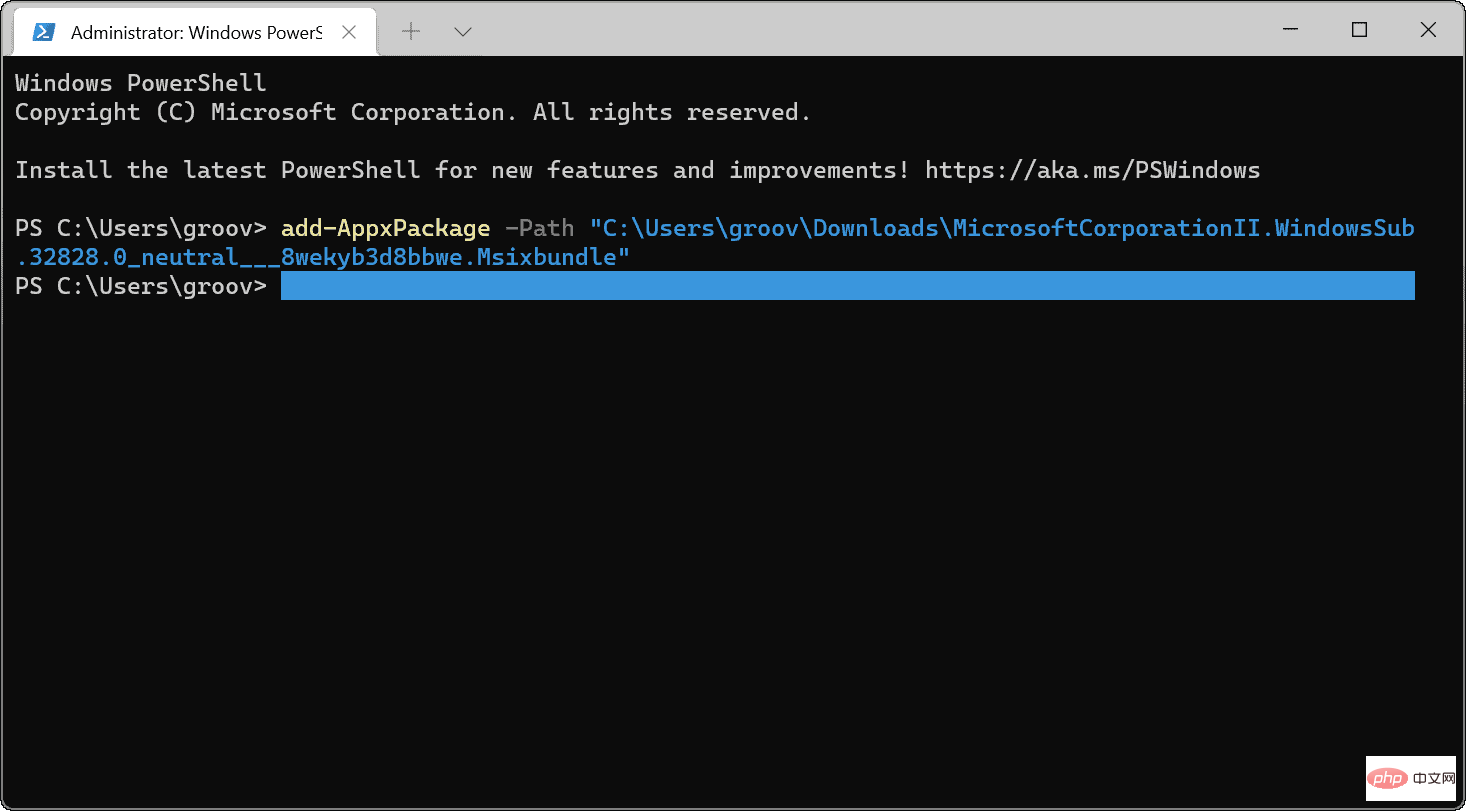 After installation is complete, you can find WSA on the Start menu.
#Now that you have WSA installed, open Microsoft’s Amazon Appstore direct link. You should see the Appstore is ready - click the "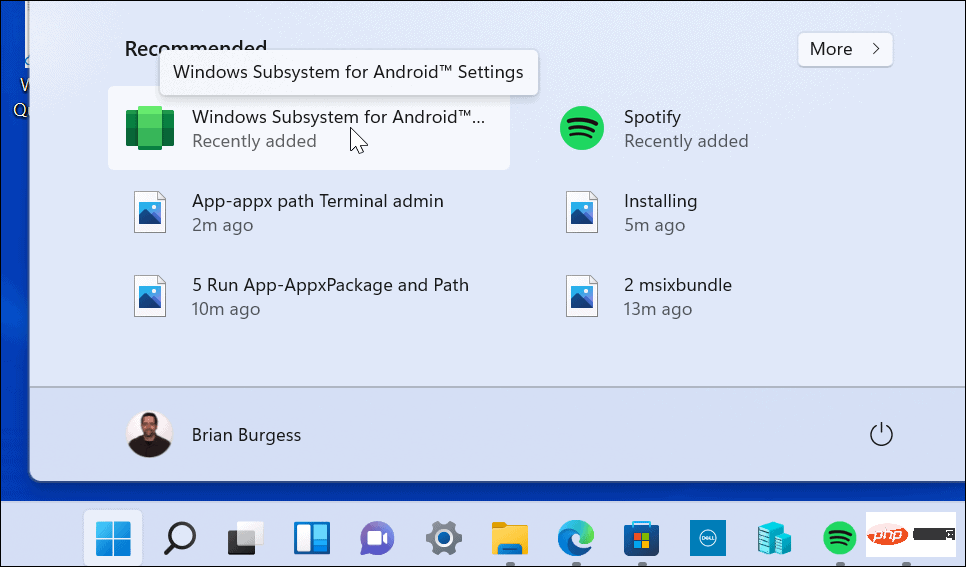 Open"
Open"
#Log in to your Amazon account or create one if desired. The Amazon Appstore should now launch successfully. 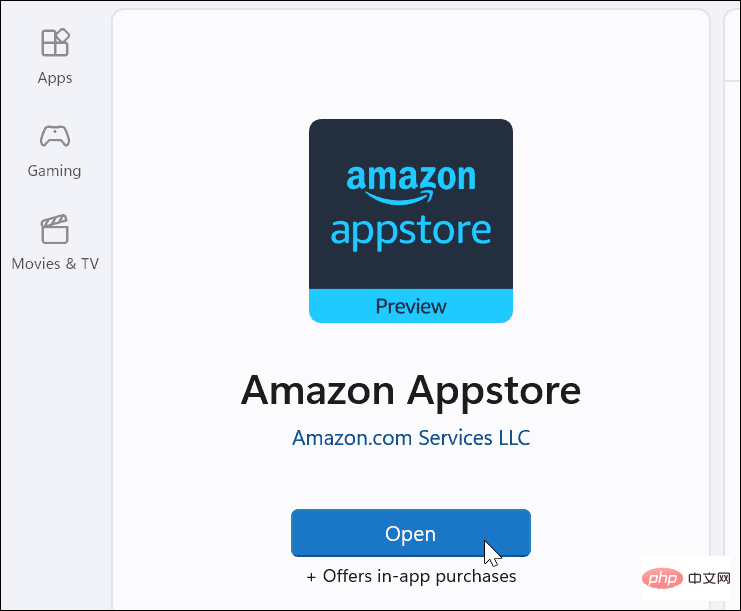
#Windows 11 will be even more useful with Android app support. Although at the time of writing, there are only a handful of apps in the store. This will change over time as the Amazon Appstore and Windows 11 gain widespread adoption. 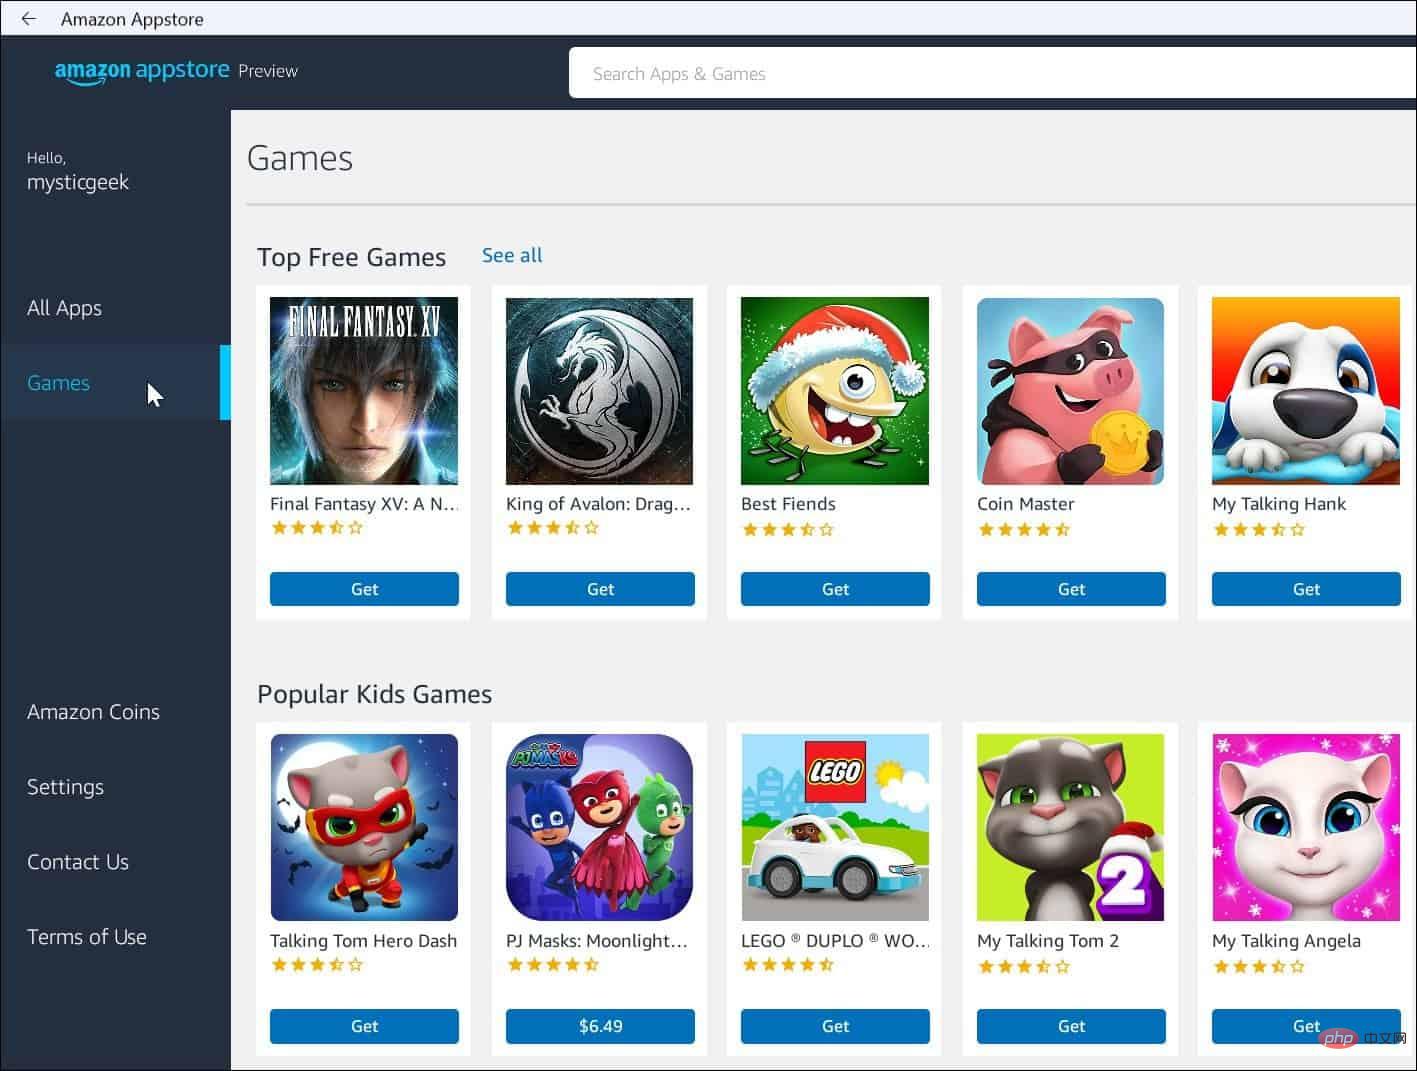
The above is the detailed content of How to install Android apps on Windows 11. For more information, please follow other related articles on the PHP Chinese website!


