


This article brings you relevant knowledge aboutlaravel, which mainly introduces some basic knowledge, including how to install Laravel, routing, validators, views, etc., the following is Let's take a look, hope it helps everyone.

[Related recommendations:laravel video tutorial]
##composer create-project laravel/laravel project folder name-- prefer-dist
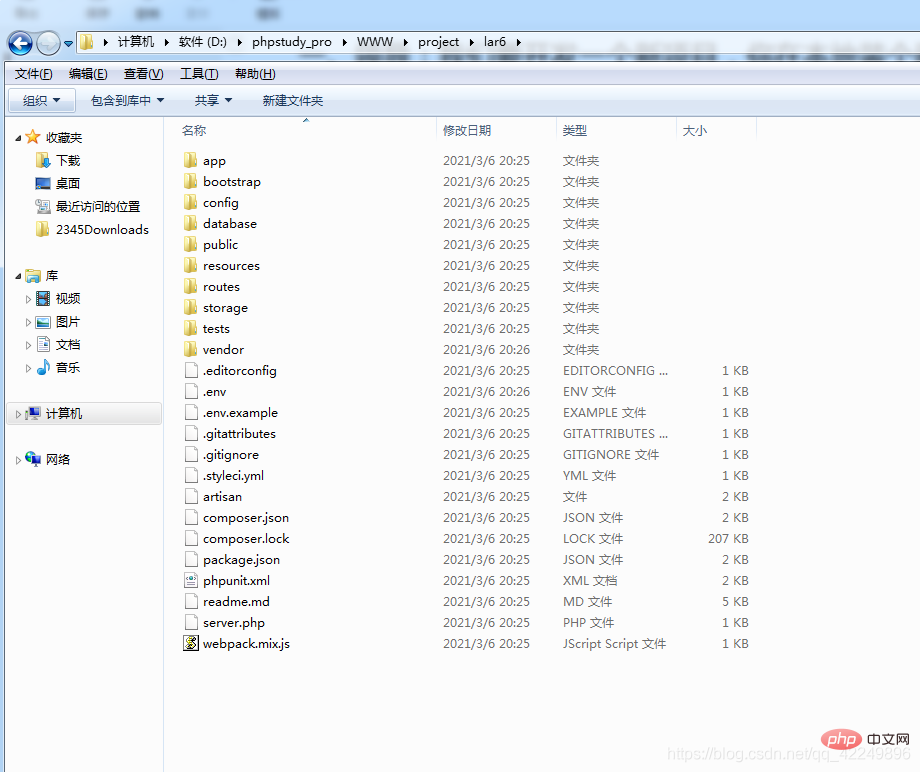
app: The core code of the application
bootstrap: An app.php file that guides the framework, a cache directory (including routing and cache files), and the framework startup file. Generally, it does not move.
config: All configuration files
database: The migrations directory can generate data tables .
public: Entry file storage location, and static resources (similar to tp)
resources:
routes: All route definitions applied
tests: Available for Unit test
vendor: All composer dependency packages
Route::match(['get','post'],'/',function(){});
Route::any('/home', function () { });
Route::get('/home/{id}', function ($id) { echo 'id为:'.$id;});
Route::get('/home/{id?}', function ($id = '') { echo 'id为:'.$id;});
Route::get('/home', function () { echo 'id为:'.$_GET['id'];});
Route::any('/home/index', function () { echo '测试';})->name('hh');
For example, the following route:
If adding them one by one is more troublesome, they have a common difference, they all have the /admin/ prefix, and you can set up a routing group Add the group:
Route::group(['prefix'=>'admin'], function () { Route::get('test1', function () { echo 'test1'; }); Route::get('test2', function () { echo 'test2'; });});
You can now access it through /admin/test1.
The controller can build a front desk and a back desk:
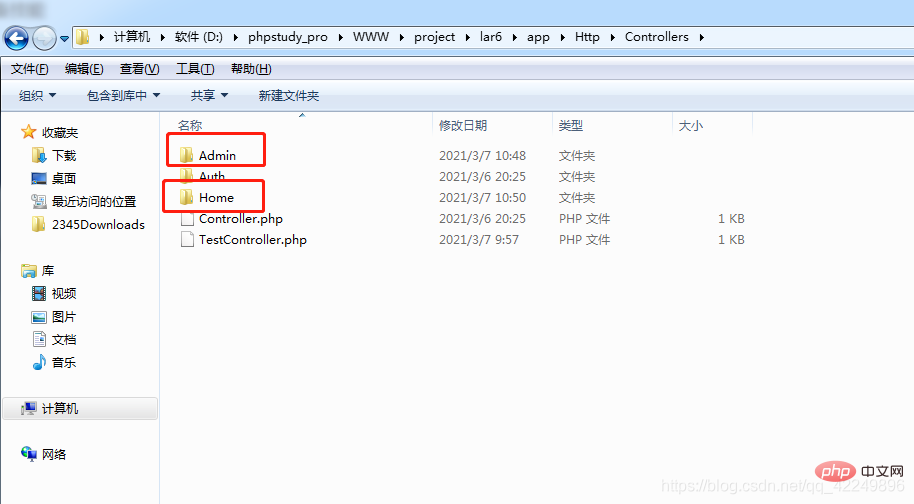
命令行创建路由:
php artisan make:controller Admin/IndexController
基本路由建立:
Route::get('test/index','TestController@index');
分目录路由建立:
Route::get('/admin/index/index','Admin\IndexController@index');
引入:use Illuminate\Support\Facades\Validator
$param = $request->all();$rule = [ 'name'=>'required|max:2',];$message = [ 'required' => ':attribute不能为空', 'max' => ':attribute长度最大为2'];$replace = [ 'name' => '姓名',];$validator = Validator::make($param, $rule, $message,$replace);if ($validator->fails()){ return response()->json(['status'=>0,'msg'=>$validator->errors()->first()]);}
在控制器中如果要使用一个类,例如use Illuminate\Http\Request,就可以简写为use Request。
但是需要在config目录下的app.php配置文件中加入:
'aliases' => [ 'App' => Illuminate\Support\Facades\App::class, 'Arr' => Illuminate\Support\Arr::class, 'Artisan' => Illuminate\Support\Facades\Artisan::class, 'Auth' => Illuminate\Support\Facades\Auth::class, 'Blade' => Illuminate\Support\Facades\Blade::class, 'Request' => Illuminate\Support\Facades\Request::class, ],
Input::get('id')
Input::all()
打印出来的是数组
关于dd(dump+die)
Input::only(['id','name'] //只接收id,其余不接受
Input::except(['name'] //不接收name,其余都接收
Input::has('name') //存在返回true 不存在返回false 其中0返回true
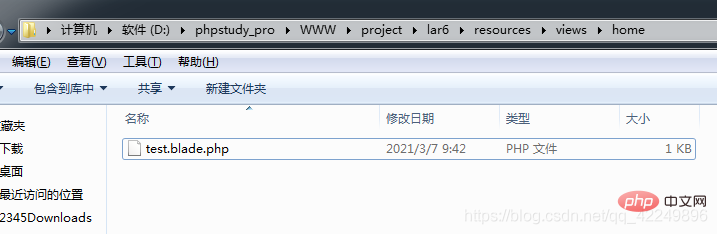
视图也可分目录管理:
控制器语法:
return view('home/test');
也可写为:
return view('home.test');
控制器中:
return view('home/test',['day'=>time()]);
视图中:
{{$day}}
其中控制器中变量映射有三种:
了解一下compact数组。
控制器中:
public function index(){ $arr = [ 0 => [ 'name' => 'tom', 'age' => '12', ], 1 => [ 'name' => 'bby', 'age' => '13', ] ]; return view('home/test',['data'=>$arr]); }
视图中:
@foreach($data as $k=>$v) 键:{{$k}} 值:{{$v['name']}}
@endforeach
@if(1==2) 是的 @else 不是的 @endif
@include('welcome')
php artisan make:model Model/Admin/Member
此时,就会在app目录内创建: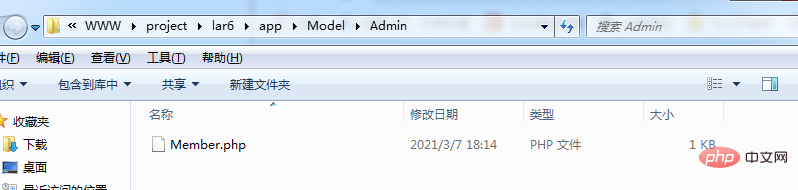
Copy after login
方式一:
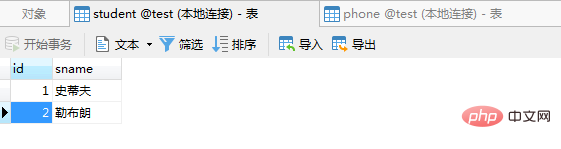
$model = new Member(); $model->sname = '勒布朗'; $res = $model->save(); dd($res);
方式二:
$model = new Member(); $res = $model->create($request->all()); dd($res);
//查询客户与销售顾问的客资列表$data = Custinfo::select(['custinfo.*', 'customers.name']) ->join('customers', 'customers.id', '=', 'custinfo.cust_id') ->where($where) ->get() ->toArray();
Copy after login
hasOne('App\Model\Admin\Phone', 'uid', 'id'); }}
//对象转数组 public function Arr($obj) { return json_decode(json_encode($obj), true); } public function index(){ $infoObj = Member::with('getPhone')->get(); $infoArr = $this->Arr($infoObj); print_r($infoArr); }

在config目录下的logging.php中的channels配置:
'custom' => [ 'driver' => 'single', 'path' => storage_path('logs/1laravel.log'), 'level' => 'debug', ]
控制器中:
$message = ['joytom','rocker'];Log::channel('custom')->info($message);
建立一个迁移文件:php artisan make:migration create_shcool_table
会在database\migrations下创建一个文件: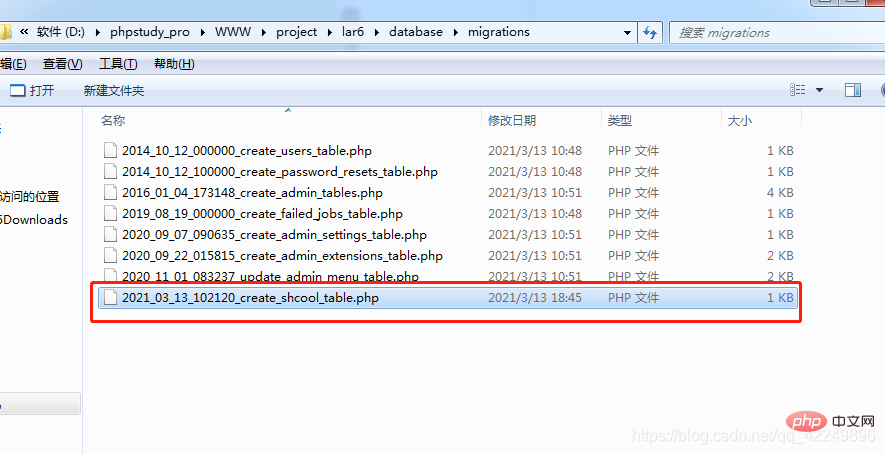
在up方法中增加如下代码:
bigIncrements('id'); $table->string('school_name','20')->notNull()->unique(); $table->tinyInteger('status')->default(1); $table->timestamps(); }); } /** * Reverse the migrations. * * @return void */ public function down() { Schema::dropIfExists('shcool'); }}
更详细的生成SQL方法请参考:数据迁移文件常用方法速查表
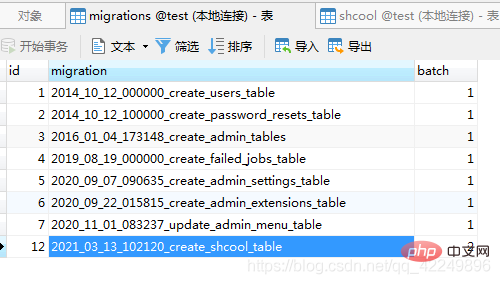
写好SQL文件以后,执行:php artisan migrate
将会生成数据表,其中操作日志将记录在这个表中:
php artisan migrate:rollback:回滚最后一次的迁移操作, 删除(回滚)之后会删除迁移记录,并且数据表也会删除,但是迁移文件依旧存在,方便后期继续迁移(创建数据表)。
【相关推荐:laravel视频教程】
The above is the detailed content of Summarize and organize the basic knowledge of Laravel. For more information, please follow other related articles on the PHP Chinese website!


![[Web front-end] Node.js quick start](https://img.php.cn/upload/course/000/000/067/662b5d34ba7c0227.png)


