
This article will take you through the warehouse configuration in vscode, I hope it will be helpful to you!

Welcome to the world of vscode. There are many development tools. Only by identifying your own needs can you find the right tool, instead of "having a hammer in your hand and looking at everything." Like a nail"; for VSCode, its positioning lies in the editor rather than the IDE. The IDE focuses on out-of-the-box use, so it is huge, such as Eclipse.
The editor focuses on rich support and freedom for languages and workflows, and is therefore more lightweight. This means that it does not do too much for users in a certain language or aspect, but it also This means that TA has a high degree of freedom, such as plug-in mechanism, warehouse configuration mechanism, etc. This article focuses on sharing warehouse configuration, and the plug-in mechanism is a separate article.
Then let’s start, rush, rush!
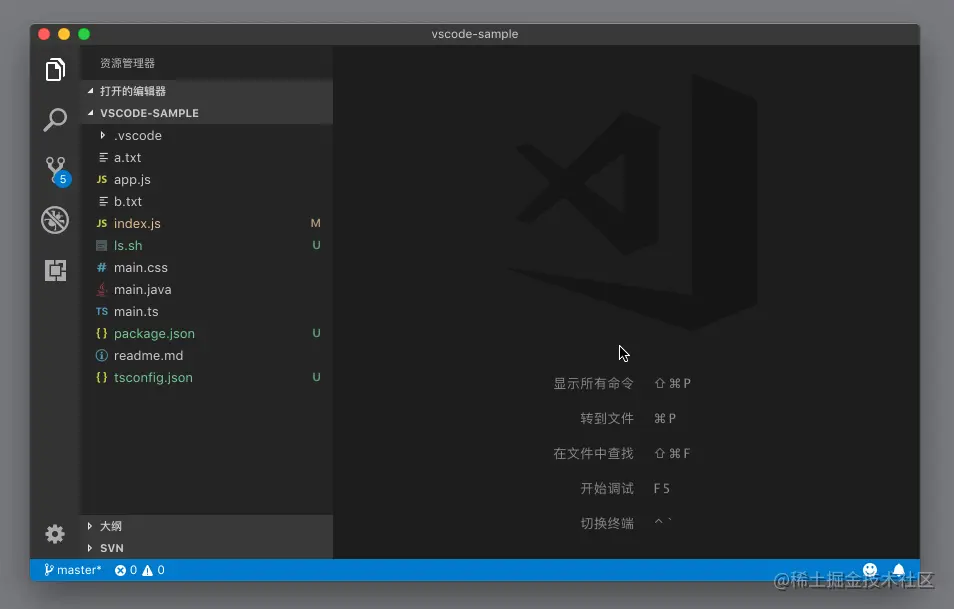
VS Code is managed based on folders, but VS Code allows you to create several Folders or project-related configurations are saved in this folder for easy sharing within the team. This folder is .vscode.
This folder can contain the following files.
It will only take effect when the current folder is opened in VS Code. It is the same as what we said about modifying user settings.
About the configuration file of the VS Code task system
Used to explain how to debug the code in the current folder
As an editor, you naturally need to consider personal preferences When developing with multiple people, the project style is unified, such as font size, line breaks, automatic formatting plug-in configuration, etc. The corresponding function in VSCode is setting.jsonConfiguration
**User Settings **: User settings, which are the default configuration, will be associated with all projects, and have lower weight than workspace settings
Workspace Settings: Workspace settings, configured for the project, none by default, you can create it yourself under the project root path, project path /.vscode/settings.json
Use Ctrl, (mac is cmd,) or click the gear icon in the lower left corner and select Settings . Then find settings.json
Use Ctrl Shift P (cmd shift P for mac) or click the gear icon in the lower left corner to select the command panel. Then enter settings
Open User Settings will open the UI settings interface; Open Settings (JSON) The user settings settings.json file will be opened; Open the folder or workspace in When ##, manually create the .vscode folder and create the settings.json file in it.
Ctrl Shift P (mac is cmd shift P) Or click the gear icon in the lower left corner and select the command panel. Then enter settings
will also open the UI settings interface;
The workspace settings settings.json file will open
Corresponding documents, here are common settings sharing and search related configuration ideas.
editor.lineNumbers: Whether to display line numbers on the left side of the editor, the default display setting is sufficienteditor.renderWhitespace: all: Render all whitespace characters (spaces, tabs, etc.) in dot form editor.renderIndentGuides: Indent reference Line, the default setting is to connect the code block editor.rulers: [120]: Vertical ruler, a vertical line will be drawn at the specified column numbereditor.minimap.enabled: false: Whether to display the minimap on the right, I personally like to turn it offeditor.cursorBlinking/cursorStyle/cursorWidth: Cursor styleeditor.renderLineHighlight: 'all': Set the current line highlight background, and the line number will also be highlightedCustomize whitespace and tab characters
{
	editor.detectIndentation: false, // 关闭 VS Code 的自动检测来控制制表符或者空格键的使用
	editor.tabSize: 1, // 制表符对应的空格符长度
	editor.insertSpaces: 1 // 空格符对应空白长度
}Auto save
{
	editor.formatOnSave: true
}Default type of new files
{
  files.defaultLanguage: 'markdown'
}Nothing, remember the keywords, the editor is as follows; for others, emmm, see the corresponding document
Then search in the setting UI panel
The purpose of the task system is to unify various task scripts as much as possible, and then provide a simple but highly customized way to operate them
There are two sources of tasks: automatic detection of projects and custom tasks
VSCode will automatically read the project The configuration file is generated by the configuration file type task;
Assume that there is package.json under the project, and the content is
{
 "name": "sample",
 "scripts": {
  "test": ""
 }
}When it is run, it will It was found that there are two tasks related to npm by default:
First we search for "Configure Task" in the command panel and execute it.
We can see a drop-down box, which provides a number of different options.
There are two options for customizing tasks here
task.jsonIf we choose the first one, which is npm: install, VS Code will immediately create a tasks.json file in the .vscode folder , its format is JSON, which is very readable and easy to modify.
{
 // See https://go.microsoft.com/fwlink/?LinkId=733558
 // for the documentation about the tasks.json format
 "version": "2.0.0",
 "tasks": [
  {
   "type": "npm",
   "script": "install",
   "problemMatcher": []
  }
 ]
}The value of the tasks attribute is an array, which is all the tasks we can use in the current folder. Next, we will explain the information of the task object in detail.
| Attribute | Meaning | |
|---|---|---|
| represents Which script tool do you want to use | ||
| Which script command does the script tool execute | ||
| Set rules to automatically analyze task running results, as explained below |
| 属性 | 含义 | 是否必填 | 默认值 |
|---|---|---|
| label | 任务的名字,执行任务时选择的 key | true |
| type | 这个类型可以有两种选择,一种是这个任务被当作进程来运行,另一种则是在 shell 中作为命令行来运行。 | |
| command | 代表着我们希望在 shell 中运行哪一个命令,可以联合 args 属性使用 | true |
| args | 数组,在运行指定 command 的时候,args 里的每个值都会被当作其参数传入,注意事项很多,见下文 | [] |
| group | 分组,我们可以通过这个属性指定这个任务被包含在哪一种分组当中。这涉及到运行时的类别:运行测试任务” (Run Test Task) 、“运行生成任务” (Run Build Task) | |
| presentation | 用于控制任务运行的时候,是否要自动调出运行的界面 | |
| options | 用于控制任务执行时候的几个配置,比如控制任务脚本运行的文件夹地址 “cwd”,控制环境变量 “env”,或者控制任务脚本运行的时候使用哪个 shell 环境。 | |
| dependsOn | 实现多任务执行 | |
| path | 相对项目根路径的相对路径,运行脚本时会先切换到这下面 |
在task属性中,还存在分组属性group,这就需要先了解Run task了,我们在命令面板中输入Run Task,会出现如下内容
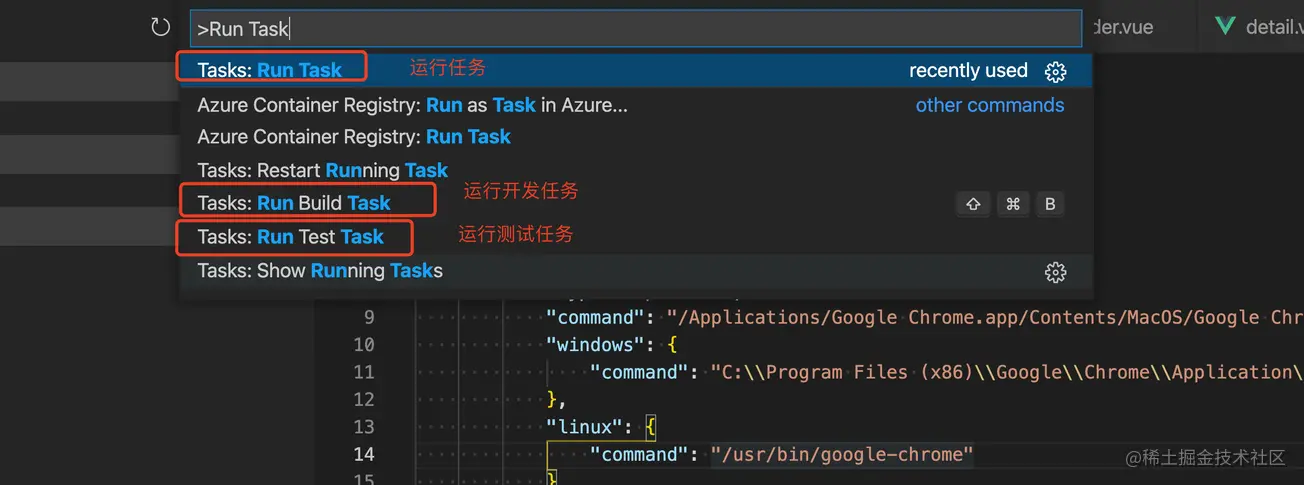
运行任务在上文已经讲解过了;关键是【运行开发任务】和【运行测试任务】;功能都是一样的,提供任务列表,供用户选择执行,唯一不同就是vscode加了一个分类,这样便于用户定义任务时进行区分,而这个分类就是通过group属性定义的;
| group 属性值 | 含义 | 对应执行命令 |
|---|---|---|
| build | 将这个任务划分在打包任务列表中 | Run Build Task |
| test | 将这个任务划分在测试任务列表中 | Run Test Task |
| none | 将这个任务划分在默认任务列表中 | Run Task |
而一般我们的打包或者测试任务都是固定且唯一的,这就意味着我们可以省略掉【选择命令】这一步,一键运行。如何设置呢?
"group": {
    "isDefault": true,
    "kind": "test" // 这是 Run Test Task 的一键执行命令;如果设定 Run Build Task 则 kind 的值为 build
}task 对象定义中有一个属性args,是一个数组,在运行指定 command 的时候,args 里的每个值都会被当作其参数传入,如
{
  "label": "echo",
  "type": "shell",
  "command": "echo 'Hello World'"
}我们可以改写为
{
 "label": "echo",
 "type": "shell",
 "command": "echo",
 "args": [
  "hello world"
 ]
}但对于命令而言,不同的执行 shell 对空白符、$、引号等等都可能有不同的理解,这就意味着需要对参数进行转义规则的设定,所以 args 数组也可以存储对象
"args": [
        {
            "value": "Hello World",
            "quoting": "escape"
        }
]| key | value |
|---|---|
| value | 参数内容 |
| quoting | 决定了该如何处理这段字符串 |
For quoting, there are three values
| Value | Meaning |
|---|---|
| escape | Default value, the task system will escape this string according to the requirements of the shell we use |
| strong | In bash, we will use single quotes to wrap this string |
| weak | In bash we will Use double quotes to wrap this string |
escape 下执行的脚本实际上是
echo Hello\ World
strong 下执行的脚本实际上是
echo 'Hello World'
weak 下执行的脚本实际上是
echo "Hello World"
上面我们是以 bash 作为 shell 进行分析的,那对于 cmd、powershell 等等呢?可以搜索 “quoting mechanism” 来查找,也可以查阅VS Code 关于 Task 参数转义部分的文档。
实现同时运行多个任务,其实挺简单的,就是配置dependsOn属性,是个数组,存储着所有要执行的任务的label;
举例,我希望执行runOrderFirst时,帮我同时启动微应用基座项目和其内部的 order 项目;
那我们可以配置如下 tasks.json,其中包含【启动基座】、【启动 order】的 task
{
            "label": "runMapp",
            "type": "npm",
            "script": "start:dev"
        },
        {
            "type": "npm",
            "script": "serve",
            "path": "apps/order/",
            "problemMatcher": [],
            "label": "runOrder",
            "detail": "启动 order"
},然后我们新增一个 task,用于聚合这两个,tasks.json内容变为如下
{
    // See https://go.microsoft.com/fwlink/?LinkId=733558
    // for the documentation about the tasks.json format
    "version": "2.0.0",
    "tasks": [
        {
            "label": "runMapp",
            "type": "npm",
            "script": "start:dev"
        },
        {
            "type": "npm",
            "script": "serve",
            "path": "apps/order/",
            "problemMatcher": [],
            "label": "runOrder",
            "detail": "启动 order"
        },
        {
            "label": "runOrderFirst",
            "dependsOn": [
             "runMapp",
             "runOrder"
            ]
        }
    ]
}运行这个 task 即可,效果如下
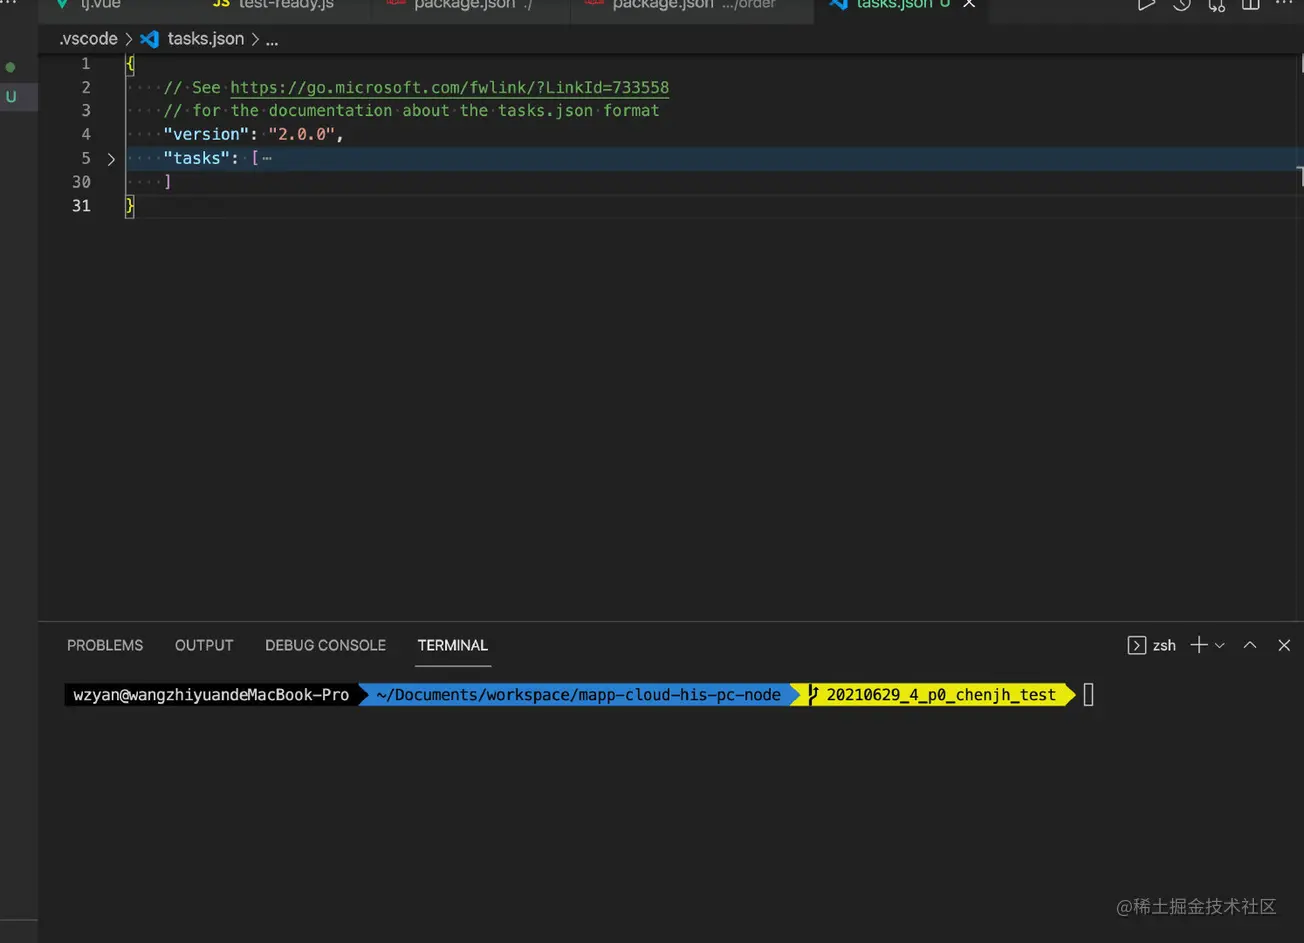
这种启动项目的命令很常用,每次还得选下命令挺麻烦,我们可以利用分组的功能,将之设置为测试任务并默认,这样Run Test Task就可以直接执行了
 {
            "label": "runOrderFirst",
            "dependsOn": [
             "runMapp",
             "runOrder"
            ],
            "group": {
                "kind": "test",
                "isDefault": true
               }
}效果如下
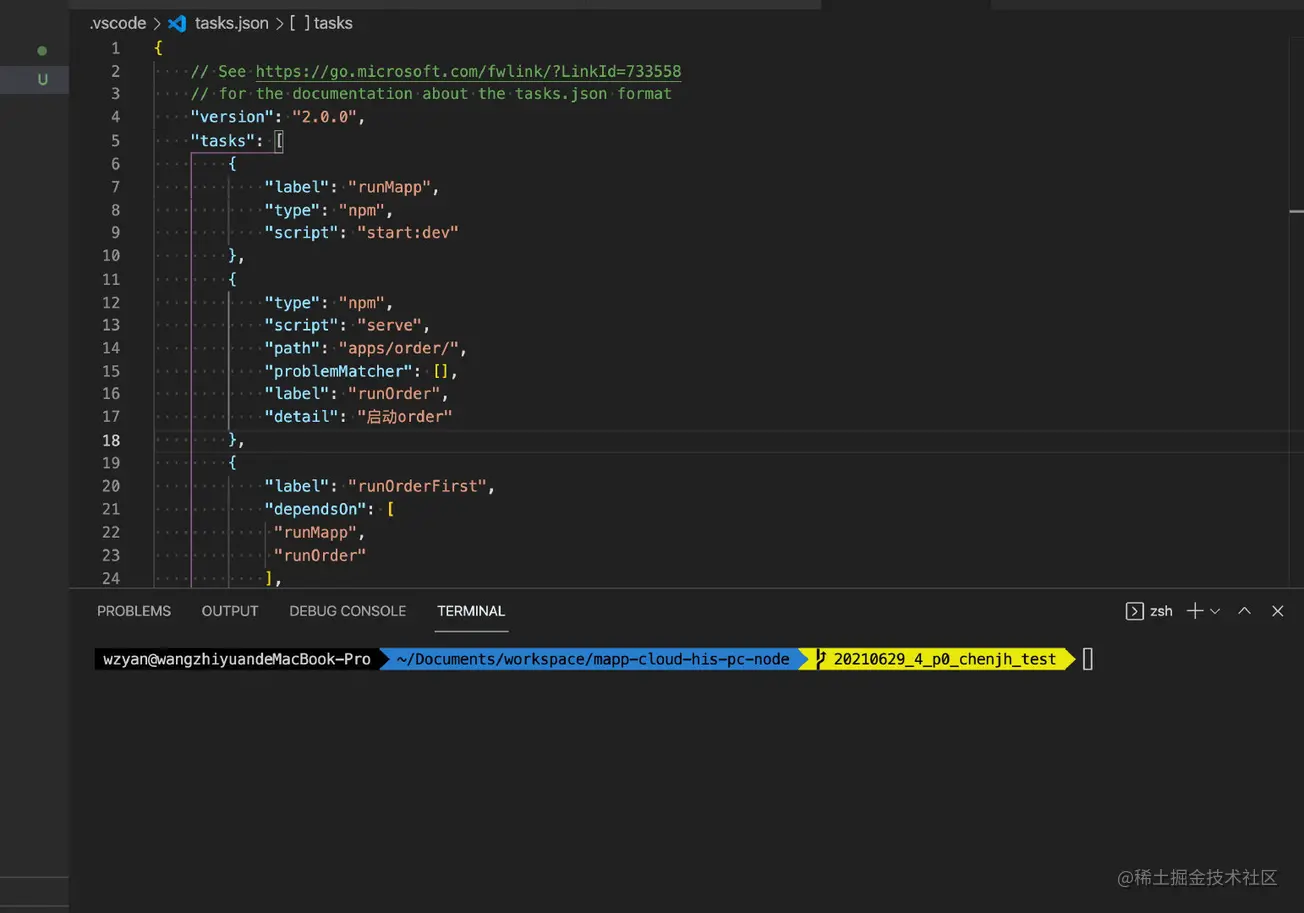
在控制面板中使用命令Run Task;然后选择对应的命令即可;
比如选择“echo”这个任务(这个就是我们在 label 里写的名字),按下回车后,VS Code 会问我们 “选择根据何种错误和警告扫描任务输出”,现在就选择第一个选项 “继续而不扫描任务输出” 好了。
唤起 Chrome 浏览器,我们先实现在 mac 中唤起,再考虑通用。
{
 "version": "2.0.0",
 "tasks": [
  {
   "label": "chrome",
   "type": "process",
   "command": "/Applications/Google Chrome.app/Contents/MacOS/Google Chrome"
  }
 ]
}我们运行看看它的效果,在控制面板中使用命令Run Task,然后选择chrome;
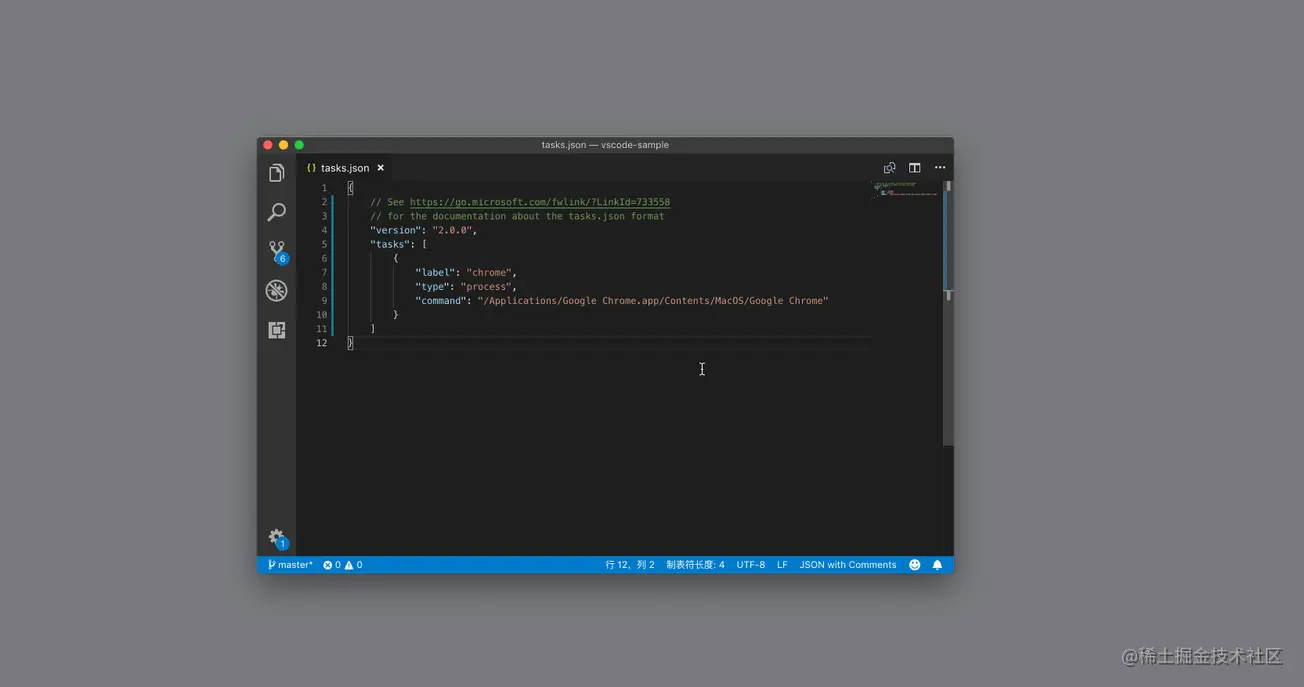
如果使用的系统是 Windows 或者 Linux,那么这个任务就没法使用了,因为 Chrome 的地址完全对不上号。
所以我们可以修改task.json,为系统定制命令。
{
 "version": "2.0.0",
 "tasks": [
  {
   "label": "chrome",
   "type": "process",
   "command": "/Applications/Google Chrome.app/Contents/MacOS/Google Chrome",
   "windows": {
    "command": "C:\\Program Files (x86)\\Google\\Chrome\\Application\\chrome.exe"
      },
   "linux": {
          "command": "/usr/bin/google-chrome"
      }
  }
 ]
}调试,是最必不可缺的一环功能,对于大多数的 IDE 而言,因为使用对象确定而使用极其方便,比如 IDEA 之于 JAVA,甚至谷歌浏览器之于前端;而对于 vscode 这种区别于 IDE 的编辑器而言,这需要考虑更大的灵活性,这就需要配置文件实现了。
考虑新手友好,vscode 会存在默认设置,即开箱即用的调试功能;以nodejs为例,分两步:设置断点,调试。
有两个方案,可以在文件中输入关键词【debugger】;也可以在文件的左侧可以点上红点,效果一致;
可以点击左侧的 debugger 按钮【一只甲壳虫图标】,也可以使用快捷键【cmd + shift + D】。然后选择要调试的程序类型,这时默认会对当前打开文件进行调试处理。
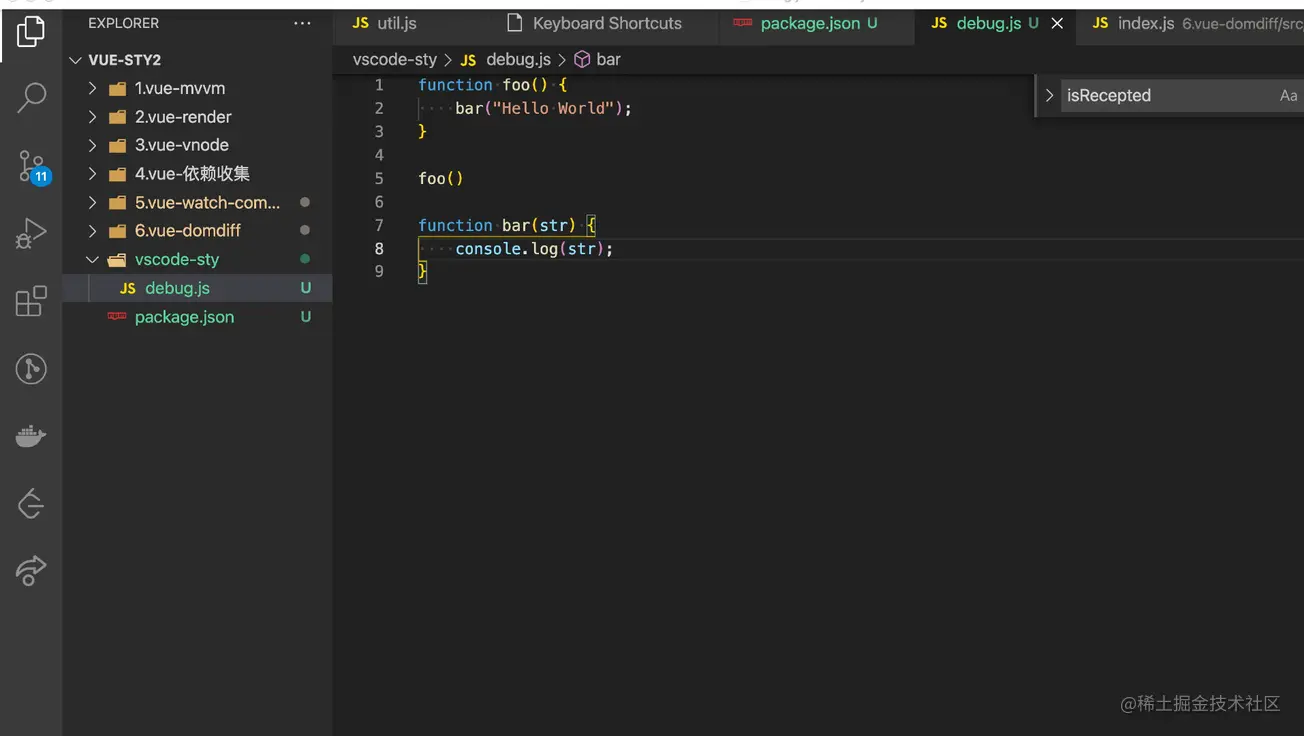
那如果需求不止单文件,而是对一个项目进行调试呢?或者对项目内的指定文件,这就需要launch.json文件了,同任务功能,这个文件也是在.vscode下。
点击左侧的 debugger 按钮【一只甲壳虫图标】,或者使用快捷键【cmd + shift + D】唤起 debugger 面板后,存在创建入口点击,然后选中类型即会自动创建。
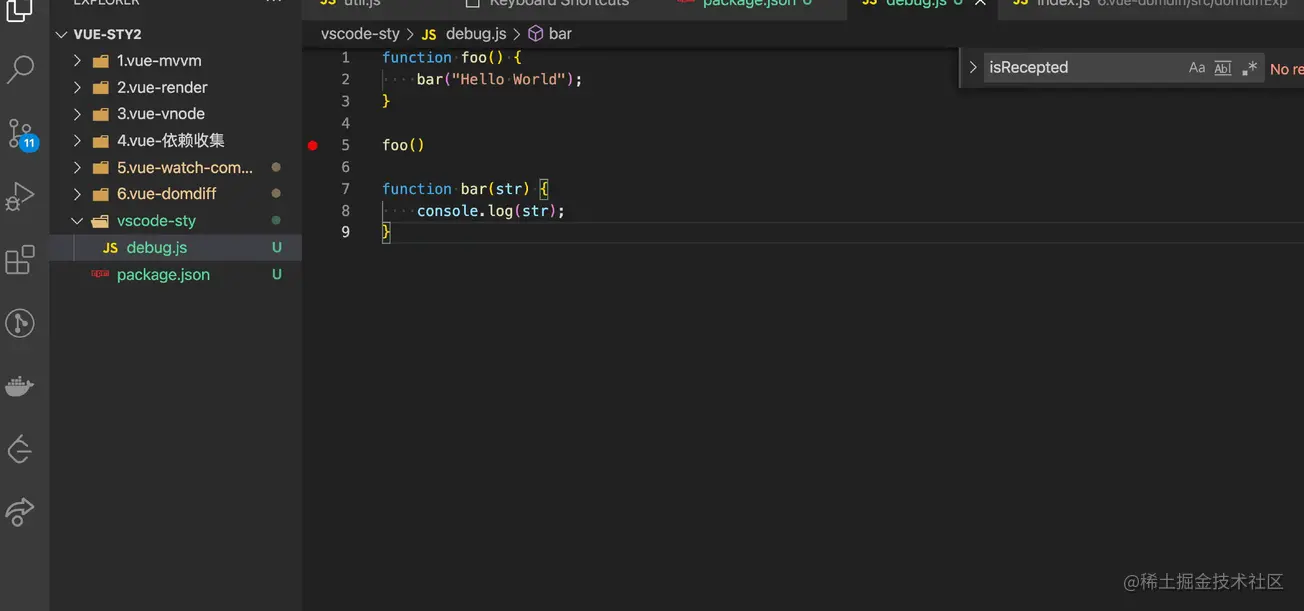
{
 // 使用 IntelliSense 了解相关属性。
 // 悬停以查看现有属性的描述。
 // 欲了解更多信息,请访问: https://go.microsoft.com/fwlink/?linkid=830387
 "version": "0.2.0",
 "configurations": [
  {
   "type": "node",
   "request": "launch",
   "name": "启动程序",
   "program": "${file}"
  }
 ]
}| 属性 | 作用 | 备注 |
|---|---|---|
| type | 代表着调试器的类型 | |
| request | 代表着该如何启动调试器 | [ launch | attach] [ 直接启动代码并且调试 | 调试这个已有的代码进程] |
| name | 就是这个配置的名字 | |
| program | 告诉 Node.js 调试器,我们想要调试哪个文件 | 这个值支持预定义参数,如{workspaceFolder} |
对于书写launch.json文件,我们有两个工具可以使用
借助 VS Code 的调试器插件提供的模板
在创建launch.json时,会要求选择类型,从而创建对应的模板
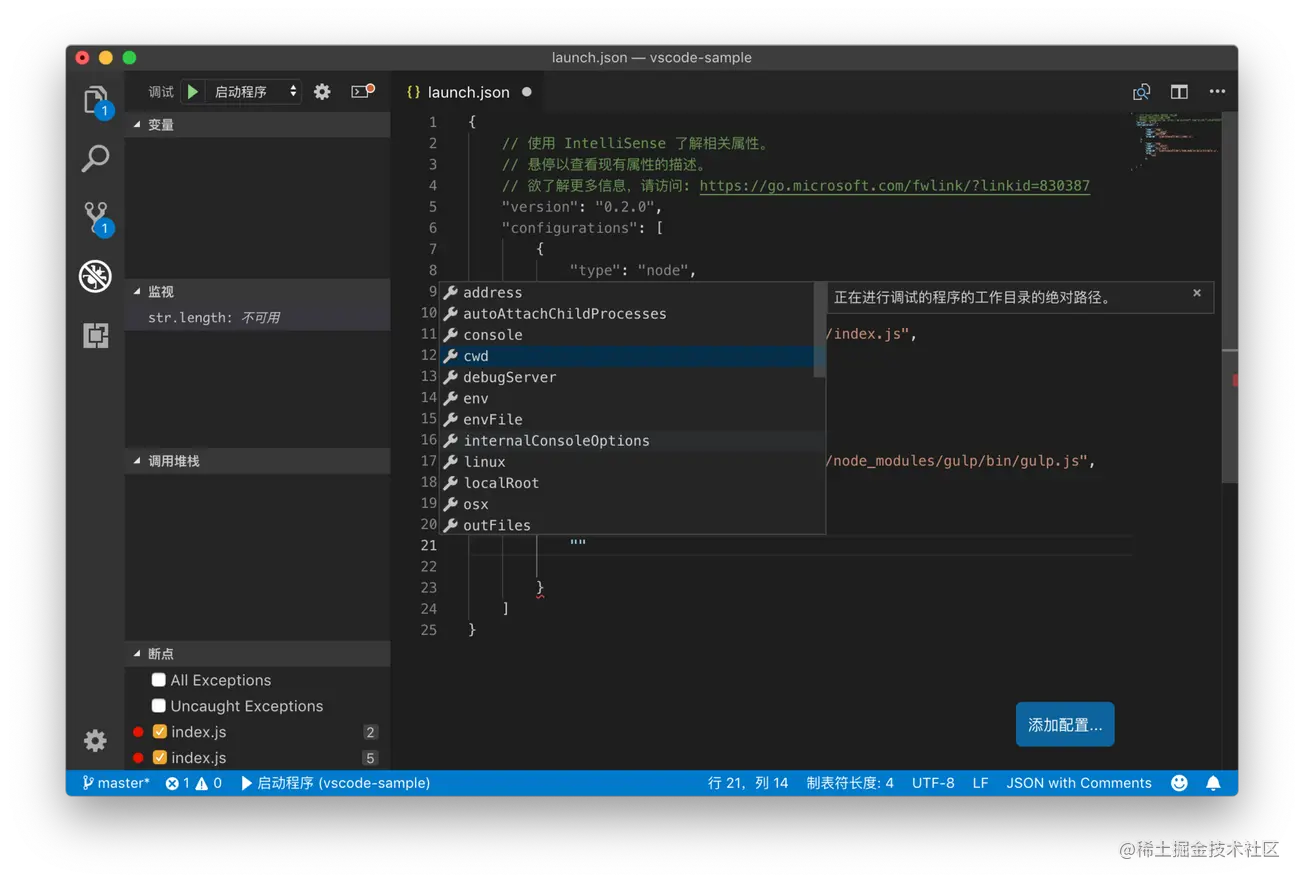
自动补全功能
另一个能够帮助到我们的,就是在书写配置属性的时候使用自动补全功能。当我们在书写新的属性时,按下 Ctrl + Space,就能够唤出建议列表,建议列表里提供了当前调试配置里可以使用的所有属性,然后我们就可以按需选用了
到此,仓库配置相关的分享就结束啦;这节的信息很多,而且因为编辑器的默认设置肯定是符合大部分场景需求的,所以我们大多数人很有可能从未接触过这些概念,但努力就是为了成为更好的自己嘛。
举个场景吧,不白撒鸡血,前些日子开一个项目,希望接入保存自动格式化,也就是接入eslint+prettier,多数人入职时候这些就已经在项目里配置好了,我也一样,所以一开始有点懵,但还是想尝试,最后发现其实就是配置.vscode文件中setting.json文件,有兴趣的同学可以参考文末【关于实现项目代码风格统一的参考贴】,人家写的很好,我就不重写一篇了。
关于实现项目代码风格统一的参考贴
在配置文件里可以使用的预定义参数
Visual Studio Code Variables Reference
https://code.visualstudio.com/docs/editor/variables-reference
学习文档
戳此查看 VS Code 官方博客
https://code.visualstudio.com/blogs
戳此查看 VS Code 更新日志
https://code.visualstudio.com/updates
戳此查看 Erich Gamma 在 Goto Conference 上对 VS Code 的介绍
https://www.youtube.com/watch?v=uLrnQtAq5Ec
更多关于VSCode的相关知识,请访问:vscode教程!!
The above is the detailed content of Take you step by step to understand the warehouse configuration in vscode. For more information, please follow other related articles on the PHP Chinese website!