


win PHP installation extension method: 1. Download the desired extension from the official website; 2. Unzip and put the php_redis.dll inside into the ext directory; 3. Put php_redis.dll into php.ini In the folder specified in , and load the redis module.

The operating environment of this article: Windows 7 system, PHP version 7.1, DELL G3 computer
How to install extensions for win php?
PHP installation extension in windows environment
PHP installation extension
1. PHP extension management
1. What is php extension
php extension is a function that is not supported by the core of php, and then the functions of PHP can be extended through extension. Common extensions such as MySQL, gb2, etc.
2. Check which extensions are installed in php
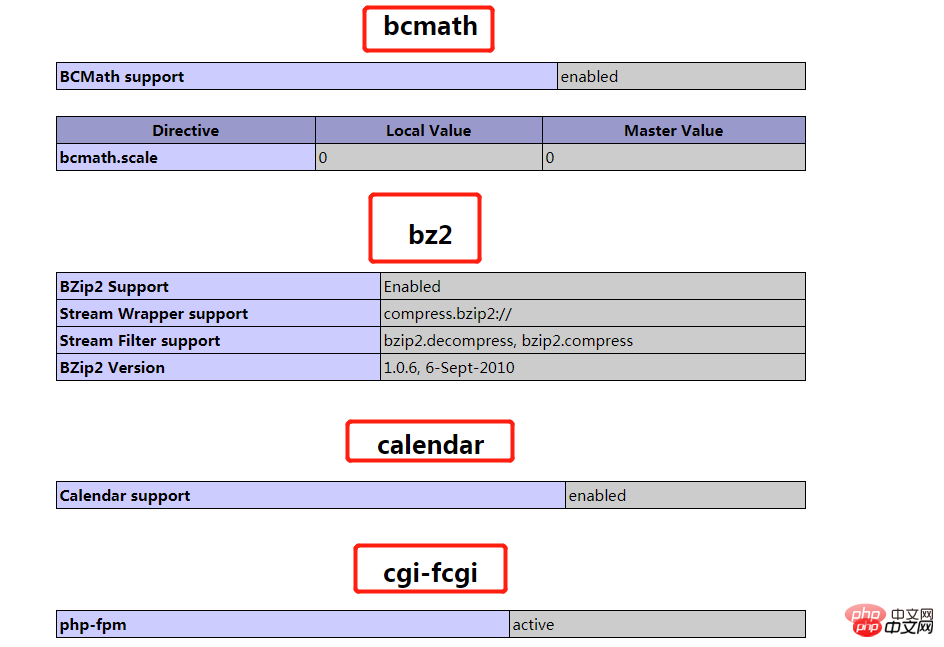
Method 1: Check through the phpinfo() function. The red boxes are all php extensions
<?php
phpinfo();
?>
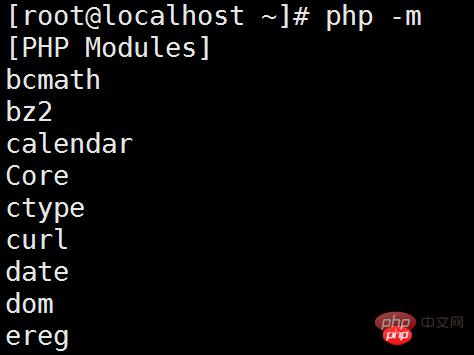
Method 2: Execute php -m command:
[root@linux-host ~]# php -m
Method 3: Use php’s get_loaded_extensions() function
<?php
print_r(get_loaded_extensions());
?>
The output of the above routine is similar to:
Array( [0] => xml [1] => wddx [2] => standard [3] => session [4 ] => posix [5] => pgsql [6] => pcre [7] => gd [8] => ftp [9] => db [10] => calendar [11] => bcmath)
Method 4: The extension_loaded function checks whether an extension has been loaded. If the extension specified by name has been loaded, it returns TRUE, otherwise it returns FALSE.
<?php
if (!extension_loaded('gd')) {
if (!dl('gd.so')) {
exit;
}
}3. Manage php extensions
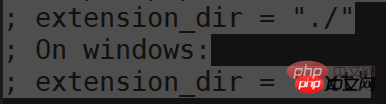
a. Set the directory where the extension is located, and set the extension_dir of php.ini to your own php extension path
b. Load extension
2. Install php extension on windows
1. Download
http://pecl.php.net/ is the official extension library, we can download the extensions we want here
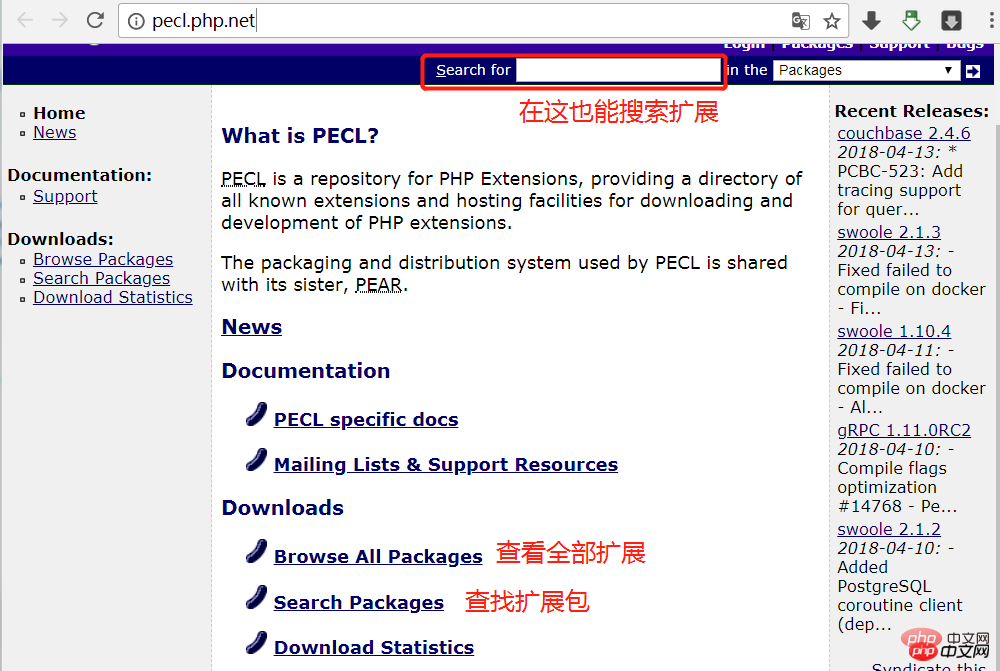
List of all extensions: https://pecl.php.net/package-stats.php
2. Select the version
is installed redis as an example:
Enter the redis extension download address: https://pecl.php.net/package/redis
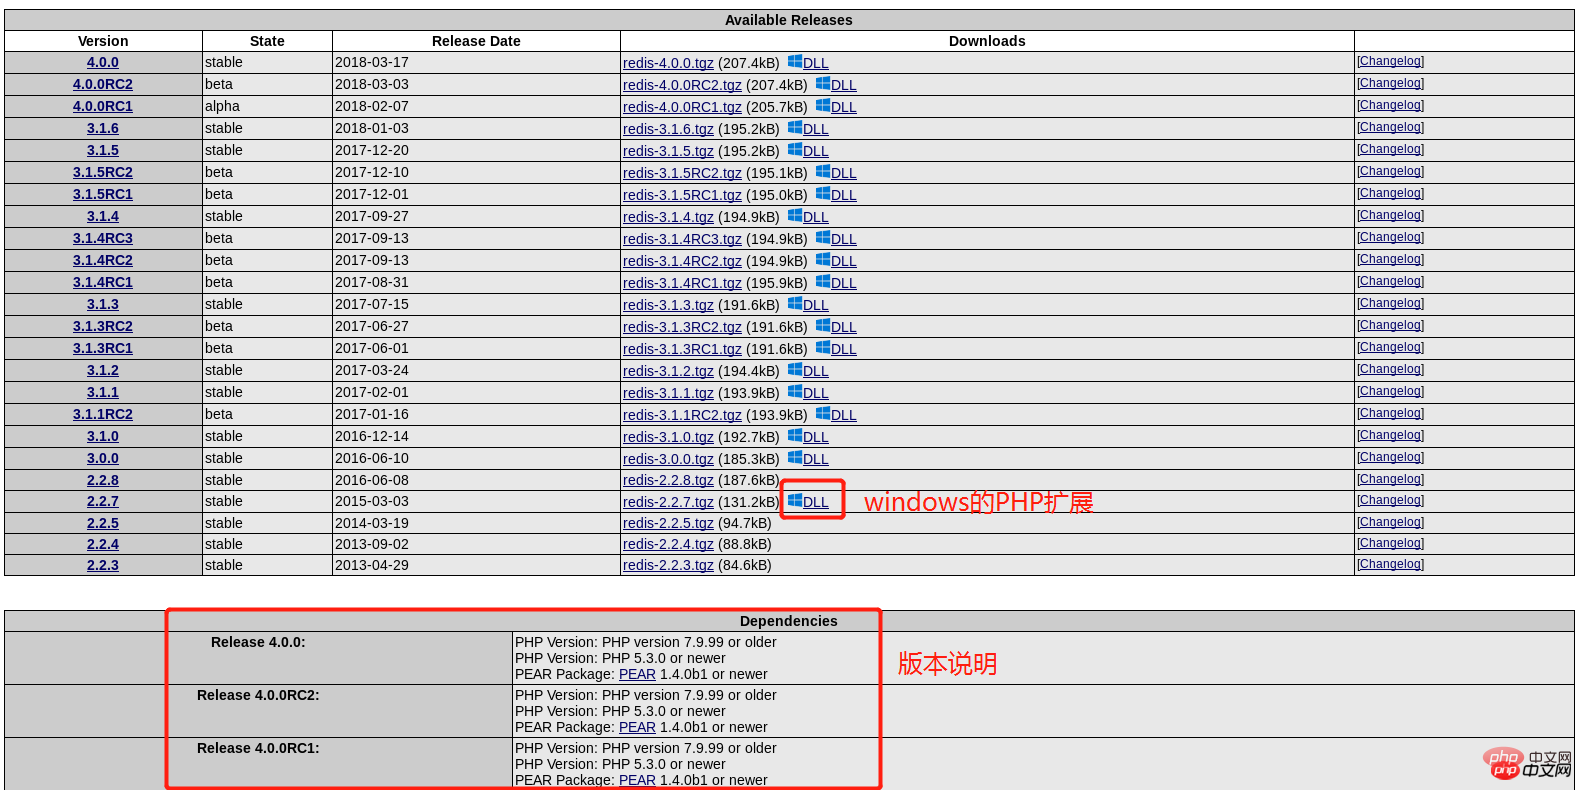
Click next to 
Click the button to enter the windows download interface
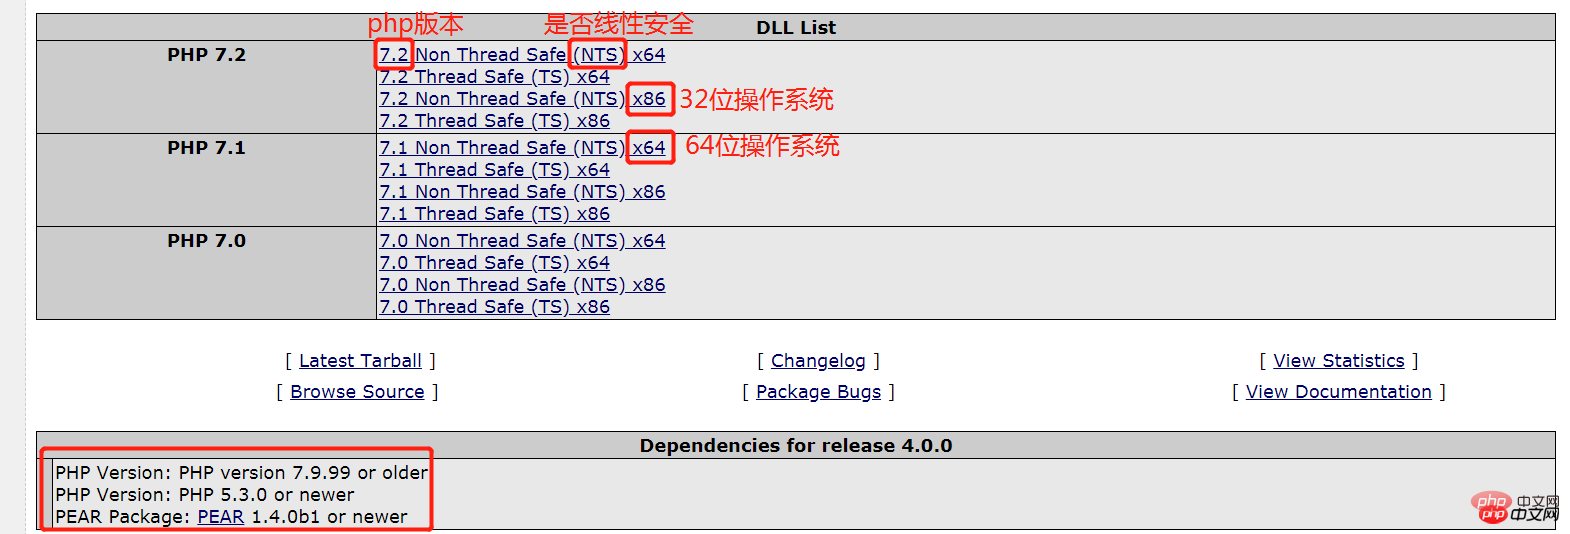
When installing the PHP extension for Windows, you need to pay attention to the version selection: PHP version, whether it is linear security, The number of operating system bits.
How to check the version information supported by your environment? You can check it through PHP's built-in phpinfo() function:

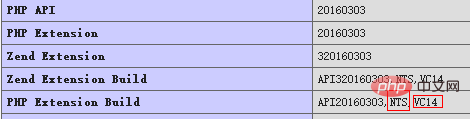
When we use phpinfo, most of the time we are checking whether the module is installed, but other important information is ignored. For example, why my extensions are always not installed, and there is a long list of downloaded extensions. What does it mean? nts x86 5.5, etc. These are important information, especially important for installing extensions!
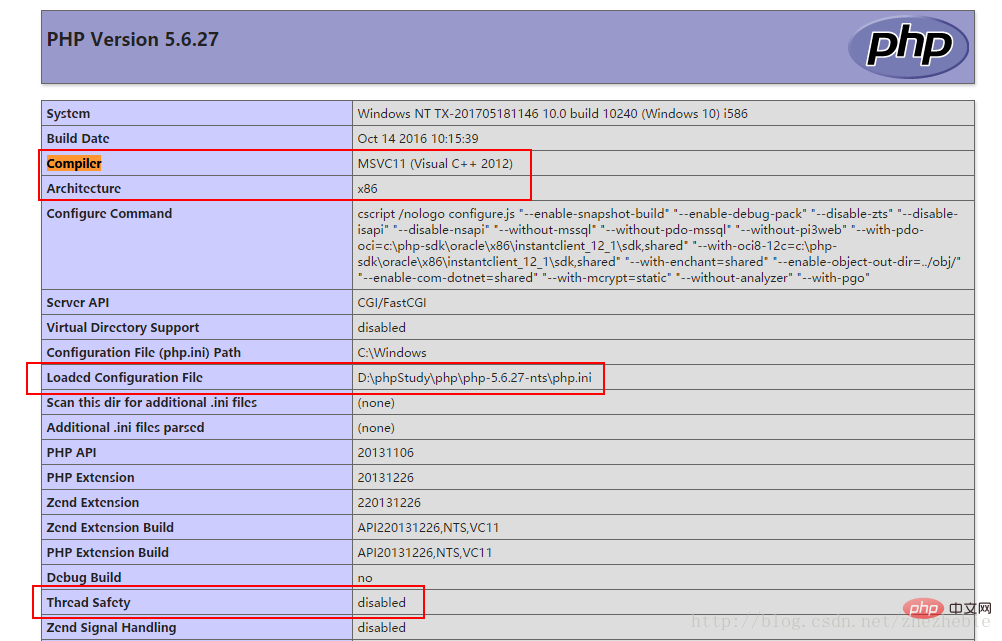
Several important parameters above:
compiler :编译器
Architecture :CPU架构
Configuration File (php.ini) Path :php配置文件的位置,这里才是你的配置文件加载的真正地方,apache的同学小心了!
Thread Safety :线程安全与否
PHP Extension Build :php拓展建立的编号
The above parameters are related to whether you can install the extension, so please read it carefully! There are many options when downloading the expansion .dll file, and the options there correspond to the ones here!
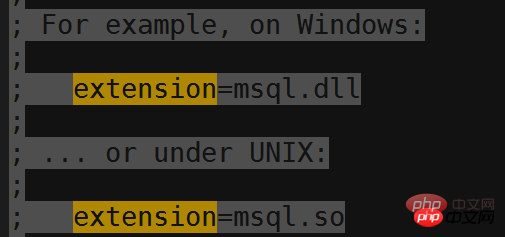
For example:
Just pick one and analyze it:
php_igbinary-1.2.1-5.3-nts-vc9-x86.zip
means: php_igbinary extension of version 1.2.1, suitable PHP version is 5.3 and above, this extension compiled by vc9, It does not support thread safety and can be used on x86 CPU architecture. Note that 64-bit machines can also be used! But the reverse is not possible.
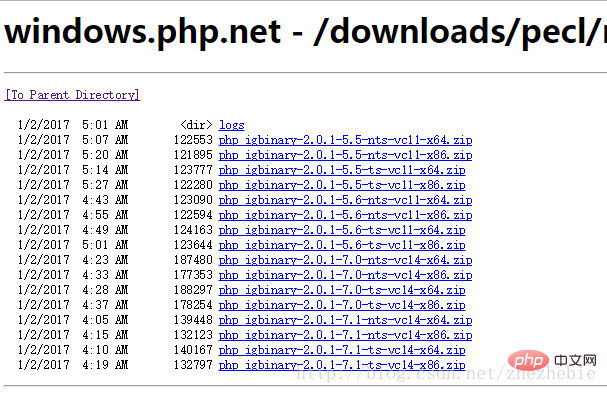
Is it much clearer? I encountered this problem when installing redis.
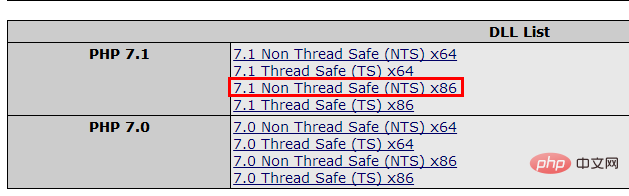
To continue installing the redis extension, enter the page: https://windows.php.net/downloads/pecl/releases/redis/
Take the installation of php-redis-3.1.3 as an example :
I got the configuration through the phpinfo() function. The dll extension for NTS, x86, and VC14 should be installed:
Download page: https://pecl.php.net/package/redis/3.1 .3/windows
下载页: https://windows.php.net/downloads/pecl/releases/redis/3.1.3/
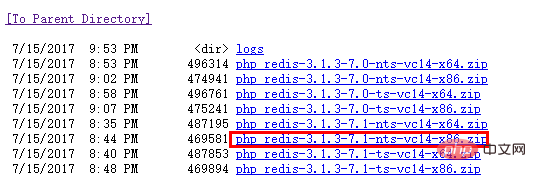
下载解压,将里面的 php_redis.dll 放到ext目录下,
3.安装
将下载好的压缩包解压,然后把里面的php_redis.dll放到php.ini中制定的文件夹里面,并把redis模块加载,然后从起服务器。
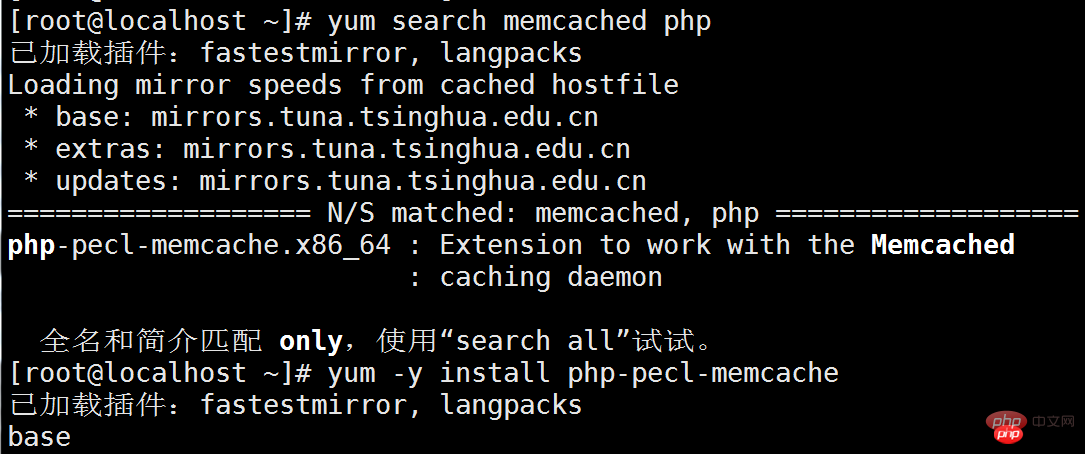
同理, 安装memcache:
https://windows.php.net/downloads/pecl/releases/memcache/3.0.8/
三、linux安装php扩展
1.yum或者apt-get安装
2.使用pecl安装
1)、pecl install安装
~# pecl install memcached
downloading memcached-2.2.0.tgz ...
Starting to download memcached-2.2.0.tgz (70,449 bytes)....
2)、配置php.ini
通过运行 php --ini查找php.ini文件位置,然后在文件中添加extension=memcached.so
3.phpize安装——以redis为例
1)、下载php扩展包
[root@localhost ~]# wget http://pecl.php.net/get/redis-4.0.0.tgz
2)、解压缩并进入扩展包目录
[root@localhost ~]# tar -xzvvf redis-4.0.0.tgz
[root@localhost redis-4.0.0]# cd redis-4.0.0
3)、执行phpize
[root@localhost redis-4.0.0]# phpize
4)、./configure
[root@localhost redis-4.0.0]# ./configure --with-php-config=/usr/bin/php-config
5)、make && make install
[root@localhost redis-4.0.0]# make && make install
6)、配置php.ini
extension=redis.so
4.直接安装(类似windows)
直接下载将下载好的压缩包,解压后将.so后缀的文件直接放到指定的路径,然后配置php.ini文件。
phpStudy2018 踩过的一些坑:
发现phpStudy2018切换到php 7以上版本,无论怎么修改安装拓展,就是拓展都不生效,就连自带的curl都没有启来,
经过半天反复折腾php.ini配置,才发现phpStudy2018的几个php7目录下的php.ini有个配置出的问题:
extension_dir = "E:\PHPServer\phpStudy2018\PHPTutorial\php\php-7.1.9-nts\ext"
屏蔽到这句,改成:
;extension_dir = "E:\PHPServer\phpStudy2018\PHPTutorial\php\php-7.1.9-nts\ext"extension_dir = "ext"
查看phpinfo函数,拓展都生效了


windows的php7安装memcache扩展
安装memcache:http://www.runoob.com/memcached/memcached-connection.html
启动服务:
c:\memcached\memcached.exe -d install
c:\memcached\memcached.exe -d start
c:\memcached\memcached.exe -d stop
启动计划任务:
schtasks /create /sc onstart /tn memcached /tr “‘c:\memcached\memcached.exe’ -m 512”
telnet HOST PORT
window下安装php7的memcache扩展,结果发现php_memcache.dll的官方编译出来的版本支持到PHP 5.6就停了,找了半天才在外国人的网站找到
https://stackoverflow.com/questions/34952502/memcache-for-php7-on-windows,
git下载地址:https://github.com/nono303/PHP7-memcache-dll
根据自己的php版本下载
下载解压后,
就到 php/ext 目录下 把 php_memcache.dll 放到里面
然后在 php 目录下的 php.ini 增加一段内容
extension=php_memcache.dll
加完之后,重启 apache或者nginx
然后 在php页面输出phpinfo();
检查 memcache 是否成功加载了。
如果成功加载了 ,就可以 在一个php页面做 memcache测试了
<?php $memcache = new Memcache; $memcache->connect('127.0.0.1',11211) or die('shit'); $memcache->set('key','hello memcache!'); $out = $memcache->get('key'); echo $out; ?>
成功的话会输出
hello memcache!
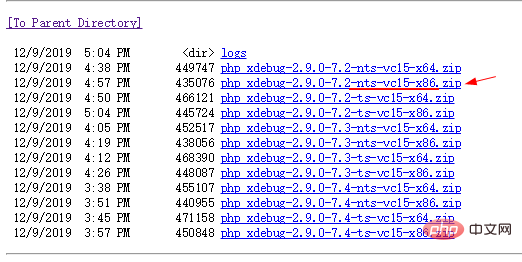
下载地址1: https://windows.php.net/downloads/pecl/releases/xdebug/
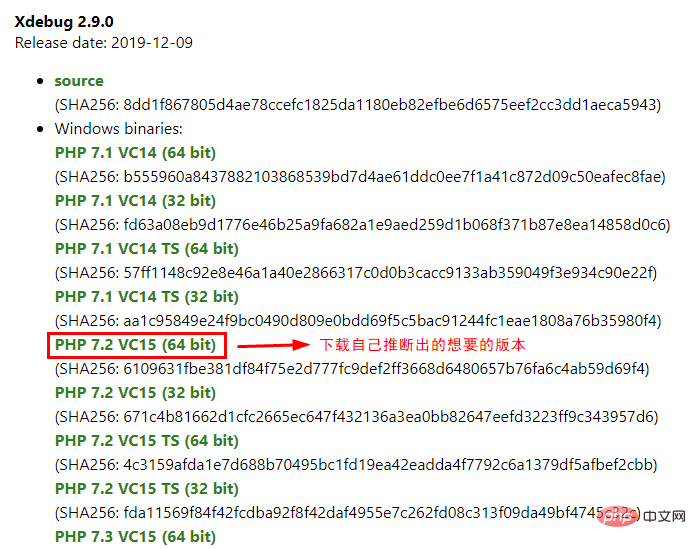
假设根据上面步骤获取到 7.2 NTS, VC15 x64等信息,来下载对应的版本:

下载想要的对应版本:
下载地址2,官网下载: https://xdebug.org/download
或者点击打开 custom installation instructions. 也就是地址: https://xdebug.org/wizard 来计算出自己的电脑版本php对应的xdebug库版本信息: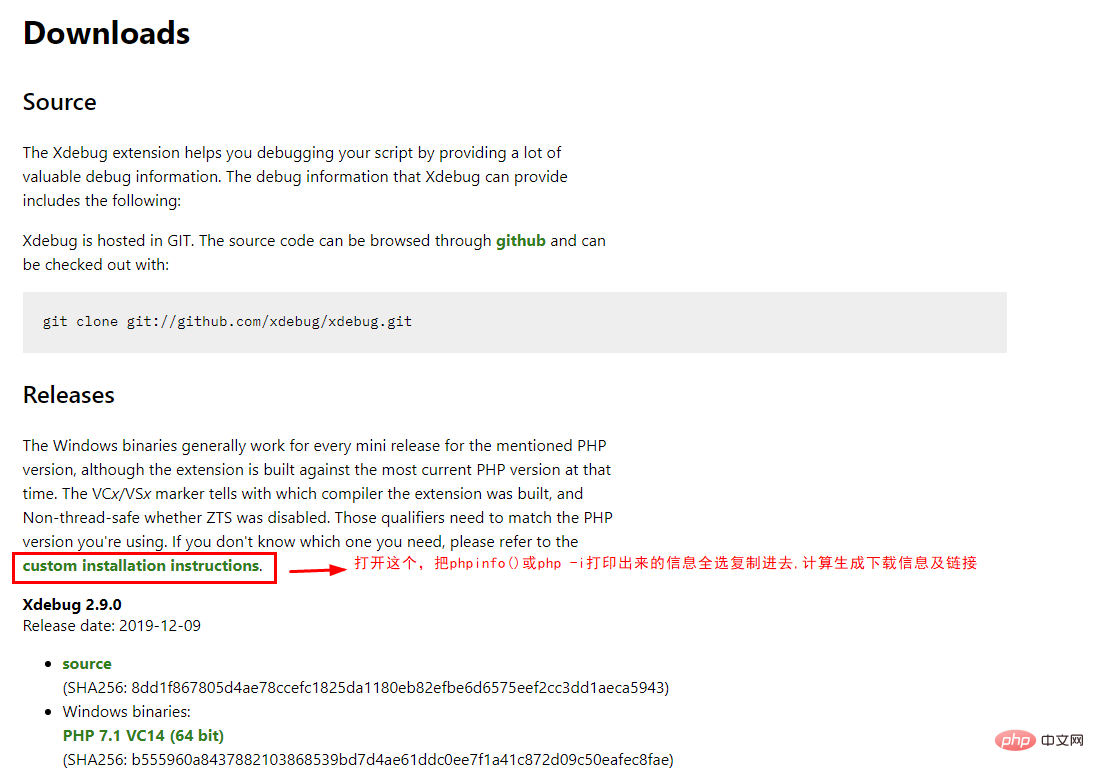
进入页面后把 phpinfo() 或 php -i 打印出来的信息全选复制进去:
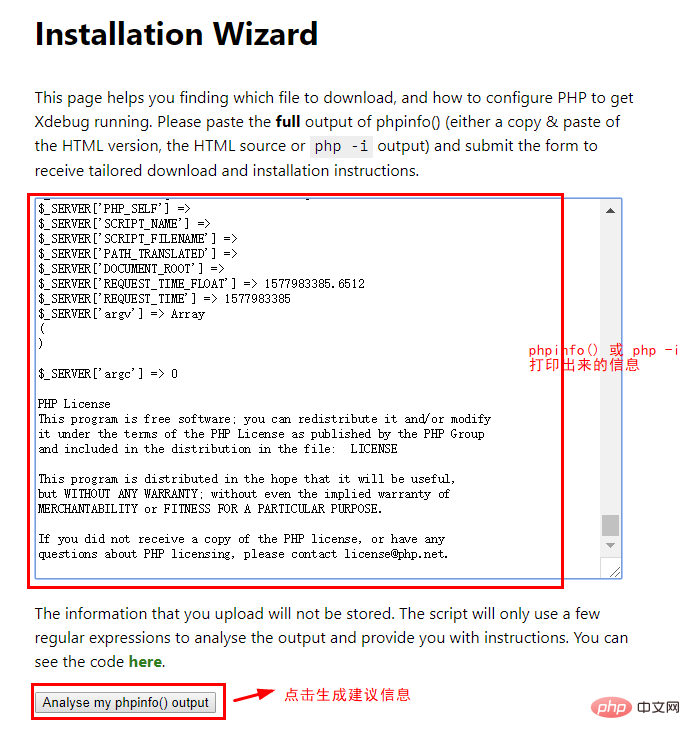
最后得出的结论:
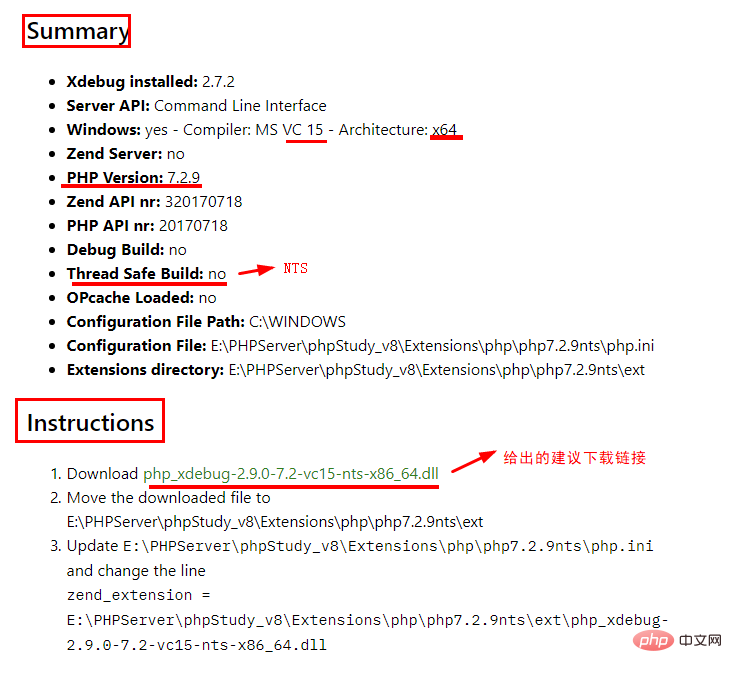
把 php_xdebug.dll 文件放入 ext 文件夹下,配置 php.ini, 然后重启服务器。
附: xdebug的php.ini配置信息:
[XDebug]
;指定Xdebug扩展文件的绝对路径
zend_extension="E:\PHPServer\phpStudy_v8\Extensions\php\php7.2.9nts\ext\php_xdebug.dll";指定堆栈跟踪文件的存放目录
xdebug.trace_output_dir="E:\PHPServer\phpStudy_v8\Extensions\tmp\xdebug";是否开启远程调试
xdebug.remote_enable= on
xdebug.remote_autostart = on
xdebug.remote_mode=req
;指定远程调试的处理协议
xdebug.remote_handler="dbgp";指定远程调试的主机名
xdebug.remote_host="127.0.0.1";指定远程调试的端口号
xdebug.remote_port=9100;是否启用Xdebug的性能分析,并创建性能信息文件
;xdebug.profiler_enable=on
;xdebug.profiler_enable_trigger=0;指定性能分析信息文件的输出目录
xdebug.profiler_output_dir="E:\PHPServer\phpStudy_v8\Extensions\tmp\xdebug";指定传递给DBGp调试器处理程序的IDE Key
xdebug.idekey="PHPSTORM";启用代码自动跟踪
;xdebug.auto_trace=on
;允许收集传递给函数的参数变量
xdebug.collect_params=on
;允许收集函数调用的返回值
xdebug.collect_return=on
推荐学习:《PHP视频教程》
The above is the detailed content of How to install extensions in win php. For more information, please follow other related articles on the PHP Chinese website!


![[Web front-end] Node.js quick start](https://img.php.cn/upload/course/000/000/067/662b5d34ba7c0227.png)


