Setting method: 1. Use the display attribute of the style object, the value is "none" to hide the div element, and the value is "block" to display the element; 2. Use the visibility attribute of the style object, the value is "hidden" " can hide the div element, and the value "visible" can display the element.

The operating environment of this tutorial: windows7 system, javascript version 1.8.5, Dell G3 computer.
There are two ways to hide and show divs in JS:
Method 1: Set the display attribute in the element style object
var t = document.getElementById('test');//选取id为test的div元素
t.style.display = 'none';// 隐藏选择的元素
t.style.display = 'block';// 以块级样式显示
Method 2: Set the visibility attribute in the element style object
var t = document.getElementById('test');//选取id为test的div元素
t.style.visibility = 'hidden';// 隐藏元素
t.style.visibility = 'visible';// 显示元素
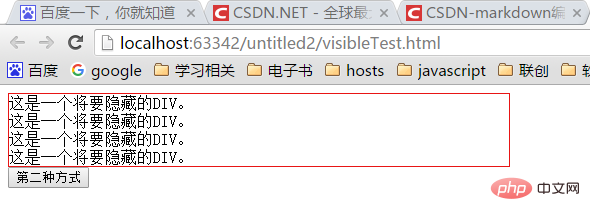
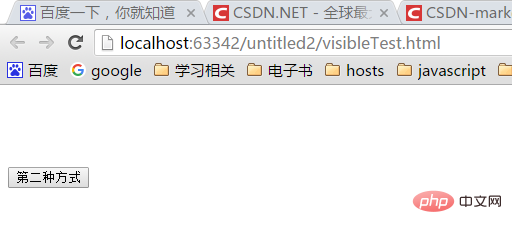
The difference between these two methods is: setting the display to hide does not occupy the original position , and the element position is still occupied after hiding through visibility.
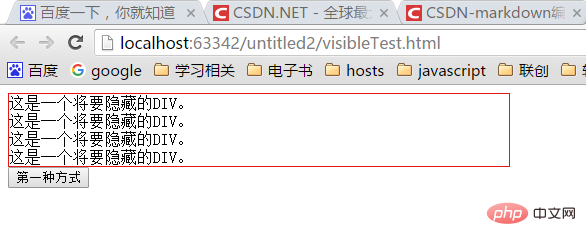
The effect is as follows:
The first way hides the front

Do not occupy the original position after hiding

##The second method hides the previous one

<head>
<script type="text/javascript">
function fn1(){
var t = document.getElementById('test');
if(t.style.display === 'none') {
t.style.display = 'block';// 以块级元素显示
} else {
t.style.display = 'none'; // 隐藏
}
}
function fn2(){
var t = document.getElementById('test');
if(t.style.visibility === 'hidden') {
t.style.visibility = 'visible';
} else {
t.style.visibility = 'hidden';
}
}
</script>
</head>
<body>
<div id="test" style="border: solid 1px #e81515; width:500px;">
这是一个将要隐藏的DIV。<br>
这是一个将要隐藏的DIV。<br>
这是一个将要隐藏的DIV。<br>
这是一个将要隐藏的DIV。<br>
</div>
<button onclick="fn1()">第一种方式</button>
<button onclick="fn2()">第二种方式</button>
</body>javascript advanced tutorial]
The above is the detailed content of How to hide and display div in javascript. For more information, please follow other related articles on the PHP Chinese website!