


This article will introduce to you how to use workerman to implement instant chat. It has certain reference value. Friends in need can refer to it. I hope it will be helpful to everyone.

workerman Tutorial"
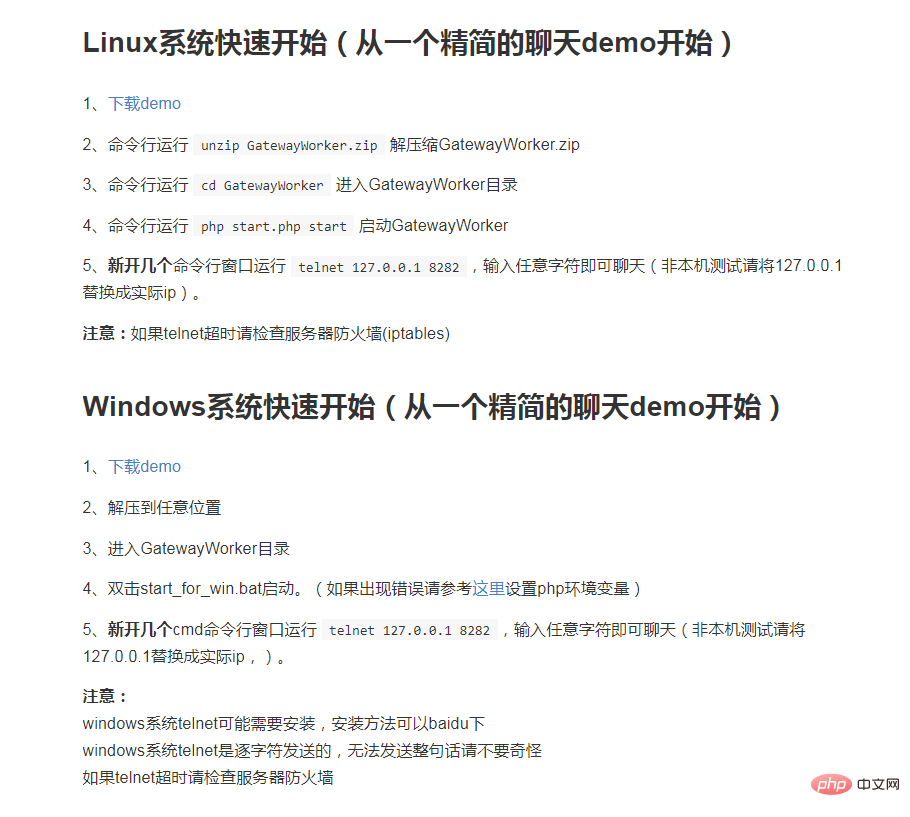
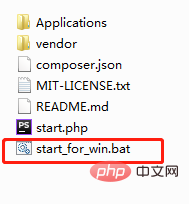
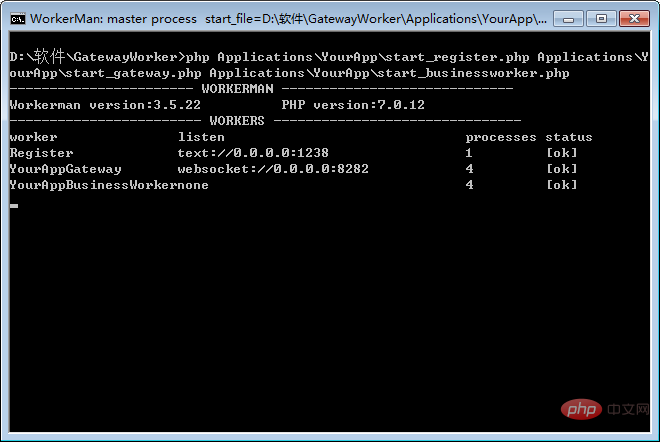
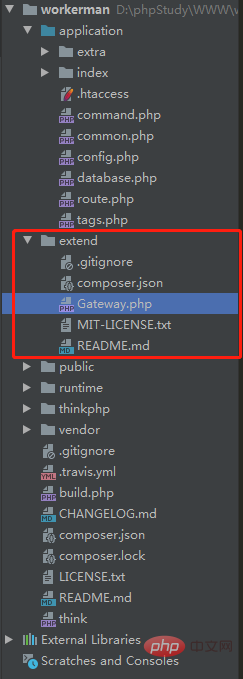
Development documentation: http://doc2.workerman.net/Download the server-side installation file:

<?php
/**
* This file is part of workerman.
*
* Licensed under The MIT License
* For full copyright and license information, please see the MIT-LICENSE.txt
* Redistributions of files must retain the above copyright notice.
*
* @author walkor<walkor@workerman.net>
* @copyright walkor<walkor@workerman.net>
* @link http://www.workerman.net/
* @license http://www.opensource.org/licenses/mit-license.php MIT License
*/
use \Workerman\Worker;
use \Workerman\WebServer;
use \GatewayWorker\Gateway;
use \GatewayWorker\BusinessWorker;
use \Workerman\Autoloader;
// 自动加载类
require_once __DIR__ . '/../../vendor/autoload.php';
// gateway 进程,这里使用Text协议,可以用telnet测试
$gateway = new Gateway("websocket://0.0.0.0:8282");
// gateway名称,status方便查看
$gateway->name = 'YourAppGateway';
// gateway进程数
$gateway->count = 4;
// 本机ip,分布式部署时使用内网ip
$gateway->lanIp = '127.0.0.1';
// 内部通讯起始端口,假如$gateway->count=4,起始端口为4000
// 则一般会使用4000 4001 4002 4003 4个端口作为内部通讯端口
$gateway->startPort = 2900;
// 服务注册地址
$gateway->registerAddress = '127.0.0.1:1238';
// 心跳间隔
$gateway->pingInterval = 60;
// 心跳数据
$gateway->pingData = '{"type":"ping"}';
/*
// 当客户端连接上来时,设置连接的onWebSocketConnect,即在websocket握手时的回调
$gateway->onConnect = function($connection)
{
$connection->onWebSocketConnect = function($connection , $http_header)
{
// 可以在这里判断连接来源是否合法,不合法就关掉连接
// $_SERVER['HTTP_ORIGIN']标识来自哪个站点的页面发起的websocket链接
if($_SERVER['HTTP_ORIGIN'] != 'http://kedou.workerman.net')
{
$connection->close();
}
// onWebSocketConnect 里面$_GET $_SERVER是可用的
// var_dump($_GET, $_SERVER);
};
};
*/
// 如果不是在根目录启动,则运行runAll方法
if(!defined('GLOBAL_START'))
{
Worker::runAll();
}
<!DOCTYPE html>
<html>
<head>
<meta charset="UTF-8">
<meta name="viewport" content="width=device-width, initial-scale=1.0">
<meta http-equiv="X-UA-Compatible" content="ie=edge">
<title></title>
</head>
<body>
<ul id="msgUl">
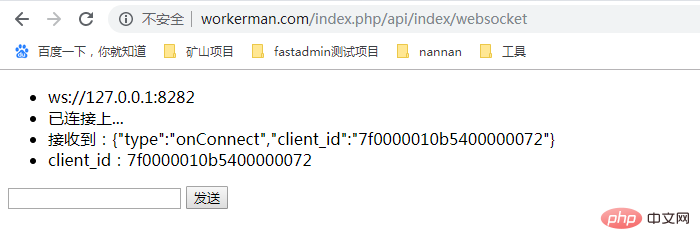
<li>ws://127.0.0.1:8282</li>
</ul>
<input type="" name="" id="sendValue" value="" />
<button type="button" id="sendButton">发送</button>
<div style="margin-top: 100px">
{volist name="msg" id="vo" empty="这里没有数据" key ='s'}
<br/>
<span>{$vo.user_name}:</span>
<span>{$vo.msg}</span>
<span>{$vo.createtime}</span>
<br/>
{/volist}
</div>
<script src="http://www.zhihuapinpai.com/static/index/js/jquery-1.11.3.min.js"></script>
<script>
// var ws = new WebSocket("ws://123.56.216.232:8282");
var ws = new WebSocket("ws://127.0.0.1:8282");
ws.onopen = function() {
$('#msgUl').append('<li>已连接上...</li>')
sendValue();
};
ws.onmessage = function(evt) {
$('#msgUl').append('<li>接收到:' + evt.data + '</li>')
var obj = JSON.parse(evt.data);
if (obj.type == 'onConnect') {
// 连接成功
$('#msgUl').append('<li>client_id:' + obj.client_id + '</li>')
$.ajax({
type:"POST",
url:"/index.php/api/Index/user_bind",
data:{
client_id:obj.client_id
},
dataType: "html",
success: function(data){
console.log('成功')
}
});
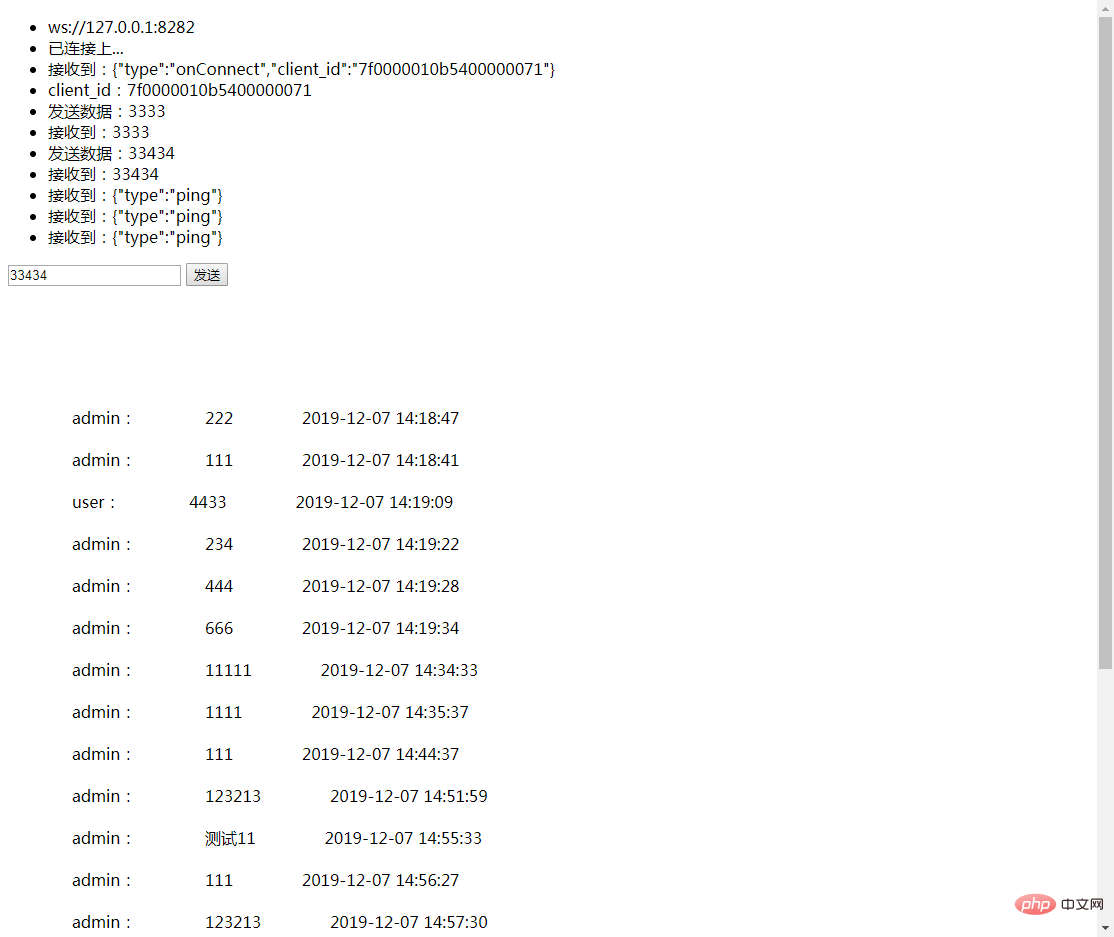
} else if (obj.type == 'ping') {
// 心跳检测 不做任何处理
} else if (obj.type == 'chatGroup') {
// 群组聊天
$('#msgUl').append('<li>接收到:' + evt.data + '</li>')
}
};
ws.onclose = function() {
// console.log('连接已关闭...');
$('#msgUl').append('<li>连接已关闭...</li>')
};
function sendValue() {
$('#sendButton').click(function() {
var thisValue = $('#sendValue').val();
if (thisValue) {
ws.send(thisValue);
$('#msgUl').append('<li>发送数据:' + thisValue + '</li>')
$.get("/index.php/api/Index/send_msg/msg/"+thisValue,function (data,status) {
console.log('成功:'+thisValue)
});
}
})
}
</script>
</body>
</html><?php
namespace app\api\controller;
use think\Controller;
use GatewayClient\Gateway;
use think\Db;
class Index extends Controller
{
public function websocket(){
$where=[];
$user_id=1;
$where['from_id|to_id']=$user_id;
$msg=Db::name('msg')->where($where)->select();
foreach ($msg as $key=>$val){
$msg[$key]['createtime']=date('Y-m-d H:i:s',$val['createtime']);
$msg[$key]['user_name']=Db::name('user')->where(['id'=>$val['from_id']])->value('name');
}
$this->assign('msg',$msg);
return view();
}
//绑定用户
public function user_bind($user_id=1){
//$user_id=1; //发送人用户id
$client_id = input('post.client_id');
// $user=Db::name('user')->where(['id'=>$user_id])->find();
Gateway::bindUid($client_id, 1);
return $client_id;
}
//发送信息
public function send_msg(){
$msg=input('msg');
if($msg){
$data=[
'msg'=>$msg,
'from_id'=>1,
'to_id'=>2,
'createtime'=>time()
];
Db::name('msg')->insert($data);
Gateway::sendToUid(1,$msg);
Gateway::sendToUid(2,$msg);
}
return 'success';
}
}
Programming Video! !
The above is the detailed content of Let's talk about how to use Workerman to implement instant chat function. For more information, please follow other related articles on the PHP Chinese website!
 Regular expression usage of arbitrary characters
 How to buy and sell Bitcoin on Binance
 Is wifi signal amplifier useful?
 The difference between c drive and d drive
 ASUS f83se
 Build an Internet server
 What are the applications of the Internet of Things?
 How to switch between full-width and half-width


![[Web front-end] Node.js quick start](https://img.php.cn/upload/course/000/000/067/662b5d34ba7c0227.png)


