
ps CS6 does not have the "Select and Cover" option, which belongs to the "Adjust Edge" option. CS6 and above versions have "Select and Cover". You only need to click the tool in the selection box to have this option. How to use: First, quickly select the content you want in the screen; then click the "Select and Cover" button in the menu bar to perform the operation.

The operating environment of this tutorial: Windows 7 system, Adobe Photoshop CS6 version, Dell G3 computer.
Recommended: "ps Tutorial"
ps cs6 does not have the "select and mask" option, it is included in the adjustment edge. In versions before PS5 it was called "Extract", in versions CS5-CS6 it was "Adjust Edges", and in versions above CS6 it was "Select and Mask". This option is available as long as you click on the tool in the selection box.
ps How to use "Select and Mask"
Although the channel can remove complex edges such as hair, when the background is complex, the channel may be at its wits end . In this case, you need to use the "Select and Mask" tool.
1. Quick Selection Tool
As the name suggests, the "Quick Selection Tool" (shortcut key: W) is to quickly select what you want in the screen. At the same time, you need to scale the brush size (shortcut keys: enlarge "]"; reduce "[") to make the selection box more accurate.

If the selection range exceeds the screen you want, you can hold down the Alt key while selecting the exceeded range, and you can subtract it from the selection; If the screen you want is not selected, you can hold down Shift and select the parts you want to select to add them to the selection. For example, in the picture below, the frame selection range is too large. You can adjust the brush size and hold down the Alt key to subtract.

Rendering:

2. Select and cover
ps will be in cc2017 Change "Adjust Edges" to "Select and Mask". According to the picture above, the dog has been roughly selected. Click the "Select and Cover" button in the menu bar to activate the panel.
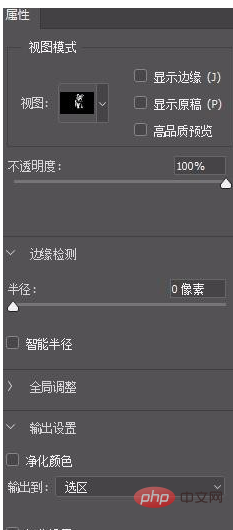
Method 1: Check "Show Edges" and "Smart Radius", and set the "Smart Radius" value. This will help us view the edges and adjust the smart radius.
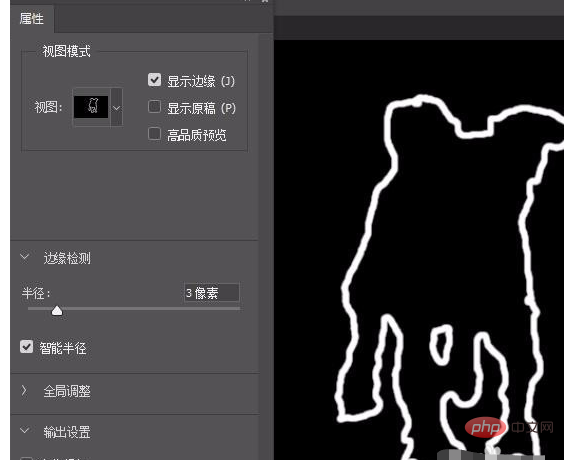
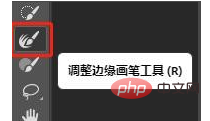
Method 2: When adjusting the outline, you can also select the "Adjust Edge Brush Tool" and apply it directly on the edge to remove noise (no need to check it at this time) "Show edges").
Rendering:
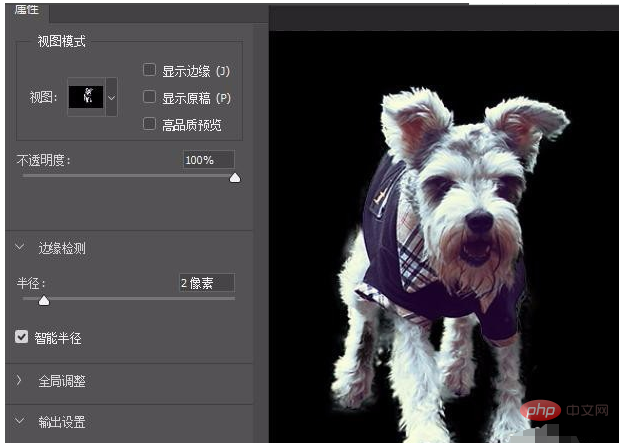
After the outline is completed, you can export it after adjusting it to your satisfaction. Select "Purify Color" in "Output Settings", select "New Layer with Layer Mask" in "Output To" (creating a layer mask will not destroy the original image and can be adjusted at any time), and finally click OK ( Enter).

Effect picture (leave only the small eyes with the mask layer, remove the small eyes from other layers):
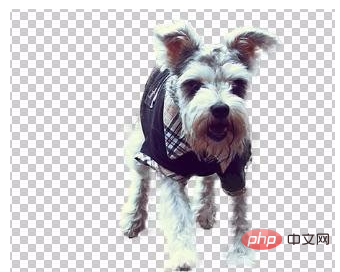
The "Select and Mask" tool can be used with any selection tool, such as the Pen Tool, Magic Wand Tool, Lasso Tool, etc.
The above is the detailed content of ps cs6 select and cover where. For more information, please follow other related articles on the PHP Chinese website!