
PS steps for making rain effects: First open the PS software and import a picture material; then create a new transparent layer, select the fill tool, and change the fill layer to white; then click Filter on the menu bar Mirror options, and select pixelization in the pop-up list; finally adjust the parameters in the dotted settings window.

Operating environment:
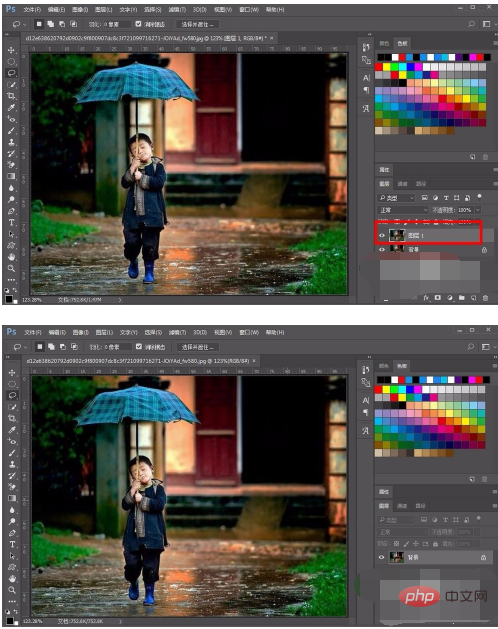
Open the ps software, the version here is pc cs6, then import a picture material, and then copy a layer, as shown in the picture:
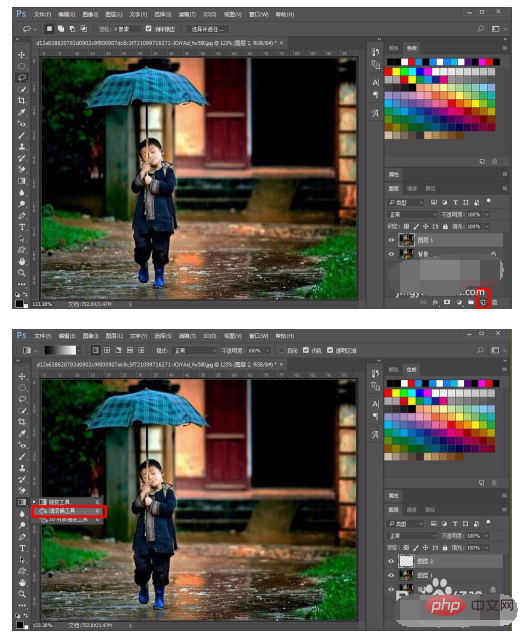
 Then click the layer panel Click the new layer icon below, create a new transparent layer, then select the fill tool, and fill the layer with white.
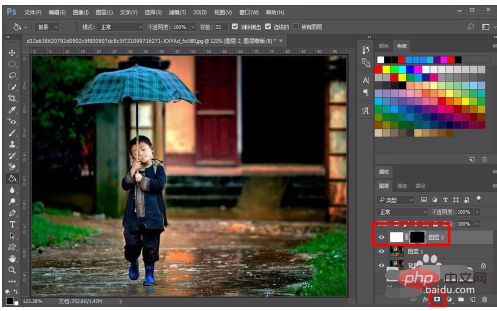
 Click on the white layer, find the add layer mask icon below the layer panel, hold down the alt key and click on the icon, a black will be added to the white layer Mask, you can see the background layer at this time.
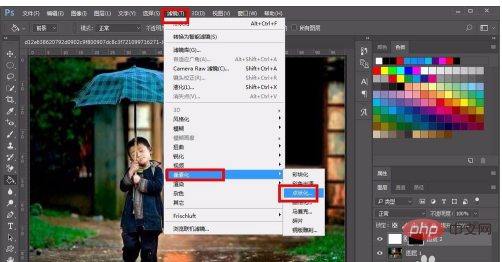
 Then click the filter option in the menu bar, select pixelate in the pop-up list, and then select the dotted option, as shown in the figure:
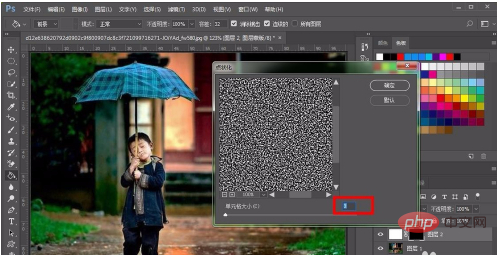
 In the dotted settings window, adjust the parameters of the lower cells and adjust the size to 3, which is also the smallest value.
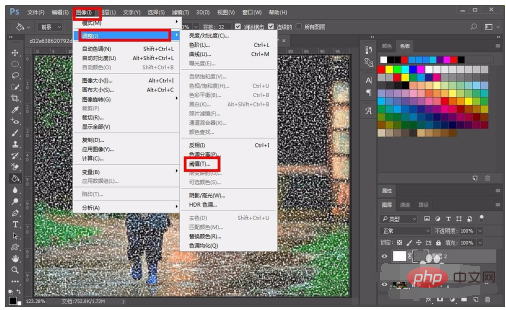
 Then select the image option in the menu bar, select the adjustment option in the pop-up list, and then select the threshold option, as shown in the figure:
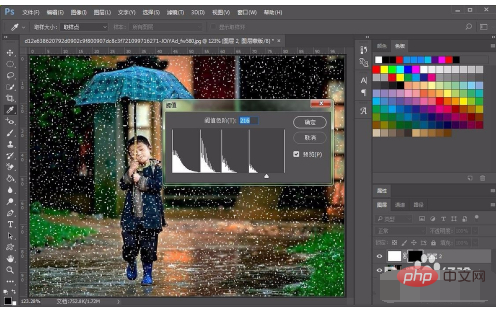
 Then the threshold setting window pops up, adjust the parameter value of the threshold level, move the small upward triangle to the right, the value will increase, adjust the value to about 216, and then click OK.
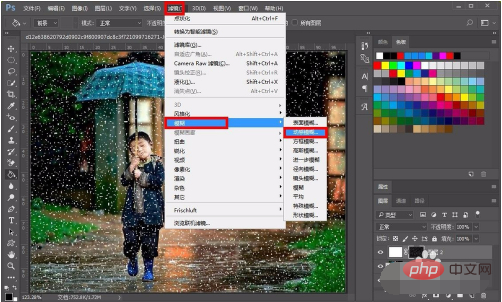
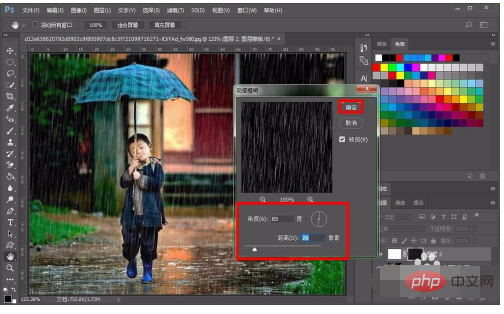
 Then click Filter on the menu bar, then select Blur, and then select the Motion Blur option, as shown in the picture:
 In the dynamic blur setting window, adjust the angle to 85 degrees, then adjust the distance to 26 pixels, and then click OK, as shown in the picture:
 Finally proceed After adjusting the details, the effect of raindrops on rainy days will come out. In fact, it is not complicated. Friends can give it a try.
The above is the detailed content of PS rain effect production steps. For more information, please follow other related articles on the PHP Chinese website!