

How to use ps to create pictures
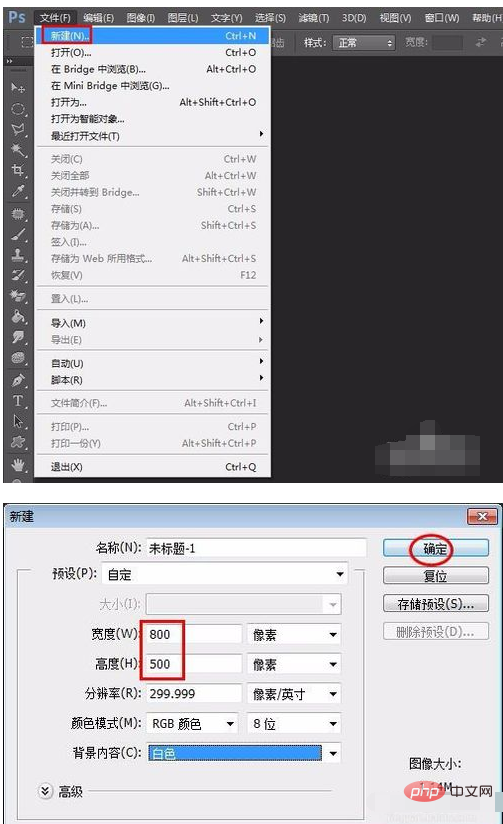
Step one: Open the ps software, create a new canvas, and size it according to your own Need to be determined.
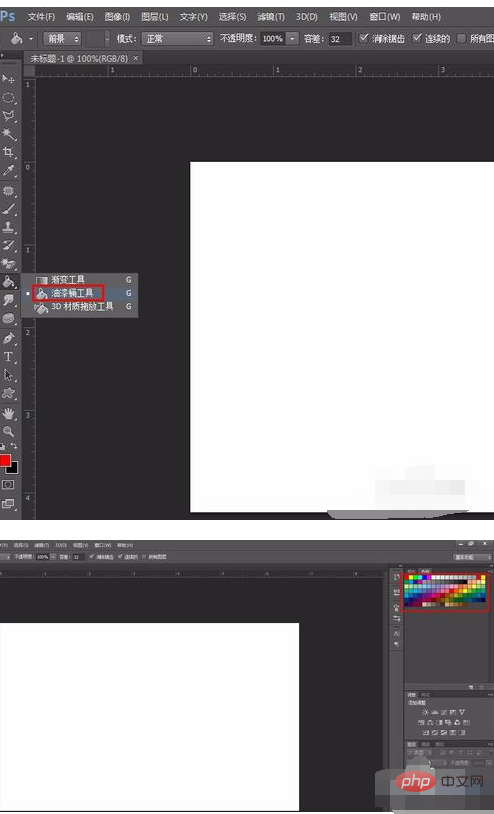
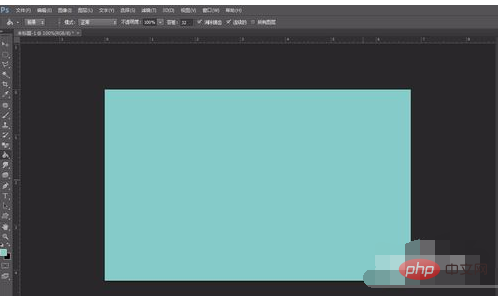
Step 2: Select the "Paint Bucket Tool" in the left toolbar, and select your favorite background color in the upper right character panel. Here, cyan is selected.
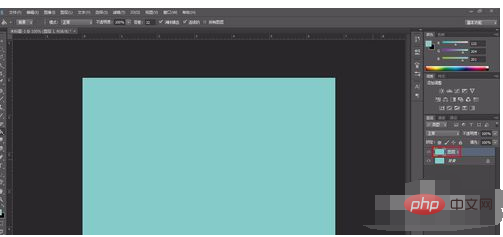
Step 3: Press the Ctrl J key to copy the background layer.
Step 4: Select "Open" from "File" in the menu bar to open a material picture.
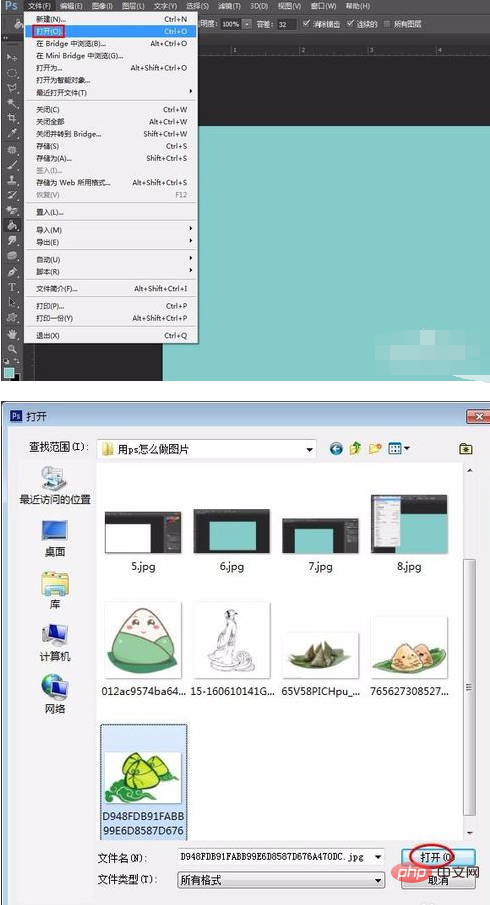
Step 5: Press Ctrl J key to copy the background layer.
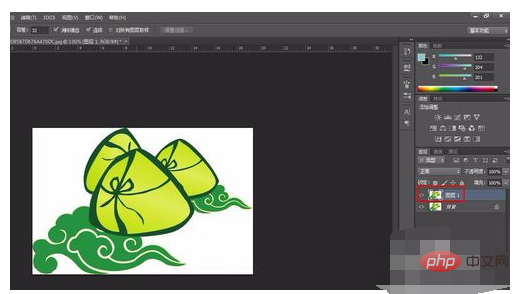
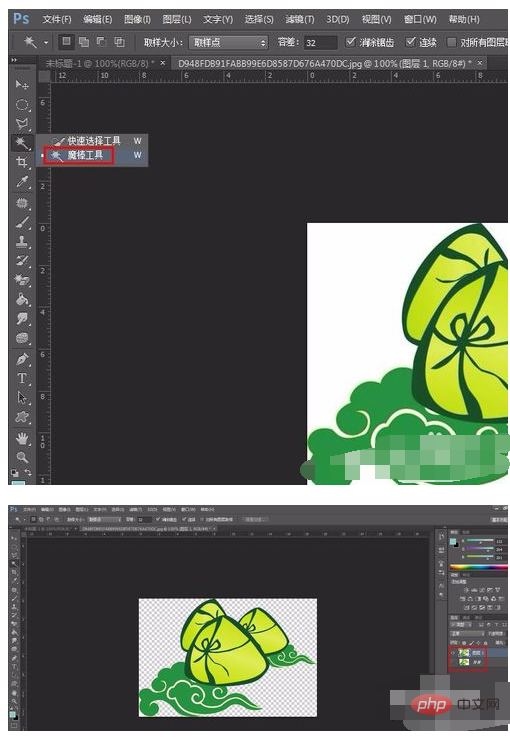
Step 6: Select the "Magic Wand Tool" in the left toolbar, click the area that needs to be removed, press the delete key to delete, and set the background layer to Invisible, the cutout is completed at this time.
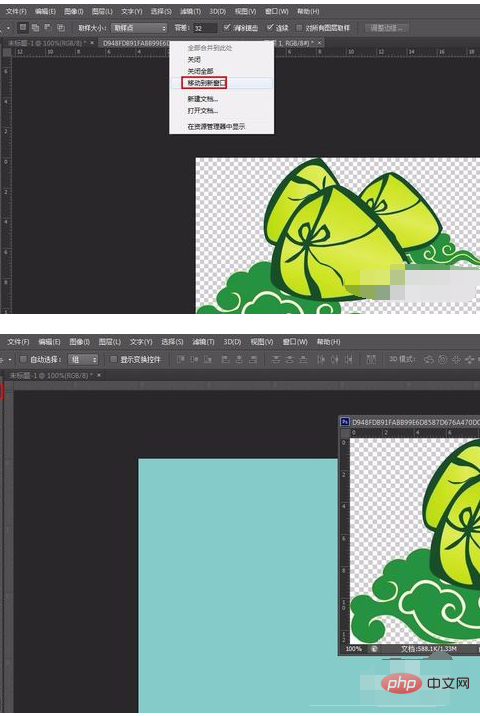
Step 7: Right-click the title bar of the material picture, select "Move to new window", select the "Move" tool in the left toolbar, and directly Drag the cutout image onto the previous cyan background.
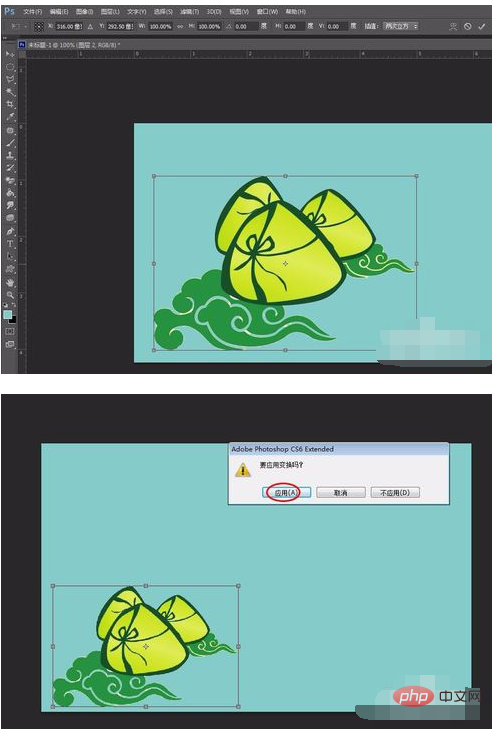
Step 8: Press the Ctrl T key to select the pattern. You can change the size, shape and position of the pattern. Click the "Apply" button when finished.
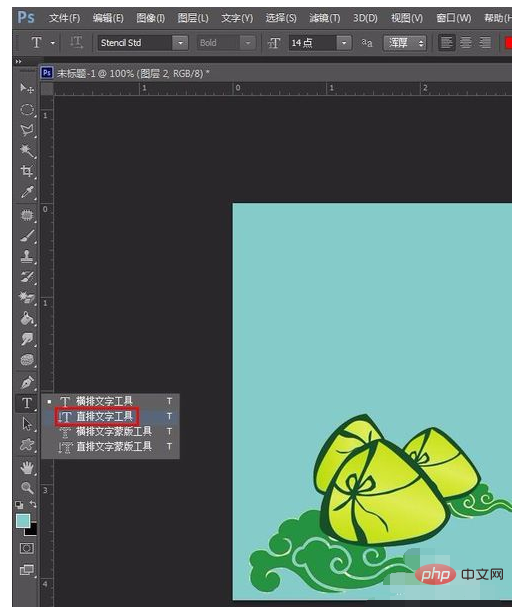
Step 9: Select the "Vertical Text Tool" in the left toolbar and enter the text that needs to be displayed. The font size is Chinese regular script, 14 points, Rich.
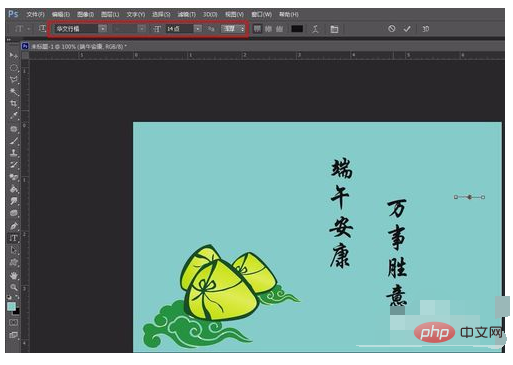
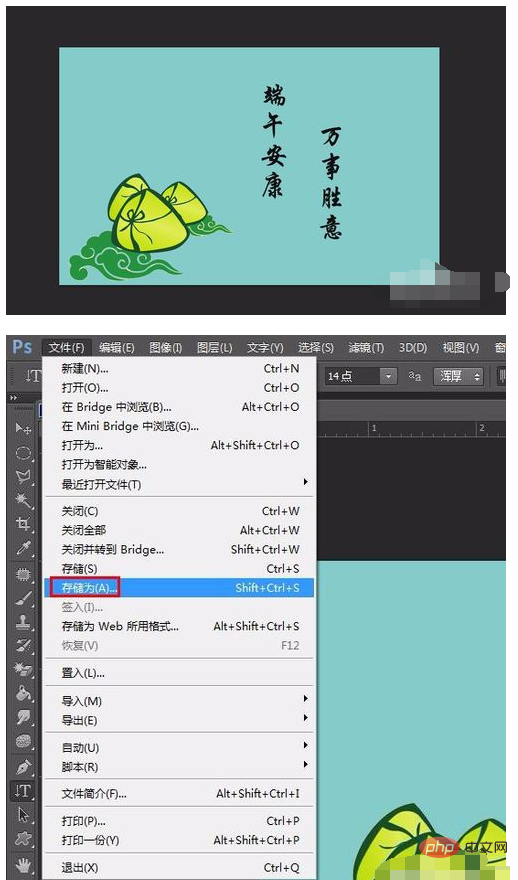
Step 10: The pattern and text settings are completed. The simplest picture is created and stored in the required location.
The above is the detailed content of How to use ps to create pictures. For more information, please follow other related articles on the PHP Chinese website!