
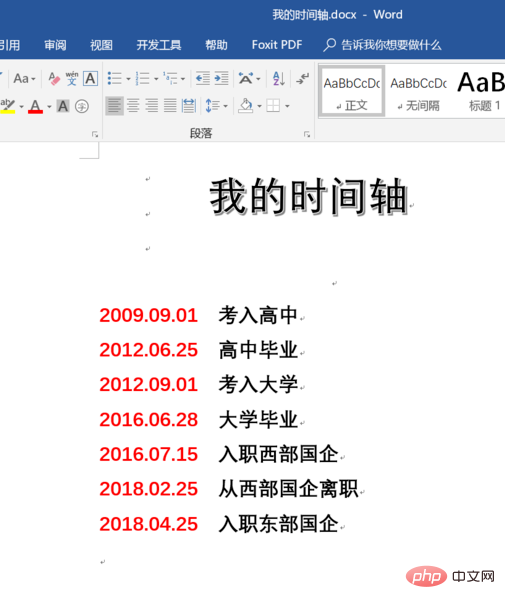
Create and open a blank word2016 document and edit timeline events. Enter the timeline event and set the font, size, and color.
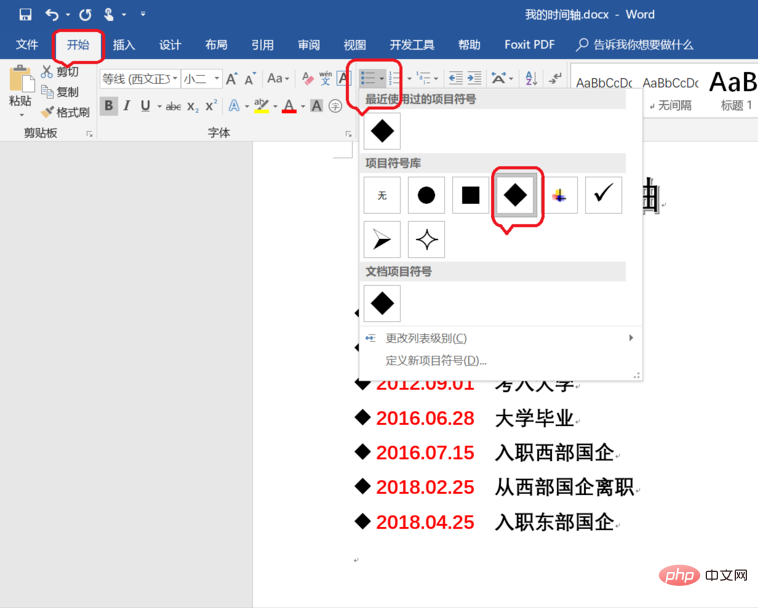
Add appropriate bullets. Select the input timeline event, click "Start - Bullets" in the menu bar, and select to add appropriate bullets.
Related recommendations: "Word Beginner's Tutorial"
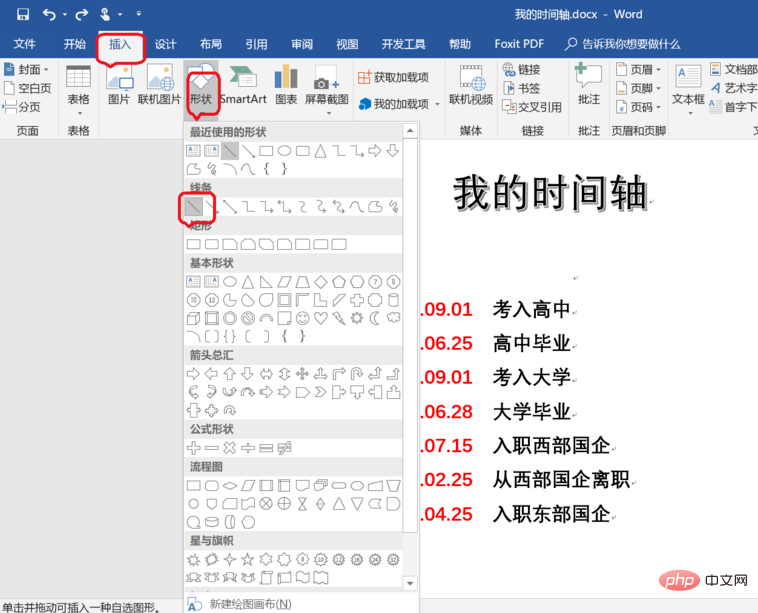
Insert straight lines for bullets. Click "Insert - Shape" on the menu bar and select Line. Just hold down the "shift key" and draw a straight line through the bullet.
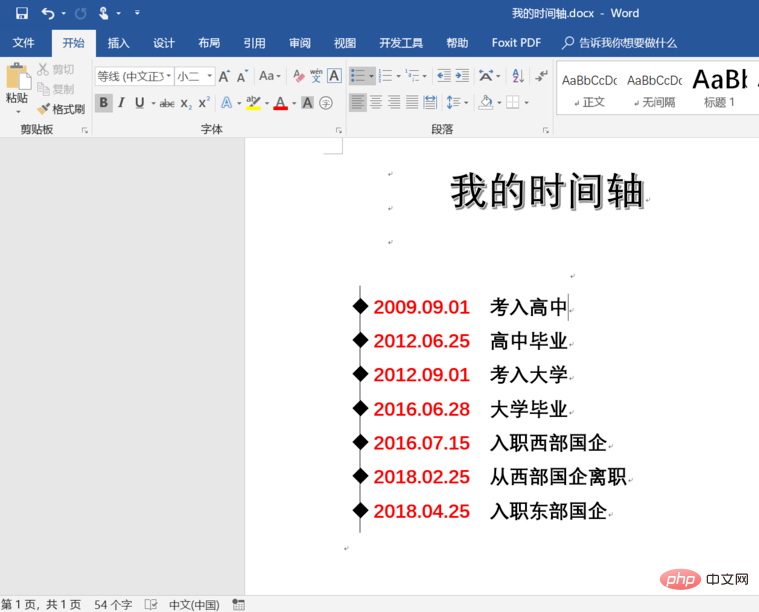
Adjust the bullet color and size to match the time. Select the bullet and click the font color above to change the color.
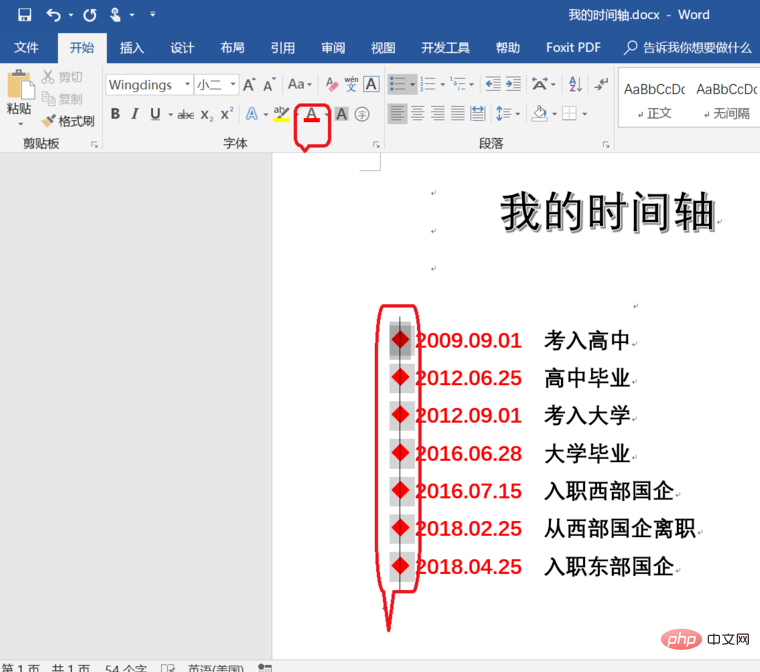
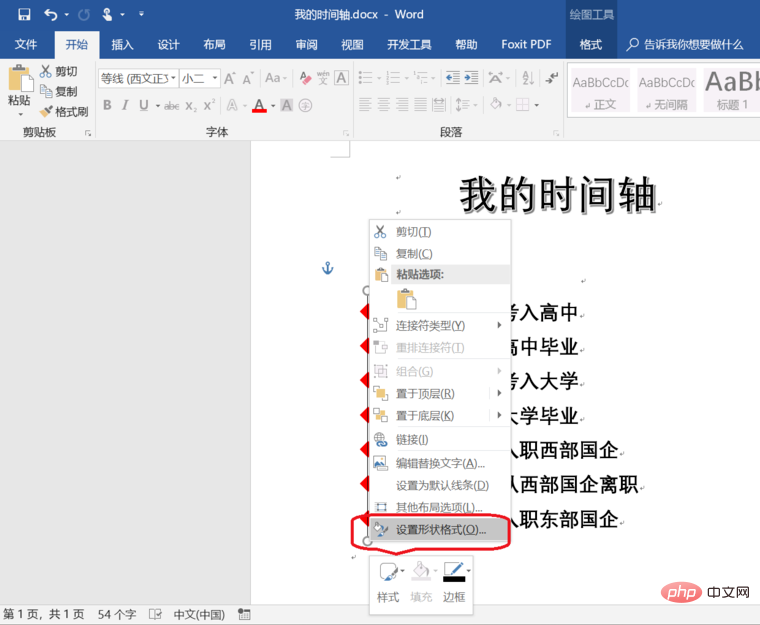
Adjust the color and size of the line to match the time. Select the line, right-click and select "Format Shape" to set the size, color, etc. of the line on the right. At this point, the personalized timeline is completed.
The above is the detailed content of How to make a word timeline template. For more information, please follow other related articles on the PHP Chinese website!
 How to change word background color to white
 How to delete the last blank page in word
 Why can't I delete the last blank page in word?
 Word single page changes paper orientation
 word to ppt
 Word page number starts from the third page as 1 tutorial
 Tutorial on merging multiple words into one word
 word insert table


