
To create a four-sided continuous picture in PS, you need to import the material picture, then move the material up, down, left, and right to the appropriate position, and then cut it with the slicing tool to obtain the final four-sided continuous picture.

ps Steps to create a four-sided continuous picture:
1. Open a picture and prepare to use it Make a four-square continuous graph.
#2. Create a large background layer and place the image on it.
#3. Copy the image layer, "Filter" - "Others" - "Displacement".
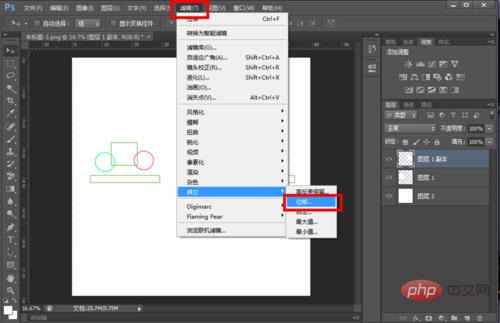
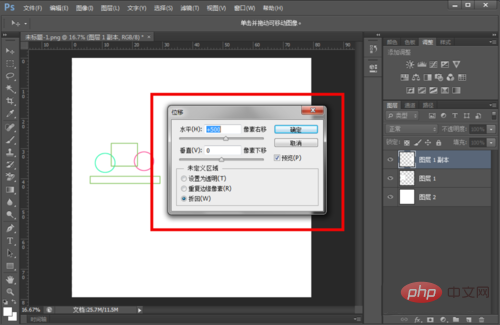
#4. Here we can move the layer horizontally or vertically to the desired position.
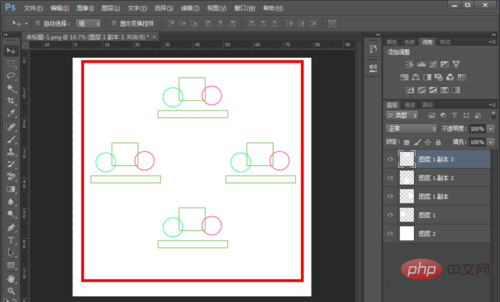
#5. We move the four picture layers to the top, bottom, left and right positions respectively, keeping the top, bottom, left and right alignment of the pictures.
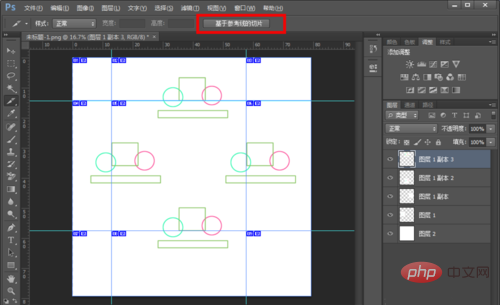
#6. Then we use the pull guide lines, four up, down, left and right. After cutting, the top and bottom can be joined together, and the left and right can also be joined together.
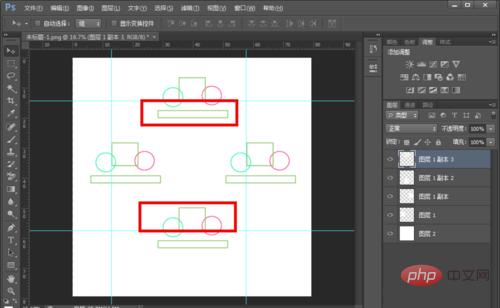
7. Select the "Slice Tool" on the left, and then click "Based on Guides" at the top.
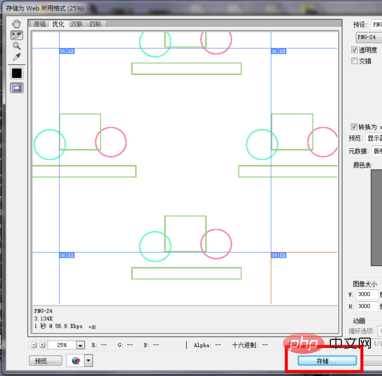
8. Select "File"--"Save as web format", select "Save", name and save.
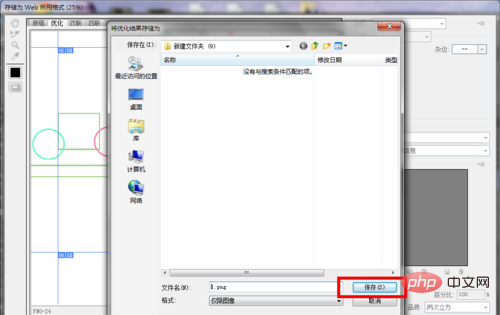
Then the four-sided continuous picture we made can be found in the "images" folder.
The above is the detailed content of How to make a four-sided continuous graph in PS. For more information, please follow other related articles on the PHP Chinese website!