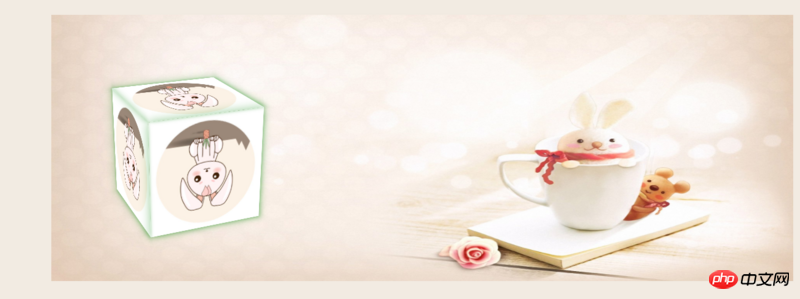
The content of this article is about code examples for implementing wavy lines and cubes in CSS. It has certain reference value. Friends in need can refer to it. I hope it will be helpful to you.
A recent project has been able to draw a wavy line effect. Here it is achieved by using linear-gradient, that is, drawing a circle, and then using the background color to cover part of the circle;
Using the css3 attribute perspective Add rotation to realize cube1.css to realize wavy line
html
css
.card-list{ display: flex; padding: 20px; width: 100%; } .wave-container{ position: relative; margin-right: 28px; width: 20%; } .wave{ width: 100%; height: 90px; background: linear-gradient(to right, rgb(85, 181, 255), rgb(207, 224, 232)); } /* 波浪线 */ .wave-left-decorate{ position: absolute; top: -4px; width: 90px; height: 8px; transform-origin: center left; transform: rotate(90deg); background: radial-gradient(circle, #fff 2px, #fff, transparent 3px, transparent 4px, transparent 4px, transparent); background-size: 8px 8px; }
Rendering

## 2. Implement cube
.content{ position: relative; display: flex; margin: 0 auto; padding-top: 50px; width: 1200px; height: 380px; background: url(../images/bg2.jpg) no-repeat; background-size: 1200px 100%; } .content .leftContent{ margin-right: 25px; padding-left: 45px; padding-bottom: 30px; box-sizing: border-box; } /* 旋转的图片 */ .content .leftContent .leftContentItem{ width: 350px; height: 350px; /* 设置景深 */ perspective: 1000px; /* 设置背景颜色在中间为椭圆形 */ /*background: radial-gradient(ellipse at center, #430d6d 0%, #000 100%);*/ } .leftContent .leftContentItem .itemImg{ position: absolute; left: 20%; top: 20%; width: 200px; height: 200px; /* 实现3D呈现 */ transform-style: preserve-3d; transform: rotateX(-20deg) rotateY(-20deg); -webkit-animation: 6s imgRotate linear infinite; -o-animation: 6s imgRotate linear infinite; animation: 6s imgRotate linear infinite; } .leftContent .leftContentItem .itemImg *{ position: absolute; width: 100%; height: 100%; box-shadow: 0 0 25px rgba(0, 128, 0, .4); } .leftContentItem .itemImg .leftContentImg{ position: absolute; width: 100%; height: 100%; } /* 分别对各个面进行旋转、平移操作 */ .leftContentItem .itemImg .leftContentImg:nth-child(1){ transform: translateZ(100px); } .leftContentItem .itemImg .leftContentImg:nth-child(2){ transform: rotateX(180deg) translateZ(100px); } .leftContentItem .itemImg .leftContentImg:nth-child(3){ transform: rotateY(-90deg) translateZ(100px); } .leftContentItem .itemImg .leftContentImg:nth-child(4){ transform: rotateY(90deg) translateZ(100px); } .leftContentItem .itemImg .leftContentImg:nth-child(5){ transform: rotateX(90deg) translateZ(100px); } .leftContentItem .itemImg .leftContentImg:nth-child(6){ transform: rotateX(-90deg) translateZ(100px); } @-webkit-keyframes imgRotate { from{ transform: translateZ(-100px) rotateX(0) rotateY(0); } to{ transform: translateZ(-100px) rotateX(360deg) rotateY(360deg); } }

The above is the entire content of this article. For more knowledge about CSS, you can pay attention to the php Chinese website
css video tutorial column! ! !The above is the detailed content of Code examples for implementing wavy lines and cubes in css. For more information, please follow other related articles on the PHP Chinese website!