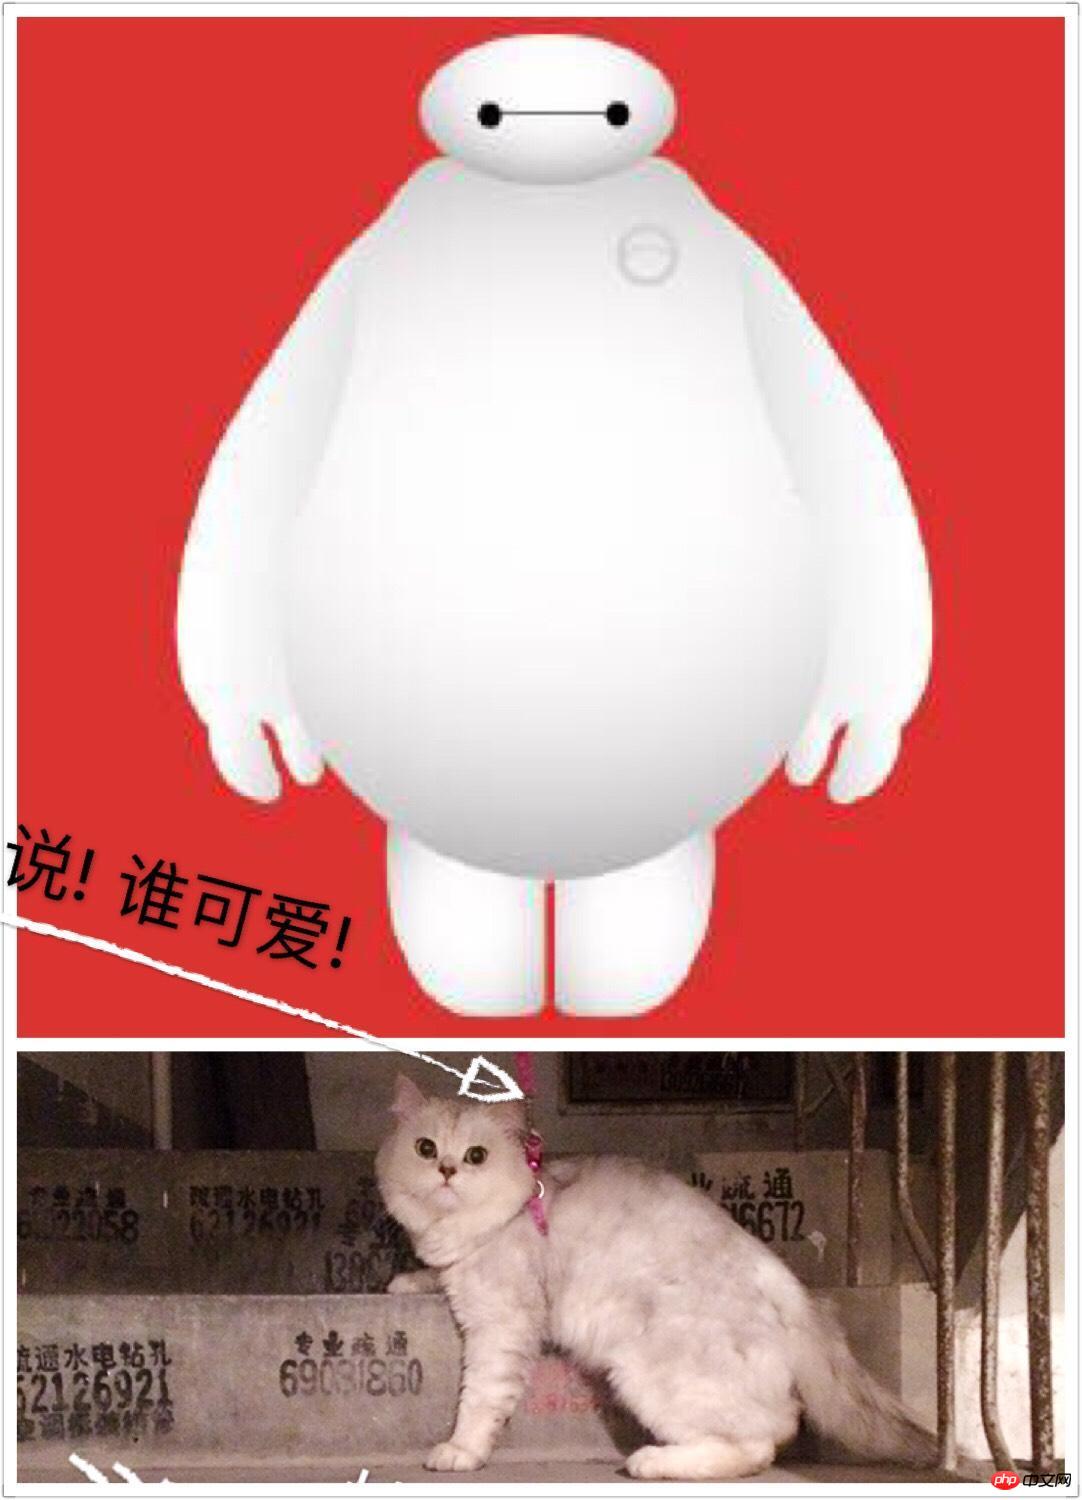

Everyone is an independent individual, and Dabai is no exception. Observe Dabai carefully. There is a round head with a pair of black eyes, a torso without abdominal muscles and a bare heart. A pair of thick arms on both sides of the round belly. If you look carefully, there are two cute little fingers. The last one Only thick elephant-like thighs can support this soft belly, haha~
Because Dabai is white, so We can define a dark background to highlight Dabai, so that we can see it at a glance on the vast screen, Oye~
/*使用了一个渐变色,没有做各个浏览器的兼容性处理*/body {background: linear-gradient(to bottom, #f91818 0%,#ea8181 100%);}Define a div container to control Dabai’s overall position on the screen
<!--定义大白的存放容器--><div id="baymax"></div>
#baymax {
  margin: 0 auto;/*设置为 居中*/
  height: 600px; /*设置高度*/
  overflow: hidden; /*隐藏溢出*/
}Dabai's head is an oval. The first thing that comes to mind when drawing an oval without using canvas is to draw a rectangle first and then use a rounded rectangle (border-radius, set to 50% to have a circular effect. ) method to draw.
There is a layer of gray shadow on the chin of the head. We just add a gray bottom border under the rectangle.
The eyes are also round. You can use the same method to position the eyes and mouth (is that a mouth?) relative to the corresponding positions on the head.
<!-- 定义头部,包括两个眼睛、嘴 -->
      <div id="head">
          <div id="eye">
          </div>
          <div id="eye2">
          </div>
          <div id="mouth">
          </div>
      </div>#head { height: 64px;width: 100px;  border-radius: 50%; /*以百分比定义圆角的形状*/  background: #fff; /*定义背景颜色*/  margin: 0 auto;/*头部居中*/  margin-bottom: -20px;/*这个是为了使头部与身体融为一体*/  border-bottom: 5px solid #e0e0e0; /*设置下边框的样式,制作阴影的效果*/  z-index: 100;  /*属性设置元素的堆叠顺序;拥有更高堆叠顺序的元素总是会
                           处于堆叠顺序较低的元素的前面*/  position: relative; /*生成相对定位的元素,方便眼睛和嘴巴的定位*/
}#eye,#eye2 {width: 11px;height: 13px;background: #282828;border-radius: 50%;  position: relative; /*生成相对定位的元素,相对于上层头部容器的位置*/  top: 30px;left: 27px;  transform: rotate(8deg);/*旋转该元素,让眼睛有一定的角度*/
}#eye2 {  transform: rotate(-8deg); /*使左右两只眼睛旋转对称*/  left: 69px; /*设置第二只眼睛相对于头部的位置*/  top: 17px;
}#mouth {width: 38px;height: 1.5px;background: #282828;  position: relative;/*生成相对定位的元素,相对于上层头部容器的位置*/  left: 34px;top: 10px;
}
<!-- 定义躯干,包括心脏 -->
      <div id="torso">
          <div id="heart">
          </div>
      </div>#torso {margin: 0 auto;height: 200px; width: 180px;background: #fff;  border-radius: 47%;/*设置圆角*/  border: 5px solid #e0e0e0;/*设置边框*/  border-top: none;/*因为顶部要跟头部做衔接,所以顶部不设置边框*/  z-index: 1;/*保证躯干堆叠在头部的里面*/
}
#heart{width:25px;height:25px;border-radius:50%;box-shadow:2px 5px 2px #ccc inset;/*向边框四周添加阴影效果*/position:relative;/*设置心脏相对于躯干的位置*/
right:-115px;top:40px;z-index:111;/*保证心脏堆叠在躯干的外面*/border:1px solid #ccc;
}
<!-- 定义肚子腹部,包括 cover(和躯干的连接处) -->
      <div id="belly">
          <div id="cover">
          </div>
      </div>#belly {  margin: 0 auto;height: 300px;width: 245px;  margin-top: -140px;/*将腹部往上移动,差不多移到躯干的中间位置*/  background: #fff;border-radius: 47%;  border: 5px solid #e0e0e0; /*设置边框*/  border-top: none;  z-index: 5;/*保证腹部堆叠在躯干的外面*/
}#cover {  width: 190px;background: #fff;height: 150px;margin: 0 auto;  position: relative;/*将cover部分相对定位到要遮挡的位置*/  top: -20px;border-radius: 50%;
}
<!-- 定义左臂,包括一大一小两个手指 -->      <div id="left-arm">          <div id="l-bigfinger">          </div>          <div id="l-smallfinger">          </div>      </div>      <!-- 定义右臂,同样包括一大一小两个手指 -->      <div id="right-arm">          <div id="r-bigfinger">          </div>          <div id="r-smallfinger">          </div>      </div>#left-arm,#right-arm {  height: 270px;width: 120px;border-radius: 50%;background: #fff;  margin: 0 auto;  position: relative; /*将手臂相对定位到相应的位置*/  top: -350px;left: -100px;  transform: rotate(20deg); /*将手臂(椭圆)顺时针旋转20度,更加贴合躯干*/
  z-index: -1;/*保证手臂堆叠在躯干的里面*/
}#right-arm {  transform: rotate(-20deg);/*右手臂(椭圆)相应的逆时针旋转20度,与左手臂对称*/  left: 100px;top: -620px;
}#l-bigfinger,#r-bigfinger {  height: 50px;width: 20px;border-radius: 50%;background: #fff;  position: relative;/*将大手指相对定位到相应的位置,并相应的旋转*/  top: 250px;left: 50px;transform: rotate(-50deg);
}#r-bigfinger {  left: 50px;transform: rotate(50deg);
}#l-smallfinger,#r-smallfinger {  height: 35px;width: 15px;border-radius: 50%;background: #fff;  position: relative;;/*将小手指相对定位到相应的位置,并相应的旋转*/  top: 195px; left: 66px;transform: rotate(-40deg);
}#r-smallfinger {  transform: rotate(40deg);left: 37px;
}
<!-- 定义左腿 -->
      <div id="left-leg">
      </div>
      <!-- 定义右腿 -->
      <div id="right-leg">
      </div>#left-leg,#right-leg {  height: 170px;width: 90px;  border-radius: 40% 30% 10px 45%;/*矩形的左上、右上、左下、右下各个角度画不同程度的圆角*/  background: #fff;  position: relative;/*相对定位到对应的位置*/  top: -640px;left: -45px;  transform: rotate(-1deg);  z-index: -2;/*保证腿部堆叠在最下面*/  margin: 0 auto;
}#right-leg {  border-radius:30% 40% 45% 10px;  top: -810px;left: 50px;  transform: rotate(1deg);
} Big white leg effect.png
<!DOCTYPE html><html><head><meta charset="utf-8"><meta content="IE=edge,chrome=1" http-equiv="X-UA-Compatible"><title>html+css实现大白的画法</title><meta content="" name="description"><meta content="" name="keywords">  <style type="text/css">  /*定义整体的背景色*/      body {background: linear-gradient(to bottom, #f91818 0%,#ea8181 100%);}
      #baymax {/*设置为 居中*/margin: 0 auto;/*高度*/height: 600px;/*隐藏溢出*/overflow: hidden;
}#head {height: 64px;width: 100px;/*以百分比定义圆角的形状*/border-radius: 50%;/*背景*/background: #fff;margin: 0 auto;margin-bottom: -20px;/*设置下边框的样式*/border-bottom: 5px solid #e0e0e0;/*属性设置元素的堆叠顺序;
    拥有更高堆叠顺序的元素总是会处于堆叠顺序较低的元素的前面*/z-index: 100;/*生成相对定位的元素*/position: relative;
}#eye,#eye2 {width: 11px;height: 13px;background: #282828;border-radius: 50%;position: relative;top: 30px;left: 27px;/*旋转该元素*/transform: rotate(8deg);
}#eye2 {/*使其旋转对称*/transform: rotate(-8deg);left: 69px;top: 17px;

}#mouth {width: 38px;height: 1.5px;background: #282828;position: relative;left: 34px;top: 10px;
}#torso,#belly {margin: 0 auto;height: 200px;width: 180px;background: #fff;border-radius: 47%;/*设置边框*/border: 5px solid #e0e0e0;border-top: none;z-index: 1;
}#belly {height: 300px;width: 245px;margin-top: -140px;z-index: 5;
}#cover {width: 190px;background: #fff;height: 150px;margin: 0 auto;position: relative;top: -20px;border-radius: 50%;
}#heart{  width:25px;  height:25px;  border-radius:50%;  position:relative;  /*向边框四周添加阴影效果*/  box-shadow:2px 5px 2px #ccc inset;  right:-115px;  top:40px;  z-index:111;  border:1px solid #ccc;
}#left-arm,#right-arm {height: 270px;width: 120px;border-radius: 50%;background: #fff;margin: 0 auto;position: relative;top: -350px;left: -100px;transform: rotate(20deg);z-index: -1;
}#right-arm {transform: rotate(-20deg);left: 100px;top: -620px;
}#l-bigfinger,#r-bigfinger {height: 50px;width: 20px;border-radius: 50%;background: #fff;position: relative;top: 250px;left: 50px;transform: rotate(-50deg);
}#r-bigfinger {left: 50px;transform: rotate(50deg);
}#l-smallfinger,#r-smallfinger {height: 35px;width: 15px;border-radius: 50%;background: #fff;position: relative;top: 195px;left: 66px;transform: rotate(-40deg);
}#r-smallfinger {background: #fff;transform: rotate(40deg);top: 195px;left: 37px;
}#left-leg,The above is the detailed content of HTML implements a cute Dabai graphic and text example. For more information, please follow other related articles on the PHP Chinese website!


