How to use CorelDRAW to create barcodes? CorelDRAW X4 is a powerful vector graphics design software that can be used to create a variety of design elements, including barcodes. If you're looking for a way to create barcodes with CorelDRAW, you've come to the right place. This guide will show you how to use CorelDRAW to create and customize barcodes, allowing you to easily manage inventory, track products, or transfer data. PHP editor Yuzai has prepared a step-by-step tutorial that will guide you through the process of creating CorelDRAW barcodes. Whether you're new to graphic design or a seasoned pro, this guide will help you get started quickly and create high-quality barcodes. Read on to learn more and make your own CorelDRAW barcodes.
1. First open CorelDRAW.
2. After opening, click File on the menu bar and click New in the pop-up dialog box.

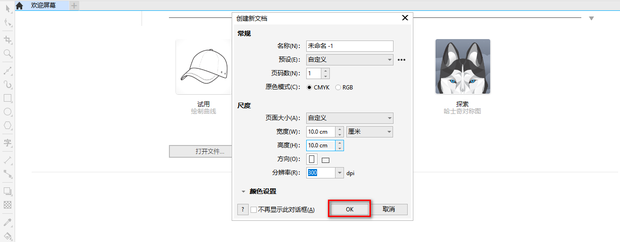
3. Set various options in the pop-up Create New Document window and click OK.

4. Then click the Object tab in the menu bar, place the mouse on Insert in the pop-up dialog box, and then click Barcode.

5. Enter the barcode code in the pop-up barcode wizard window, and then click Next.

6. Then set the resolution, barcode width and height, etc. After the settings are completed, click Next.

7. Then set the font and alignment and other settings. After the settings are completed, click Finish.

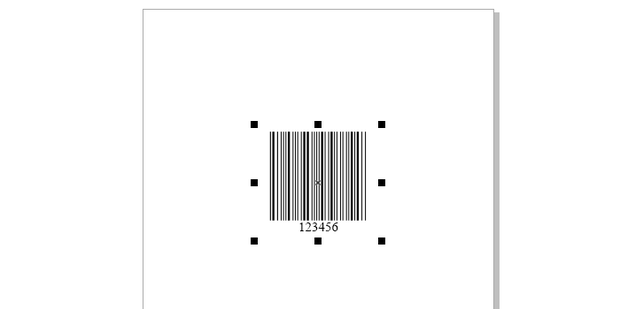
8. This generates a barcode.

The above is the detailed content of How to generate barcode in coreldraw How to generate barcode in coreldraw. For more information, please follow other related articles on the PHP Chinese website!


