In our daily work, we often encounter the need to draw balcony railings. For Revit users, it is very important to be able to skillfully operate railing drawing. For this reason, PHP editor Xiaoxin specially brings this article to introduce in detail the steps of drawing balcony railings in Revit. The following content will step by step guide you to understand how to use Revit to quickly and efficiently complete railing drawing tasks, helping you improve work efficiency and save design time.
1. Adaptive environment modeling
Select the adaptive conventional model for modeling, as shown in the figure.

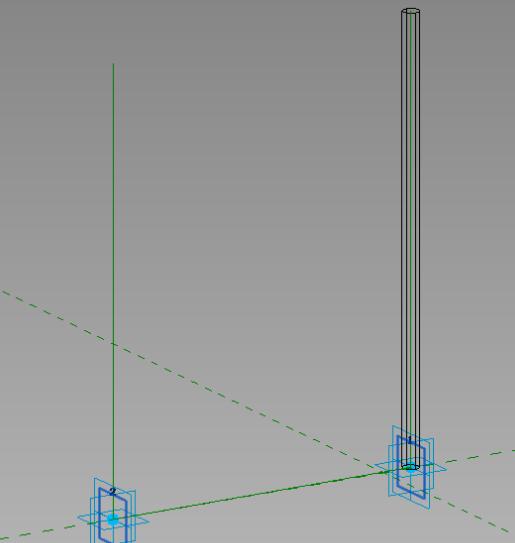
2. Place a reference point in the project, make it adaptive and modify its [Orient to] parameter to [Global (xyz)], set the working plane and place it on this plane Draw the railing columns. The radius can be changed by adding parameters, as shown in the figure.

3. Create another adaptive point and modify its [Orient to] parameter to [Global (xyz)]. Use the reference line to connect the two self-adaptive points with the three-dimensional capture turned on. Connect the adaptive points and drag one of the adaptive point reference lines to follow the movement, as shown in the figure.

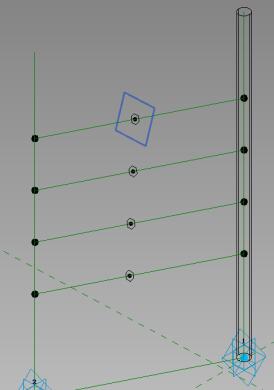
4. Set any vertical plane at adaptive point No. 1 as the working plane to draw a vertical reference line, and use the same method to create a similar line at adaptive point No. 2. Reference lines, as shown.

5. Take equidistant points on two vertical reference lines and connect them two by two with reference lines. Move the adaptive points and all the connected lines should change at the same time, such as As shown in the figure.

6. Pick a point on the horizontal reference line and set the elevation where the point is located to draw a circle for the working surface, as shown in the figure.

7. Use reference lines and circles to generate entities, and the coloring effect is as shown in the figure.

8. Create a spline curve in the volume environment and divide the path. Load the prepared railing model and click two adjacent points on the path one after another, as shown in the figure. .

9. Select the railings and use the repeat command to generate railings in batches. A separate column can be added at the end to complete the overall railing layout, as shown in the figure.

10. The use of adaptive railing components perfectly solves the difficulties of the path and is suitable for railing layout in any situation, as shown in the figure.

The above is the detailed content of How to draw balcony railings in Revit. For more information, please follow other related articles on the PHP Chinese website!


