
When designing with Adobe Illustrator CS6, it is often necessary to adjust line thickness to achieve different visual effects. This article is compiled by PHP editor Zimo. It will introduce in detail how to set the line thickness, leading everyone to easily master this technique and improve the design level.
The first method:
We first open the Adobe Illustrator CS6 software
Then we first draw a curve, and then select the width tool, or the shortcut key shift+w
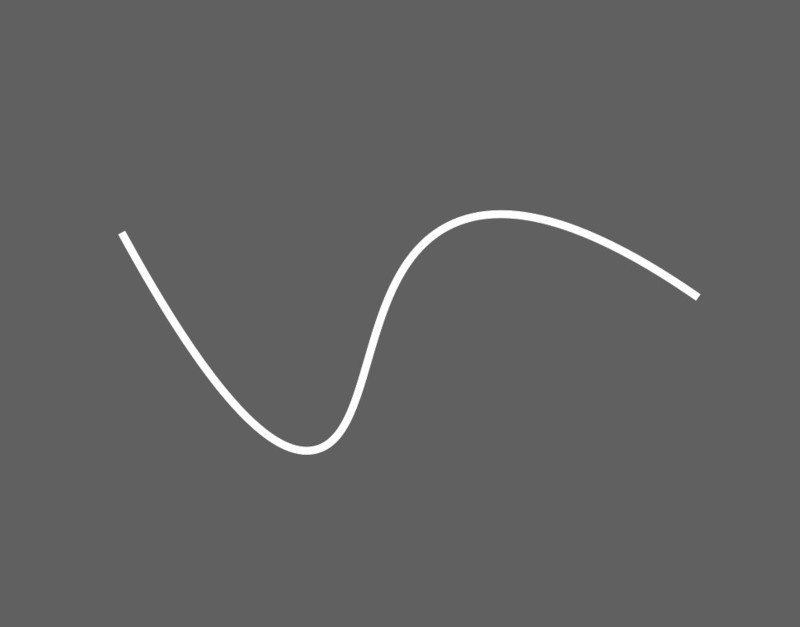
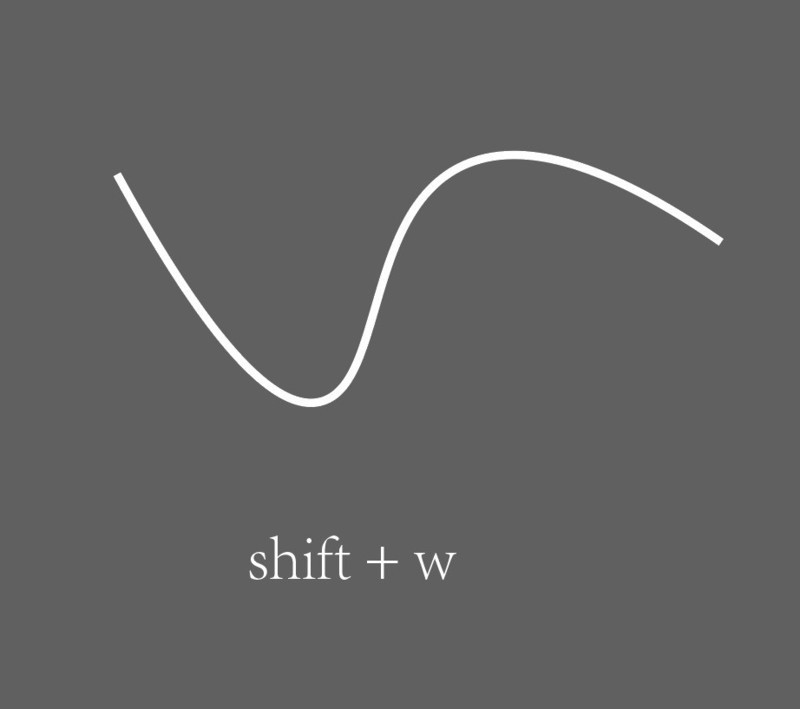

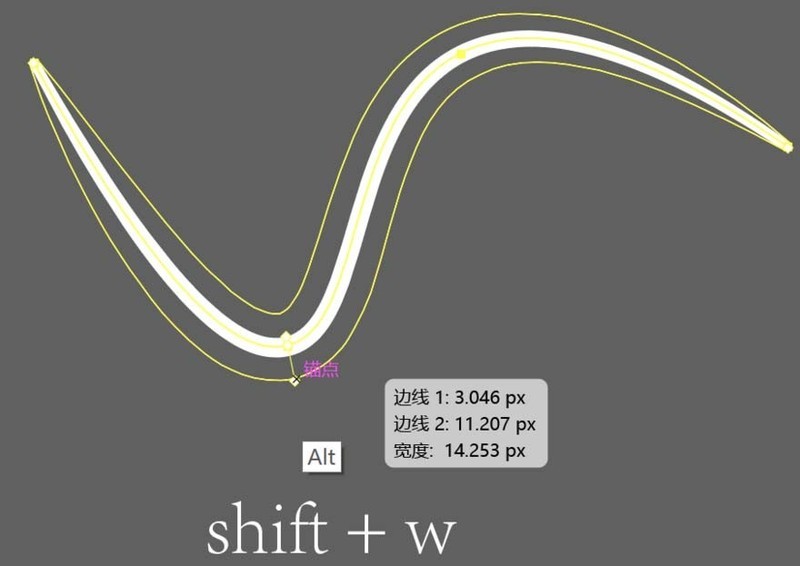
Then we press and hold and pull apart, adjust to the width we like and then release the mouse, ok! You can adjust the width anywhere on the curve, but it's best to change the width at the anchor point so the line will be smoother.
Second method:
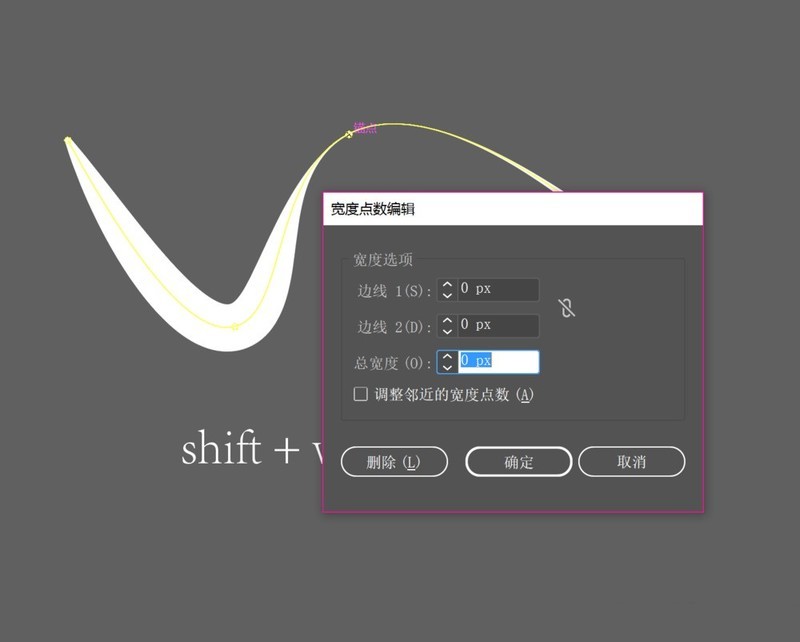
If you want a very precise width, it is very simple. Double-click the anchor point position with the width tool selected. The tool box below will pop up, enter your values, and you can freely choose whether to make it wider at the top or narrower at the bottom. If you only enter the total width, AI will default to the same width from top to bottom.
Finally, if the width is set too much and the curve is not smooth, there are two solutions.
1) Find the width anchor point you set, double-click it, and there will be a delete option.
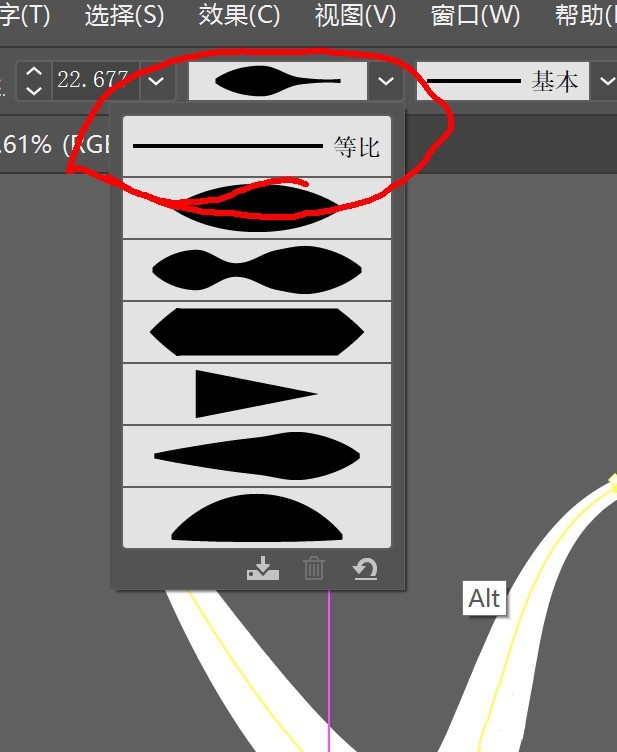
2) Return to the selection tool, select the curve, and then adjust the style back to basic.
Everyone has finished reading
The above is the detailed content of Introduction to the specific method of setting line thickness in Adobe Illustrator CS6. For more information, please follow other related articles on the PHP Chinese website!


