This article will give you an in-depth analysis ofVSCodecode highlighting principles. It has certain reference value. Friends in need can refer to it. I hope it will be helpful to everyone.

The full text is 5,000 words, explaining the code highlighting implementation principle behind vscode. Welcome to like, follow and forward.
Vscode’s code highlighting, code completion, error diagnosis, jump definition and other language functions are jointly implemented by two extension solutions, including:
[Recommended study: "vscode tutorial"]
The functional scope of the two solutions increases step by step, and accordingly the technical complexity and implementation cost also increase step by step. This article will briefly introduce the working process and characteristics of the two solutions, what work each accomplishes, how they write each other, and combined with actual cases to reveal step by step the implementation principle of the vscode code highlighting function:
Before introducing the principle of vscode code highlighting, it is necessary to familiarize yourself with the underlying architecture of vscode. Similar to Webpack, vscode itself only implements a set of shelves. The commands, styles, status, debugging and other functions inside the shelf are all provided in the form of plug-ins. vscode provides five external expansion capabilities:
Among them, the code highlighting function is implemented by thelanguage extensionclass plug-in, which can be subdivided according to the implementation method:
The declarative version has high performance but weak capabilities; the programmatic version has low performance and strong capabilities. Language plug-in developers can usually use a mix of methods, using declarative interfaces to identify lexical tokens in the shortest possible time and provide basic syntax highlighting functions; and then use programmatic interfaces to dynamically analyze content and provide more advanced features such as error diagnosis, intelligent prompts, etc.
The declarative language extension in Vscode is based on the TextMate lexical analysis engine; the programmatic language extension is based on the semantic analysis interface, thevscode.language.*interface, and the Language Server Protocol. Implementation, the basic logic of each technical solution is introduced below.
Lexical Analysisis the conversion of character sequences intomarks (tokens)# in computer science ## sequence process, andmark (token)is the smallest unit that constitutes source code. Lexical analysis technology is widely used in compilation, IDE and other fields.
For example, the lexical engine of vscode analyzes the token sequence and then applies the highlighting style according to the token type. This process can be simply divided into two steps: word segmentation and style application.References:https://macromates.com/manual/en/language\_grammars
- https: //code.visualstudio.com/api/language-extensions/syntax-highlight-guide
-*/%and other operators;var/constand other keywords;1234or"tecvan"constant values, etc. Simply put, it is to identify where a certain word is from a piece of text.
Vscode 底层的TextMate引擎基于正则匹配实现分词功能,运行时逐行扫描文本内容,用预定义的rule集合测试文本行中是否包含匹配特定正则的内容,例如对于下面的规则配置:
{ "patterns": [ { "name": "keyword.control", "match": "\b(if|while|for|return)\b" } ] }
示例中,patterns用于定义规则集合,match属性定于用于匹配 token 的正则,name属性声明该 token 的分类(scope),TextMate 分词过程遇到匹配match正则的内容时,会将其看作单独 token 处理并分类为name声明的keyword.control类型。
上述示例会将if/while/for/return关键词识别为keyword.control类型,但无法识别其它关键字:

在 TextMate 语境中,scope 是一种.分割的层级结构,例如keyword与keyword.control形成父子层级,这种层级结构在样式处理逻辑中能实现一种类似 css 选择器的匹配,后面会讲到细节。
上述示例配置对象在 TextMate 语境下被称作 Language Rule,除了match用于匹配单行内容,还可以使用begin + end属性对匹配更复杂的跨行场景。从begin到end所识别到的范围内,都认为是name类型的 token,比如在vuejs/vetur插件的syntaxes/vue.tmLanguage.json文件中有这么一段配置:
{ "name": "Vue", "scopeName": "source.vue", "patterns": [ { "begin": "(<)(style)(?![^/>]*/>\\s*$)", // 虚构字段,方便解释 "name": "tag.style.vue", "beginCaptures": { "1": { "name": "punctuation.definition.tag.begin.html" }, "2": { "name": "entity.name.tag.style.html" } }, "end": "()", "endCaptures": { "1": { "name": "punctuation.definition.tag.begin.html" }, "2": { "name": "entity.name.tag.style.html" }, "3": { "name": "punctuation.definition.tag.end.html" } } } ] }
配置中,begin用于匹配语句,且整个语句被赋予 scope 为tag.style.vue。此外,语句中字符被beginCaptures、endCaptures属性分配成不同的 scope 类型:
这里从begin到beginCaptures,从end到endCaptures形成了某种程度的复合结构,从而实现一次匹配多行内容。
在上述begin + end基础上,TextMate 还支持以子patterns方式定义嵌套的语言规则,例如:
{ "name": "lng", "patterns": [ { "begin": "^lng`", "end": "`", "name": "tecvan.lng.outline", "patterns": [ { "match": "tec", "name": "tecvan.lng.prefix" }, { "match": "van", "name": "tecvan.lng.name" } ] } ], "scopeName": "tecvan" }
配置识别lng`到`之间的字符串,并分类为tecvan.lng.outline。之后,递归处理两者之间的内容并按照子patterns规则匹配出更具体的 token ,例如对于:
lng`awesome tecvan
可识别出分词:
lng`awesome tecvan`,scope 为tecvan.lng.outlinetec,scope 为tecvan.lng.prefixvan,scope 为tecvan.lng.nameTextMate 还支持语言级别的嵌套,例如:
{ "name": "lng", "patterns": [ { "begin": "^lng`", "end": "`", "name": "tecvan.lng.outline", "contentName": "source.js" } ], "scopeName": "tecvan" }
基于上述配置,lng`到`之间的内容都会识别为contentName指定的source.js语句。
词法高亮本质上就是先按上述规则将原始文本拆解成多个具类的 token 序列,之后按照 token 的类型适配不同的样式。TextMate 在分词基础上提供了一套按照 token 类型字段 scope 配置样式的功能结构,例如:
{ "tokenColors": [ { "scope": "tecvan", "settings": { "foreground": "#eee" } }, { "scope": "tecvan.lng.prefix", "settings": { "foreground": "#F44747" } }, { "scope": "tecvan.lng.name", "settings": { "foreground": "#007acc", } } ] }
示例中,scope属性支持一种被称作Scope Selectors的匹配模式,这种模式与 css 选择器类似,支持:
scope = tecvan.lng.prefix能够匹配tecvan.lng.prefix类型的token;特别的scope = tecvan能够匹配tecvan.lng、tecvan.lng.prefix等子类型的 tokenscope = text.html source.js用于匹配 html 文档中的 JavaScript 代码scope = string, comment用于匹配字符串或备注插件开发者可以自定义 scope 也可以选择复用 TextMate 内置的许多 scope ,包括 comment、constant、entity、invalid、keyword 等,完整列表请查阅官网。
settings属性则用于设置该 token 的表现样式,支持foreground、background、bold、italic、underline 等样式属性。
看完原理我们来拆解一个实际案例:github.com/mrmlnc/vsco…,json5是 JSON 扩展协议,旨在使人类更易于手动编写和维护,支持备注、单引号、十六进制数字等特性,这些拓展特性需要使用 vscode-json5 插件实现高亮效果:
上图中,左边是没有启动 vscode-json5 的效果,右边是启动后的效果。
vscode-json5 插件源码很简单,两个关键点:
package.json文件中声明插件的contributes属性,可以理解为插件的入口:"contributes": { // 语言配置 "languages": [{ "id": "json5", "aliases": ["JSON5", "json5"], "extensions": [".json5"], "configuration": "./json5.configuration.json" }], // 语法配置 "grammars": [{ "language": "json5", "scopeName": "source.json5", "path": "./syntaxes/json5.json" }] }
./syntaxes/json5.json中按照 TextMate 的要求定义 Language Rule:{ "scopeName": "source.json5", "fileTypes": ["json5"], "name": "JSON5", "patterns": [ { "include": "#array" }, { "include": "#constant" } // ... ], "repository": { "array": { "begin": "\\[", "beginCaptures": { "0": { "name": "punctuation.definition.array.begin.json5" } }, "end": "\\]", "endCaptures": { "0": { "name": "punctuation.definition.array.end.json5" } }, "name": "meta.structure.array.json5" // ... }, "constant": { "match": "\\b(?:true|false|null|Infinity|NaN)\\b", "name": "constant.language.json5" } // ... } }
OK,结束了,没了,就是这么简单,之后 vscode 就可以根据这份配置适配 json5 的语法高亮规则。
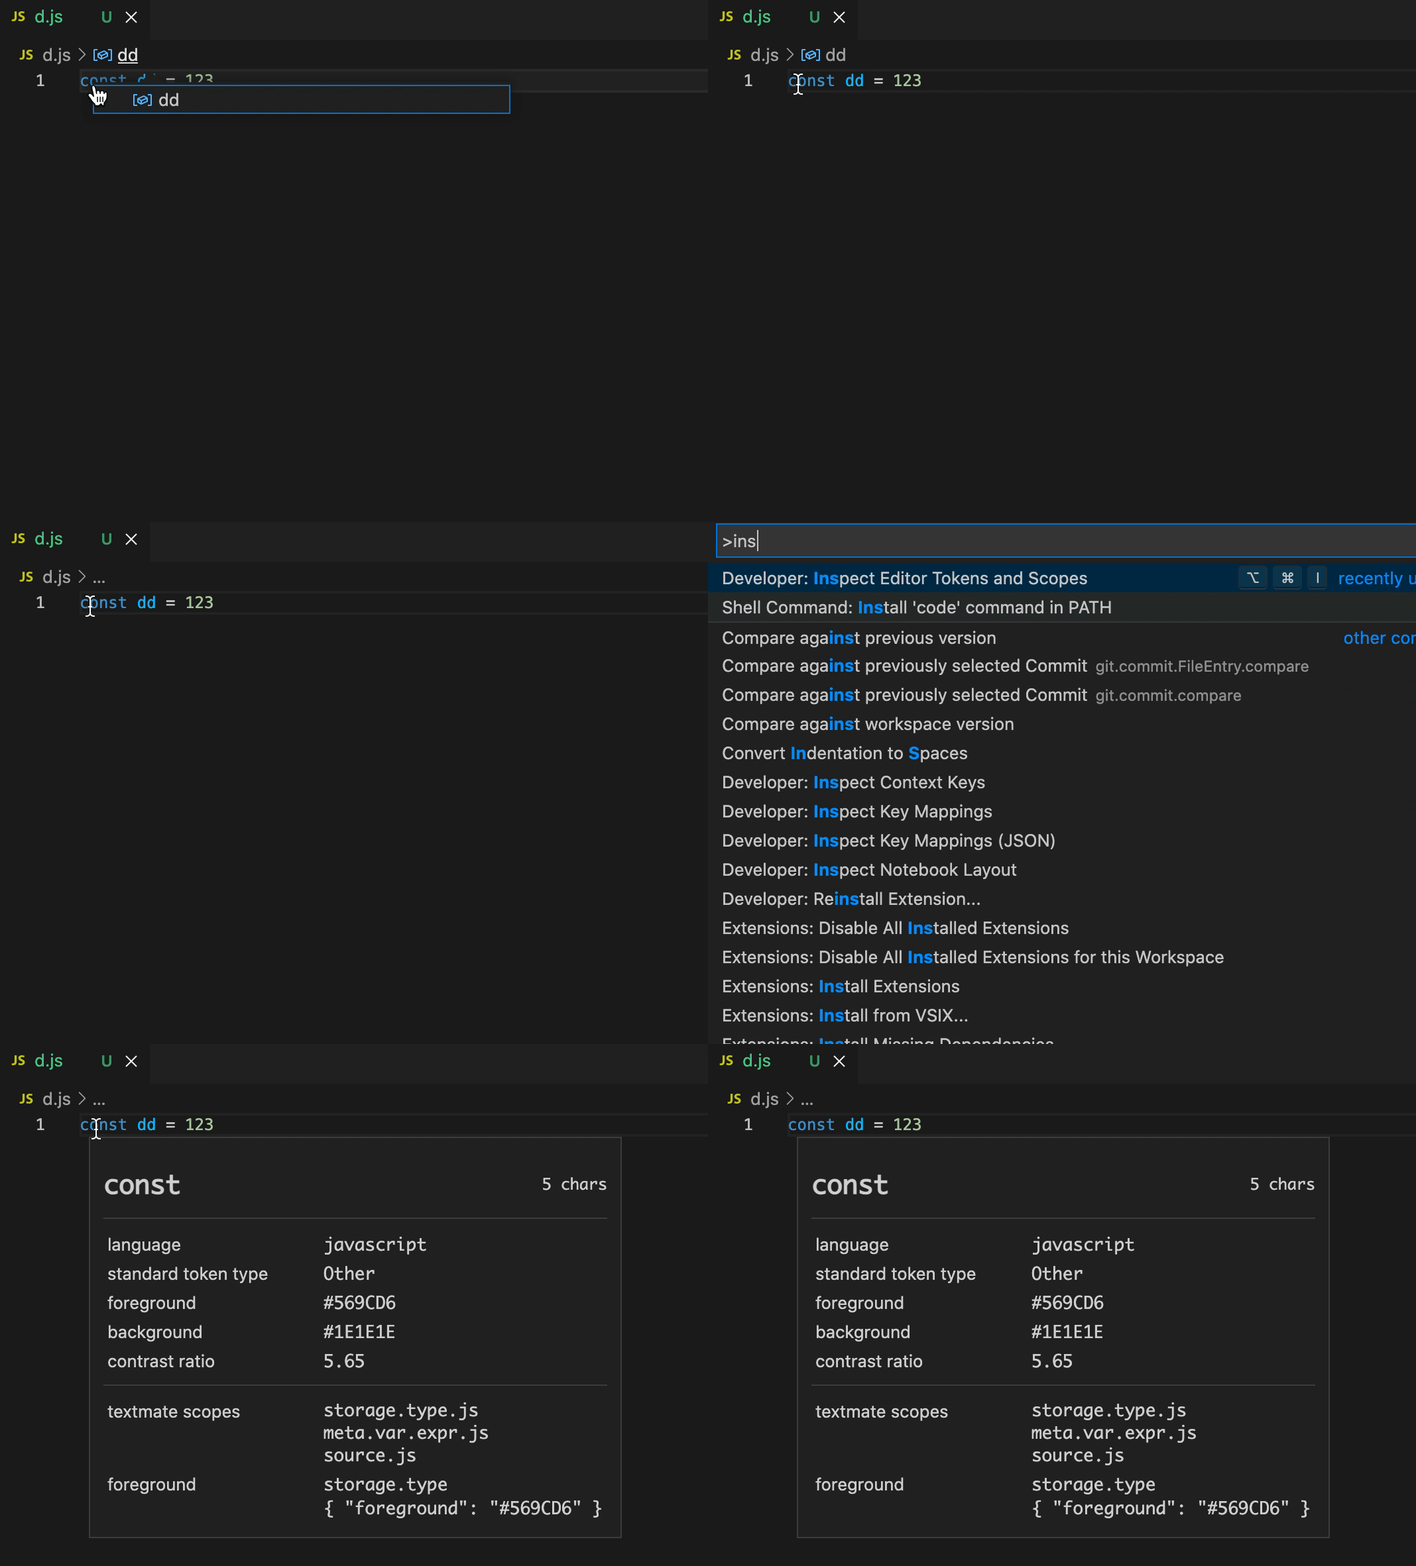
Vscode 内置了一套 scope inspect 工具,用于调试 TextMate 检测出的 token、scope 信息,使用时只需要将编辑器光标 focus 到特定 token 上,快捷键ctrl + shift + p打开 vscode 命令面板后输出Developer: Inspect Editor Tokens and Scopes命令并回车:

命令运行后就可以看到分词 token 的语言、scope、样式等信息。
词法分析引擎 TextMate 本质上是一种基于正则的静态词法分析器,优点是接入方式标准化,成本低且运行效率较高,缺点是静态代码分析很难实现某些上下文相关的 IDE 功能,例如对于下面的代码:

注意代码第一行函数参数languageModes与第二行函数体内的languageModes是同一实体但是没有实现相同的样式,视觉上没有形成联动。
为此,vscode 在 TextMate 引擎之外提供了三种更强大也更复杂的语言特性扩展机制:
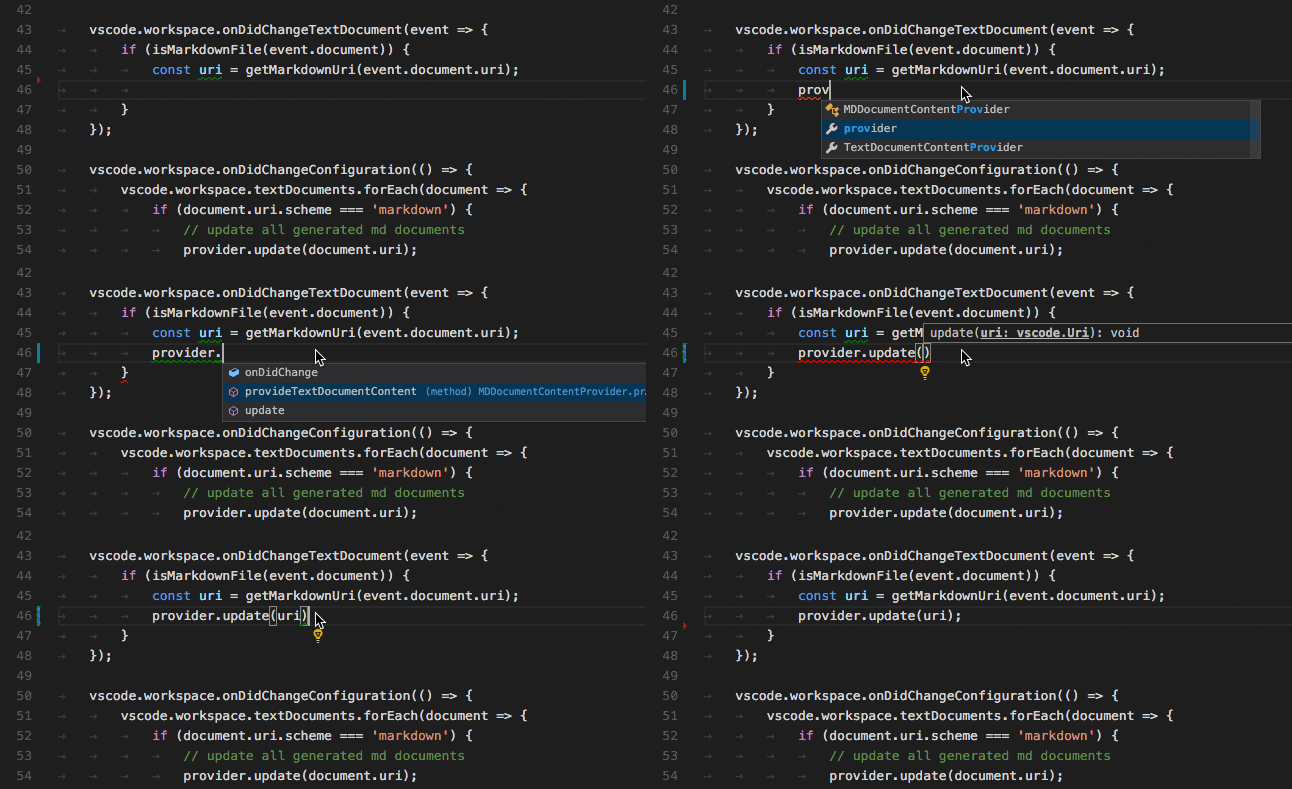
DocumentSemanticTokensProvider实现可编程的语义分析vscode.languages.*下的接口监听各类编程行为事件,在特定时间节点实现语义分析相比于上面介绍的声明式的词法高亮,语言特性接口更灵活,能够实现诸如错误诊断、候选词、智能提示、定义跳转等高级功能。
参考资料:
- https://code.visualstudio.com/api/language-extensions/semantic-highlight-guide
- https://code.visualstudio.com/api/language-extensions/programmatic-language-features
- https://code.visualstudio.com/api/language-extensions/language-server-extension-guide
Sematic Tokens Provider是 vscode 内置的一种对象协议,它需要自行扫描代码文件内容,然后以整数数组形式返回语义 token 序列,告诉 vscode 在文件的哪一行、那一列、多长的区间内是一个什么类型的 token。
注意区分一下,TextMate 中的扫描是引擎驱动的,逐行匹配正则,而Sematic Tokens Provider场景下扫描规则、匹配规则都交由插件开发者自行实现,灵活性增强但相对的开发成本也会更高。
实现上,Sematic Tokens Provider以vscode.DocumentSemanticTokensProvider接口定义,开发者可以按需实现两个方法:
provideDocumentSemanticTokens:全量分析代码文件语义provideDocumentSemanticTokensEdits:增量分析正在编辑模块的语义我们来看个完整的示例:
import * as vscode from 'vscode'; const tokenTypes = ['class', 'interface', 'enum', 'function', 'variable']; const tokenModifiers = ['declaration', 'documentation']; const legend = new vscode.SemanticTokensLegend(tokenTypes, tokenModifiers); const provider: vscode.DocumentSemanticTokensProvider = { provideDocumentSemanticTokens( document: vscode.TextDocument ): vscode.ProviderResult { const tokensBuilder = new vscode.SemanticTokensBuilder(legend); tokensBuilder.push( new vscode.Range(new vscode.Position(0, 3), new vscode.Position(0, 8)), tokenTypes[0], [tokenModifiers[0]] ); return tokensBuilder.build(); } }; const selector = { language: 'javascript', scheme: 'file' }; vscode.languages.registerDocumentSemanticTokensProvider(selector, provider, legend);
相信大多数读者对这段代码都会觉得陌生,我想了很久,觉得还是从函数输出的角度开始讲起比较容易理解,也就是上例代码第 17 行tokensBuilder.build()。
provideDocumentSemanticTokens函数要求返回一个整数数组,数组项按 5 位为一组分别表示:
5 * i位,token 所在行相对于上一个 token 的偏移5 * i + 1位,token 所在列相对于上一个 token 的偏移5 * i + 2位,token 长度5 * i + 3位,token 的 type 值5 * i + 4位,token 的 modifier 值我们需要理解这是一个位置强相关的整数数组,数组中每 5 个项描述一个 token 的位置、类型。token 位置由所在行、列、长度三个数字组成,而为了压缩数据的大小 vscode 有意设计成相对位移的形式,例如对于这样的代码:
const name as
假如只是简单地按空格分割,那么这里可以解析出三个 token:const、name、as,对应的描述数组为:
[ // 对应第一个 token:const 0, 0, 5, x, x, // 对应第二个 token: name 0, 6, 4, x, x, // 第三个 token:as 0, 5, 2, x, x ]
注意这里是以相对前一个 token 位置的形式描述的,比如as字符对应的 5 个数字的语义为:相对前一个 token 偏移 0 行、5 列,长度为 2 ,类型为 xx。
剩下的第5 * i + 3位与第5 * i + 4位分别描述 token 的 type 与 modifier,其中 type 指示 token 的类型,例如 comment、class、function、namespace 等等;modifier 是类型基础上的修饰器,可以近似理解为子类型,比如对于 class 有可能是 abstract 的,也有可能是从标准库导出 defaultLibrary。
type、modifier 的具体数值需要开发者自行定义,例如上例中:
const tokenTypes = ['class', 'interface', 'enum', 'function', 'variable']; const tokenModifiers = ['declaration', 'documentation']; const legend = new vscode.SemanticTokensLegend(tokenTypes, tokenModifiers); // ... vscode.languages.registerDocumentSemanticTokensProvider(selector, provider, legend);
首先通过vscode. SemanticTokensLegend类构建 type、modifier 的内部表示legend对象,之后使用vscode.languages.registerDocumentSemanticTokensProvider接口与 provider 一起注册到 vscode 中。
上例中provider的主要作用就是遍历分析文件内容,返回符合上述规则的整数数组,vscode 对具体的分析方法并没有做限定,只是提供了用于构建 token 描述数组的工具SemanticTokensBuilder,例如上例中:
const provider: vscode.DocumentSemanticTokensProvider = { provideDocumentSemanticTokens( document: vscode.TextDocument ): vscode.ProviderResult { const tokensBuilder = new vscode.SemanticTokensBuilder(legend); tokensBuilder.push( new vscode.Range(new vscode.Position(0, 3), new vscode.Position(0, 8)), tokenTypes[0], [tokenModifiers[0]] ); return tokensBuilder.build(); } };
代码使用 SemanticTokensBuilder 接口构建并返回了一个[0, 3, 5, 0, 0]的数组,即第 0 行,第 3 列,长度为 5 的字符串,type =0,modifier = 0,运行效果:

除了这一段被识别出的 token 外,其它字符都被认为不可识别。
本质上,DocumentSemanticTokensProvider只是提供了一套粗糙的 IOC 接口,开发者能做的事情比较有限,所以现在大多数插件都没有采用这种方案,读者理解即可,不必深究。
相对而言,vscode.languages.*系列 API 所提供的语言扩展能力可能更符合前端开发者的思维习惯。vscode.languages.*托管了一系列用户交互行为的处理、归类逻辑,并以事件接口方式开放出来,插件开发者只需监听这些事件,根据参数推断语言特性,并按规则返回结果即可。
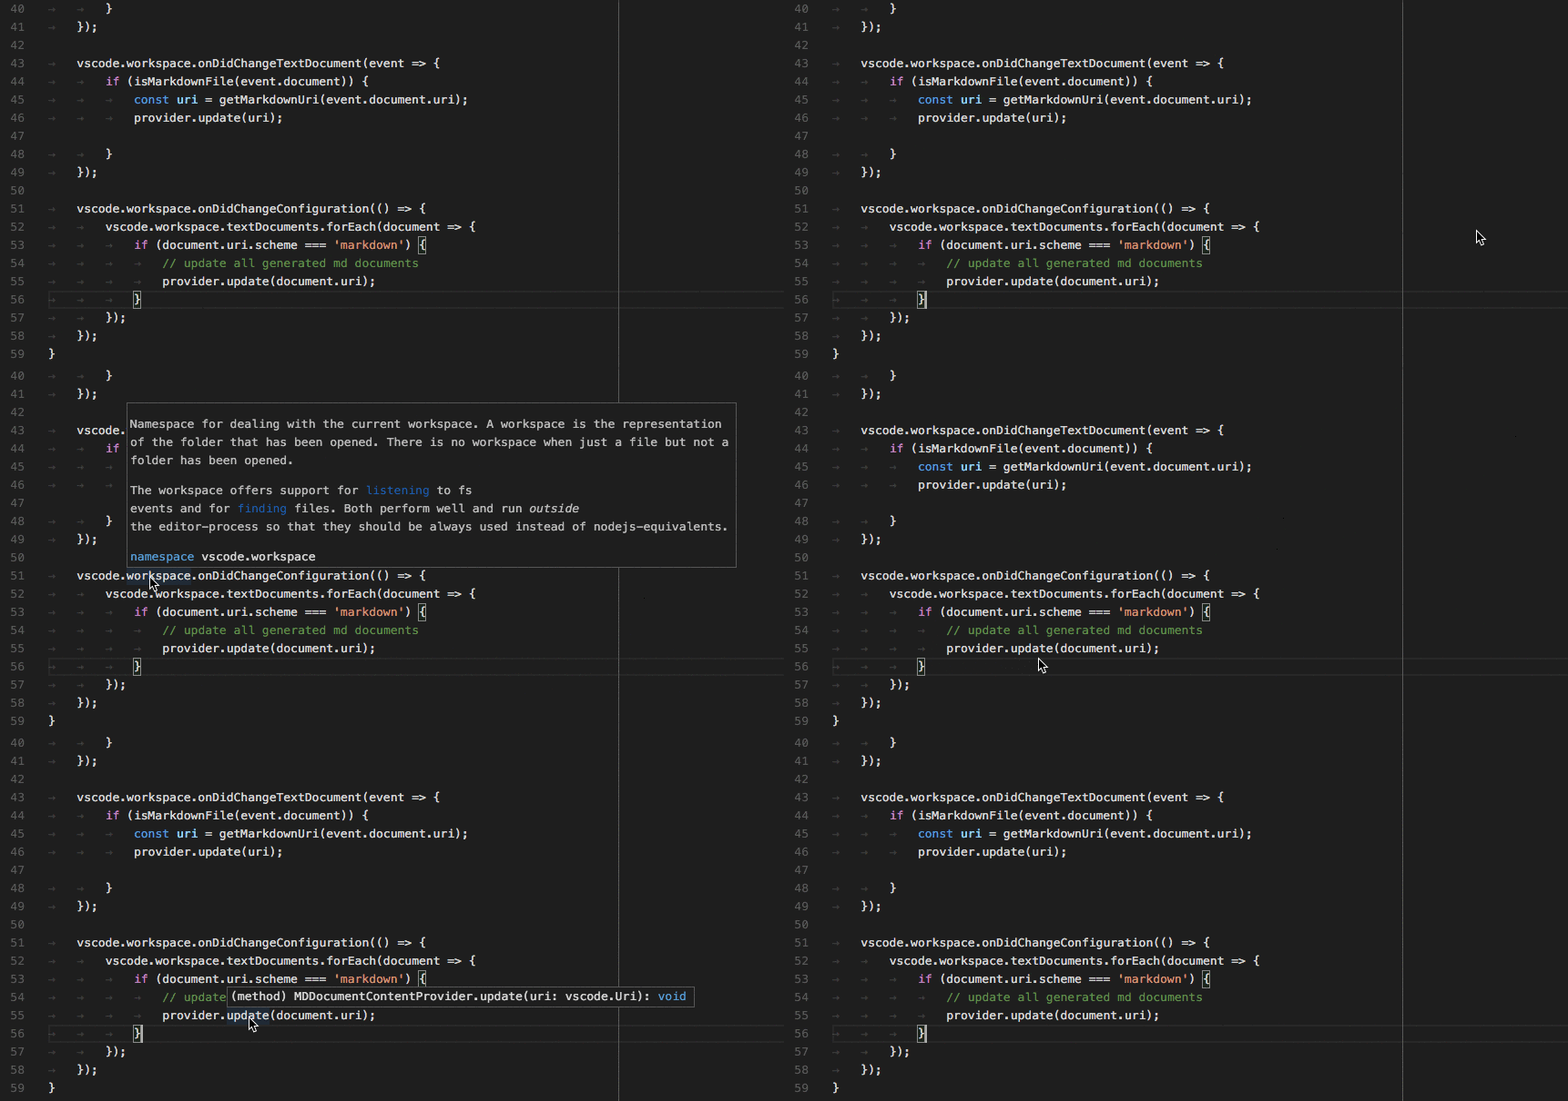
Vscode Language API 提供了很多事件接口,比如说:


完整的列表请查阅 https://code.visualstudio.com/api/language-extensions/programmatic-language-features#show-hovers 一文。
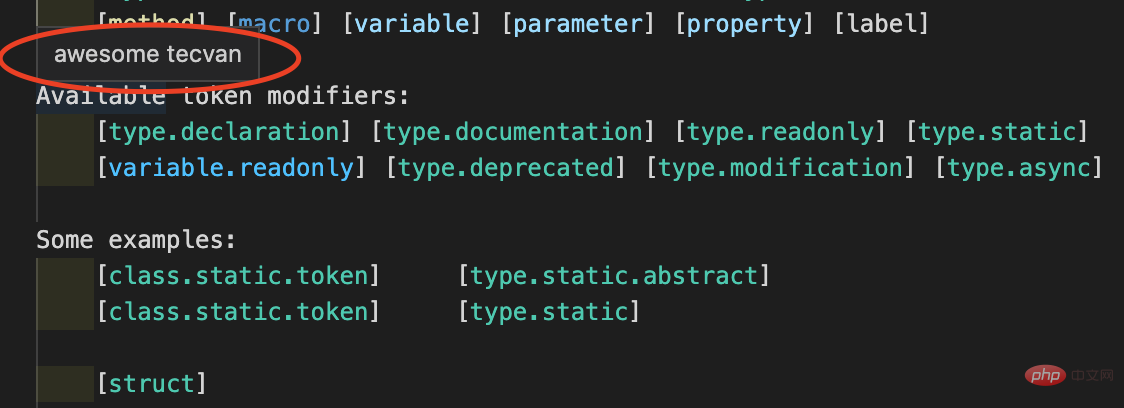
Hover 功能实现分两步,首先需要在package.json中声明 hover 特性:
{ ... "main": "out/extensions.js", "capabilities" : { "hoverProvider" : "true", ... } }
之后,需要在activate函数中调用registerHoverProvider注册 hover 回调:
export function activate(ctx: vscode.ExtensionContext): void { ... vscode.languages.registerHoverProvider('language name', { provideHover(document, position, token) { return { contents: ['aweome tecvan'] }; } }); ... }
运行结果:

其它特性功能的写法与此相似,感兴趣的同学建议到官网自行查阅。
上述基于语言扩展插件的代码高亮方法有一个相似的问题:难以在编辑器间复用,同一个语言,需要根据编辑器环境、语言重复编写功能相似的支持插件,那么对于 n 种语言,m 中编辑器,这里面的开发成本就是n * m。
为了解决这个问题,微软提出了一种叫做 Language Server Protocol 的标准协议,语言功能插件与编辑器之间不再直接通讯,而是通过 LSP 做一层隔离:
增加 LSP 层带来两个好处:
虽然 LSP 与上述 Language API 能力上几乎相同,但借助这两个优点大大提升了插件的开发效率,目前很多 vscode 语言类插件都已经迁移到 LSP 实现,包括 vetur、eslint、Python for VSCode 等知名插件。
Vscode 中的 LSP 架构包含两部分:
做个类比,LSP 就是经过架构优化的 Language API,原来由单个 provider 函数实现的功能拆解为 Client + Server 两端跨语言架构,Client 与 vscode 交互并实现请求转发;Server 执行代码分析动作,并提供高亮、补全、提示等功能,如下图:
LSP 稍微有一点点复杂,建议读者先拉下 vscode 官方示例对比学习:
git clone https://github.com/microsoft/vscode-extension-samples.git cd vscode-extension-samples/lsp-sample yarn yarn compile code .
vscode-extension-samples/lsp-sample 的主要代码文件有:
. ├── client // Language Client │ ├── src │ │ └── extension.ts // Language Client 入口文件 ├── package.json └── server // Language Server └── src └── server.ts // Language Server 入口文件
样例代码中有几个关键点:
在package.json中声明激活条件与插件入口
编写入口文件client/src/extension.ts,启动 LSP 服务
编写 LSP 服务即server/src/server.ts,实现 LSP 协议
逻辑上,vscode 会在加载插件时根据package.json的配置判断激活条件,之后加载、运行插件入口,启动 LSP 服务器。插件启动后,后续用户在 vscode 的交互行为会以标准事件,如 hover、completion、signature help 等方式触发插件的 client ,client 再按照 LSP 协议转发到 server 层。
下面我们拆开看看三个模块的细节。
示例 vscode-extension-samples/lsp-sample 中的package.json有两个关键配置:
{ "activationEvents": [ "onLanguage:plaintext" ], "main": "./client/out/extension", }
其中:
activationEvents: 声明插件的激活条件,代码中的onLanguage:plaintext意为打开 txt 文本文件时激活main: 插件的入口文件示例 vscode-extension-samples/lsp-sample 中的 Client 入口代码,关键部分如下:
export function activate(context: ExtensionContext) { // Server 配置信息 const serverOptions: ServerOptions = { run: { // Server 模块的入口文件 module: context.asAbsolutePath( path.join('server', 'out', 'server.js') ), // 通讯协议,支持 stdio、ipc、pipe、socket transport: TransportKind.ipc }, }; // Client 配置 const clientOptions: LanguageClientOptions = { // 与 packages.json 文件的 activationEvents 类似 // 插件的激活条件 documentSelector: [{ scheme: 'file', language: 'plaintext' }], // ... }; // 使用 Server、Client 配置创建代理对象 const client = new LanguageClient( 'languageServerExample', 'Language Server Example', serverOptions, clientOptions ); client.start(); }
代码脉络很清晰,先是定义 Server、Client 配置对象,之后创建并启动了LanguageClient实例。从实例可以看到,Client 这一层可以做的很薄,在 Node 环境下大部分转发逻辑都被封装在LanguageClient类中,开发者无需关心细节。
示例 vscode-extension-samples/lsp-sample 中的 Server 代码实现了错误诊断、代码补全功能,作为学习样例来说稍显复杂,所以我只摘抄出错误诊断部分的代码:
// Server 层所有通讯都使用 createConnection 创建的 connection 对象实现 const connection = createConnection(ProposedFeatures.all); // 文档对象管理器,提供文档操作、监听接口 // 匹配 Client 激活规则的文档对象都会自动添加到 documents 对象中 const documents: TextDocuments= new TextDocuments(TextDocument); // 监听文档内容变更事件 documents.onDidChangeContent(change => { validateTextDocument(change.document); }); // 校验 async function validateTextDocument(textDocument: TextDocument): Promise { const text = textDocument.getText(); // 匹配全大写的单词 const pattern = /\b[A-Z]{2,}\b/g; let m: RegExpExecArray | null; // 这里判断,如果一个单词里面全都是大写字符,则报错 const diagnostics: Diagnostic[] = []; while ((m = pattern.exec(text))) { const diagnostic: Diagnostic = { severity: DiagnosticSeverity.Warning, range: { start: textDocument.positionAt(m.index), end: textDocument.positionAt(m.index + m[0].length) }, message: `${m[0]} is all uppercase.`, source: 'ex' }; diagnostics.push(diagnostic); } // 发送错误诊断信息 // vscode 会自动完成错误提示渲染 connection.sendDiagnostics({ uri: textDocument.uri, diagnostics }); }
LSP Server 代码的主要流程:
createConnection建立与 vscode 主进程的通讯链路,后续所有的信息交互都基于 connection 对象实现。documents对象,并根据需要监听文档事件如上例中的onDidChangeContentconnection.sendDiagnostics接口发送错误提示信息运行效果:
通览样例代码,LSP 客户端服务器之间的通讯过程都已经封装在LanguageClient、connection等对象中,插件开发者并不需要关心底层实现细节,也不需要深入理解 LSP 协议即可基于这些对象暴露的接口、事件等实现简单的代码高亮效果。
Vscode 用插件方式提供了多种语言扩展接口,分声明式、编程式两类,在实际项目中通常会混合使用这两种技术,用基于 TextMate 的声明式接口迅速识别出代码中的词法;再用编程式接口如 LSP 补充提供诸如错误提示、代码补齐、跳转定义等高级功能。
这段时间看了不少开源 vscode 插件,其中 Vue 官方提供的 Vetur 插件学习是这方面的典型案例,学习价值极高,建议对这方面有兴趣的读者可以自行前往分析学习 vscode 语言扩展类插件的写法。
更多编程相关知识,请访问:编程入门!!
The above is the detailed content of In-depth analysis of VSCode code highlighting principles. For more information, please follow other related articles on the PHP Chinese website!