


This article will take you step by step in the simplest way to install the mysql database on your mac computer and use phpMyAdmin to perform visual operations on the database. It is suitable for reading by novices who do not understand anything at all, and is also suitable for starting from a brand new mac The computer starts operating.
Enter the official website of mysqlhttps://www.mysql.com/, click DOWNLOADS above , as shown in the picture below


Then scroll to the bottom and select

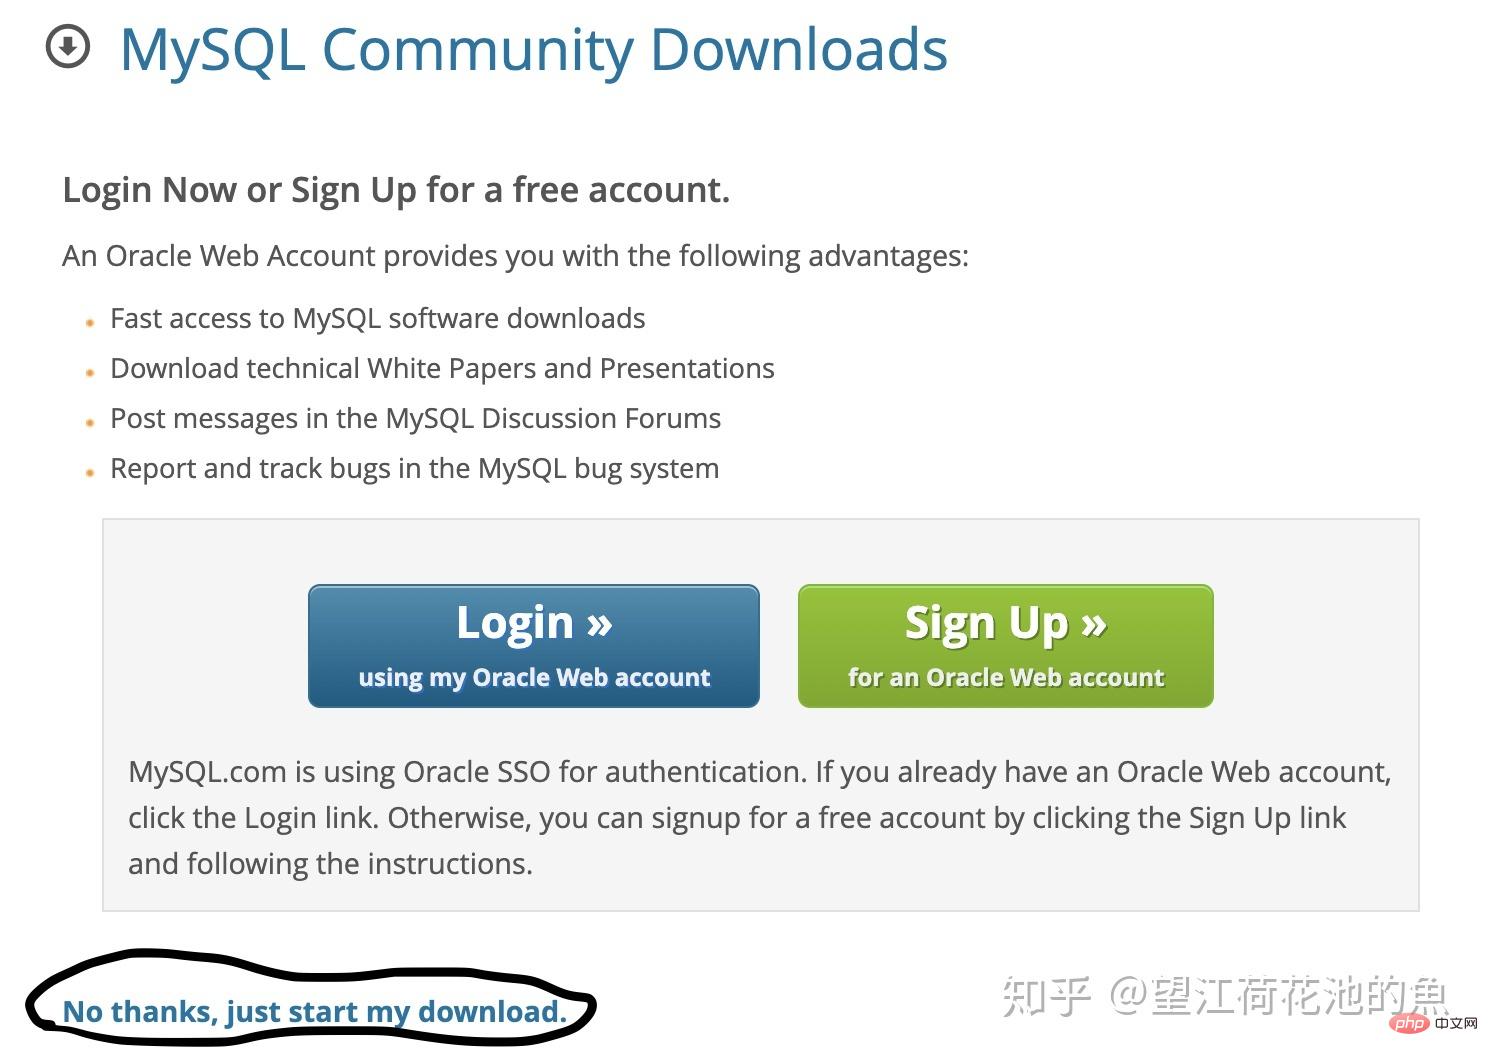
mysql is divided into enterprise version and community version. The enterprise version is charged, while the community version is free, so we just download the community version. After clicking in, click the place drawn below:
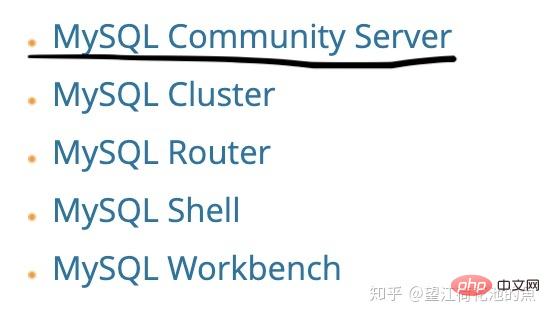
and then click in sequence:

After the download is completed, click Install, and you can keep clicking next until you reach the step below:
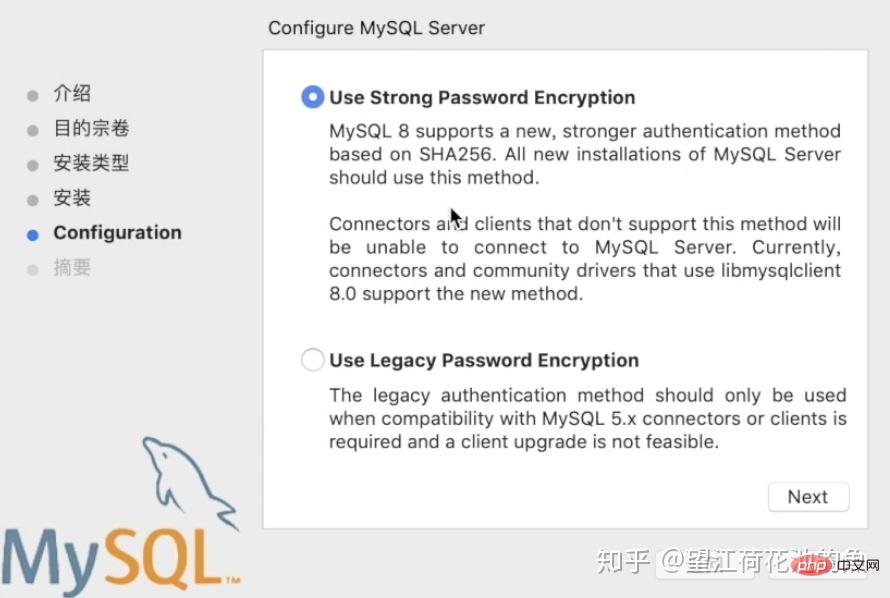
Select the button as shown in the picture and click Next to enter the following interface:
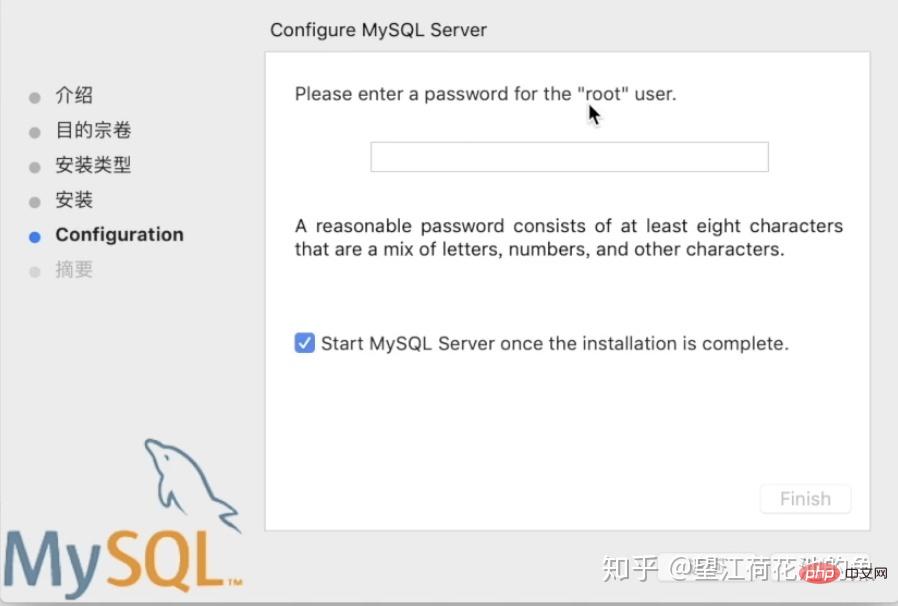
Here you need to set a mysql password yourself. This mysql password needs to be remembered. It is recommended to write it down in a memo or reminder ~ After setting the password Then click Continue until the installation is complete.
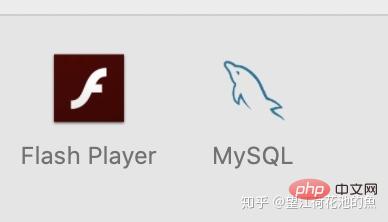
After the installation is completed, you can click on [System Preferences]. If you can see the mysql icon at the bottom, it means the installation is successful:
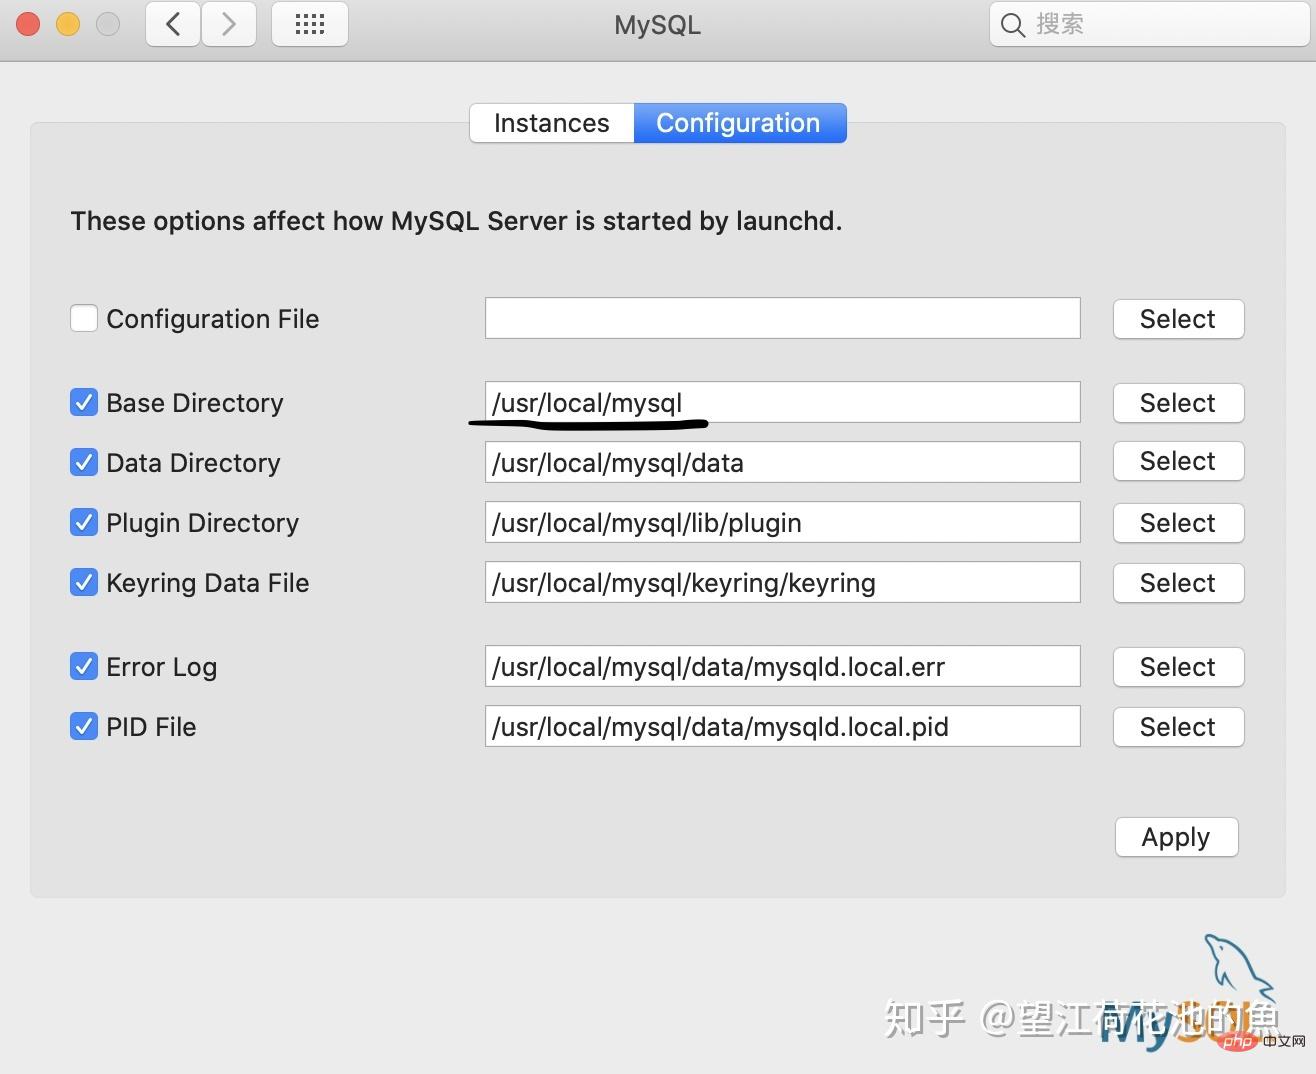
We click on the icon to enter the mysql interface, and then come to the interface shown in the picture below. Everyone should pay attention to drawing this address:
Next we open the mac terminal and enter
vim ~/.bash_profile
to enter a file. Switch the input method to English mode and tap the i letter on the keyboard. At this time, insert will be displayed at the bottom corner of the interface. Whether we use the scroll wheel or the down arrow key to scroll to the blank space below the file, write two sentences:
PATH="/usr/local/mysql/bin:${PATH}"
 # 注意这里的/usr/local/mysql就是上面图片划出来的地址,大家可以根据自己的情况复制进来这个地址,然后后面加上/bin:${PATH}就可以了,注意一些细节(引号、斜线)
export PATHAfter writing, click ESC on the keyboard in sequence, and then Enter: wq and press Enter (note the colon) to return to the main interface, and then enter
source ~/.bash_profile
echo $PATH
. At this time, you only need to see /usr/local/mysql/bin displayed. Then enter mysql --version, you will get the version of mysql on the computer. At this time, we will actually complete the installation. Next we can use the mysql command to log in to the console. Enter
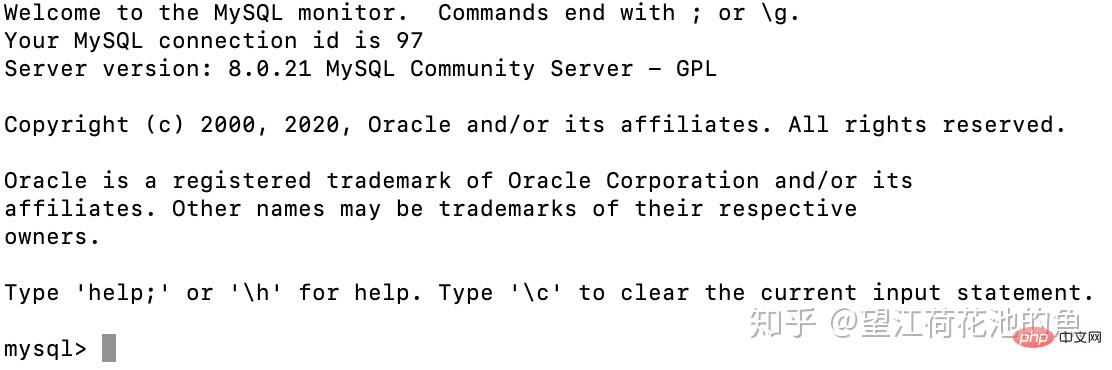
mysql -uroot -p
. You will be asked to enter your password. The password here is the mysql password you set when you installed mysql. Enter the mysql password. The screen will not display what you entered. content, but as long as you enter it correctly and press Enter, it will be verified. Getting the following interface means that everything is going well for you
At this point you can use the mysql command to operate the database. For example, if we enter show databases; all databases will be displayed.
First open the terminal, enter
sudo vim /etc/apache2/httpd.conf
and press Enter. At this time, you will be asked to enter the password. This password is the password of your mac computer. After logging in, you will enter a file, still switch to the English input method, enter i, insert will appear in the lower left corner, and then use your smart eyes to find a sentence: #LoadModule php7_module libexec/apache2/libphp7. so After finding this sentence, remove the # in front of it, then still use ESC, :wq to return to the main interface, enter
sudo apachectl restart
回车。然后随意打开一个浏览器,在网址栏输入 http://localhost/ 。如果你看到了 It works! ,就说明你操作顺利了。
接下来下载phpMyAdmin。直接进入网址 https://www.phpmyadmin.net/downloads/ 然后下载:

下载完成后你会得到一个与图中同名的文件夹,然后依次操作:
首先,把这个文件夹移到桌面
其次,直接右键文件夹改名为phpmyadmin
然后,点进这个文件夹,找一个文件名叫config.sample.inc.php,先右键它改名为config.inc.php,再右键它选择打开方式为文本编辑,找到下面两句话并改成下面的形式:
$cfg['blowfish_secret'] = 'Cookie';
$cfg['Servers'][$i]['host'] = '127.0.0.1';   # 原来应该是host
然后保存后退出
最后一步,打开终端,输入:(根据评论区用户 @平凡的人 提示,有些朋友到这里可能会出现权限错误permission denied,则需要在指令前加上权限sudo)
sudo(或者)sudo -R chmod a+x mv /Users/(这里每个人不同)/Desktop/phpmyadmin /资源库/WebServer/Documents/
或者这句话:
sudo(或者)sudo -R chmod a+x mv /Users/(这里每个人不同)/Desktop/phpmyadmin /Library/WebServer/Documents/
这两句代码的意思是:把桌面的phpmyadmin文件夹移动到后面那个路径去,所以每个人mac电脑的名称应该是自己取的名字,你可以通过打开终端,输入cd Desktop/,然后输入 pwd 获取当前路径,再在后面加上/phpmyadmin就可以组成第一个路径了。sudo是开启权限,sudo -R chmod a+x是设置文件路径权限。
如果没有提示出错,就说明所有步骤都完成了!
这个时候就可以进入网址 http://localhost/phpmyadmin/ 用户名是root,密码是mysql密码,对你的mysql数据库进行可视化了~
写在最后:
这篇教程适合很多在这方面基础较差的小伙伴,只需要跟着步骤一步一步走就行了,很多步骤为什么这样写的原理我没有写,如果感兴趣的小伙伴可以自己去查阅有关资料...
推荐学习:《PHPmyadmin教程》
The above is the detailed content of Teach you step by step how to install mysql on Mac and visualize it with phpMyAdmin. For more information, please follow other related articles on the PHP Chinese website!


![[Web front-end] Node.js quick start](https://img.php.cn/upload/course/000/000/067/662b5d34ba7c0227.png)


