Found a total of 28 related content
How to use ps clipping mask - how to use ps clipping mask
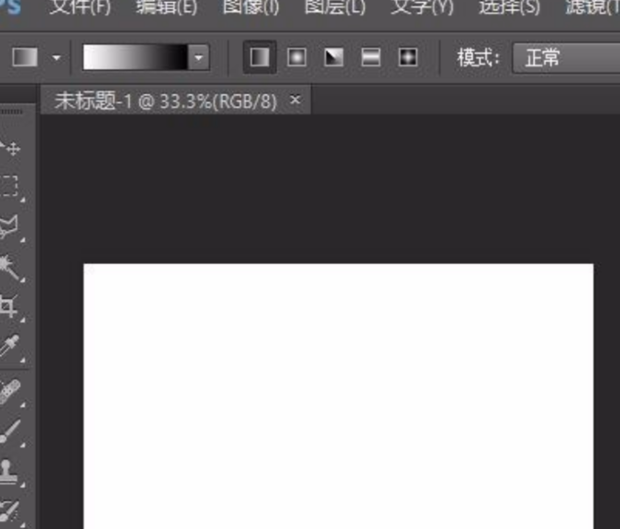
Article Introduction:There are many friends who still don’t know how to use the PS clipping mask, so the editor will explain how to use the PS clipping mask below. If you are in need, hurry up and take a look. I believe it will be helpful to everyone. . Step 1: First, we open the PS software, click the File menu, and create a new blank document, as shown in the picture. Step 2: Then click the layers panel on the right, click the New "Layer" button at the bottom of the layers panel, and create a new "Layer 1", as shown in the figure. Step 3: Select a foreground color from the left toolbar, select the "Ellipse" tool, and select "Pixel" on the left side of the upper property bar, as shown in the figure. Step 4: Hold down the Shift key and draw a perfect circle in layer 1, as shown in the picture. Step 5: Click Place in the File menu, and the Place
2024-03-04
comment
367

How to make ps mask black
Article Introduction:How to turn the PS mask into black: First open the PS software, click "File" and select "Open"; then find the image through the path and enter the file name; then add a vector mask; finally press the [ctrl+i] shortcut key. Changes the mask color to black.
2020-03-02
comment 0
26792

How to use the ps mask tool-How to use the ps mask tool
Article Introduction:Many friends don’t know how to use the PS mask tool, so the editor below will share the tutorial on how to use the PS mask tool. Let’s take a look. I believe it will be helpful to everyone. In the Photoshop software interface, after importing your picture, click the background layer in the layer area on the right, and then move the mouse to the copy button below to copy an identical background layer. After entering the image interface where you need to set the mask, use the quick selection tool on the left, and then select the image you want to use as the mask (as shown in the picture). 3. After selecting, click the move tool on the left, click on the selected image, and move the image to the mask background image (as shown in the picture). 4. Create a new mask, click the brush tool in the left toolbar, and select it above
2024-03-05
comment 0
464
How to use ps clipping mask_How to use ps clipping mask
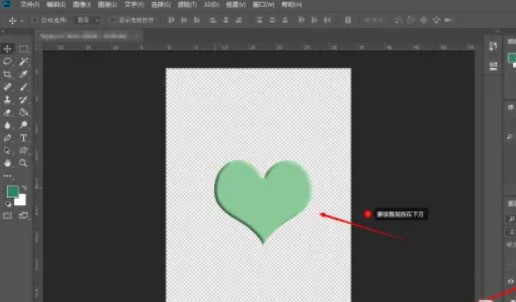
Article Introduction:1. Open a shape picture in PS as a mask picture (as shown in the picture). 2. Open a character picture in PS as the masked picture, and place the character picture above the shape picture (as shown in the picture). 3. Select the masked layer, click Layer Options, and choose Create Clipping Mask (as shown in the picture). 4. After the change is completed, the picture is embedded in the shape to form a shearing effect (as shown in the picture).
2024-04-19
comment
727
ps蒙版工具怎么用 ps蒙版工具的使用方法
Article Introduction:1、进入到ps的软件界面,导入你的图片后点击右边图层区的背景,移动到下方复制按钮上面,复制一个背景图层(如图所示)。2、再进入到你要进行蒙版设置的图片界面,点击左侧的快速选择工具,选中你的蒙版图片(如图所示)。3、选中后点击左侧的移动工具,点击被选中的图片,将这个图片移动到蒙版背景图片上面(如图所示)。4、新建一个蒙版,在左侧工具栏里面点击画笔工具,在上方选择并调整画笔工具的大小(如图所示)。5、点击下面颜色区的转换符号,将前景色转换为黑色(如图所示)。6、回到图片界面后单击鼠标左键就可以将蒙版
2024-05-10
comment 0
361
ps怎么将图层蒙版合成图片 ps将图层蒙版合成图片方法
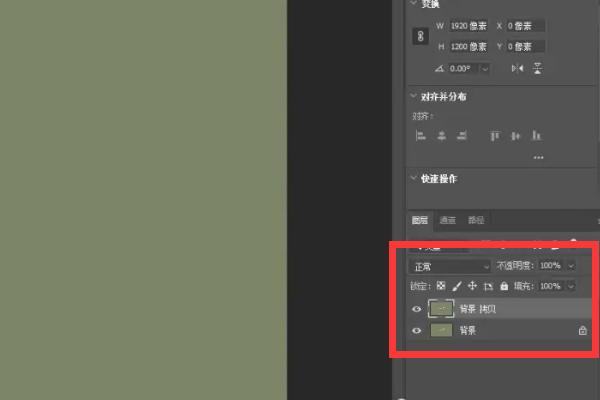
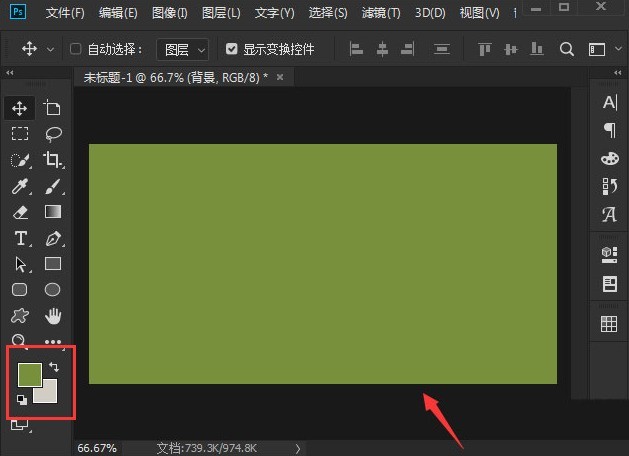
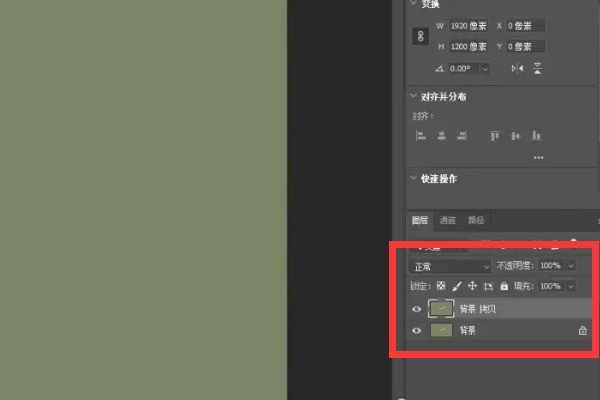
Article Introduction:1.首先,打开ps软件界面后,新建一个深绿色填充画布2.然后,将一张绿色底图片插入到图层中3.随后,打开图层面板,选中图片后点击蒙版按钮添加白底蒙版4.最后,鼠标点击蒙版,打开渐变工具,添加从左到右、白到黑的渐变颜色,并打开背景图层显示即可
2024-05-11
comment
501

How to adjust ps pixel size
Article Introduction:How to adjust the PS pixel size: First open the PS software and import the image to open; then click the [Image->Image Size] command; finally modify the pixel size in the [Image Size] window.
2021-03-10
comment 0
167346
How to combine image mask gradients in PS How to combine image mask gradients in PS
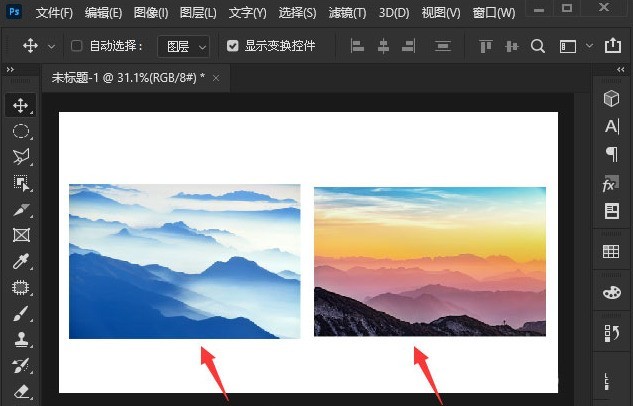
Article Introduction:1. First, we open the PS software interface and insert two different landscape pictures. 2. Then, click on any picture to move and overlap it. 3. Then, open the layers panel and add a white mask to the picture. 4. Finally, click on the left Use the gradient tool on the side to set the mask to a black and white gradient effect from right to left. 5. Use the same steps to add a black and white gradient from left to right to the second picture to complete the mask synthesis and splicing of the picture.
2024-05-11
comment
199

How to use mask to create occlusion effect in PS
Article Introduction:How to use a mask to create a blocking effect in PS: First open the software and import the image, unlock the layer and add a mask to the layer; then click the marquee tool to select the area that needs to be covered, and click the fill command under the edit tab ;Finally, select black in the drop-down list to fill it.
2021-02-04
comment 0
49310

Learn how to apply the gradient mask tool in PS and how to use the layer mask erase tool
Article Introduction:Everyone will encounter various problems when using PS. Some friends will come to this site to ask the editor how to use gradients with the PS mask tool. Don’t worry, the omnipotent editor of this site has sorted it out for everyone. How to use layer mask to erase images in PS, the specific content is in the article below. If you need it, you can come to this site for reference. How to use gradient with PS mask tool? The specific steps are as follows: 1. Open a picture, unlock the layer, click the third icon below to add a mask to the layer, right-click the blank space below to choose to display thumbnails size; 2. Click on the mask layer, use the [Brush Tool] to smear, and find that all the images are erased, as shown below; 3. When the [Foreground Color] is gray, it will be translucent after smearing; if it is white
2024-01-09
comment 0
962
How to use the mask tool in ps_How to use the mask tool in ps
Article Introduction:1. Enter the ps software interface, import your picture, click the background in the layer area on the right, move to the copy button below, and copy a background layer. 2. Enter the image interface where you want to set the mask, click the quick selection tool on the left, and select your mask image. 3. After selecting, click the move tool on the left, click on the selected image, and move the image to the mask background image. 4. Create a new mask, click the brush tool in the left toolbar, select and adjust the size of the brush tool above. 5. Click the conversion symbol in the color area below to convert the foreground color to black. 6. After returning to the picture interface, click the left mouse button to erase the masked picture. 7. Similarly, convert the foreground color to white, and then click the mouse
2024-04-19
comment 0
777

ps图片怎么进行像素抠图 ps图片像素抠图的方法
Article Introduction:1.首先,在ps软件中导入图片素材后,点击钢笔工具抠出像素区域2.然后,按下Ctrl+回车键将该路径转换为选区3.接着,再次点击钢笔工具,在内部建立路径4.最后,按下delete键删除内部像素即可
2024-05-10
comment
991

What should I do if the brush cannot be erased after using PS mask?
Article Introduction:Solution to the problem that the brush cannot be erased after PS masking: 1. Set the brush to normal mode, set the brush to a standard circular stroke, and set the color to black or white; 2. Adjust the opacity and flow of the brush.
2020-10-09
comment 0
31431

How to create a clipping mask in PS
Article Introduction:Method: 1. Create a new blank document in PS software; 2. Create a new transparent layer 1 in the layer panel; 3. Use the "Pattern Tool" to draw a pattern in layer 1; 4. Click in the file menu "Place" to place a picture into the document; 5. Select the picture layer in the layer panel and use "Ctrl+Alt+G" to create a clipping mask.
2021-01-07
comment 0
86500

How to change size and pixels in ps
Article Introduction:How to change the size and pixels in PS: First open the file and click Crop; then adjust the image to the appropriate position in the editing area and then crop it; then click Image, Image Size on the menu bar; and finally enter the pixel size.
2020-12-30
comment 0
55752

What is the pixel size of A3 paper in PS
Article Introduction:The pixel size of a3 paper in ps is "4961×3508" and the resolution is "300 pixels/inch"; the resolution is not only related to the size of the display printing format, but also affected by factors such as printing dot pitch and printing size. The printing size is the same , the smaller the point distance, the higher the resolution.
2020-03-14
comment 0
48815
PS文字人像效果制作教程_剪贴蒙板轻松搞定
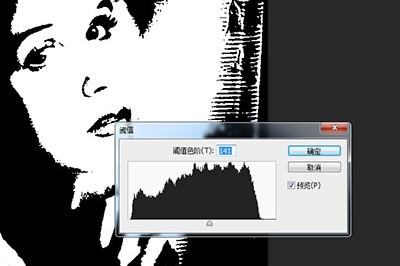
Article Introduction:1、首先将你的人物图片导入到PS中,点击【图像】-【调整】-【阈值】。将人物图像变成黑白的轮廓图案。点击【选择】-【色彩范围】,用吸管点击黑色部分,点击确认后即可选中所有黑色部分。然后按CTRL+J将其复制出新的图层。3、然后我们从网络上找到一个文字的背景,建议背景颜色为黑色,并将其导入到图片中,将其置于图层的最上方,并右键栅格化图层。4、最后在其图层上右键,并点击【创建剪贴蒙版】即可。效果就出来啦!
2024-05-16
comment
746

How to draw pixel guide lines in PS How to draw pixel guide lines in PS
Article Introduction:1. First, open the ps software interface and press the Ctrl+R keys on the keyboard to generate a ruler, right-click the pixel option 2. Then, in the view menu at the top of the page, click the new guide line button 3. Then, in the settings window Enter the direction and position parameters of the reference line and click OK to save.
2024-05-11
comment
949

How to change pixels to centimeters using PS rectangle tool
Article Introduction:How to change pixels to centimeters with the PS Rectangle Tool: First open the Photoshop software; then select "Rectangular Marquee Tool" -> "Fixed Size"; then in the width and height input boxes, right-click the mouse and select "Centimeters"; finally Enter "30" to change the rectangular marquee units from pixels to centimeters.
2020-05-06
comment 0
34851

An experienced driver will show you how to turn pictures into Lego pixel puzzles in PS
Article Introduction:In the previous article "Take you to use PS to create realistic frozen fruit effects in one minute (4 steps in total)", I introduced you how to create frozen fruit special effects synthesis. The following article will introduce to you how to use PS to create a Lego pixel puzzle effect. After learning this tutorial, you can turn any picture into a Lego pixel puzzle. The steps are simple and easy to get started.
2021-07-15
comment 0
4382
