
이 글은 주로 WeChat 애플릿(애플리케이션 계정) 개발 관련 정보를 뉴스 클라이언트 예시로 소개하고 있습니다. 필요한 친구는
현재 v0인 WeChat 애플릿 개발 도구 최신 버전을 다운로드하세요. 9.092300
다운로드 주소: https://mp.weixin.qq.com/debug/wxadoc/dev/devtools/download.html
공식 문서 : https://mp.weixin.qq.com/debug/wxadoc/dev/index.html
git 다운로드 주소: http://git.oschina.net /dotton/news
먼저 렌더링을 살펴보겠습니다:
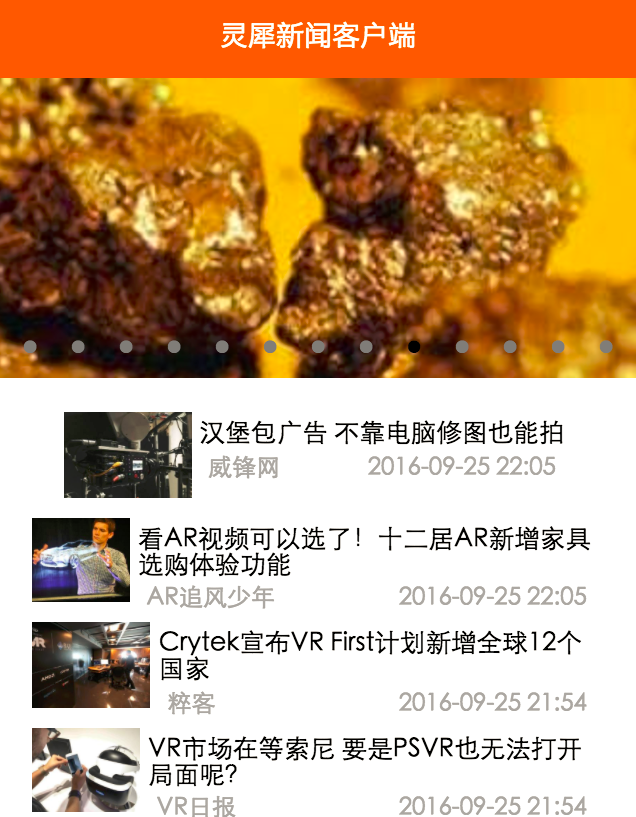
Paste_Image.png
1 . 신규 애플리케이션
1. 내부 테스트 단계에서 내부 테스트 번호가 없는 개발자의 경우 AppId 없음을 클릭하세요.
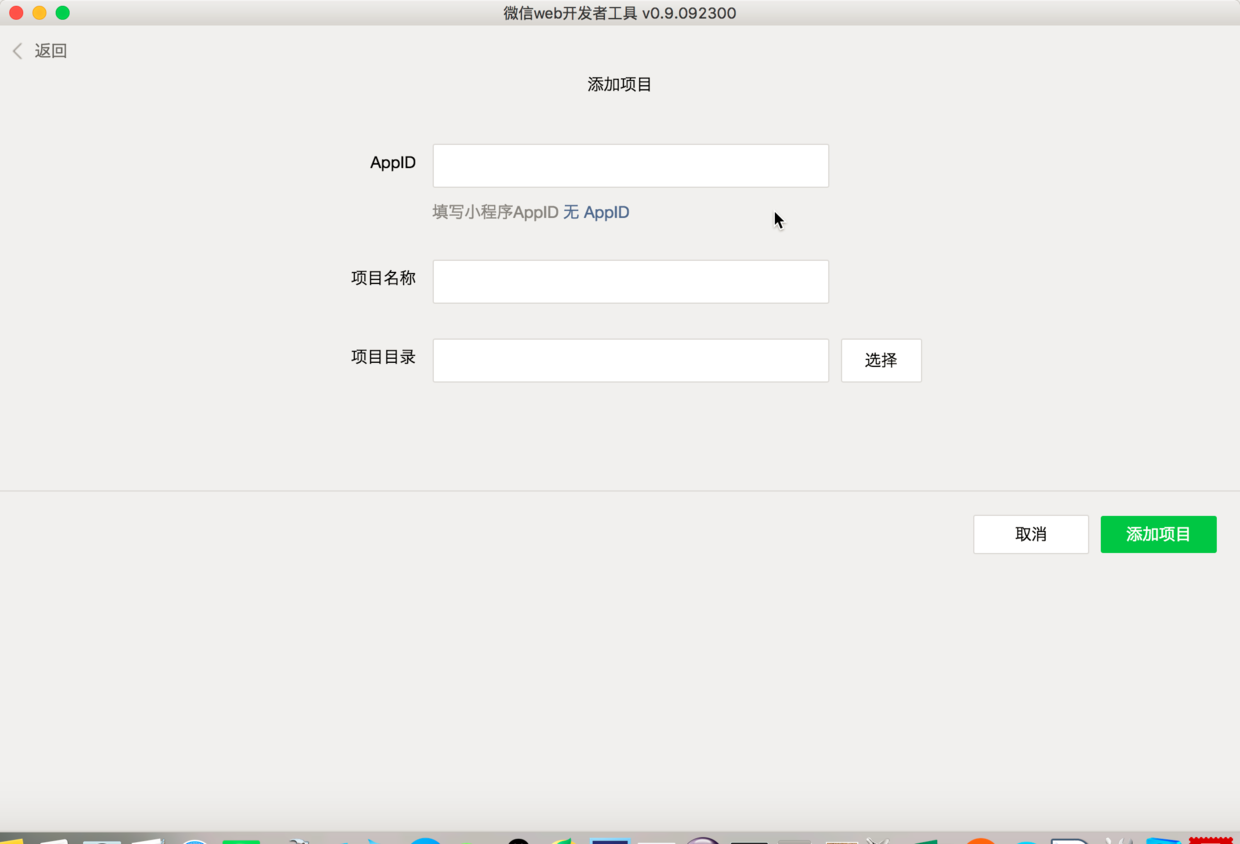
Paste_Image.png
2. 그런 다음 로컬 디렉터리를 프로젝트 디렉터리로 선택합니다.
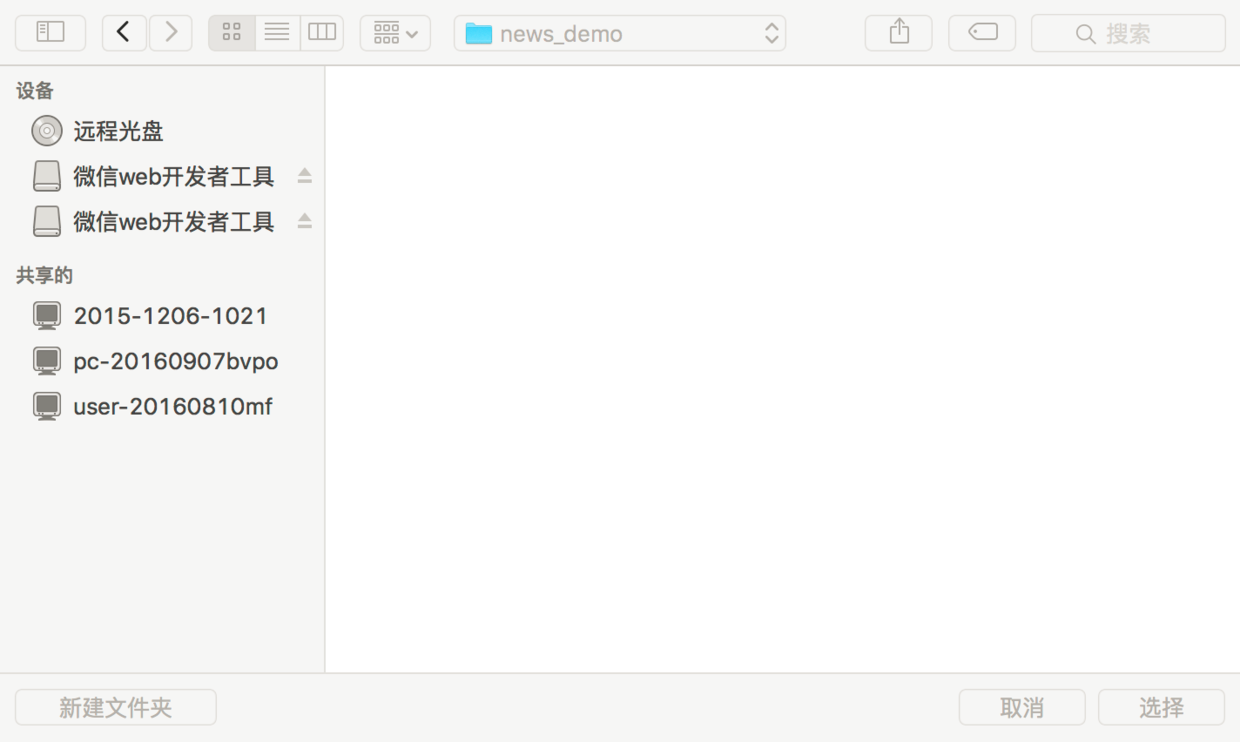
Paste_Image.png
3. 프로젝트 이름은 임의이며, 디렉터리를 설정하고 현재 디렉터리를 확인하여 빠른 시작 프로젝트를 만듭니다. 사진과 같이
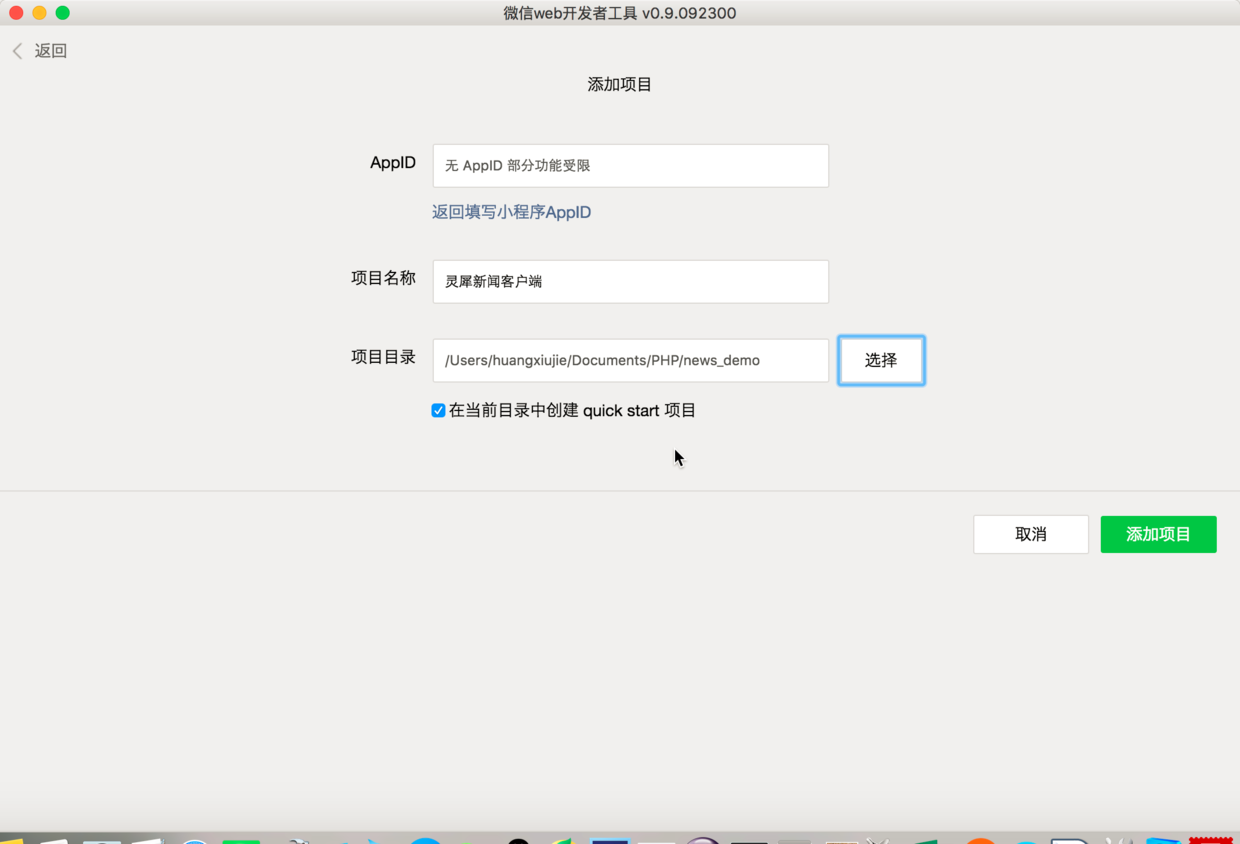
Paste_Image.png
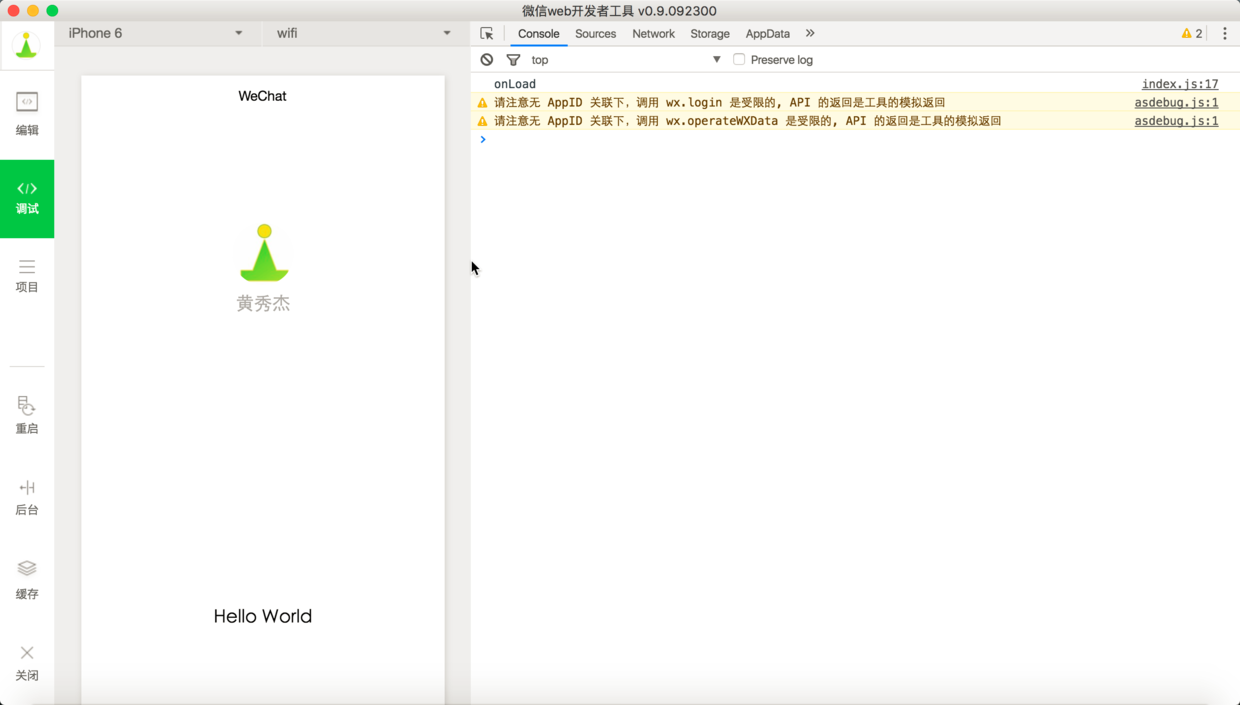
4. 항목을 클릭하여 추가하면 효과가 실행됩니다. 귀하의 WeChat 개인 정보와 HelloWorld 텍스트 상자입니다.
5. 오른쪽에는 AppID 부족으로 인해 발생하는 두 가지 경고가 있습니다. 이는 일시적으로 무시할 수 있으며 개발에 영향을 미치지 않습니다.
Paste_Image.png
6. 콘솔에서 실시간 상호 작용 정보를 볼 수 있도록 app.json에서 debug:true를 설정하세요. 앞으로는 Chrome의 디버깅 도구 및 Firefox의 Firebug와 유사하게 js 파일에 중단점이 설정될 것입니다.
홈페이지 구성 정보:
{
 "pages":[
 "pages/index/index",
 "pages/logs/logs"
 ],
 "window":{
 "backgroundTextStyle":"light",
 "navigationBarBackgroundColor": "#fff",
 "navigationBarTitleText": "WeChat",
 "navigationBarTextStyle":"black"
 },
 "debug":true
}pages 속성은 각 페이지의 존재를 나타내며 첫 번째는 홈페이지이며, 페이지/인덱스/인덱스
2. 네트워크 API 인터페이스 요청
1. 전제 조건:
필수 여기에서 사용됩니다. 집계된 데이터의 뉴스 인터페이스는 https://www.juhe.cn/docs/api/id/235로 이동하여 등록하고 인터페이스를 신청한 후 키를 받습니다. 여기: 482e213ca7520ff1a8ccbb262c90320a를 직접 테스트한 다음 자신의 애플리케이션에 통합할 수 있습니다.
2. WeChat 애플릿 인터페이스를 사용하여 네트워크에 액세스합니다.
index.js 파일을 다시 작성합니다.
//index.js
//获取应用实例
var app = getApp()
Page({
 data: {
 motto: 'Hello World',
 userInfo: {}
 },
 //事件处理函数
 bindViewTap: function() {
 wx.navigateTo({
  url: '../logs/logs'
 })
 },
 onLoad: function () {
 // 访问聚合数据的网络接口
 wx.request({
 url: 'http://v.juhe.cn/toutiao/index',
 data: {
  type: '' ,
  key: '482e213ca7520ff1a8ccbb262c90320a'
 },
 header: {
  'Content-Type': 'application/json'
 },
 success: function(res) {
  console.log(res.data)
 }
 })

 console.log('onLoad')
 var that = this
 //调用应用实例的方法获取全局数据
 app.getUserInfo(function(userInfo){
  //更新数据
  that.setData({
  userInfo:userInfo
  })
 })
 }
})
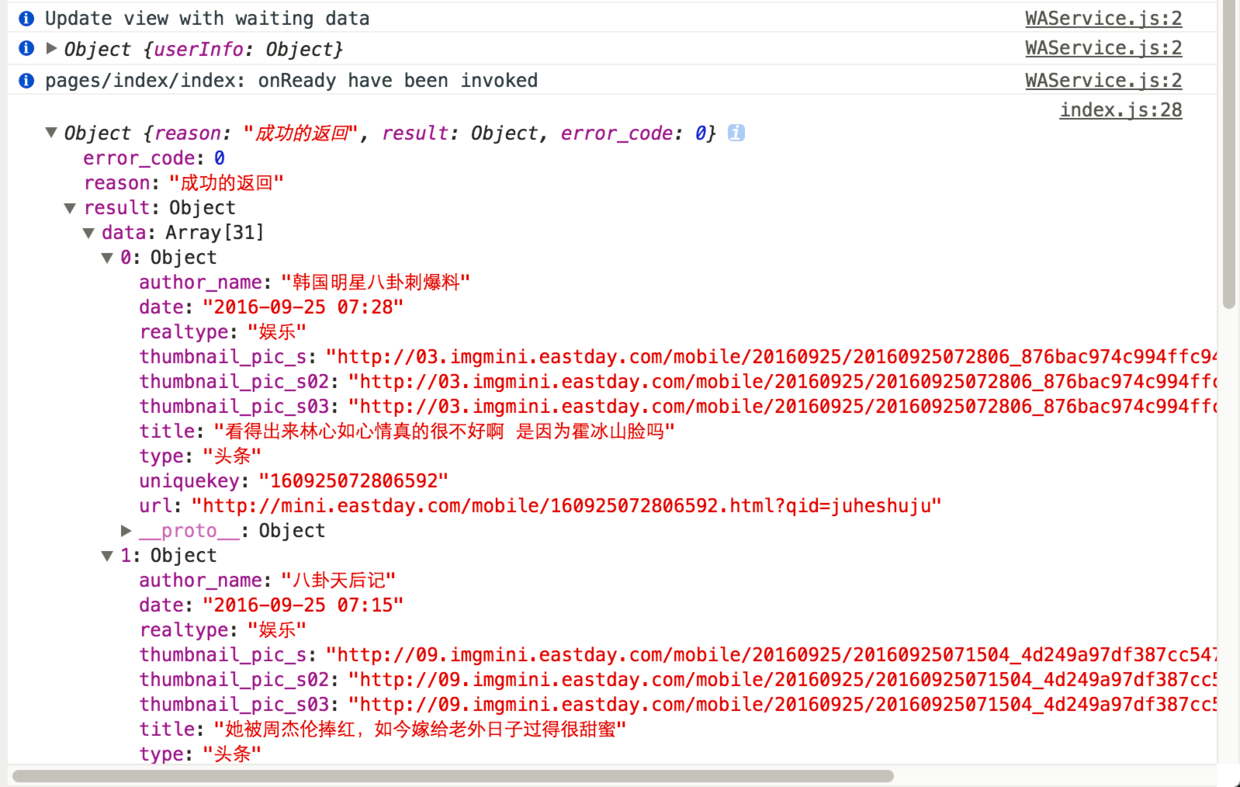
3. 효과를 보고 콘솔을 확인하여 다음 정보를 얻습니다.
Paste_Image.png
성공적으로 획득되었습니다.
3. json 형식 데이터를 뷰에 렌더링
여기서는 스와이프 구성 요소를 사용하여 큰 그림 캐러셀을 구현해야 합니다. https://mp.weixin.qq.com/debug/wxadoc/dev/comComponent/swiper.html1을 참조하세요. 원래 index.wxml 콘텐츠를 지우고 다음 코드를 추가하세요.
<swiper indicator-dots="true"
 autoplay="true" interval="5000" duration="1000">
 <block wx:for="{{topNews}}">
 <swiper-item>
  <image src="{{item.thumbnail_pic_s02}}" class="slide-image" width="355" height="150"/>
 </swiper-item>
 </block>
</swiper>2. 이에 맞춰 index.js 파일의 onLoad 메서드에 다음 코드를 추가하여 네트워크 데이터를 가져옵니다.
//index.js
//获取应用实例
var app = getApp()
Page({
 data: {
 topNews:[],
 techNews:[]
 },
 onLoad: function () {
 var that = this
 // 访问聚合数据的网络接口-头条新闻
 wx.request({
 url: 'http://v.juhe.cn/toutiao/index',
 data: {
  type: 'topNews' ,
  key: '482e213ca7520ff1a8ccbb262c90320a'
 },
 header: {
  'Content-Type': 'application/json'
 },
 success: function(res) {
  if (res.data.error_code == 0) {
  that.setData({
  topNews:res.data.result.data
  })
  } else {
  console.log('获取失败');
  }
 }
 })

 }
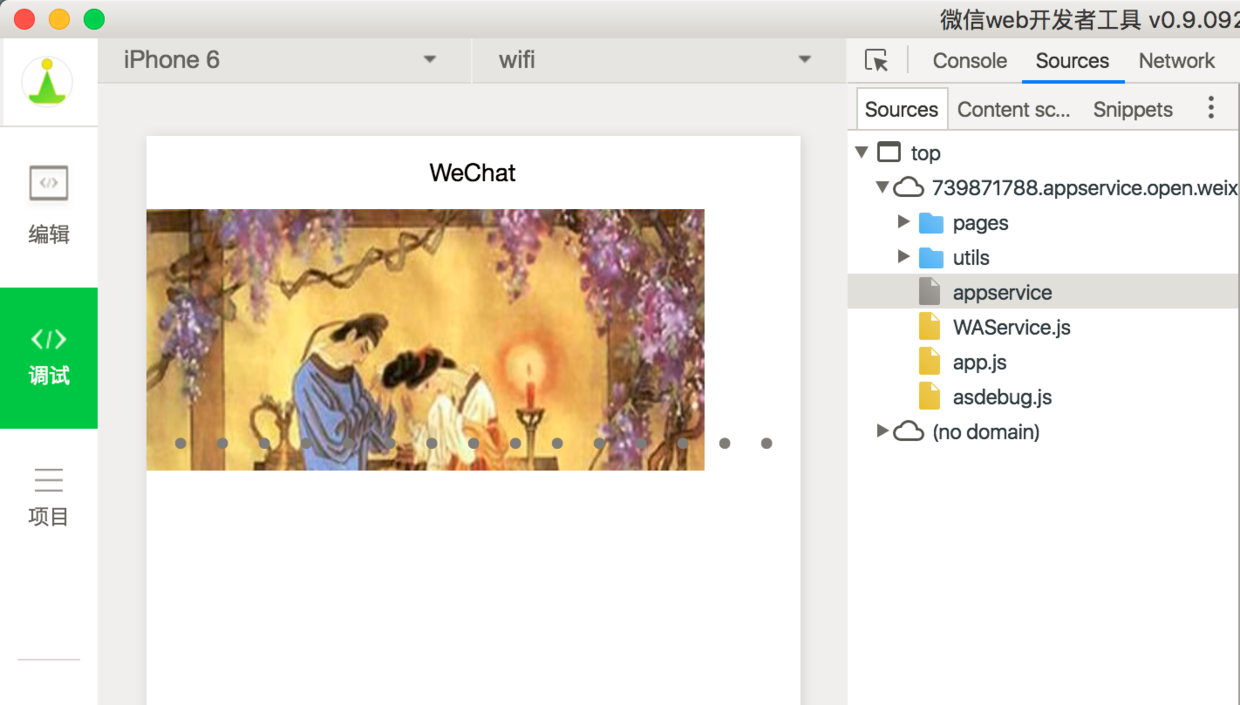
})3 . 캐러셀이 성공적으로 표시되는지 확인하세요.
Paste_Image.png
4. 동일한 예를 따르고 동일한 방식으로 목록 뉴스를 읽습니다.
<view class="news-list">
 <block wx:for="{{techNews}}">
 <text class="news-item">{{index + 1}}. {{item.title}}</text>
 </block>
</view>는 스타일 시트와 일치합니다. 그렇지 않으면 목록 텍스트 레이아웃이 수평이 됩니다. index.wxss에 다음 CSS를 추가하세요.
아아아아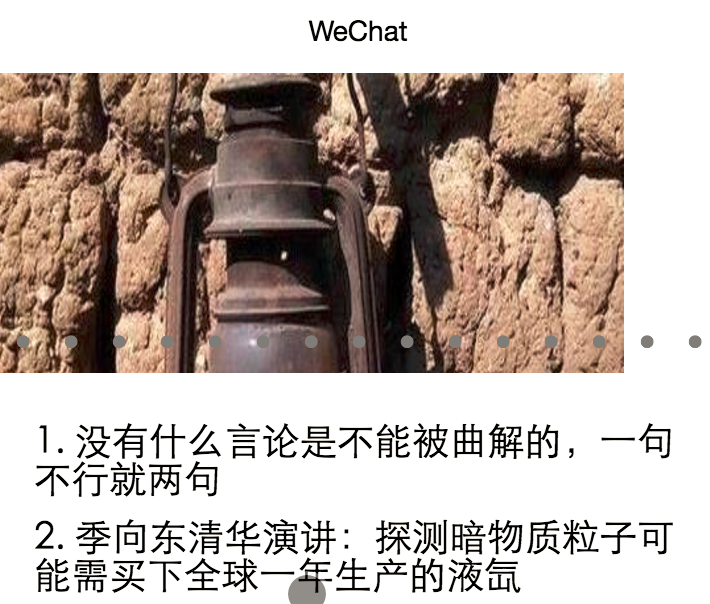
继续美化,文字列表也采用缩略图+大标题+出处+日期的形式
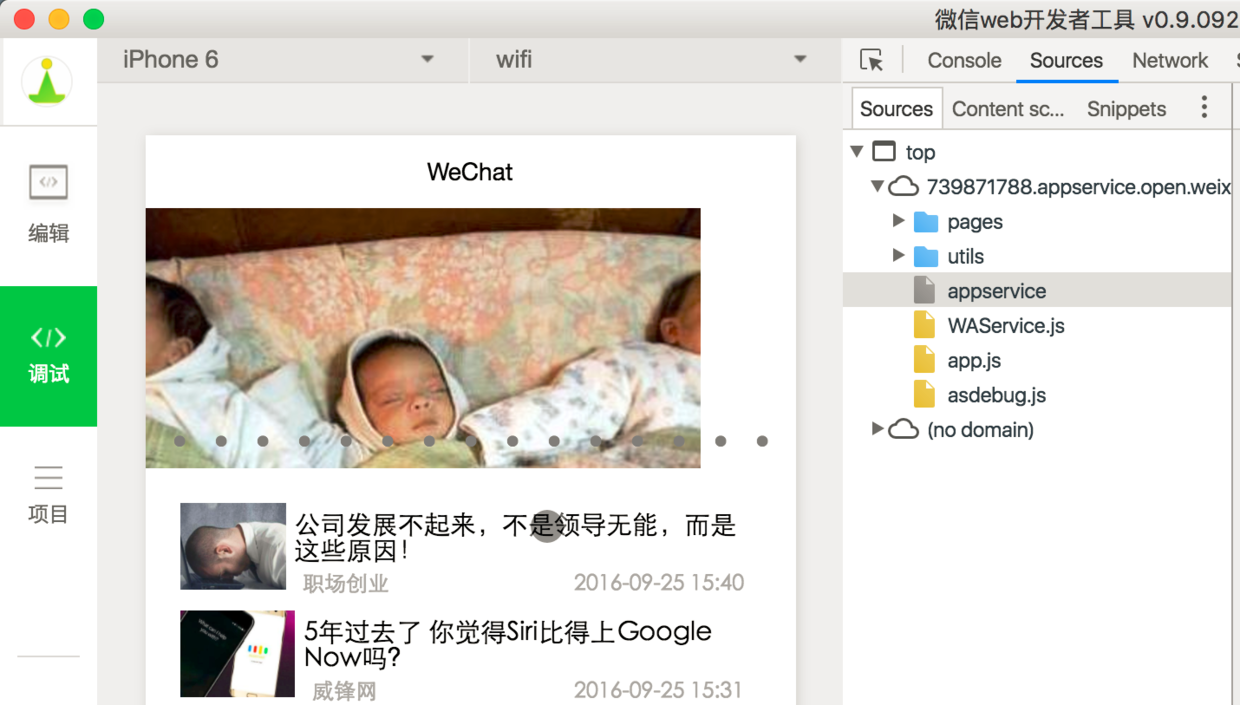
Paste_Image.png
样式表与布局文件 index.wxss
/**index.wxss**/
.news-list {
 display: flex;
 flex-direction: column;
 padding: 40rpx;
}

.news-item {
 display: flex;
 flex-direction: row;
 height:200rpx;
}

.news-text {
 display: flex;
 flex-direction: column;
}

.news-stamp {
 font-size: 25rpx;
 color:darkgray;
 padding: 0 20rpx;
 display: flex;
 flex-direction: row;
 justify-content:space-between;
}

.news-title {
 margin: 10rpx;
 font-size: 30rpx;
}

.container {
 height: 5000rpx;
 display: flex;
 flex-direction: column;
 align-items: center;
 justify-content: space-between;
 /*padding: 200rpx 0;*/
 box-sizing: border-box;
}

.list-image {
 width:150rpx;
 height:100rpx;
}index.wxml
<!--index.wxml-->
<swiper indicator-dots="true"
 autoplay="true" interval="5000" duration="1000">
 <block wx:for="{{topNews}}">
 <swiper-item>
  <image src="{{item.thumbnail_pic_s02}}" mode="aspectFill" class="slide-image" width="375" height="250"/>
 </swiper-item>
 </block>
</swiper>
<view class="container news-list">
 <block wx:for="{{techNews}}">
 <view class="news-item">
  <image src="{{item.thumbnail_pic_s}}" mode="aspectFill" class="list-image"/>
  <view class="news-text">
  <text class="news-title">{{item.title}}</text>
  <view class="news-stamp">
   <text>{{item.author_name}}</text>
   <text>{{item.date}}</text>
  </view>
  </view>
 </view>
 </block>
</view>四、跳转详情页与传值
保存当前点击的新闻条目信息中的title,参见官方文档:https://mp.weixin.qq.com/debug/wxadoc/dev/component/swiper.html
传值到详情页
<!--logs.wxml-->
<view class="container">
<text class="news-title">{{title}}</text>
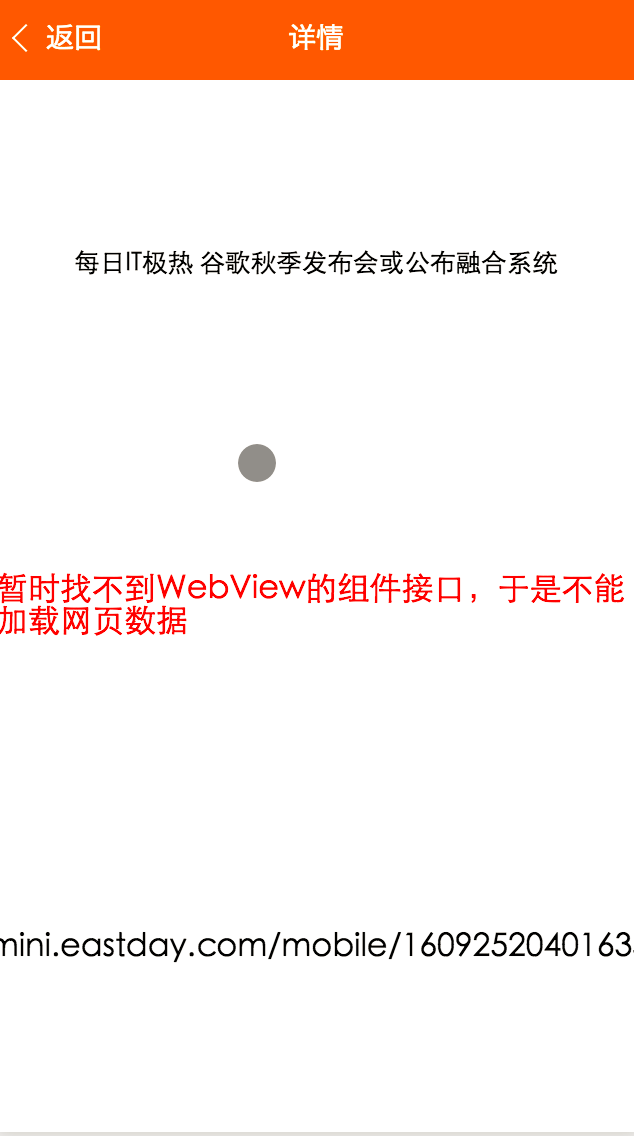
<text class="news-info">暂时找不到WebView的组件接口,于是不能加载网页数据</text>
</view>
//事件处理函数
bindViewTap: function(event) {
wx.navigateTo({
url: '../detail/detail?title='+event.currentTarget.dataset.newsTitle
})
}
//index.js
//事件处理函数
bindViewTap: function(event) {
wx.navigateTo({
url: '../detail/detail?title='+event.currentTarget.dataset.newsTitle
})
}<!--index.wxml-->
//加入data-xxx元素来传值
<view class="container news-list">
<block wx:for="{{techNews}}">
<view class="news-item" data-news-title="{{item.title}}" bindtap="bindViewTap">
<image src="{{item.thumbnail_pic_s}}" mode="aspectFill" class="list-image"/>
<view class="news-text">
<text class="news-title">{{item.title}}</text>
<view class="news-stamp">
<text>{{item.author_name}}</text>
<text>{{item.date}}</text>
</view>
</view>
</view>
</block>
</view>当然也可以通过获取全局的变量的方式传值,这里场景是由一个页面与子页面是一对一传值关系,所以不推荐,可参考quickStart项目中微信个人信息的传值方式来做。 app.js末尾加上
 globalData:{
    userInfo:null,
    newsItem:null
  }
})
Paste_Image.png
由于未在官方文档中找到WebView的组件,所以详情的网页正文暂时无法实现。
结语
整体开发过程还是比较舒适的,上手难度不高,过程中用到一定的CSS语法,本质上还是体现了一个H5开发模式,WXML实质上一种模板标签语言。
感谢阅读,希望能帮助到大家,谢谢大家对本站的支持!
更多WeChat 애플릿(애플리케이션 계정) 개발 뉴스 클라이언트 예시相关文章请关注PHP中文网!