


How to switch source in node? The following article will show you how to create a node switching source gadget. I hope it will be helpful to you!

Hey hey hey, it’s time to write the wheel again. Why do you want to write this thing?
It should be that npm’s own source download is very slow
There is already a tool nrm It is also used to switch sources, such as tabao source, Tencent source, download It can be accelerated when relying on packages. There are so many sources that nrm can help us manage and switch at any time.
The first friend’s installationnrmIt’s very troublesome and needs to be installed using source code
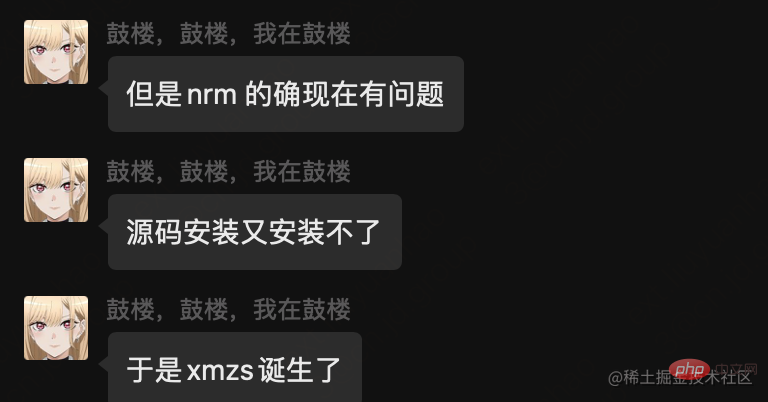
The second friend’s company has many private servers. We are too lazy to switch manually
So we want to write a small tool ourselves to easily switch npm sources [Related tutorial recommendations: nodejs video tutorial]
Idea 1, call the command to set the source
npm config set registry 源地址
Idea 2 Use the view command to obtain the source address
npm config get registry
Mainly these two steps
Code implementation
commander
commander is a nodejs module that can parse us The entered command is commonly used in various scaffolding such as vue vite, etc.
For example xxx -VView version xxx useExecute script xxx -hYou can use commander to view help etc.
##inquirer
inquirer It is also a module of nodejs, often used for command interaction, such as vue's cli, vite, etc., react scaffolding, etc.
{
    "npm": {
        "home": "https://www.npmjs.org",
        "registry": "https://registry.npmjs.org/",
        "ping": "https://registry.npmjs.org"
    },
    "yarn": {
        "home": "https://yarnpkg.com",
        "registry": "https://registry.yarnpkg.com/",
        "ping": "https://registry.yarnpkg.com"
    },
    "tencent": {
        "home": "https://mirrors.cloud.tencent.com/npm/",
        "registry": "https://mirrors.cloud.tencent.com/npm/",
        "ping": "https://mirrors.cloud.tencent.com/npm"
    },
    "cnpm": {
        "home": "https://cnpmjs.org",
        "registry": "https://r.cnpmjs.org/",
        "ping": "https://r.cnpmjs.org"
    },
    "taobao": {
        "home": "https://npmmirror.com",
        "registry": "https://registry.npmmirror.com/",
        "ping": "https://registry.npmmirror.com"
    },
    "npmMirror": {
        "home": "https://skimdb.npmjs.com/",
        "registry": "https://skimdb.npmjs.com/registry/",
        "ping": "https://skimdb.npmjs.com/registry"
    }
}#!/usr/bin/env node
const { program } = require('commander')
const PKG = require('../package.json') //引入package json
const registries = require('../registries.json'); //引入初始源
const inquirer = require('inquirer');
const { exec, execSync } = require('child_process') //子线程用于执行shell命令
const ping = require('node-http-ping') //ping网址的一个库
const fs = require('fs')
const chalk = require("chalk"); //console 变颜色的一个库
const path = require('path')
program.version(PKG.version) //设置版本默认命令 -V --version
//读取源地址方便设置*
const getOrigin = async () => {
return await execSync('npm get registry', { encoding: "utf-8" })
}
//列出所有的源,如果当前有在使用前面加上*
program.command('ls').description('查看镜像').action(async () => {
const res = await getOrigin()
const keys = Object.keys(registries)
const message = []
//填充横线算法npm------ yarn------
const max = Math.max(...keys.map(v => v.length)) + 3
keys.forEach(k => {
const newK = registries[k].registry == res.trim() ? ('* ' + k) : (' ' + k)
const Arr = new Array(...newK)
Arr.length = max;
const prefix = Array.from(Arr).map(v => v ? v : '-').join('')
message.push(prefix + ' ' + registries[k].registry)
})
console.log(message.join('\n'))
})
//切换源
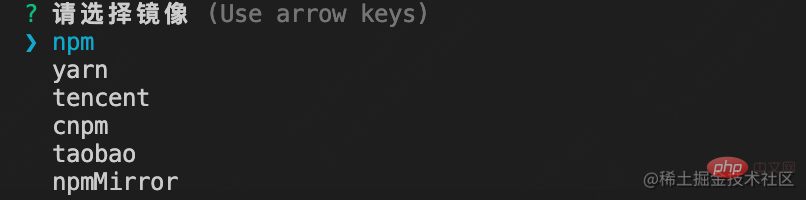
program.command('use').description('请选择镜像').action(() => {
inquirer.prompt([
{
type: "list",
name: "sel",
message: "请选择镜像",
choices: Object.keys(registries)
}
]).then(result => {
const reg = registries[result.sel].registry
exec(`npm config set registry ${reg}`, null, (err, stdout, stderr) => {
if (err) {
console.error('切换错误', err)
} else {
console.log('切换成功')
}
})
})
})
//获取当前源
program.command('current').description('查看当前源').action(async () => {
const reg = await getOrigin()
const v = Object.keys(registries).find(k => {
if (registries[k].registry === reg.trim()) {
return k;
}
})
console.log(chalk.blue('当前源:', v))
})
//ping 源
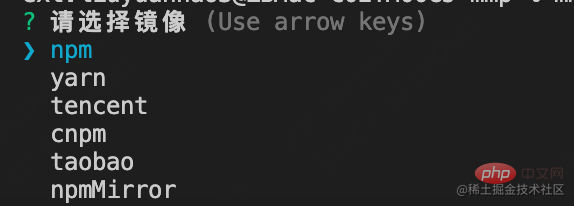
program.command('ping').description('测试镜像地址速度').action(() => {
inquirer.prompt([
{
type: "list",
name: "sel",
message: "请选择镜像",
choices: Object.keys(registries)
}
]).then(result => {
const url = registries[result.sel].ping.trim()
ping(url).then(time => console.log(chalk.blue(`响应时长: ${time}ms`)))
.catch(() => console.log(chalk.red('GG')))
})
})
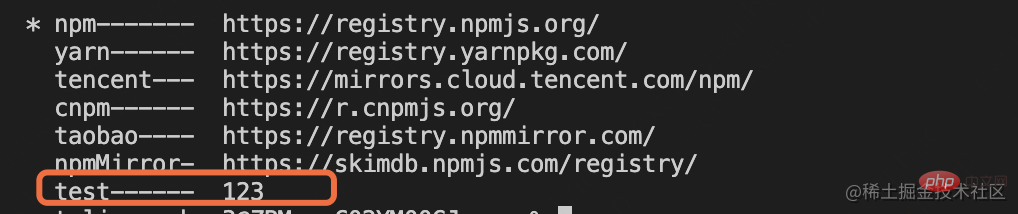
//添加源 读写registries.json 文件实现
program.command('add').description('自定义镜像').action(() => {
inquirer.prompt([
{
type: "input",
name: "name",
message: "请输入镜像名称",
validate(answer) {
const keys = Object.keys(registries)
if (keys.includes(answer)) {
return `不能起名${answer}跟保留字冲突`
}
if (!answer) {
return '名称不能为空'
}
return true
}
},
{
type: "input",
name: "url",
message: "请输入镜像地址",
validate(answer) {
if (!answer) {
return `url不能为空`
}
return true
}
}
]).then(result => {
const del = (url) => {
const arr = url.split('')
//本来想用at 16 以下不支持
return arr[arr.length - 1] == '/' ? (arr.pop() && arr.join('')) : arr.join('')
}
registries[result.name] = {
home: result.url.trim(),
registry: result.url.trim(),
ping: del(result.url.trim()), //去掉末尾/ 不然无法ping
}
fs.writeFileSync(path.join(__dirname, '../registries.json'), JSON.stringify(registries, null, 4))
console.log(chalk.blue('添加完成'))
})
})
program.parse(process.argv)Use Method
npm i xmzs -g
mmp command why is it not called xmzs Don’t ask, I just like mmp
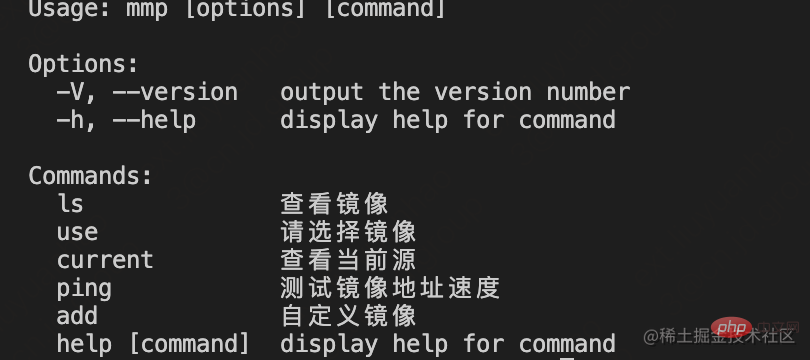
mmp ls

mmp use
mmp current

mmp ping

map add

 ##For more node-related knowledge, please visit:
The above is the detailed content of Take you step by step to develop a node switching source gadget. For more information, please follow other related articles on the PHP Chinese website!


![Node.js complete introductory tutorial [es6+npm+express+webpack+promise]](https://img.php.cn/upload/course/000/000/068/6242b4c8f1a39624.png)


![[Web front-end] Node.js quick start](https://img.php.cn/upload/course/000/000/067/662b5d34ba7c0227.png)


