前回の記事「初心者:ccsを使って簡単なレイアウトを作る方法(コード付き)」では、ccsを使って簡単なレイアウトを作る方法を紹介しました。次の記事では、css3 を使用してボタンを作成し、動的な効果を追加する方法を紹介しますので、一緒に見てみましょう。

##cssbutton ボタンの効果を実現するにはどうすればよいですか?
最初に
body を定義し、button ボタンを使用してテキスト value を追加し、class の設定を容易にするために「Start Game」に設定します。 から id セレクター。
<body>
<input id="search" name="cx" type="button" value="开始游戏" class="btn search">
</body>
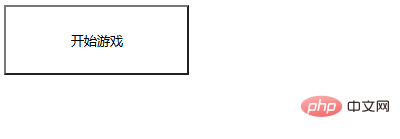
 ##エフェクトが出てボタンのエフェクトが確認できますが、動的装飾は追加されていません。
css編集コード:
style
の間で、searchのスタイルを初期化し、高さと幅の設定を追加し、背景の設定を使用します。 background, set no-repeat この属性の背景画像は繰り返されません。
.search {
		    width: 185px;
		    height: 70px;
		    background: url(images/btn_08.jpg) no-repeat center;
}コード効果2. 次に、 css3
css3
の 4 つの値、最後に float: left を使用して中央揃えを設定します。
border-radius: 8px;
-webkit-border-radius: 8px;
-o-border-radius: 8px;
-moz-border-radius: 8px;
float: left;
コード効果 3. Give
フォント サイズ、テキストの配置、フォントの太さをスタイルに追加し、
border 要素のすべての境界線のスタイル、色、形状を設定します。 <div class="code" style="position:relative; padding:0px; margin:0px;"><pre class='brush:php;toolbar:false;'>font-size: 30px;
text-align: center;
font-weight: bold;
border: none;
color: #fff;
cursor: pointer;
line-height: 70px;
font-family: 微软雅黑;</pre><div class="contentsignin">ログイン後にコピー</div></div>4. style の間で、
のスタイルを初期化し、高さと幅の設定を追加してから、set background background を使用します。 <div class="code" style="position:relative; padding:0px; margin:0px;"><pre class='brush:php;toolbar:false;'>.btn {
width: 383px;
height: 70px;line-height: 0;
border: 2px solid #a2f3ff;
background: #f3682d;
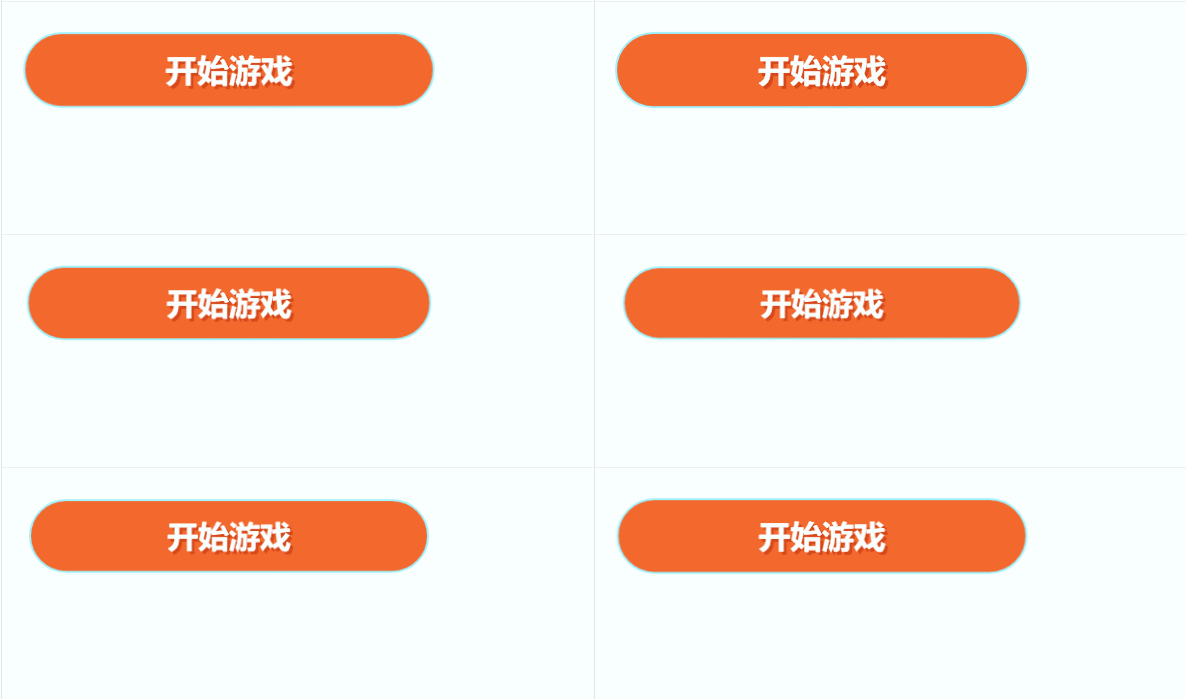
}</pre><div class="contentsignin">ログイン後にコピー</div></div>コード効果
btn
要素のすべての境界線のスタイル、色、形状。 <div class="code" style="position:relative; padding:0px; margin:0px;"><pre class='brush:php;toolbar:false;'>border-radius: 37px;
-webkit-border-radius: 37px;
-o-border-radius: 37px;
-moz-border-radius: 37px;
text-shadow: 3px 2px #d4481b;
-webkit-text-shadow: 3px 2px #d4481b;
-o-text-shadow: 3px 2px #d4481b;
-moz-text-shadow: 3px 2px #d4481b;
font-family: 微软雅黑;</pre><div class="contentsignin">ログイン後にコピー</div></div>コード効果
search
#search{
animation: breathe 1.1s infinite;7、使用@keyframes规则,创建动画。
@keyframes breathe{
		  0%{ transform: scale(.99); }
		  50%{ transform: scale(1.03); }
		  100%{ transform: scale(.99); }
}代码效果

ok,编辑代码完成。
完整代码
<!DOCTYPE html>
<html>
<head>
	<meta charset="UTF-8">
	<title>button按钮</title>
	<style type="text/css">
		.search {
		    width: 185px;
		    height: 70px;
		    background: url(images/btn_08.jpg) no-repeat center;
		    border-radius: 8px;
		    -webkit-border-radius: 8px;
		    -o-border-radius: 8px;
		    -moz-border-radius: 8px;
		    float: left;
		    font-size: 30px;
		    text-align: center;
		    font-weight: bold;
		    border: none;
		    color: #fff;
		    cursor: pointer;
		    line-height: 70px;
		    font-family: 微软雅黑;
		}
		.btn {
		    width: 383px;
		    height: 70px;line-height: 0;
		    border: 2px solid #a2f3ff;
		    background: #f3682d;
		    margin: 22px 0 0 17px;
		    border-radius: 37px;
		    -webkit-border-radius: 37px;
		    -o-border-radius: 37px;
		    -moz-border-radius: 37px;
		    text-shadow: 3px 2px #d4481b;
		    -webkit-text-shadow: 3px 2px #d4481b;
		    -o-text-shadow: 3px 2px #d4481b;
		    -moz-text-shadow: 3px 2px #d4481b;
		    font-family: 微软雅黑;
		}
		#search{
		    animation: breathe 1.1s infinite;
		}
		@keyframes breathe{
		  0%{ transform: scale(.99); }
		  50%{ transform: scale(1.03); }
		  100%{ transform: scale(.99); }
		}
	</style>
</head>
<body>
	<input id="search" name="cx" type="button" value="开始游戏" class="btn search">
</body>
</html>推荐学习:CSS3视频教程
以上がCSS3 を使用してボタンを作成し、動的な効果を追加する方法 (コード共有) を教える 1 つのトリックの詳細内容です。詳細については、PHP 中国語 Web サイトの他の関連記事を参照してください。