
Want to quickly add transition effects in Premiere 2020, but don’t know how? Don’t worry, PHP editor Banana brings you a method to quickly add transition effects in Premiere 2020, allowing you to easily improve the visual effects of your video. Want to know the specific steps? Read on to learn more about how to use transition effects to make your videos smoother and more vivid.
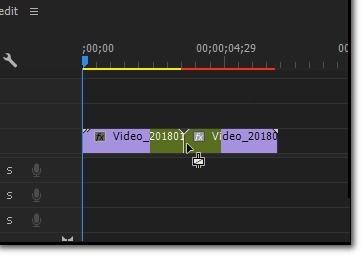
Step one: First we need to open the software, import the pictures or videos we need to operate, and drag them to the timeline. Then add the transition effect we need in the material interface on the right (as shown in the picture).
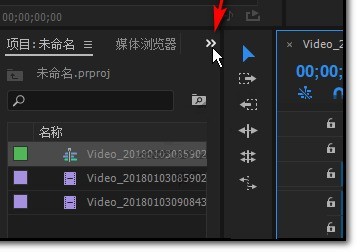
Step 2: Then find the arrow mark in the upper right corner of the project bar and click on it (as shown in the picture).
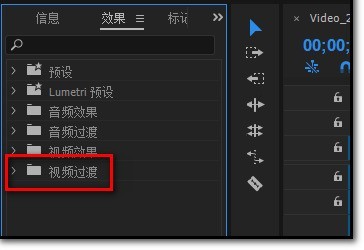
Step 3: After clicking it, we can see the video transition option in the drop-down menu bar interface (as shown in the picture).
Step 4: After clicking it, there are many different transition methods. Just choose the method you like (as shown in the picture).
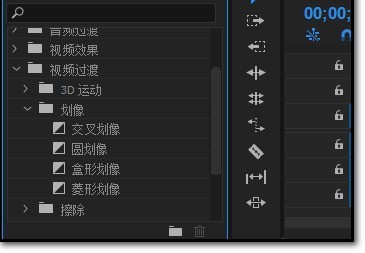
Step 5: Then we click with the mouse to select an effect, hold down the left button, and drag it to the video on the right (as shown in the picture).
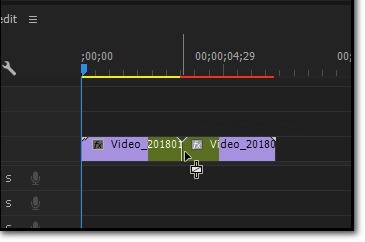
Step 6: After the drag is successful, we can see the effect in the video editing bar (as shown in the picture).
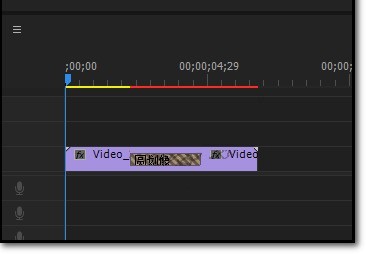
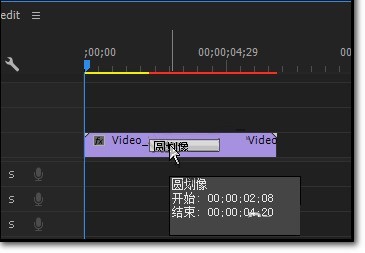
Step 7: Of course, if we are not satisfied with the added effect or want to delete it, we can directly select the special effect with the mouse and press [delete] on the keyboard. Or right-click and select [Clear] in the pop-up page (as shown in the picture).
The above is the detailed content of How to quickly add transition effects in Premiere 2020_How to quickly add transition effects in Premiere 2020. For more information, please follow other related articles on the PHP Chinese website!


