
How to add a coordinate system to ArcGIS images has troubled many geospatial data workers. This article takes a closer look at this issue and provides a step-by-step guide to help you understand and perform the process of adding an image coordinate system in ArcGIS. With this article's detailed description and clear examples, you'll gain the knowledge and skills you need to assign the correct coordinate system to your imagery.
1. Usually when analyzing an image, the image needs to have a corresponding coordinate system. At this time, you need to add a coordinate system to the image. The specific operations are as follows.
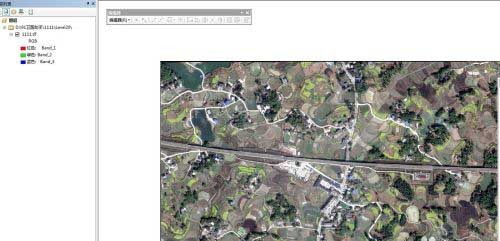
2. Add images to arcgis.
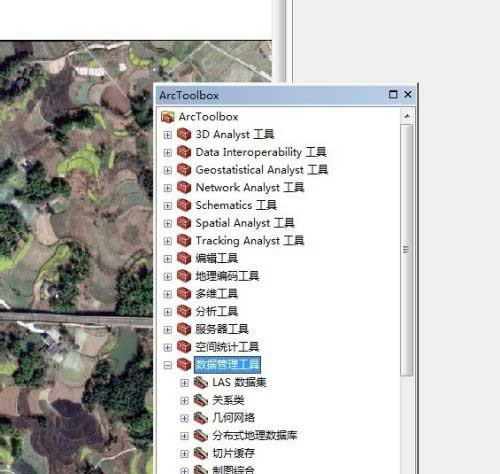
3. Open the arctoolbox toolbox in the toolbar. The specific location is as shown in the figure below
4. Find the data management tool in the arctoolbox toolbox.
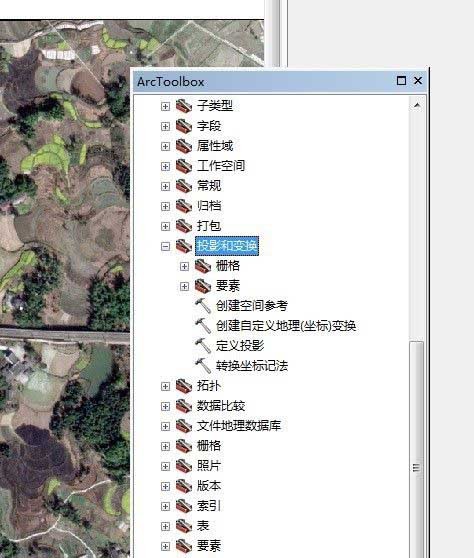
5. Then find the projection and transformation tools - elements - define the projection.
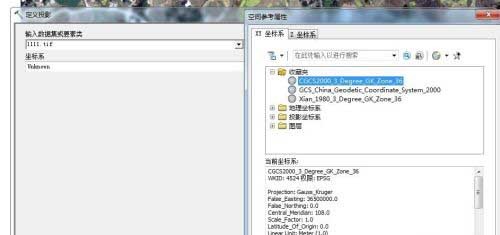
6. As shown in the figure below, add image data in the window, then select the added corresponding coordinate system and click OK.
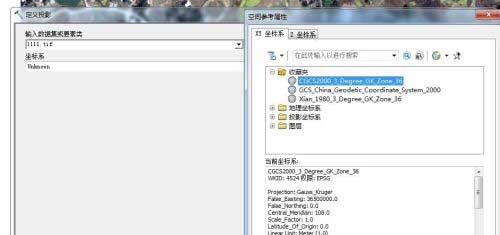
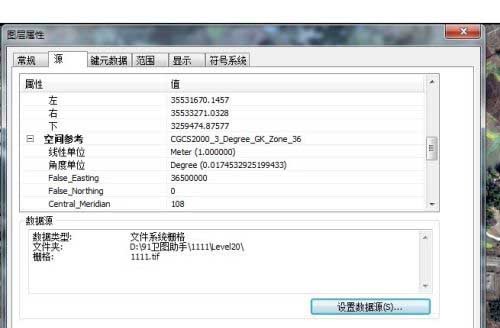
7. Finally, check the image properties again and you can see that there is a coordinate system. You can also use the Project Raster tool in Raster Projection here.
The above is the detailed content of How to add a coordinate system to an image in arcgis How to add a coordinate system to an image in arcgis. For more information, please follow other related articles on the PHP Chinese website!
 How to make charts and data analysis charts in PPT
 Android voice playback function implementation method
 AC contactor use
 The difference between vscode and visual studio
 The difference between Java and Java
 Introduction to hard disk interface types
 nagios configuration method
 How to delete a folder in linux


