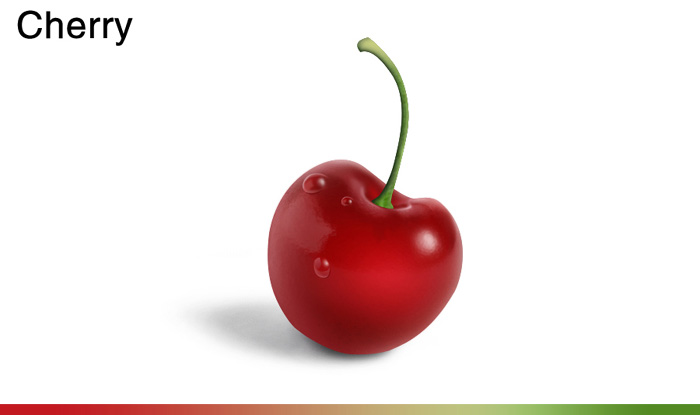
本教程的制作过程比较简略,很多细节及过程没有效果图,还需要自己多花点时间去慢慢刻画。作者纹理部分制作比较独特,用了玻璃滤镜来加强表面质感,非常细腻。
最终效果
1、新建大小适当的文档,背景填充黑色。新建图层,用钢笔勾出果实轮廓选区,加上简单的渐变后,用柔角画笔把果实边缘涂上高光,过程如下图。
2、新建图层,给果实的局部添加高光。然后合并整个果实图层,再复制,对副本执行:滤镜 > 扭曲 > 玻璃,数值自定。
3、新建图层,给果实加上简单的水珠,方法自选,做好一滴水珠后,可以通过复制及变形得到更多水珠,如下图。
4、柄部分制作较为简单,过程如下图。
最后加上阴影,完成最终效果。
 pr shortcut key
 The difference between python courses and c+ courses
 Common website vulnerability detection methods
 What are the gsm encryption algorithms?
 What to do if your IP address is attacked
 The difference between insertbefore and before
 What protocols does the ssl protocol include?
 How to open xml file


