
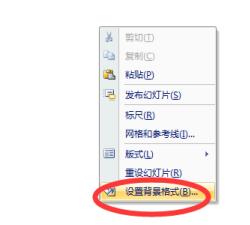
Open the PPT, insert a blank slide into it, right-click the mouse to set the background format, in the formatting dialog box that pops up, select the picture fill, and select the picture to be set as the background through the file path.
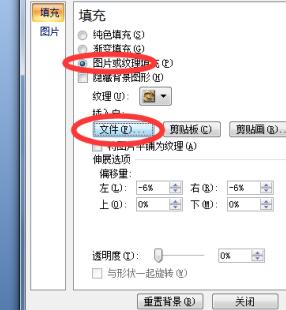
Choose the picture under the insert option, insert the background picture as a picture into the PPT again, and adjust the size of the inserted picture to the same size as the slide.

Let’s make a simple adjustment to the inserted picture, and adjust the overall picture to a blurry effect.
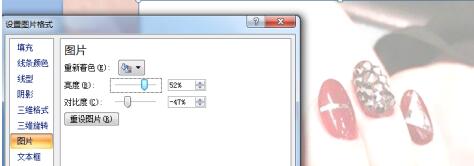
The adjusted picture is overlaid on the slide. Next we insert a shape, which can be selected according to your own needs. Here we take inserting an ellipse as an example.
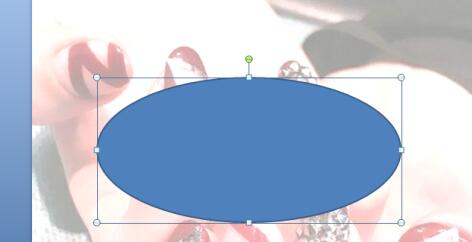
Select the inserted ellipse, right-click the mouse, and select Format Shape. In the shape formatting dialog box that pops up, select Slide Background Fill as the fill method.
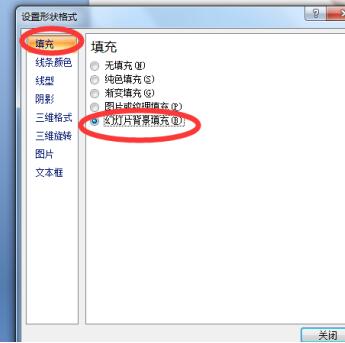
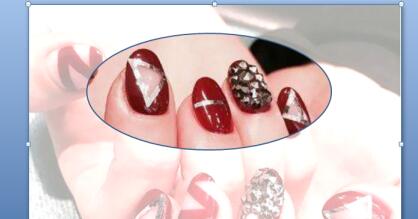
After setting up, return to the PPT slide. At this time, you can drag the inserted ellipse to any place in the picture, and you can see that that place is highlighted. Next, follow the Wherever you want to highlight, just place the inserted shape in that place.
The above is the detailed content of Introduction to the operation method of inserting pictures into PPT background to highlight a certain part of it. For more information, please follow other related articles on the PHP Chinese website!


