
php editor Apple teaches you how to set up image check-ins in Tencent documents. As Tencent documents are used more and more widely, many users often encounter the need to insert pictures when editing documents. The picture check-in function can help us better manage and position the inserted pictures, making it convenient for our subsequent editing and processing. Let’s take a look at the steps on how to set up picture check-in in Tencent documents!
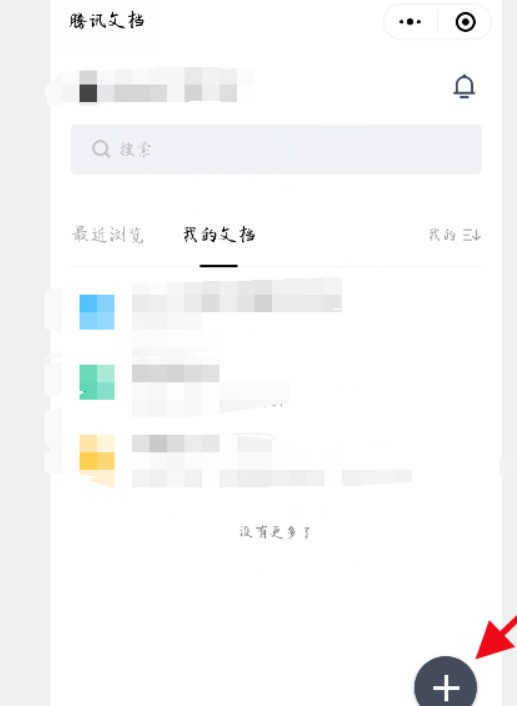
1. After entering the Tencent document, click in the lower right corner.
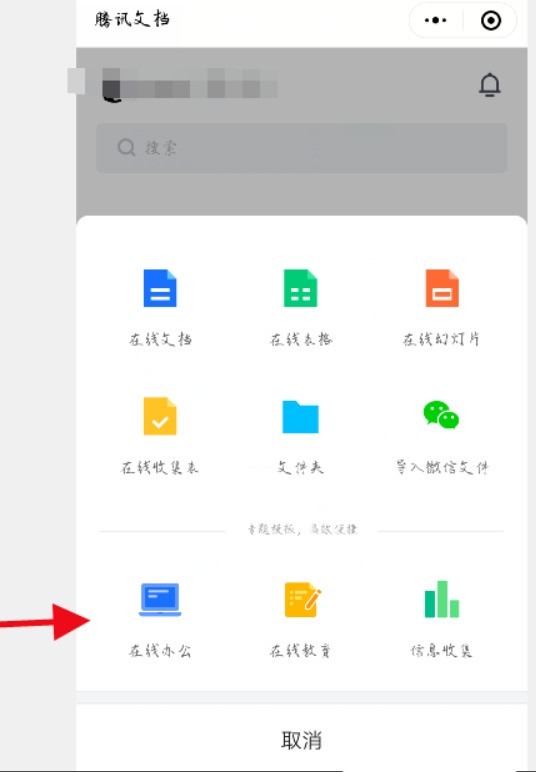
2. Then click Online Office.
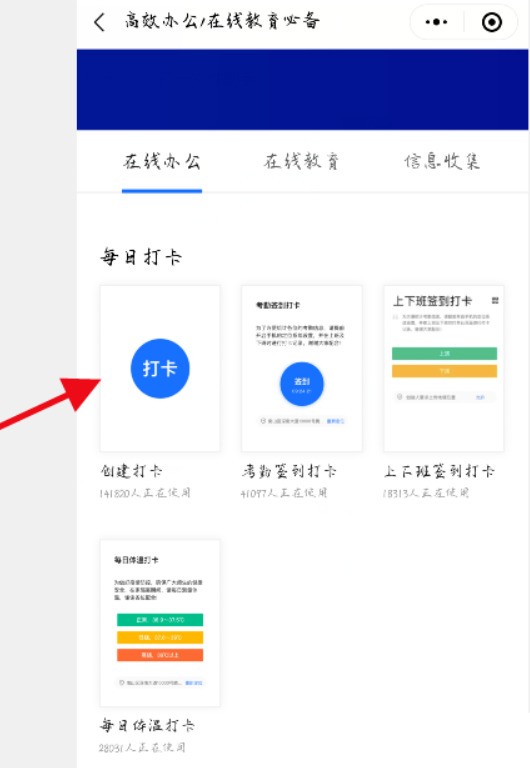
3. Choose to create a check-in.
4. Turn on the switch button after you want to upload the picture.
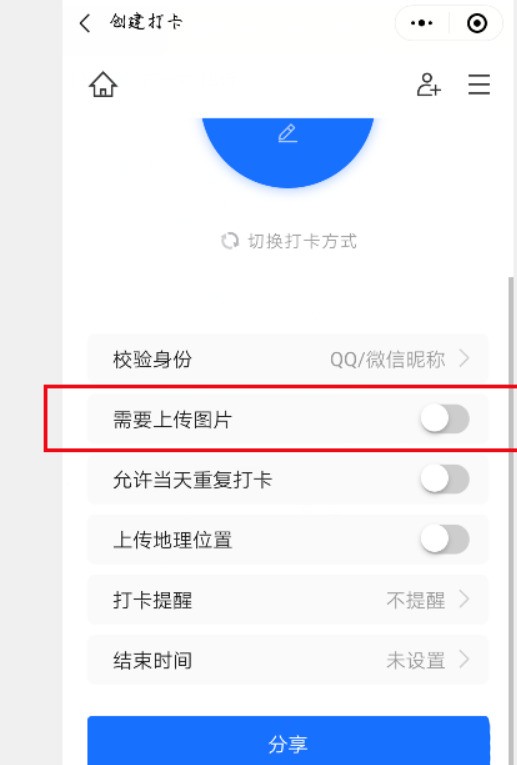
5. Fill in other relevant information and click Publish.
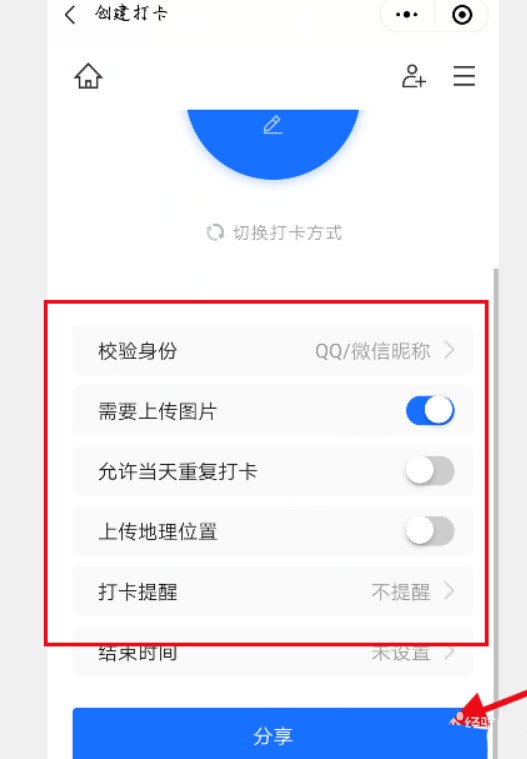
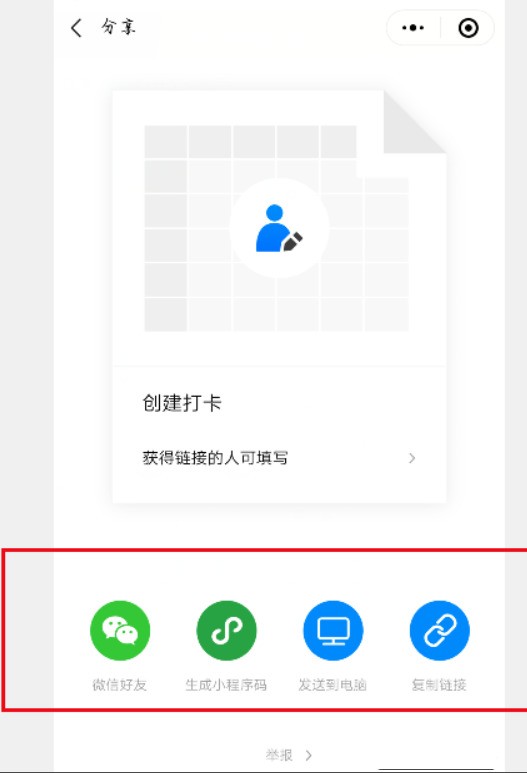
6. Share it with others through the sharing method below.
The above is the detailed content of How to set up picture check-in in Tencent Documents_How to set up picture check-in in Tencent Documents. For more information, please follow other related articles on the PHP Chinese website!
 How to turn off win10 upgrade prompt
 The difference between lightweight application servers and cloud servers
 CMD close port command
 The difference between external screen and internal screen broken
 How to jump with parameters in vue.js
 Cell sum
 How to intercept harassing calls
 virtual digital currency


