
php Editor Apple brings you how to use Gaussian blur filter to smooth skin in Photoshop. Gaussian blur is a common image processing technique that can be used to soften image details and achieve a skin-smoothing effect. In Photoshop, using the Gaussian Blur filter to smooth skin is very easy and can be achieved in just a few simple steps. This article will introduce you to the specific operation methods in detail, allowing you to easily master how to use the Gaussian blur filter to smooth skin and improve your image processing skills.
1. Put the photo into Photoshop, and then copy the background layer as [Layer 1]
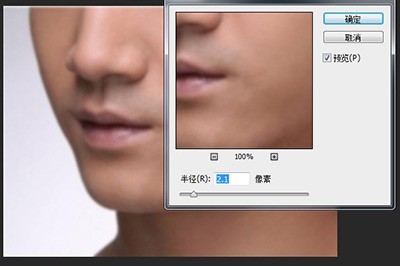
2. Use [Filter] - [Blur] - [Gaussian] Blur], adjust [Radius] pixels until the facial skin becomes blurred and wrinkles cannot be seen.
3. Click [Window]-[History] to open the window, and click the small box on the left among the options in the previous Gaussian Blur to transfer the brush to the Gaussian Blur step.
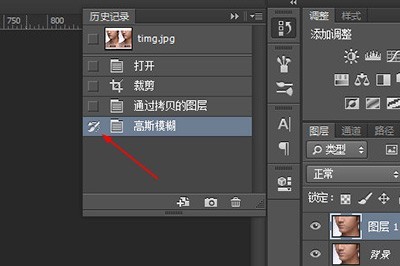
4. In the history window, click on the upper layer of the Gaussian blur option. Return the image to the effect it had before Gaussian blur processing.
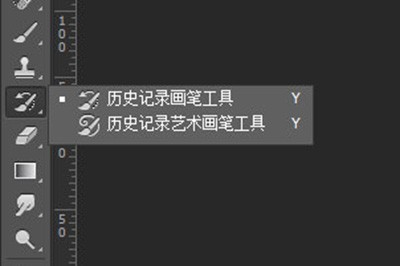
5. Use [History Brush] (shortcut key Y) in the toolbar.
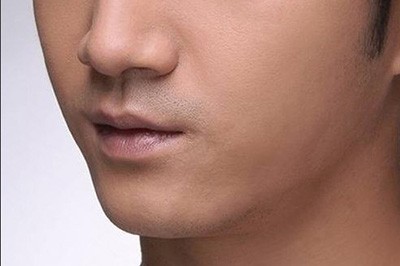
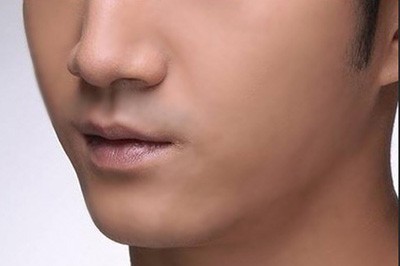
6. Use the history brush to paint on the character’s face until the freckles and wrinkles on the character’s face disappear. Please see the comparison picture, the original picture is above.
The above is the detailed content of How to use Gaussian Blur filter to smooth skin in Photoshop. For more information, please follow other related articles on the PHP Chinese website!


