
php editor Xiaoxin introduces to you how to create the virtual focus effect in PS. The defocus effect is a commonly used photo editing technique that can make photos more artistic and focused. In Photoshop, you can easily achieve a defocused effect by using features like filters and layer masks. Through the guidance of this article, you can learn how to create a defocused effect in PS to add more visual appeal to your photos.
PS method of adding a virtual focus effect to charactersRendering picture: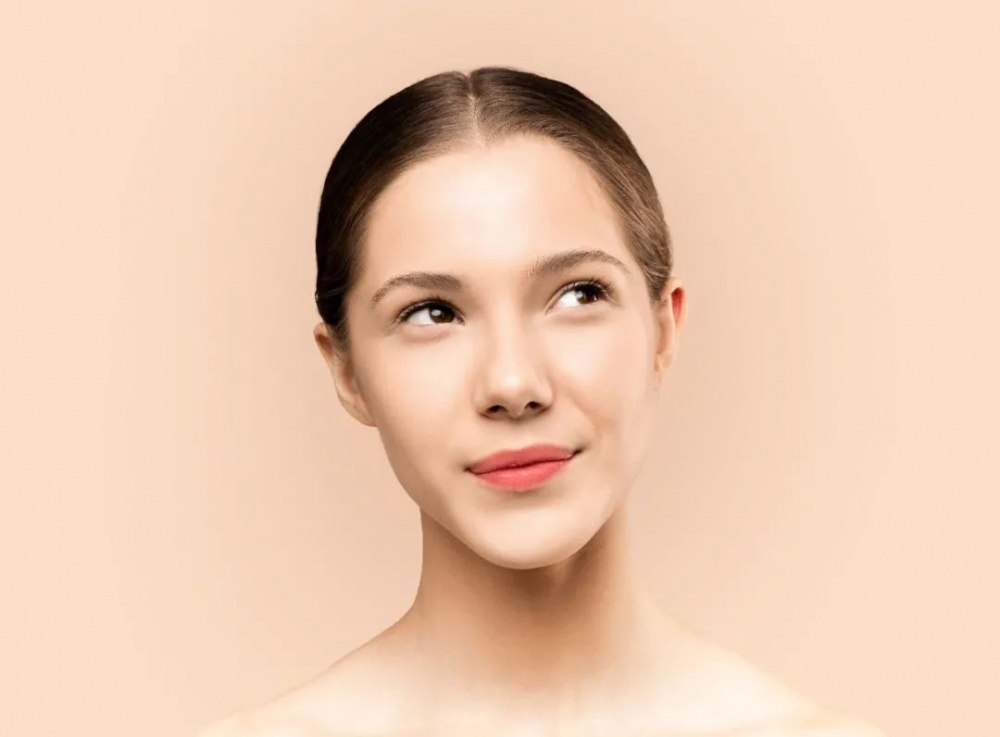
Type 1: Smart Object Gaussian Blur
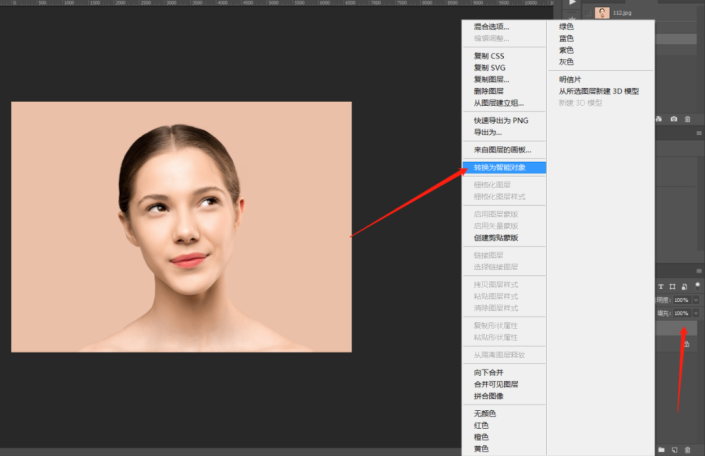
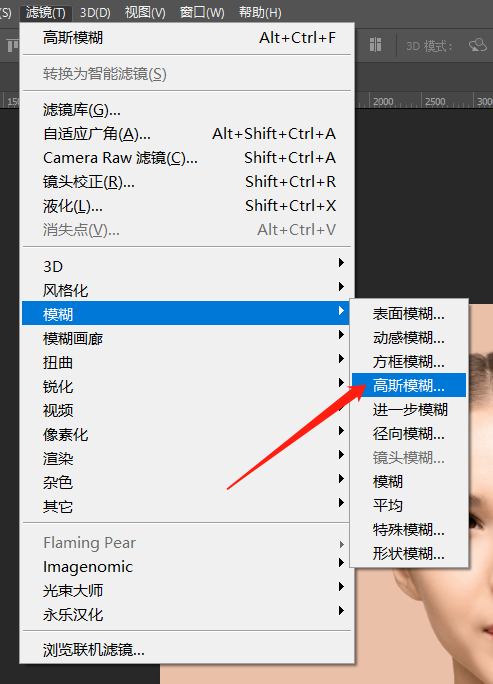
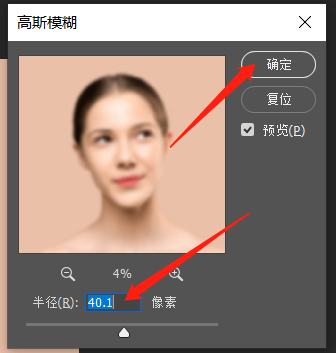
Step 1: Open the photo, press Ctal J to copy a layer, then right-click the copied layer and select "Convert to Smart Object". Execute Filter - Blur - Gaussian Blur, see if you need to set the pixels, here set 40 pixels, click OK.
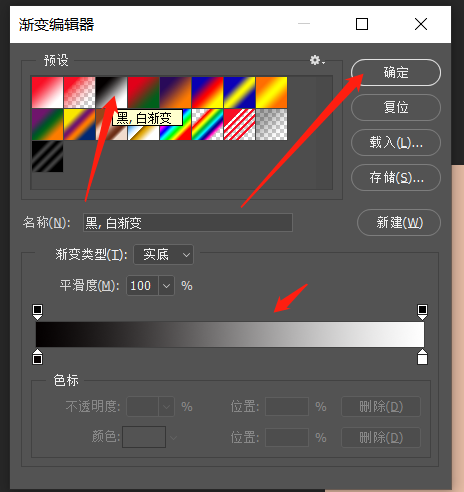
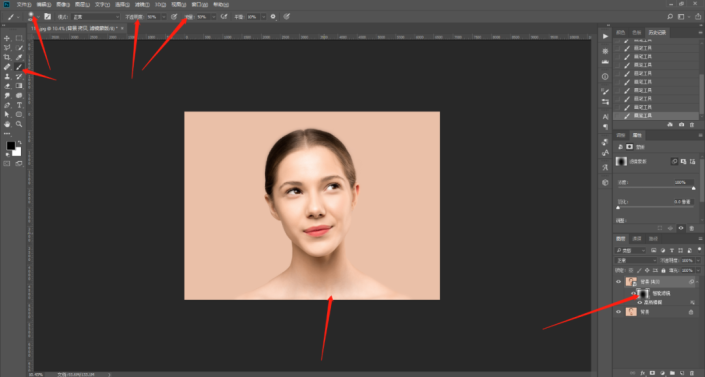
Step 2: Select the gradient tool, double-click the gradient color, and the gradient editor panel will pop up , select the black and white gradient, and click OK. Then select the white frame in front of the smart filter, which is the Gaussian blur mask, use the gradient tool, select the radial gradient, press the , if the gradient is not in place at one time, you can use a brush with a soft edge (hardness of 0), set the foreground color to black, change the opacity and flow appropriately, select the Gaussian blur mask, and then apply on it until you feel that the effect is achieved. .
Type 2: Mask Gaussian Blur
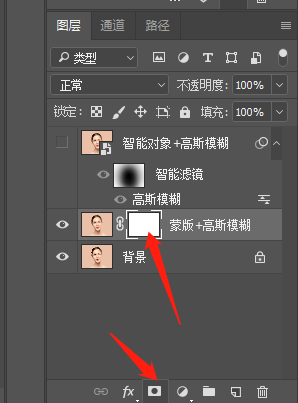
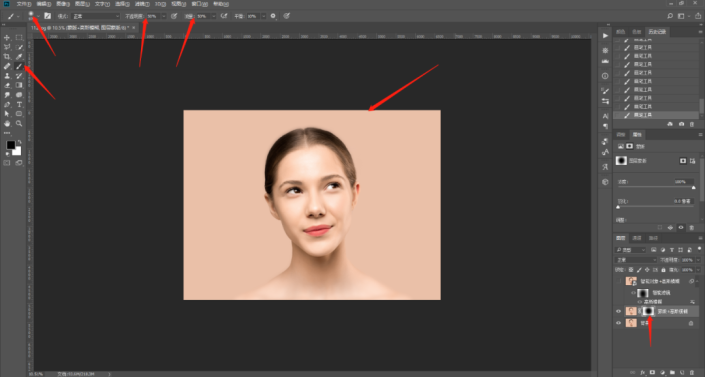
Step 1: Still open the photo, copy one layer, and then Directly execute Filter-Blur-Gaussian Blur, here still set 40 pixels, click OK. Then use a brush with a soft edge (hardness 0), set the foreground color to black, change the opacity and flow to 50%, click the camera icon below on the layers panel, add a mask, and then paint with the set brush. Just smear it out if it doesn't need to be out of focus.
Type 3: Eraser Gaussian Blur
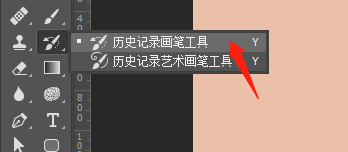
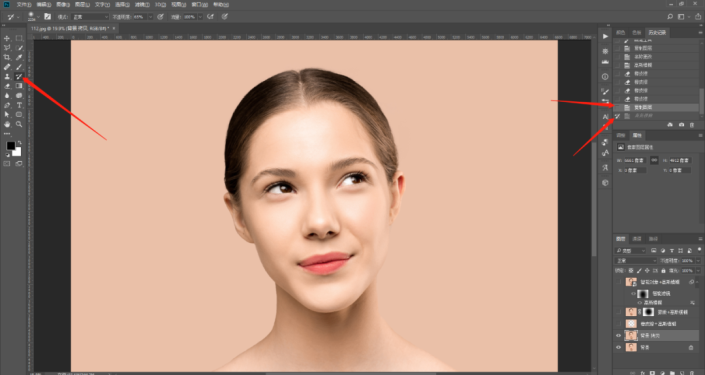
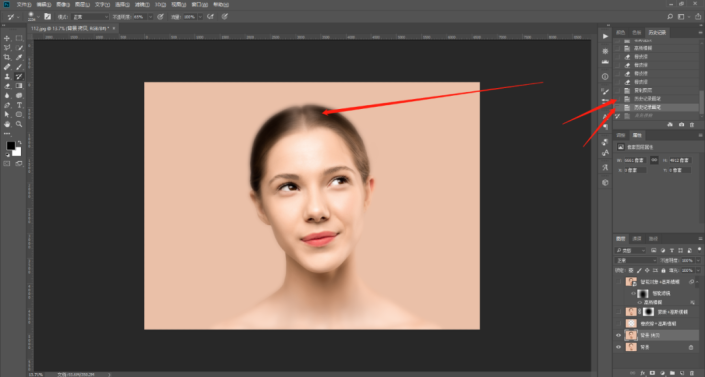
Step 1: Still the same as the second method, open Take the photo, copy a layer, perform Gaussian blur, 40 pixels, then use an eraser, set the hardness to 0, change the opacity and flow appropriately, and apply directly on the layer. If you make a mistake, just go back in the history.
Type 4: Selection Gaussian Blur
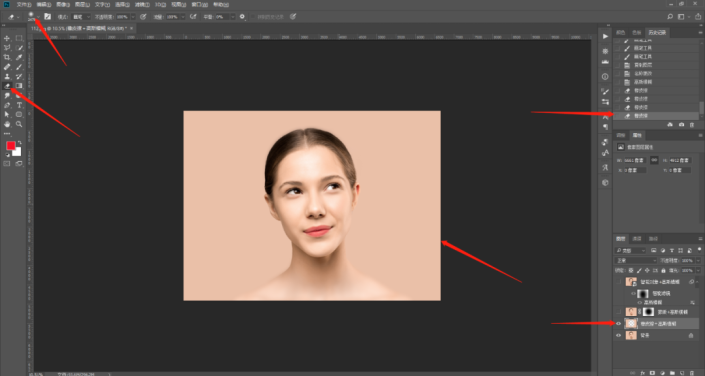
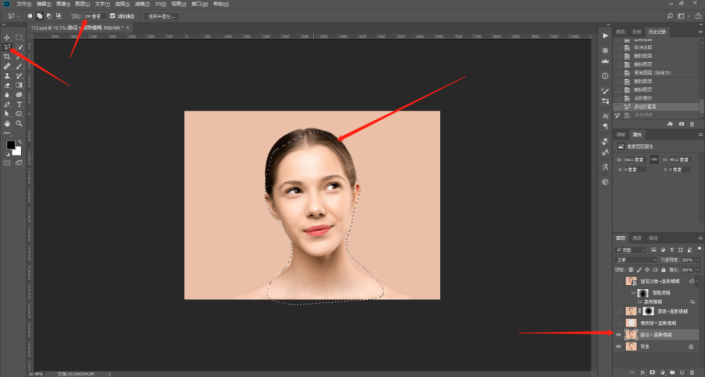
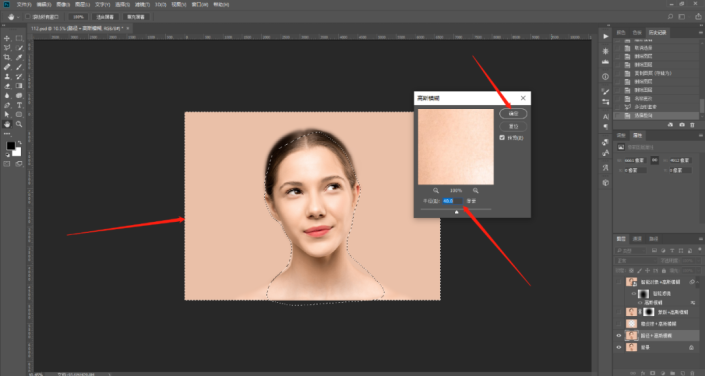
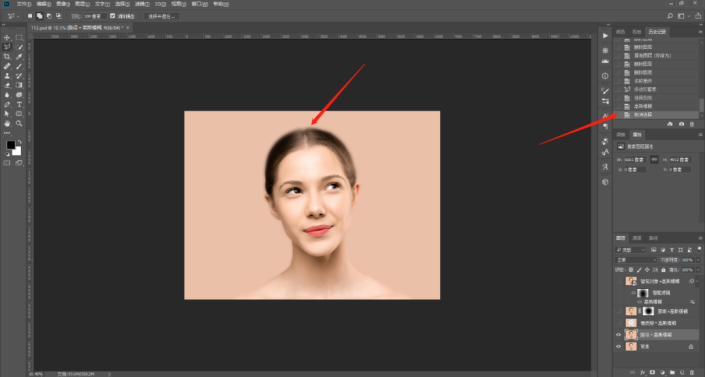
Step 1: Open the photo, copy a layer, select the Polygonal Lasso Tool, feather fill 50 pixels, and then Trace out the subject that needs to be highlighted (you can also use the Pen Tool, Quick Selection Tool, or Magic Wand Tool), and press Shift Ctrl i to invert the selection. Execute Filter - Blur - Gaussian Blur, fill in 40 pixels, click OK, and then press Ctrl D to cancel the selection. In this way, the effect of virtual focus comes out,
 ##Type 6: Lens blur
Step 1: Open the photo, copy a layer, then click the camera icon below the layers panel to add a mask, then use the gradient tool, select the radial gradient, select the gradient color from black to white, and then add a mask on the Pull the gradient, and the parts you want to highlight will be black. If the gradient cannot be drawn in some places, you can use a brush to paint them.
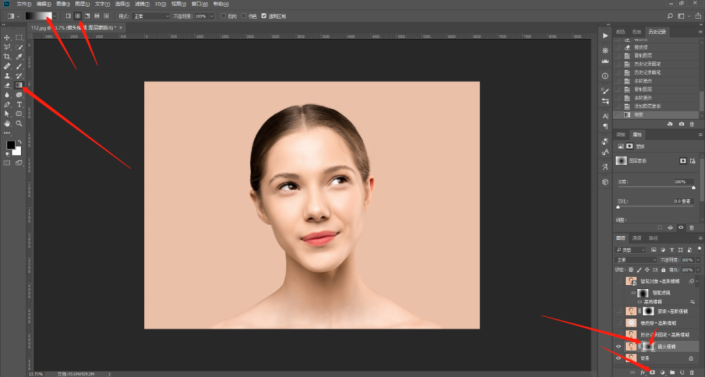
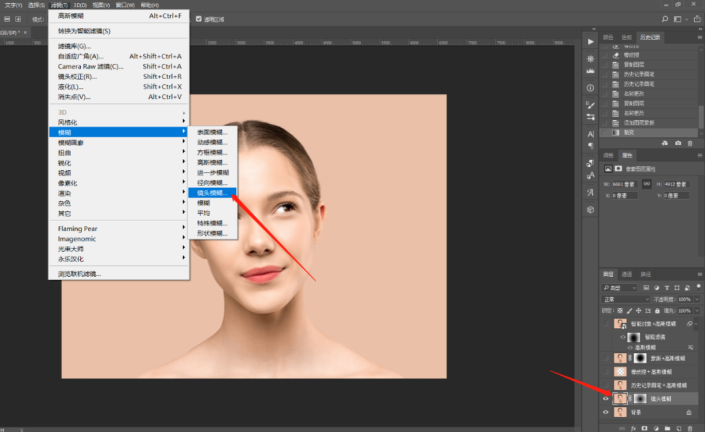
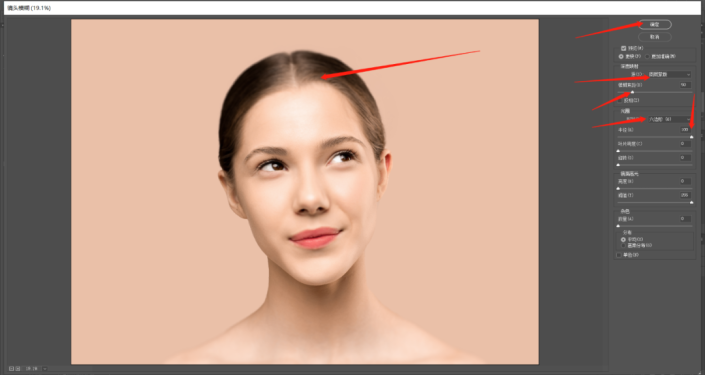
Step 2: Select the copied layer, execute Filter - Blur - Lens Blur, select the layer mask at the source of the lens blur interface, and blur the focus with 50, select six deformations for the shape, select 100 for the radius, click OK, and that's it.
Type 7: Fantasy Soft Focus - Color Filter Gaussian Blur Mask
Step 1: Copy 2 Layer the background photo, change the layer style of the top layer to Screen, then right-click the layer and select Merge Down to brighten the photo.
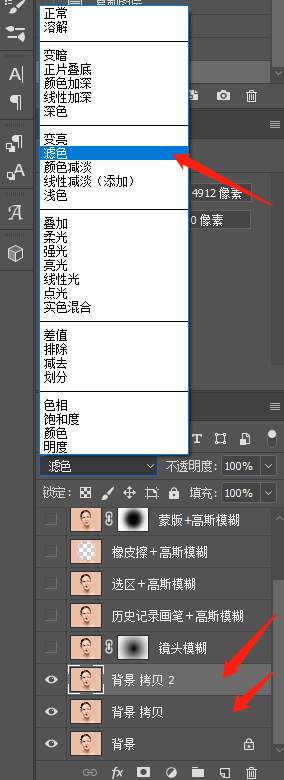
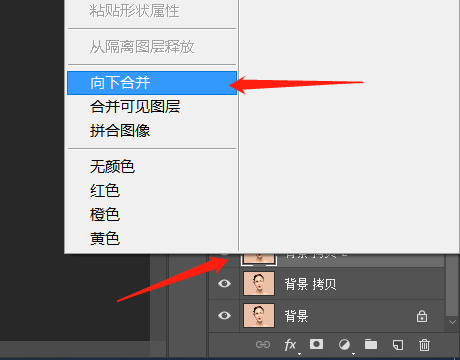
Step 2: Press Ctrl J to copy the layer merged in step 1, and change the layer style to Multiply. Then right-click on the layer and select Merge Down.
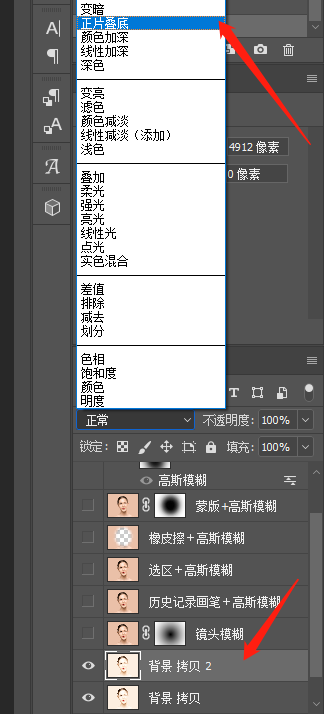
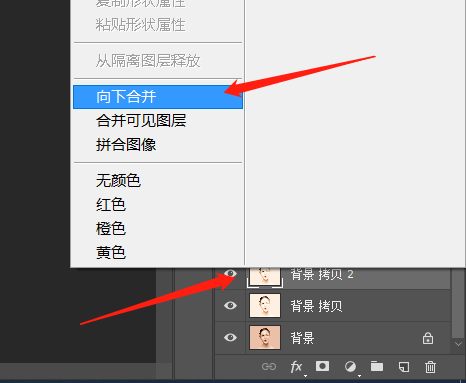
Step 3: Click the camera icon below on the layers panel, add a mask, then use a soft edge brush, and the foreground color is Black, appropriately reduce the opacity and flow. Where the smear needs to be highlighted, the opacity of the mask can also be adjusted according to the effect needs.
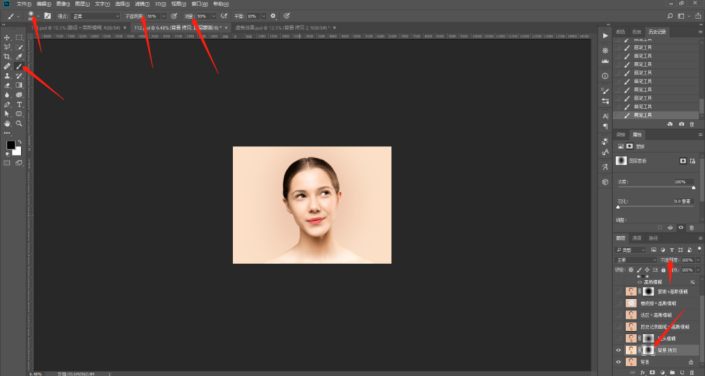
Complete:

PS There are many ways to achieve an effect. From the above 7 methods, To achieve virtual focus, you can consider three aspects: Gaussian blur, lens blur, and layer style combined with Gaussian blur. Interested students can practice it.
The editor brings you the tutorial content information on how to add a defocus effect to characters in PS. If your brothers and sisters want to know more about this game, please bookmark it and follow itthis siteMobile Game Internet Cafe!The above is the detailed content of How to create virtual focus effect in PS. For more information, please follow other related articles on the PHP Chinese website!


