php Xiaobian Yuzai introduces you a simple and effective method to delete the AMD graphics card setting option in the Win10 right-click menu. In computers using AMD graphics cards, AMD-related options will appear when you right-click on the desktop. Sometimes these options make the interface look cluttered. With the following steps, you can easily remove these options to make your right-click menu cleaner and simpler.
How to delete the AMD option in the right-click menu in Win10
Note: Please back up the data before modifying the registry.
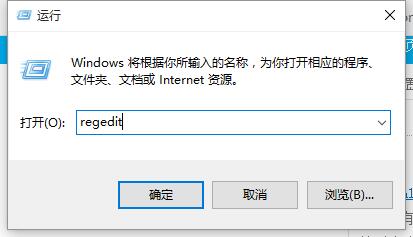
1. The shortcut key "win R" starts running, enter "regedit", and press Enter to open the registry editor.

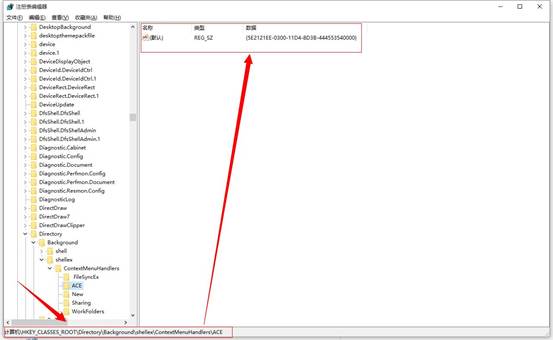
#2. After entering the new interface, enter "Computer HEKY_CLASSES_ROOTdirectorybackgroundshellexcontextmenuhandlersace" in the address bar above, and press Enter to locate here.

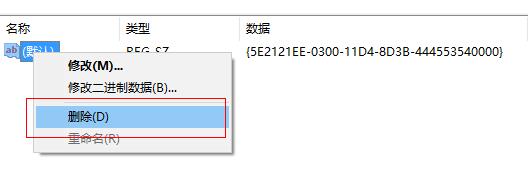
#3. Find the default value on the right, right-click and select "Delete".

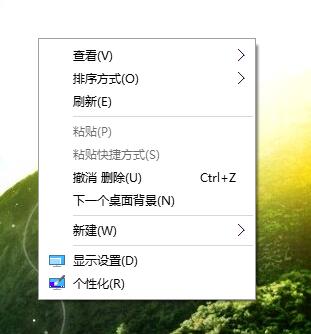
#4. Right-click on the desktop and there will be no AMD display option in the menu.

The above is the detailed content of How to delete amd graphics card settings by right clicking on win10? How to remove AMD option from right-click menu in Win10. For more information, please follow other related articles on the PHP Chinese website!
 win10 bluetooth switch is missing
 Why do all the icons in the lower right corner of win10 show up?
 The difference between win10 sleep and hibernation
 Win10 pauses updates
 What to do if the Bluetooth switch is missing in Windows 10
 win10 connect to shared printer
 Clean up junk in win10
 How to share printer in win10


