
Generally, if a laptop does not have a normal partition setting before installing the win11 system, it will only have one disk partition, which is very inconvenient. At this time, we can manually partition the disk in the system. Let’s take a look at the tutorial on disk partitioning in notebook win11.
1. First, find “This Computer” on the desktop, right-click it, select it and click “Manage” in the drop-down menu
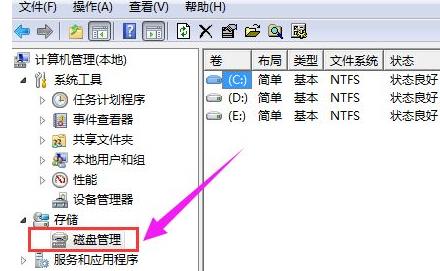
2. In Computer Management Find "Disk Management" under the "Storage" option.
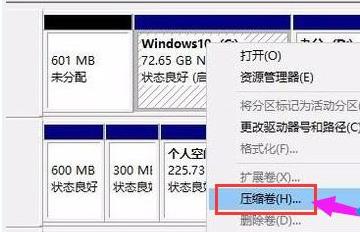
3. Right-click on the disk we need to partition and click "Compress Volume"
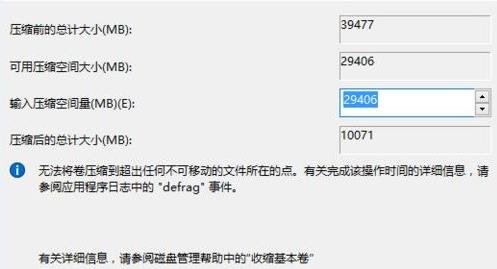
4. According to your own You need to set "Input compression space amount", then click "Compression" below
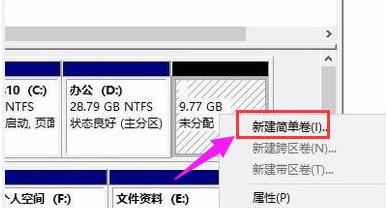
5. After the compression is completed, unallocated memory will appear. Right-click to select it and click "New Simple" Volume"
6. Then you will enter the New Volume Wizard, make settings according to the prompts, and finally click "OK"

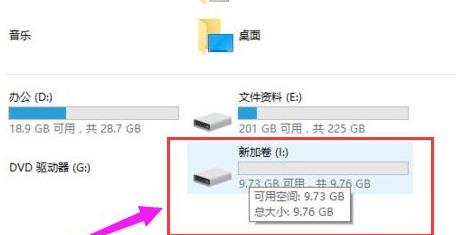
7. After the setting is completed, you can see the new disk.
The above is the detailed content of A guide to partitioning a Win11 laptop disk. For more information, please follow other related articles on the PHP Chinese website!