
The win7 system is still used by many users. Many friends who bought computers with pre-installed win10 system also want to install the win7 system but don’t know how to install it. Let’s share with you the computer uefi Tutorial on installing win7 system.
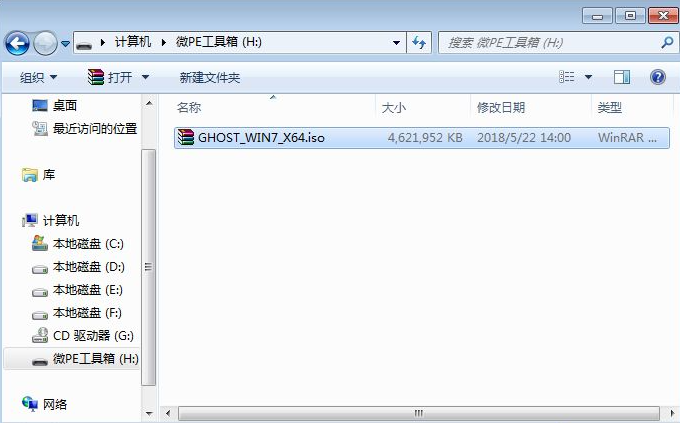
1. After making the wepe boot disk, copy the win7 system iso image directly to the U disk.
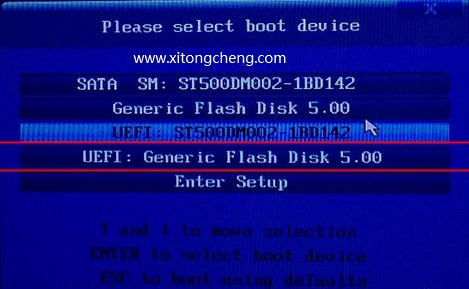
#2. Insert the wepe boot disk into the computer that needs to install win7 64-bit system. After restarting the new model, keep pressing F12 or F11 or Esc and other startup shortcut keys. Bring up the boot menu dialog box and select the recognized U disk option.
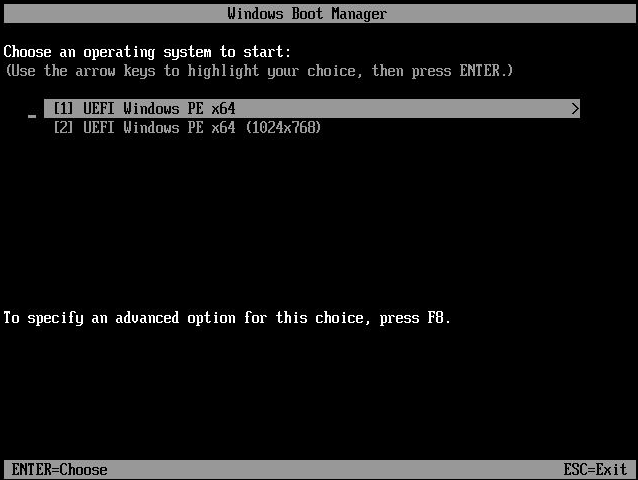
#3. Select the uefi windows pe resolution. The first one is selected by default. You can also select the second specified resolution and press Enter.
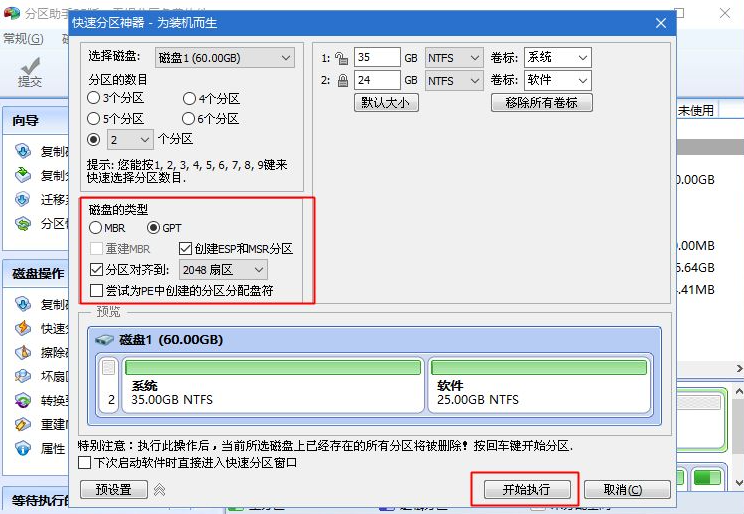
#4. After entering pe, you need to install the system under uefi and format the hard disk into a GPT partition table.
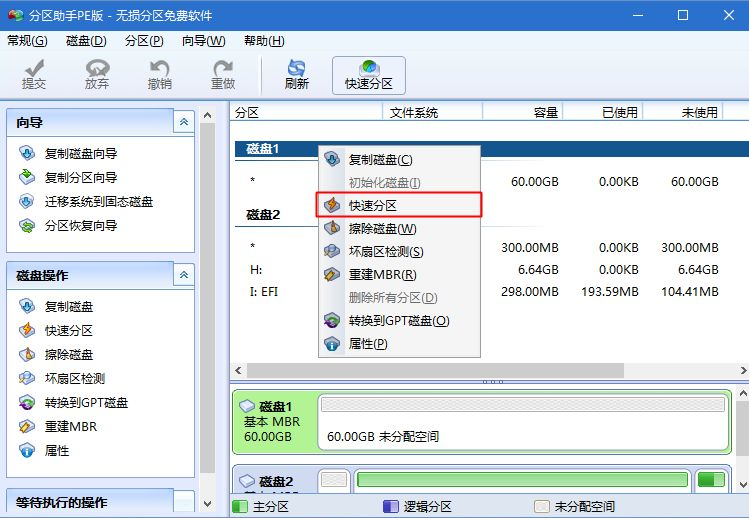
#5. Set the number of partitions, partition size and partition type.
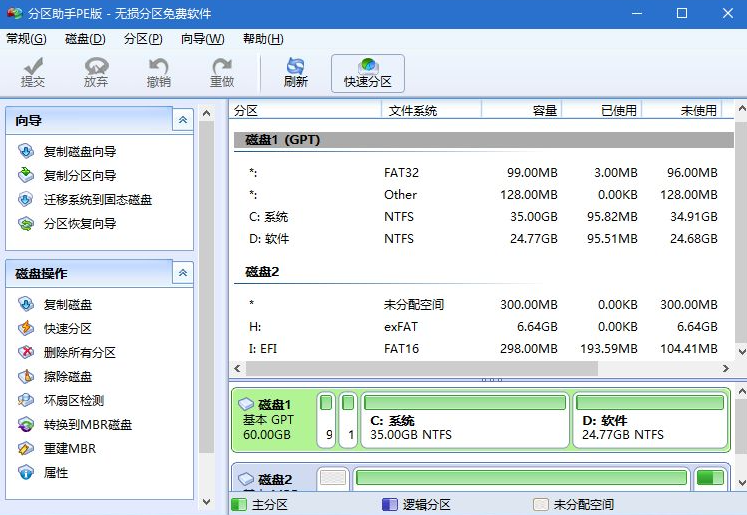
#6. The partitioning process is very fast. After the partitioning is completed, it is as shown in the figure.
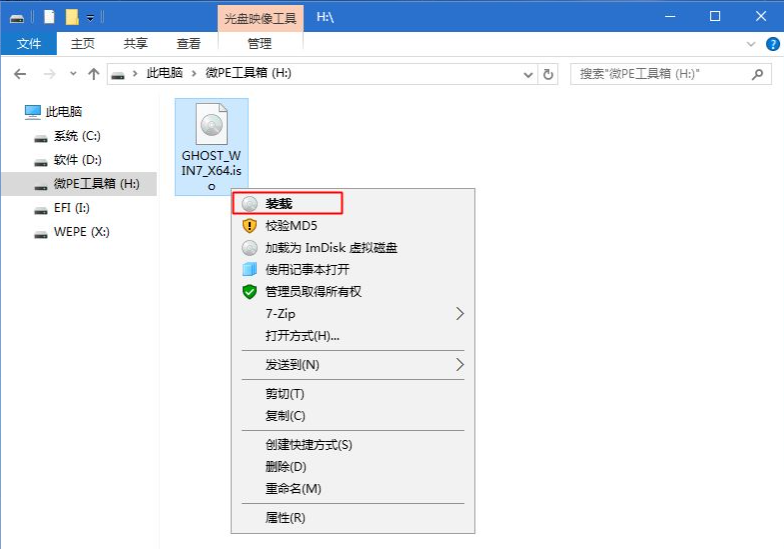
#7. Then open this computer-micro PE toolbox, right-click the win7 64-bit system iso image, select [Load], if it is not loaded, right-click-Open with-Resources manager.
8. Double-click [Double-click to install system.exe], run the installation tool, select [Restore Partition], the GHO WIM ISO image path will be automatically extracted to win7.gho, and then Select the installation location, usually the C drive.
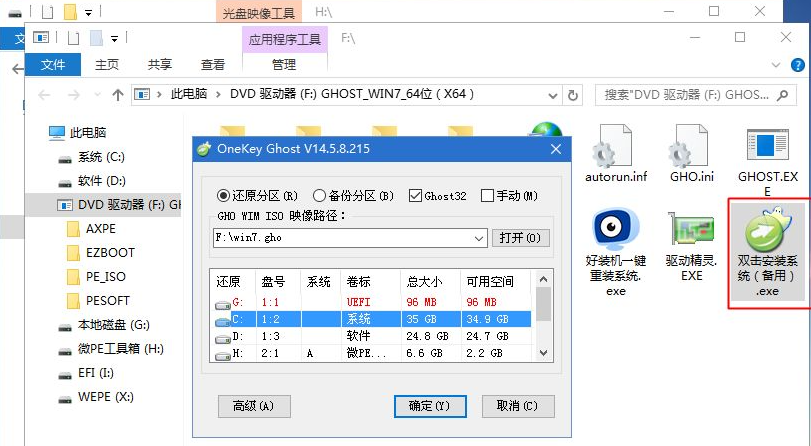
#9. Go to this interface and execute the process of installing and deploying the win7 system to the C drive. You need to wait for a while.
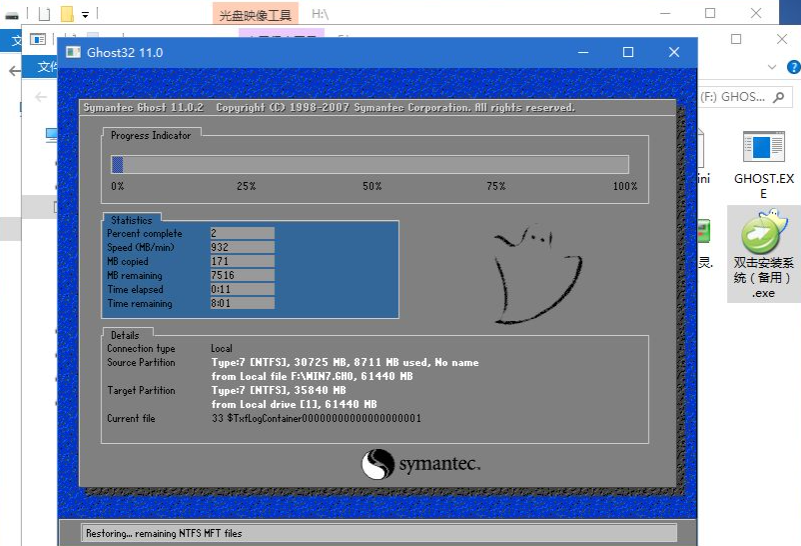
#10. Pull out the U disk in time during the restart process, and finally the system installation will be completed.
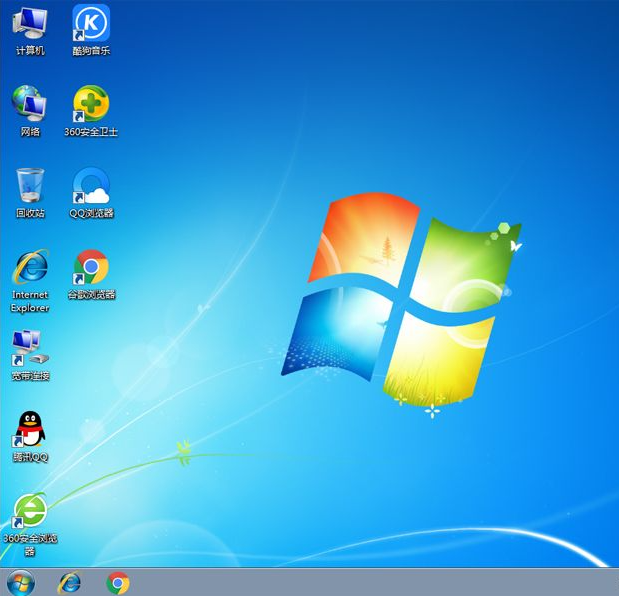
The above is the detailed tutorial for uefi installation of win7. If you find it useful, just save it and study it.
The above is the detailed content of Detailed tutorial on installing win7 with uefi. For more information, please follow other related articles on the PHP Chinese website!


