
How to divide the disk in Win11? When many friends download and install win11, the hard disk is not partitioned. All software files can only be installed to the c drive. Installing them into the c drive can easily cause computer lags. The computer lags us. You cannot use the computer normally. If you don’t know how to divide the disk, the editor has compiled a tutorial on how to divide the disk in Win11. If you are interested, follow the editor and take a look below!
1. First, we right-click "This Computer" in Windows 11, select "Manage", and then select "Disk" in the list on the left side of the "Computer Management" window "Management" project, as shown in the figure;
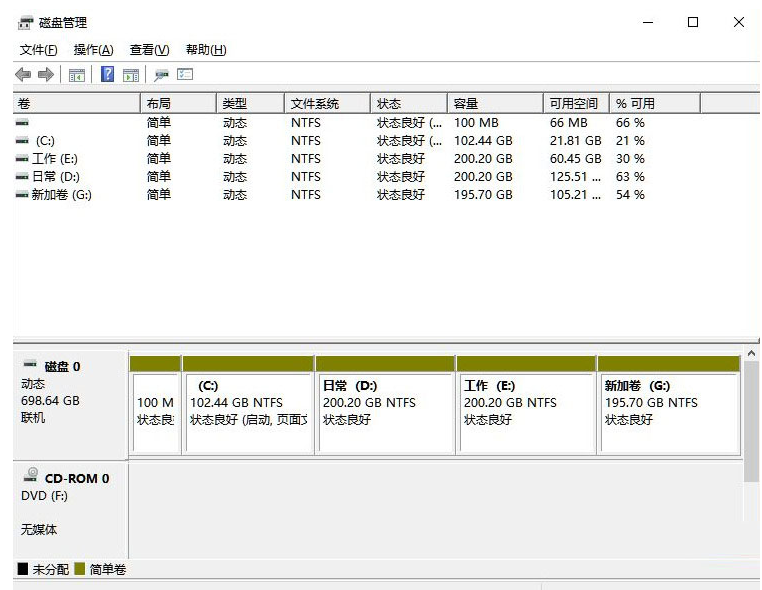
2. Then in the partition list, right-click the partition and click "Compress Volume", as shown in the figure;
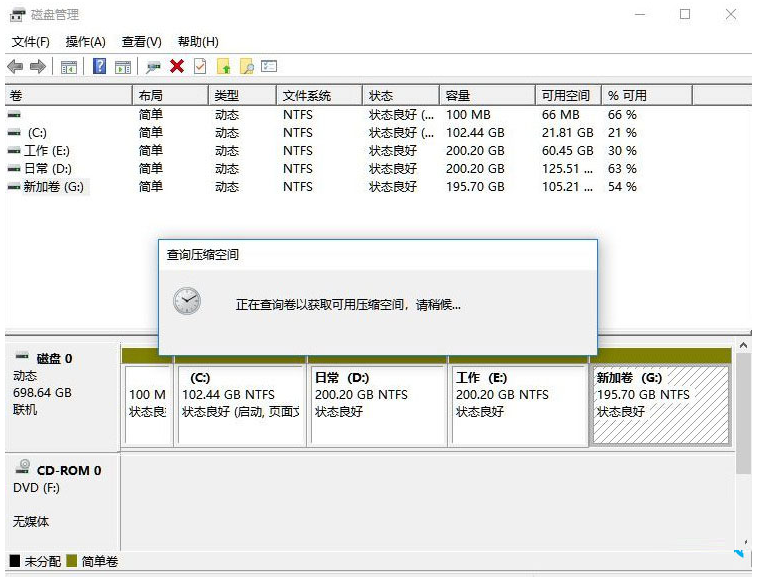
3. Enter the size of the space you want to separate, but please note that at least 50GB of capacity needs to be left. After determining the capacity, select "Compress", as shown in the figure;
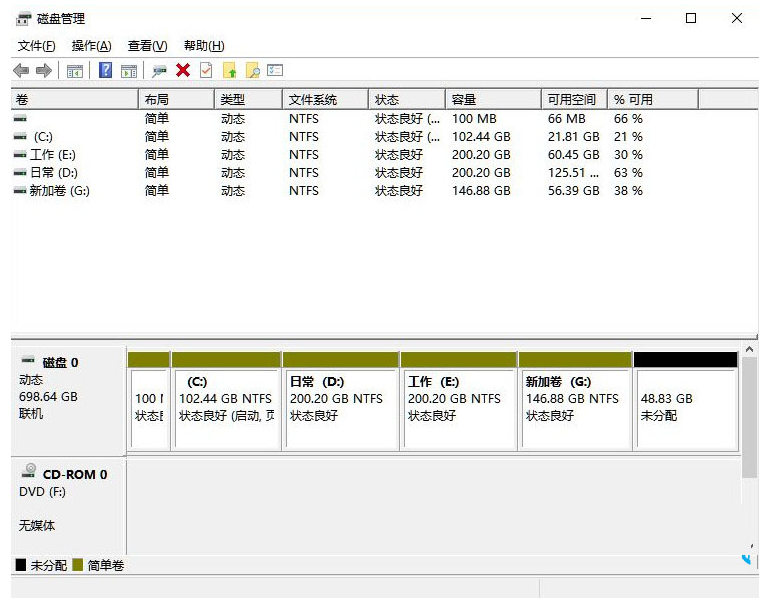
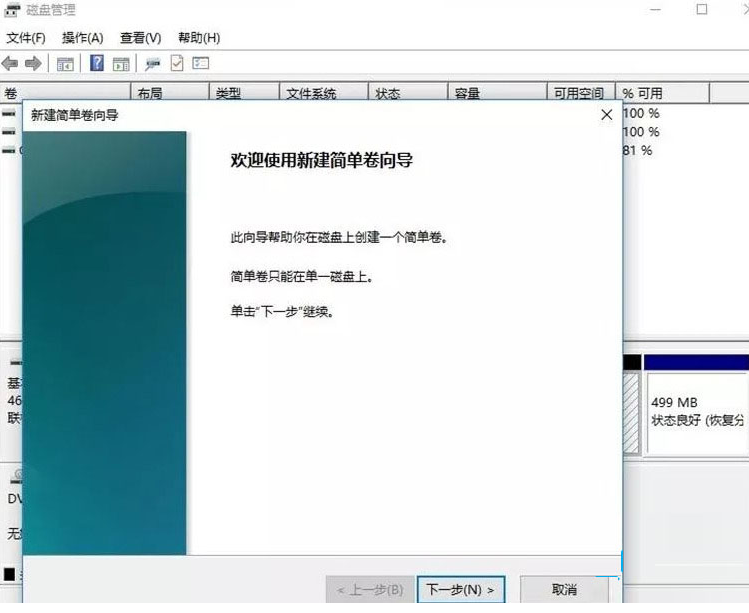
4. Then right-click the space, select "New Simple Volume", and click "Next", as shown in the figure;
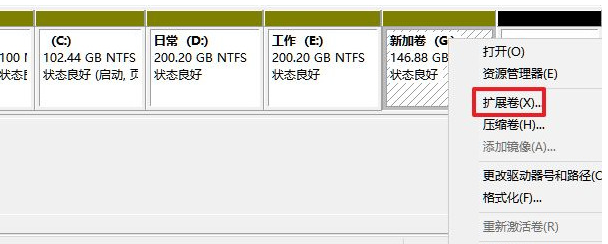
5. Of course, for the unallocated space, we can also select it and partition it. Right-click on the selected partition and select "Extend Volume", as shown in the figure.
The above is the entire content of [How to divide Win11 disk-Win11 disk partition tutorial]. More exciting tutorials are available on this site!
The above is the detailed content of How to divide disks in Win11. For more information, please follow other related articles on the PHP Chinese website!


