


What is the function of linux deploy

linux deploy is used to deploy a Linux environment on Android devices. The principle is probably to run a chroot or proot container on the Linux layer of Android, and then run what we prepared in the container. Another Linux system. You must obtain root permissions on your phone before you can use Linux Deploy.
Linux Deploy is an application that can deploy a Linux environment on Android devices. Its principle is to run a chroot or proot container on the Linux layer of Android, and then run it in the container when we are ready. Another Linux system. It is worth noting that this is different from the virtual machine technology we are familiar with. The new Linux system will run in parallel with the Android system (don’t delve into the explanation for non-professionals).
Before using Linux Deploy, we need to obtain the Root permission of the mobile phone (required) . After obtaining the Root permission, because the Linux command set that comes with the original machine is incomplete, we need Install Busybox to expand the Linux command set (you can not install it) .
Linux Deploy needs to be installed in the Google Store, which is not available in other Android app stores. The software mentioned below can only be installed in the Google Store
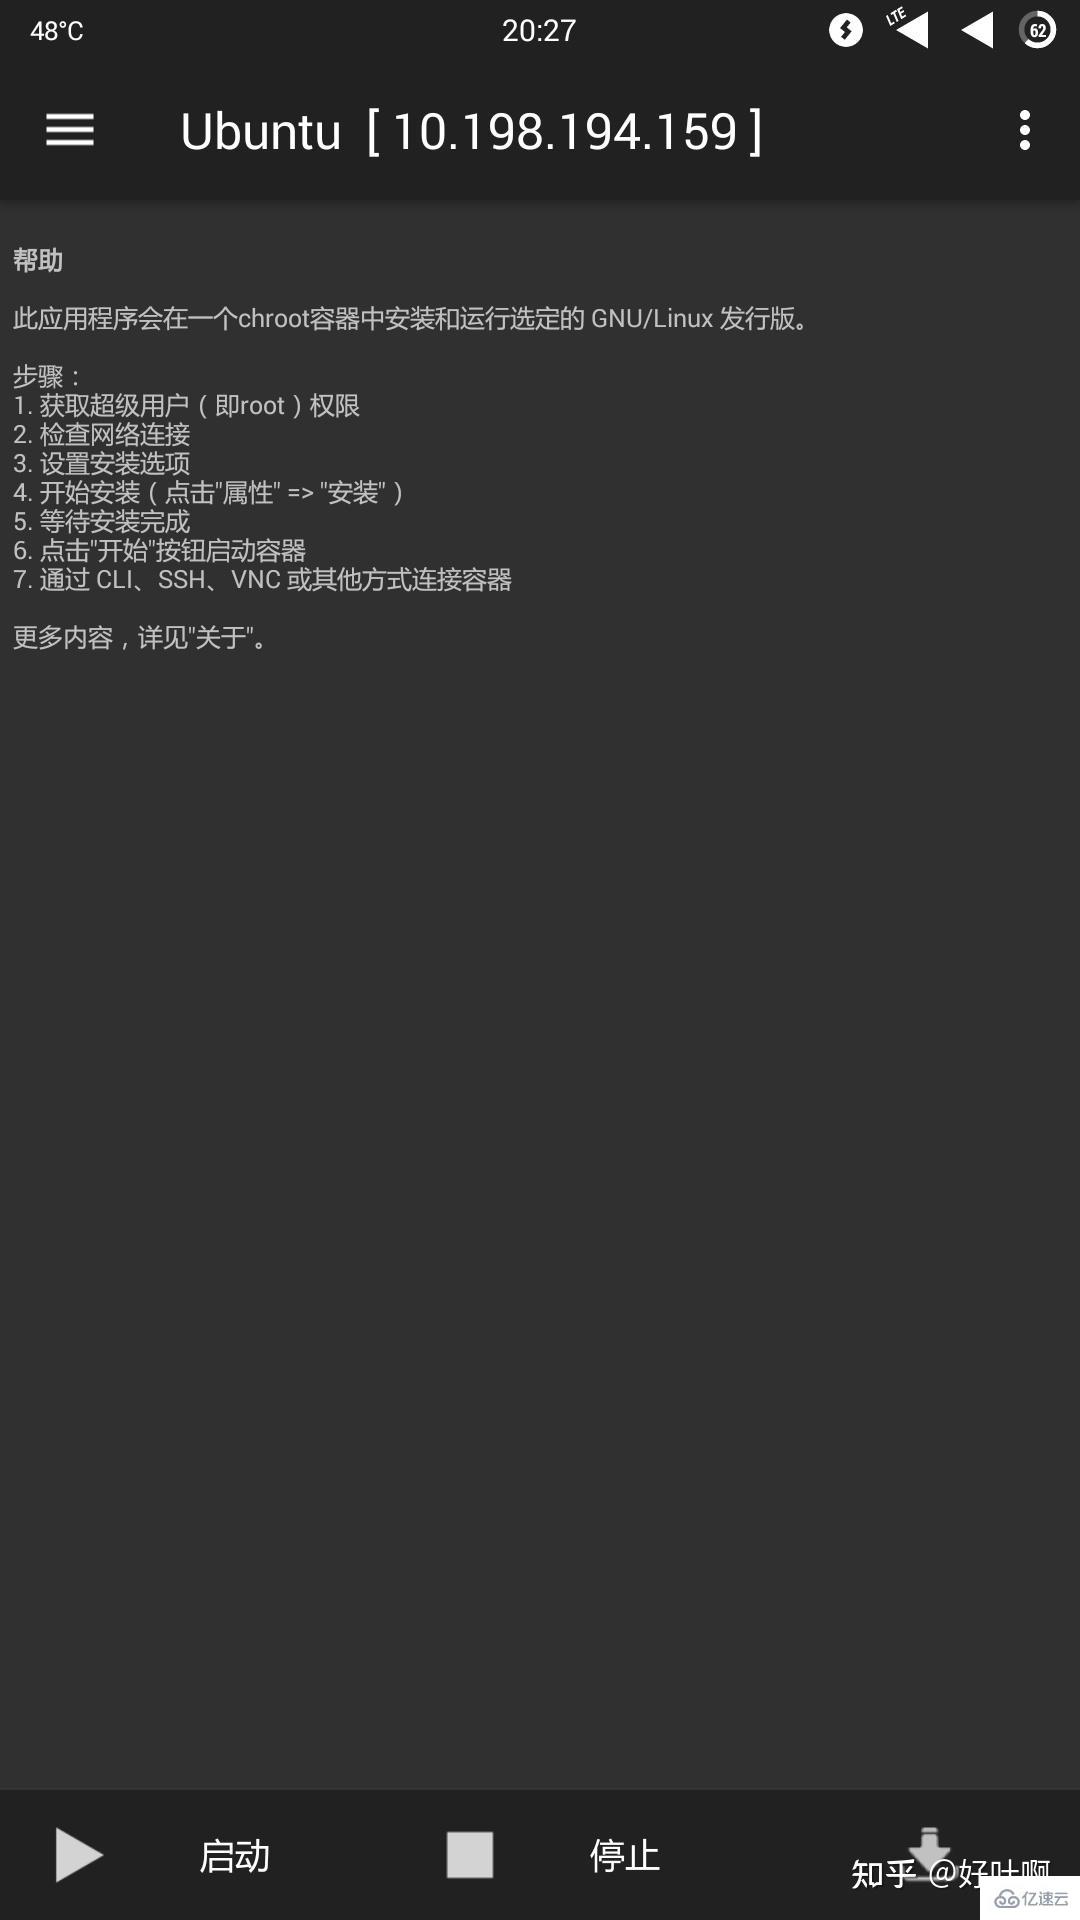
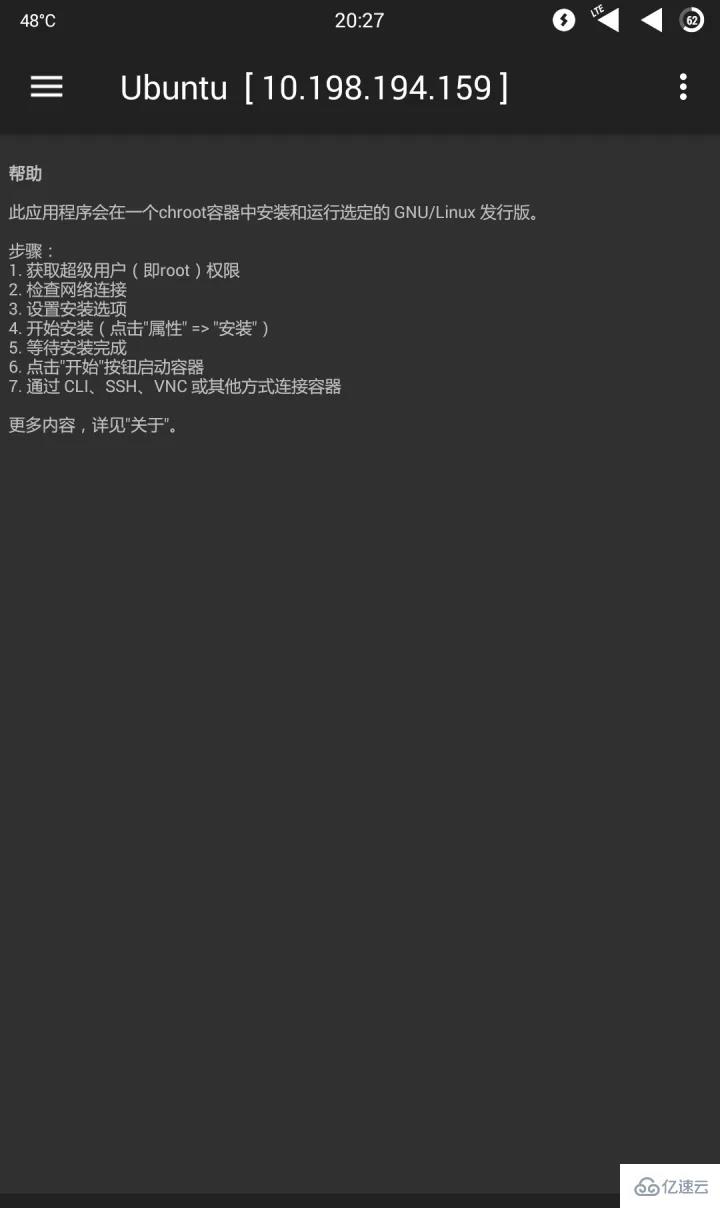
After the installation is completed, we will use Linux Deploy to deploy the Ubuntu system on the Android device:
Click the "Download" icon at the bottom right of the interface to enter the configuration file setting interface and make the following settings (I I don’t know why the developer would use such a "download" icon as the icon of the configuration file setting interface):
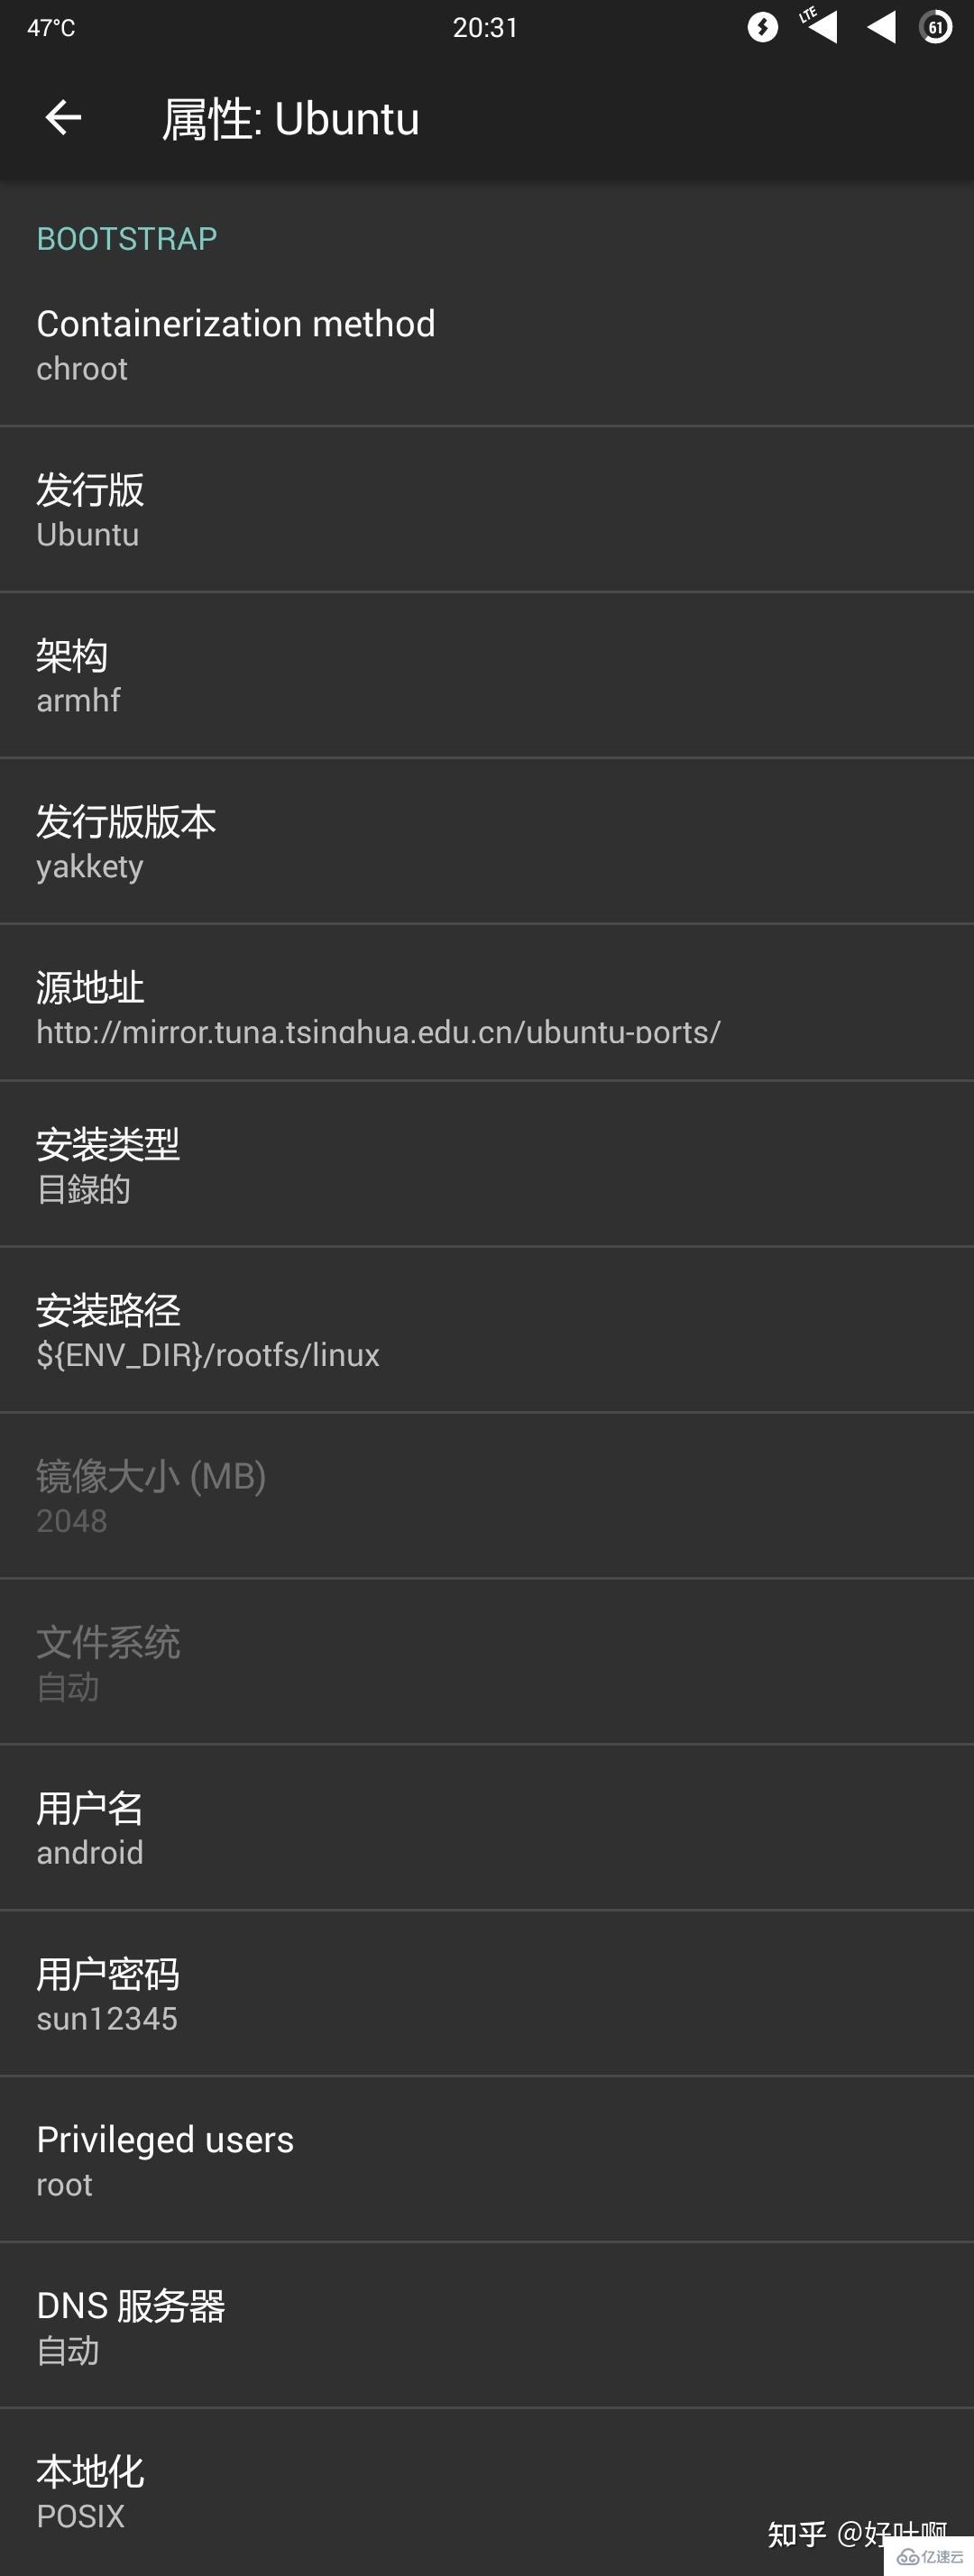
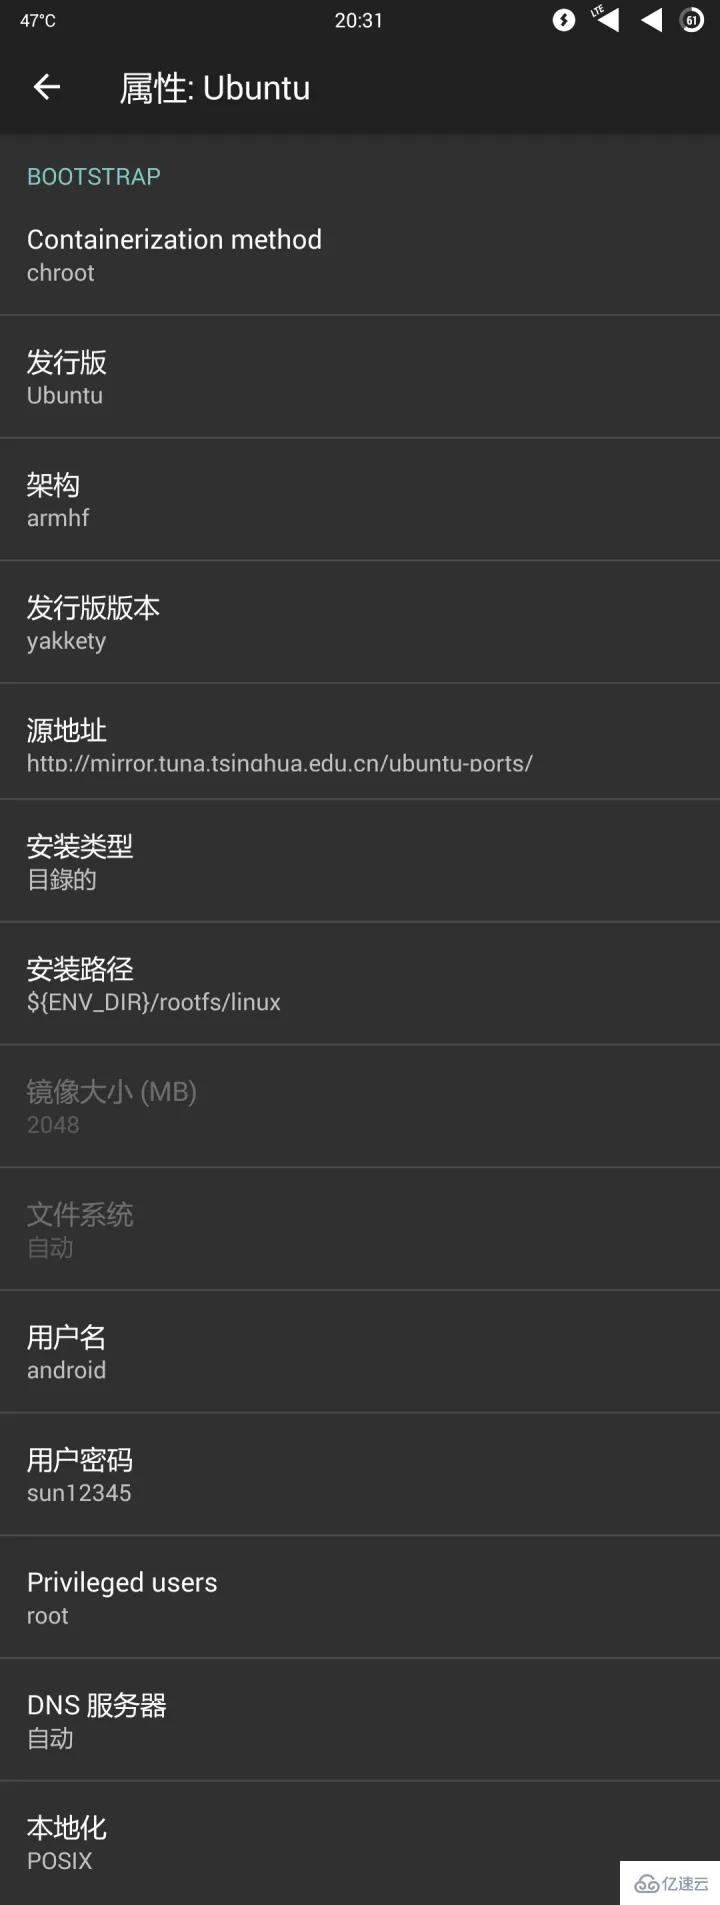
Containerization method:"chroot"
Distribution version:"Ubuntu"
Architecture: Keep the default value
Distribution version: "yakkety" (i.e. Ubuntu 16.10)
Source address: http://mirror.tuna.tsinghua.edu.cn/ubuntu -ports/(Here we use the default method of deployment, that is, download Linux components and necessary software packages from the software source. Because the default source speed is not good, in order not to download all day and night, we use the open source of Tsinghua University here. Mirror source, if you use Repository to deploy (will be discussed in a later article), the "source address" here should fill in the local or remote path of the Repository file (suffix is tgz/tar.gz) file)
Installation type: There are two suggestions for this option, "directory" and "file". If you are not familiar with Linux and the remaining space of the /data partition is ≥ 2g, it is recommended to use the "directory" installation method. If you are familiar with Linux Or if the remaining space of the /data partition is
Installation path: When "Installation Path" selects "Directory", this option will define the path in which the system is installed. The default path is ${ENV_DIR}/rootfs/linux, that is, installation In the /data/user/0/ru.meefik.linuxdeploy/env/rootfs/linux directory. When "Installation Type" selects "File", this option will define which image file the Linux system is installed in. The default value is External Storage/linux.img.
Image size (MB) (available when the installation type "selects "File"): This option will define the size of the image file where the system is located. Before system installation, a file with the set image size will be created in the installation directory. Empty files are used to store system files and data (equivalent to the total disk space of the new Linux system). It is recommended not to use the default value, filling in 2048m is enough.
File system (available when the installation type "Select "File" ): Select "Auto".
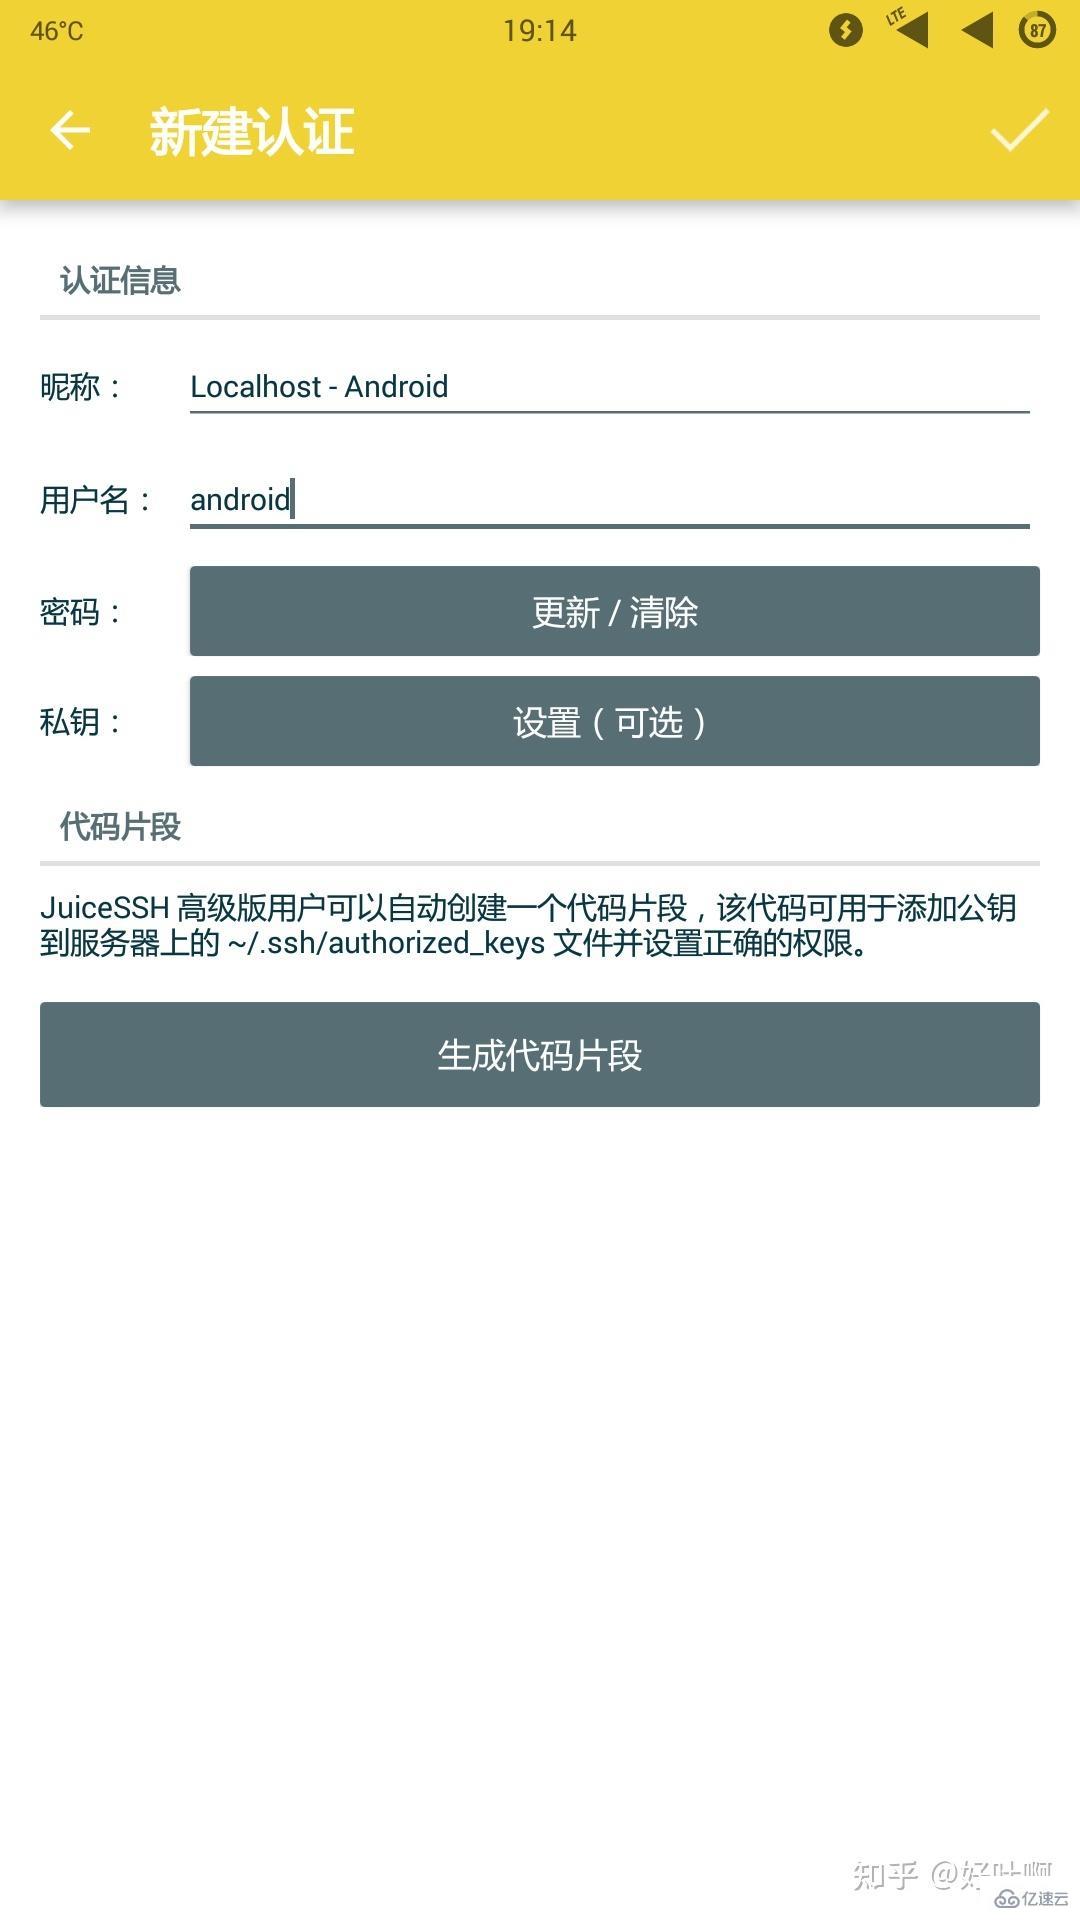
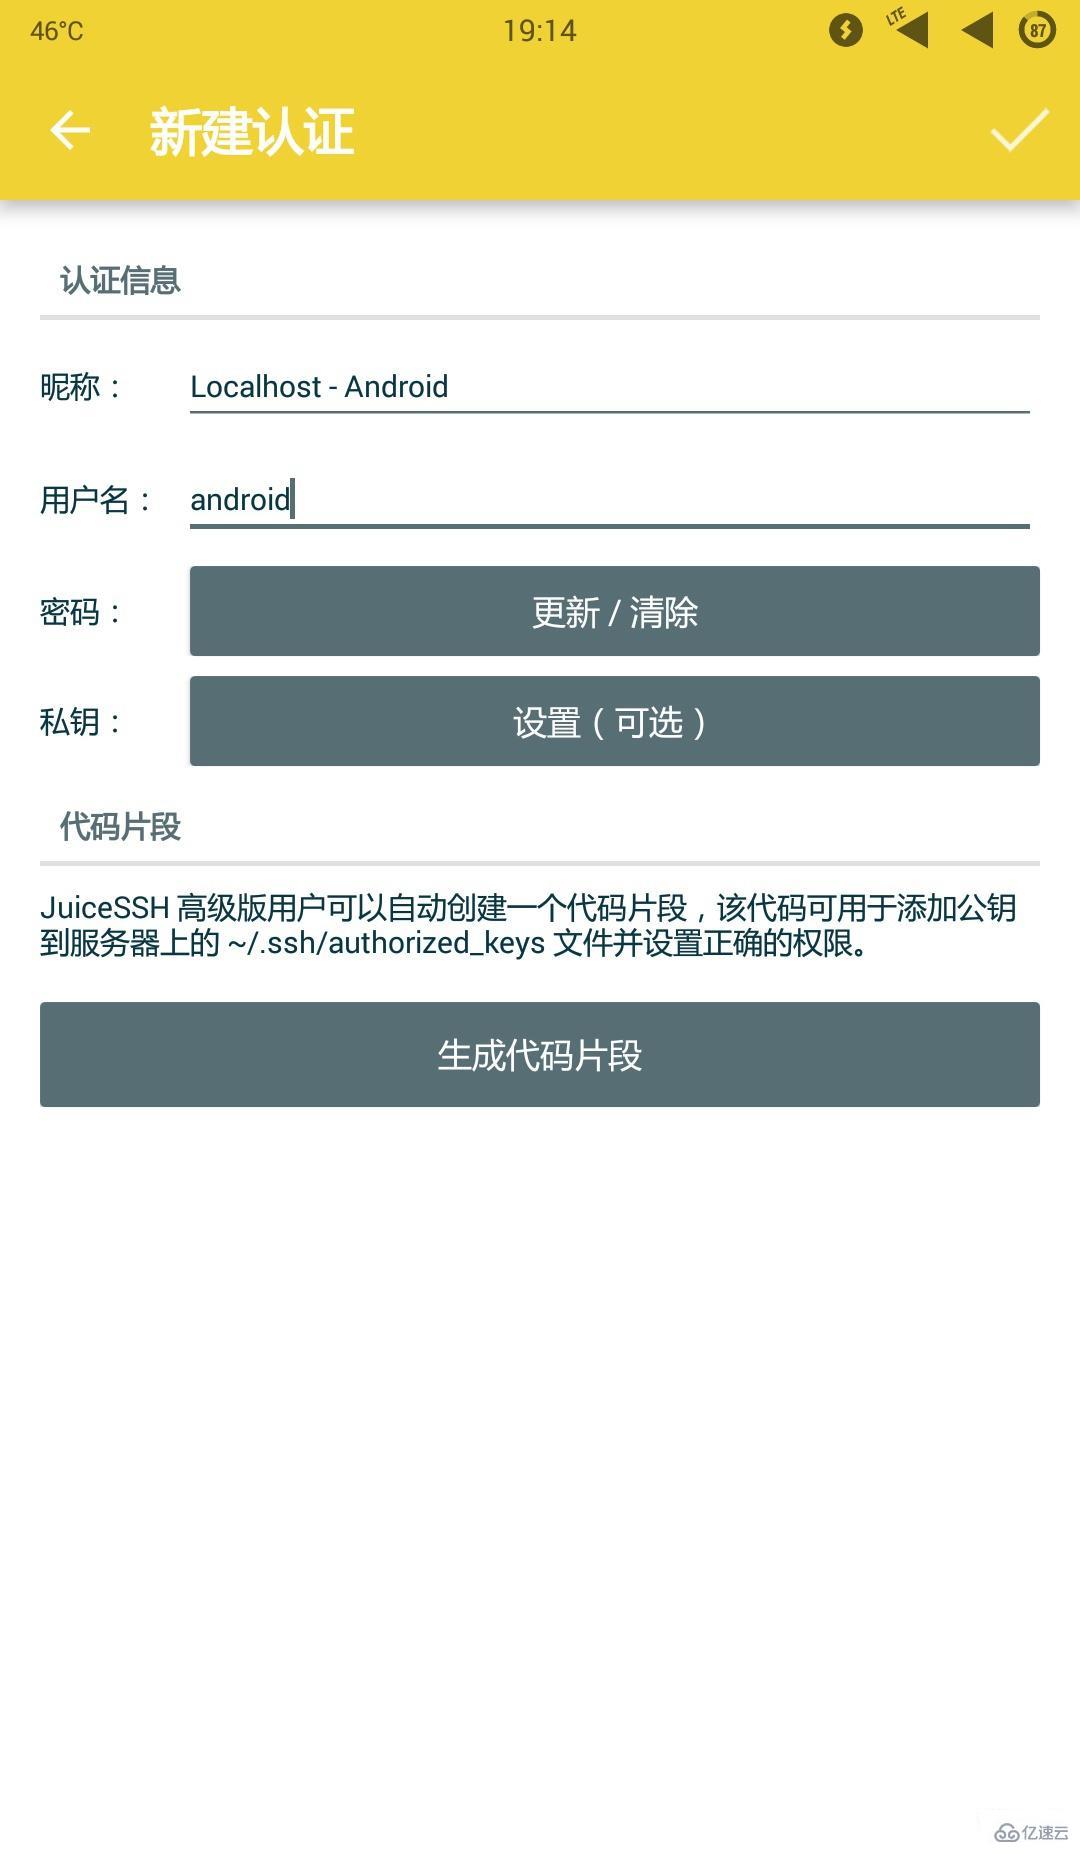
Username: This option is the username when logging into the system. The default is "android" and can be changed at will.
User password: This option is the password of the user in the Ubuntu system, which can be filled in according to your own habits.
Privileged Users: Keep the default value
DNS server: You can keep the default value, or you can customize the DNS server address (such as 114.114.114.114, etc.)
Localization: It is recommended to keep the default value POSIX. If there are other requirements, such as making the ssh return result in Chinese or making the display language of the graphical interface Chinese, select "zh_CN.UTF8"
INIT/MOUNTS item: If necessary It can be set when required and can be ignored if not required.
Allow SSH server to start: turn on this option
SSH settings: Keep the default
Allow the graphical interface to start: You can set it if necessary, but this option will not be turned on here for the time being (the following article will introduce how to deploy the graphical interface).
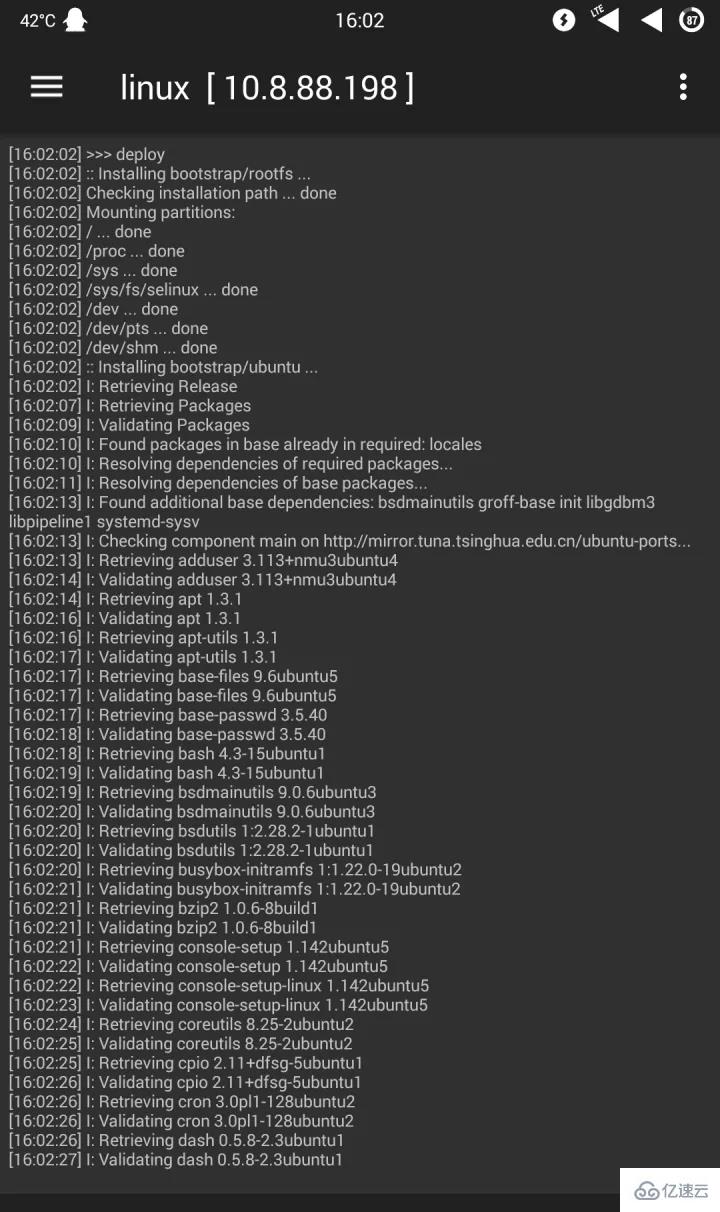
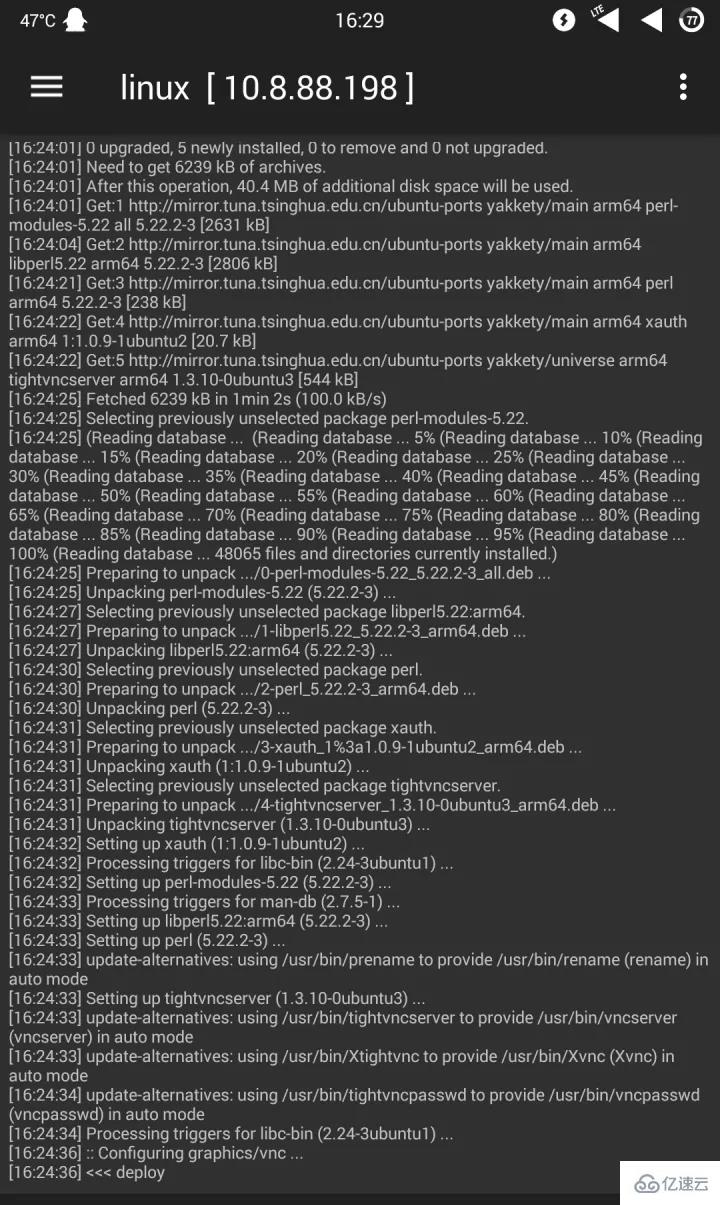
After the setting is completed, press the return key to return to the main application interface, press the menu key, and select "Install" to start the Linux system. Installation, you need to maintain a network connection during the installation process (it is recommended to install under WIFI, which requires about a few hundred megabytes of traffic).
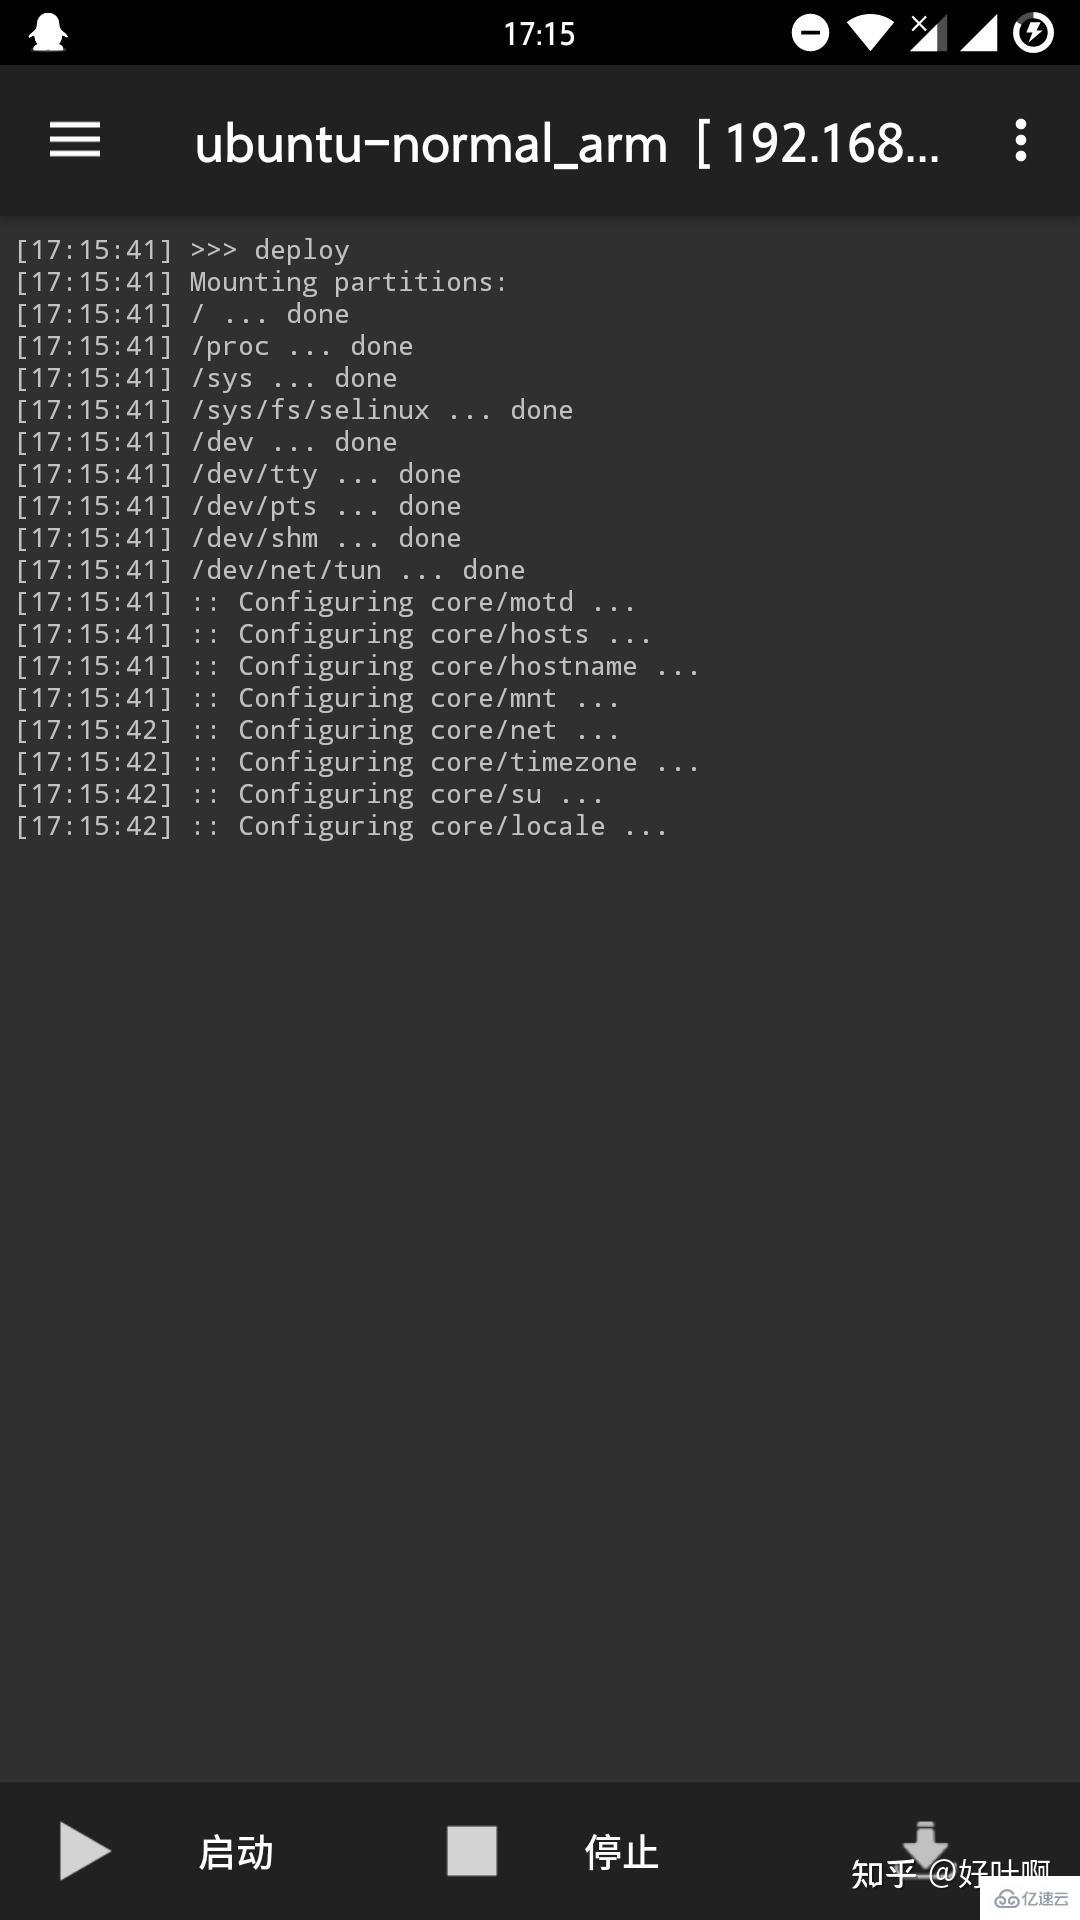
When you see the terminal output ">>>deploy", it means the installation has started:

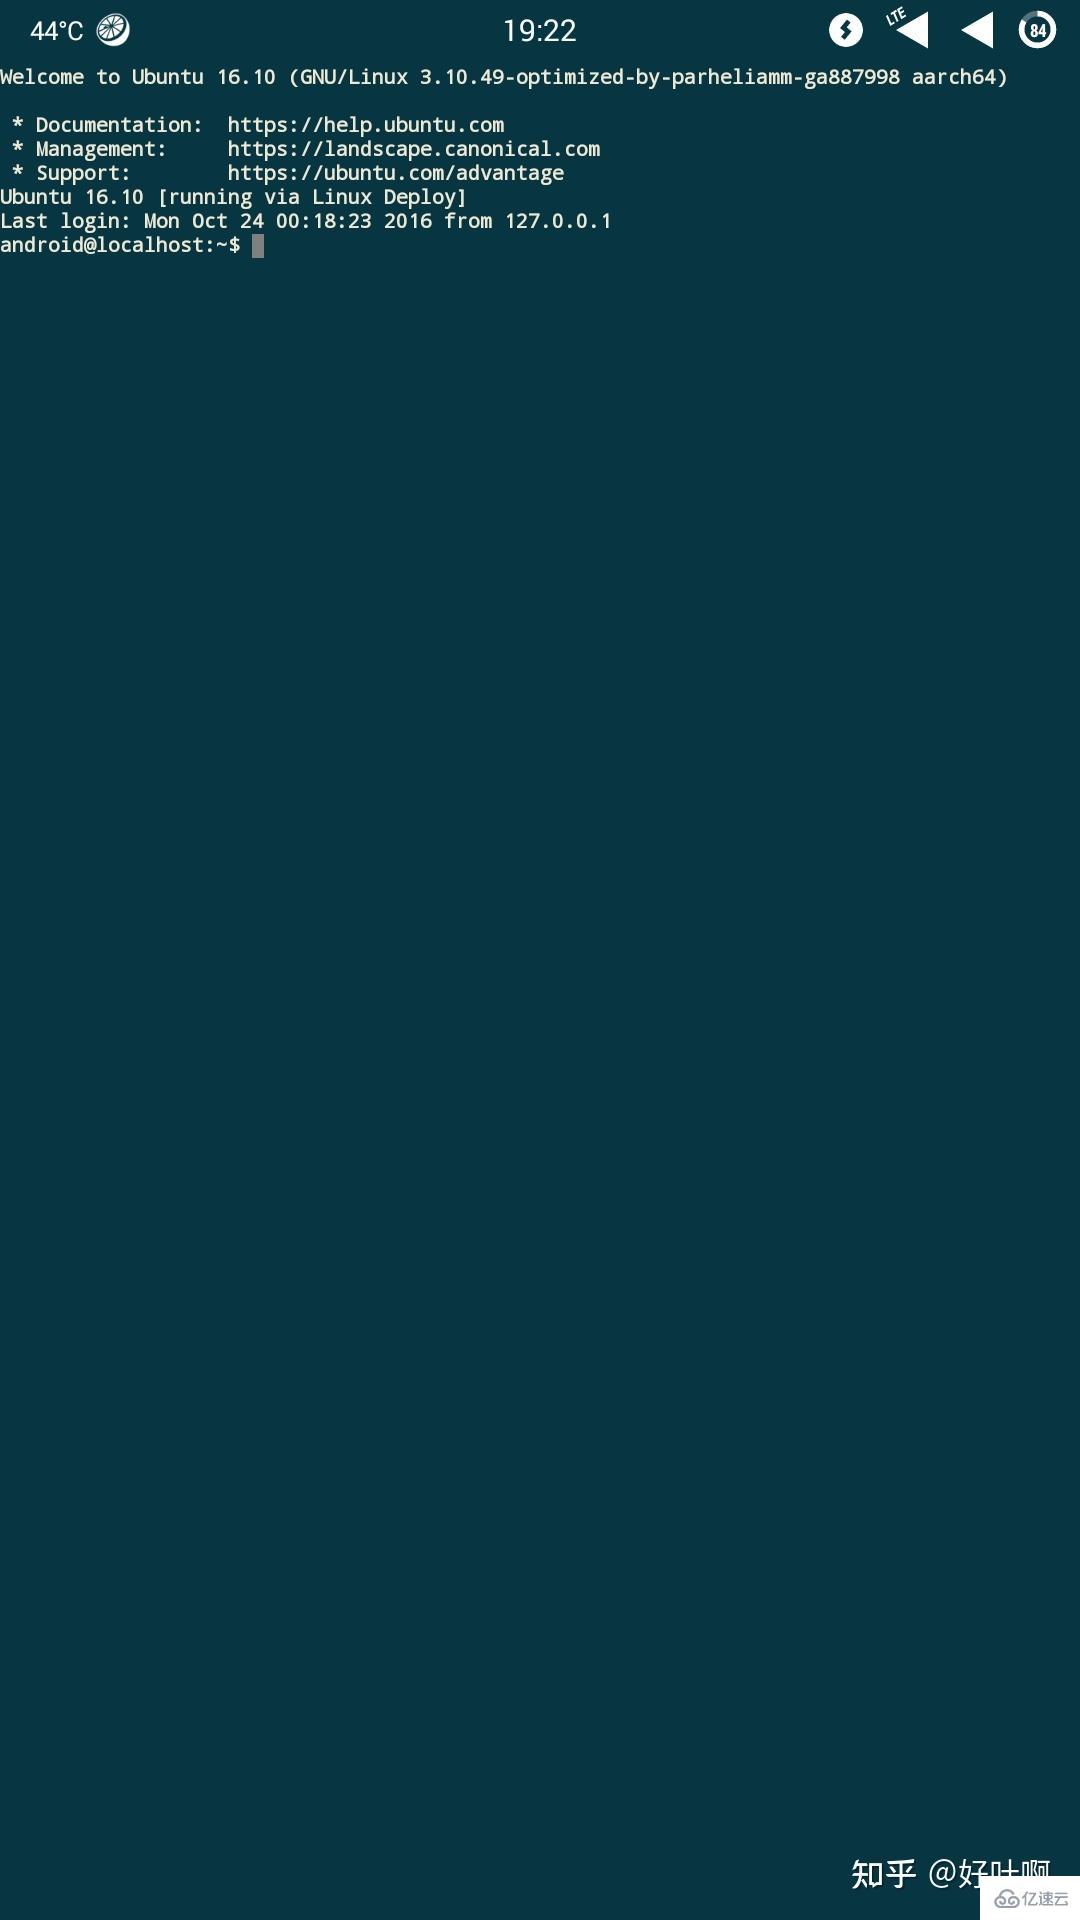
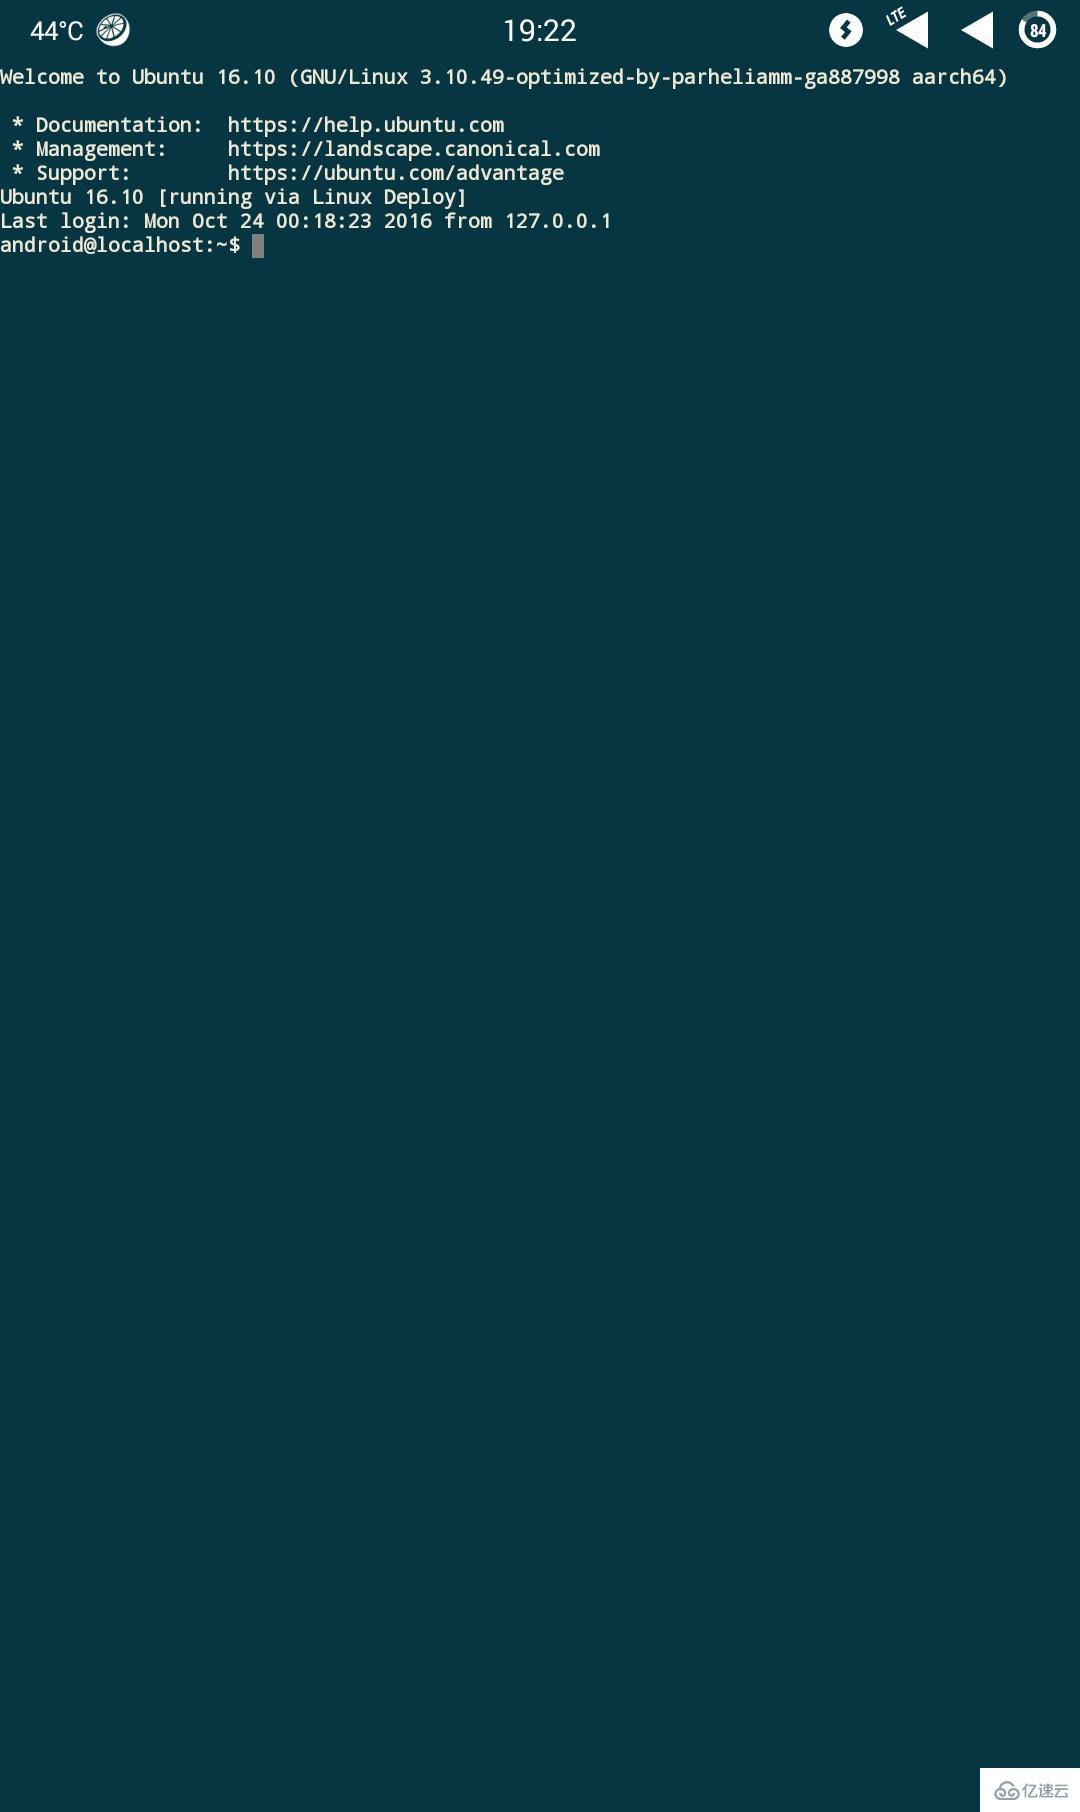 ## Because we are logging in through ordinary users android System, next we need to set the super user (root) password and log in to the system as the super user:
 Type in the terminal:
sudo passwd root
The terminal will prompt the user to enter the password of the root user and enter it again to confirm (the password will not be visible when entering the password, and even * will not be displayed). After the setting is completed, type the command su in the terminal and enter the root user you just set. Password to switch to the root user.
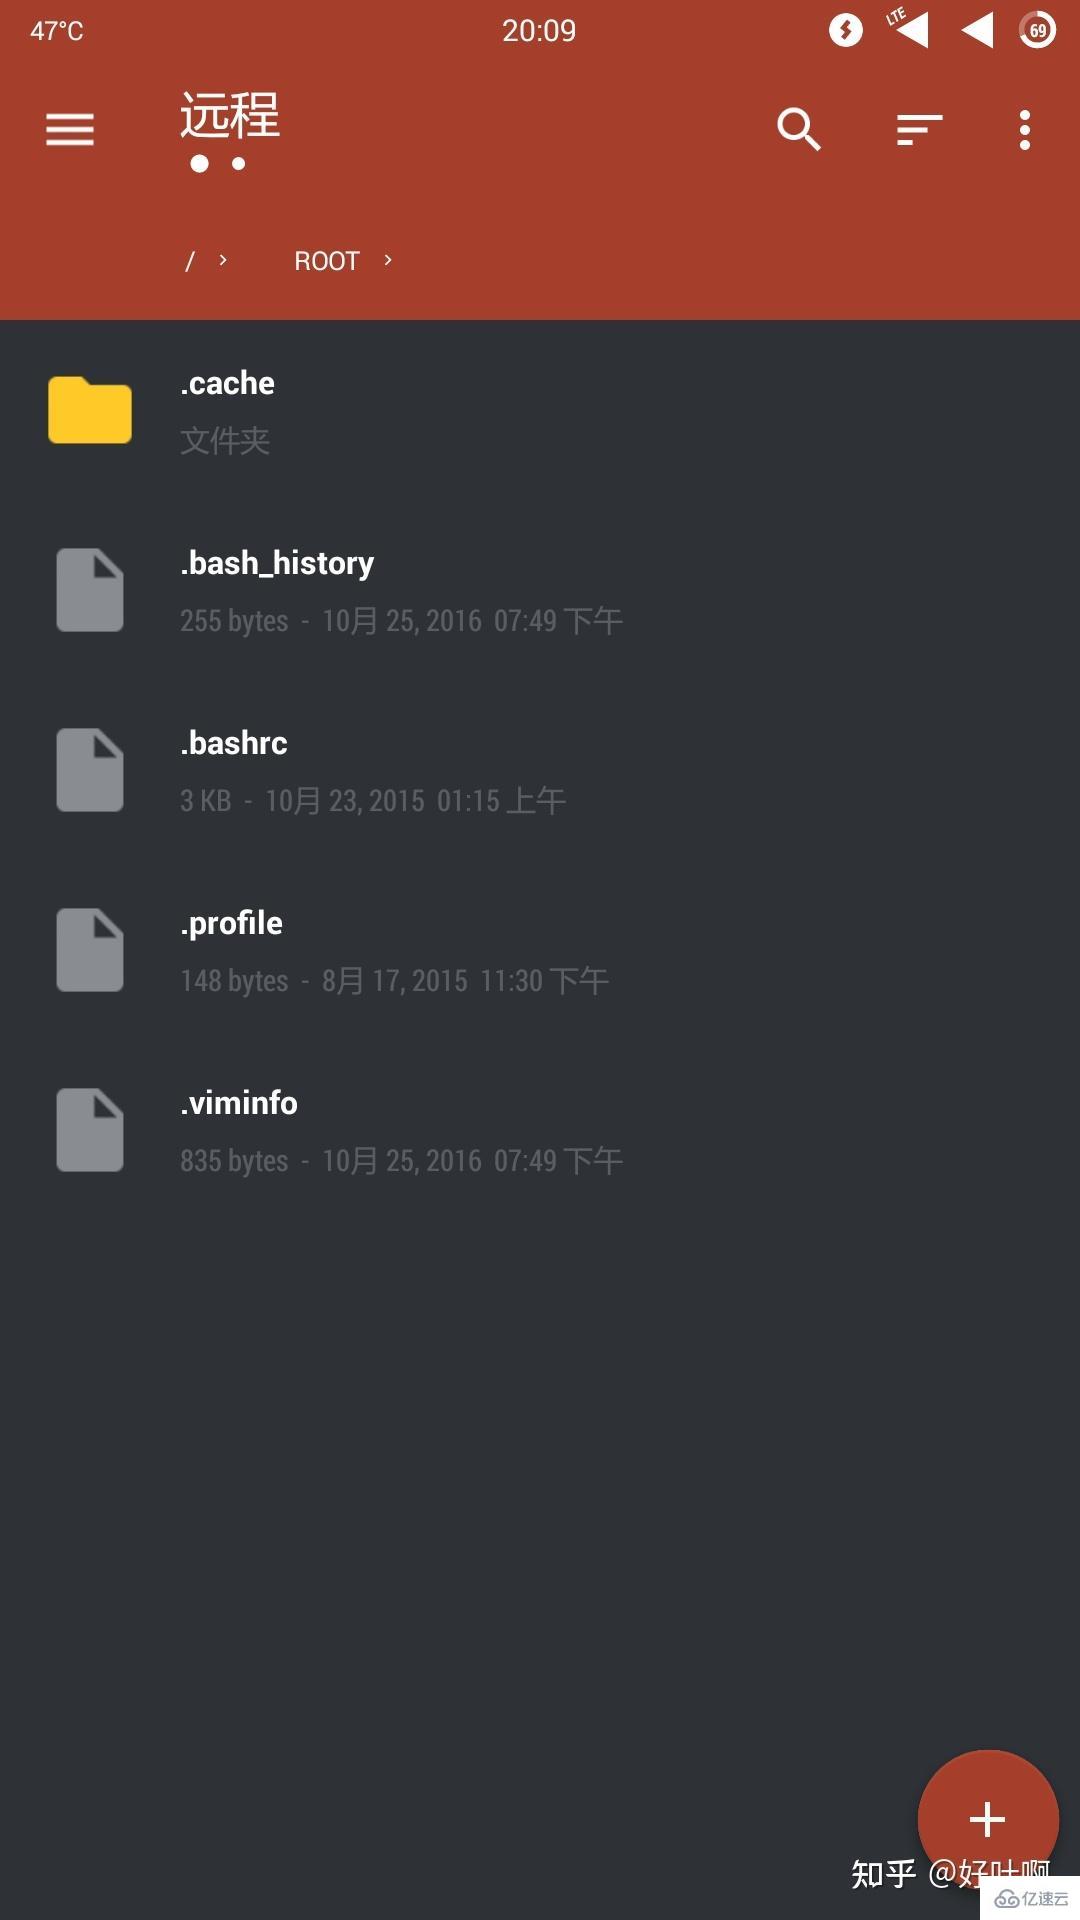
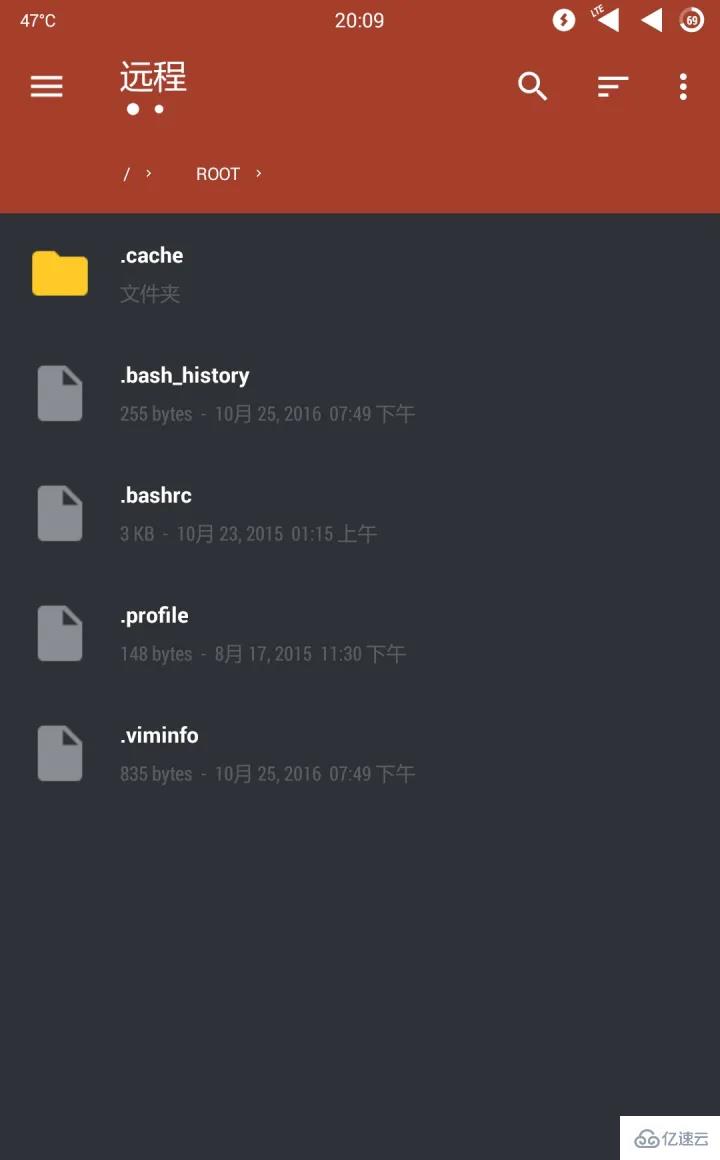
File management: If you deploy the Linux system through the "directory" method, then you can directly use the R.E. manager to access /data/user/0/ru.meefik.linuxdeploy/env/rootfs/linux You can manage the files in the new system. If you deploy the Linux system through the "file" method, you have to rely on SFTP to manage files and other operations (of course there is no problem using SSH, but I still think SFTP is more convenient. ). When we log in to SFTP as a normal user, we do not have permission to operate most files due to permission reasons. So we need to log in to SFTP as superuser. However, the default configuration does not allow the root user to log in to SSH and SFTP, so we need to make the following settings:
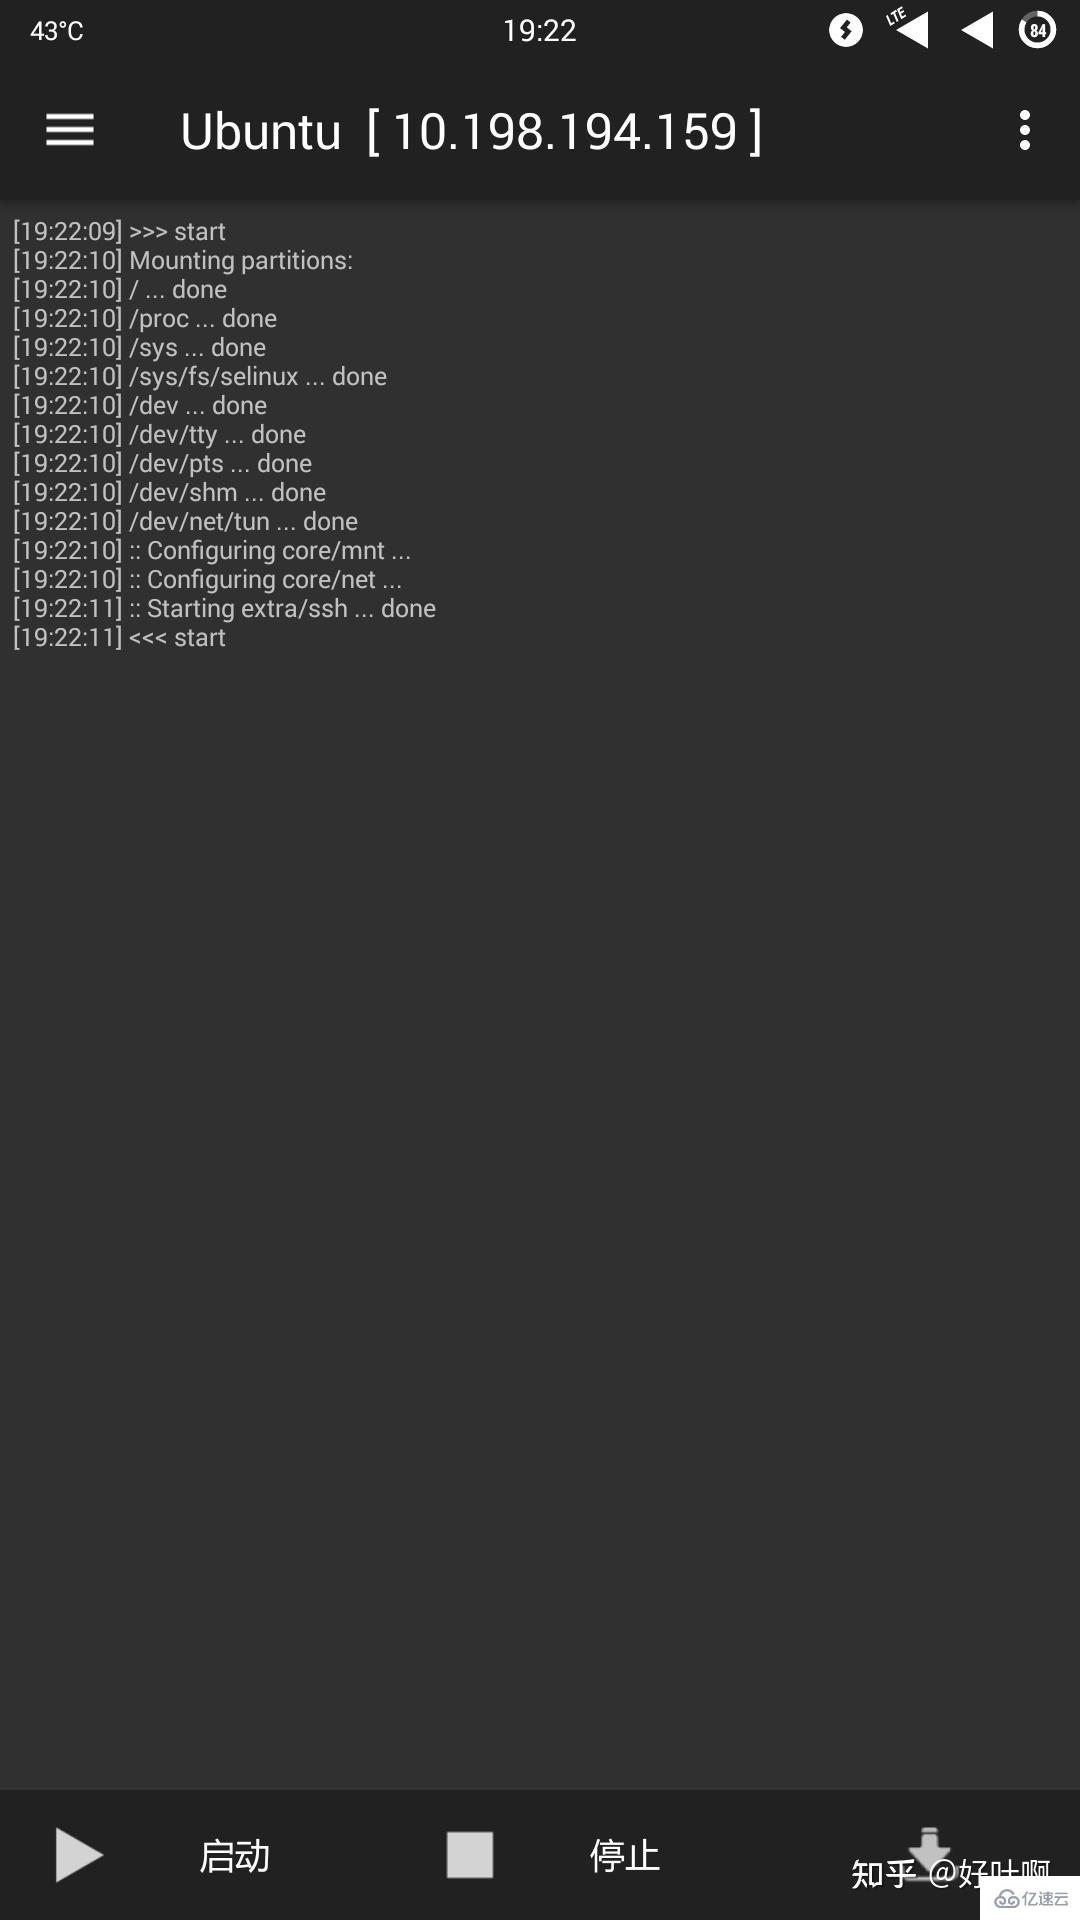
Start the deployed system in Linux Deploy, log in to SSH as the android user, and execute in the terminal:
sudo apt-get install -y vim #Install vim editor
Of course, you can also use the vi editor that comes with the system. If you are familiar with the vi editor, you can also use it. vi editor to edit files. After the vim editor is installed, we continue to execute in the terminal:
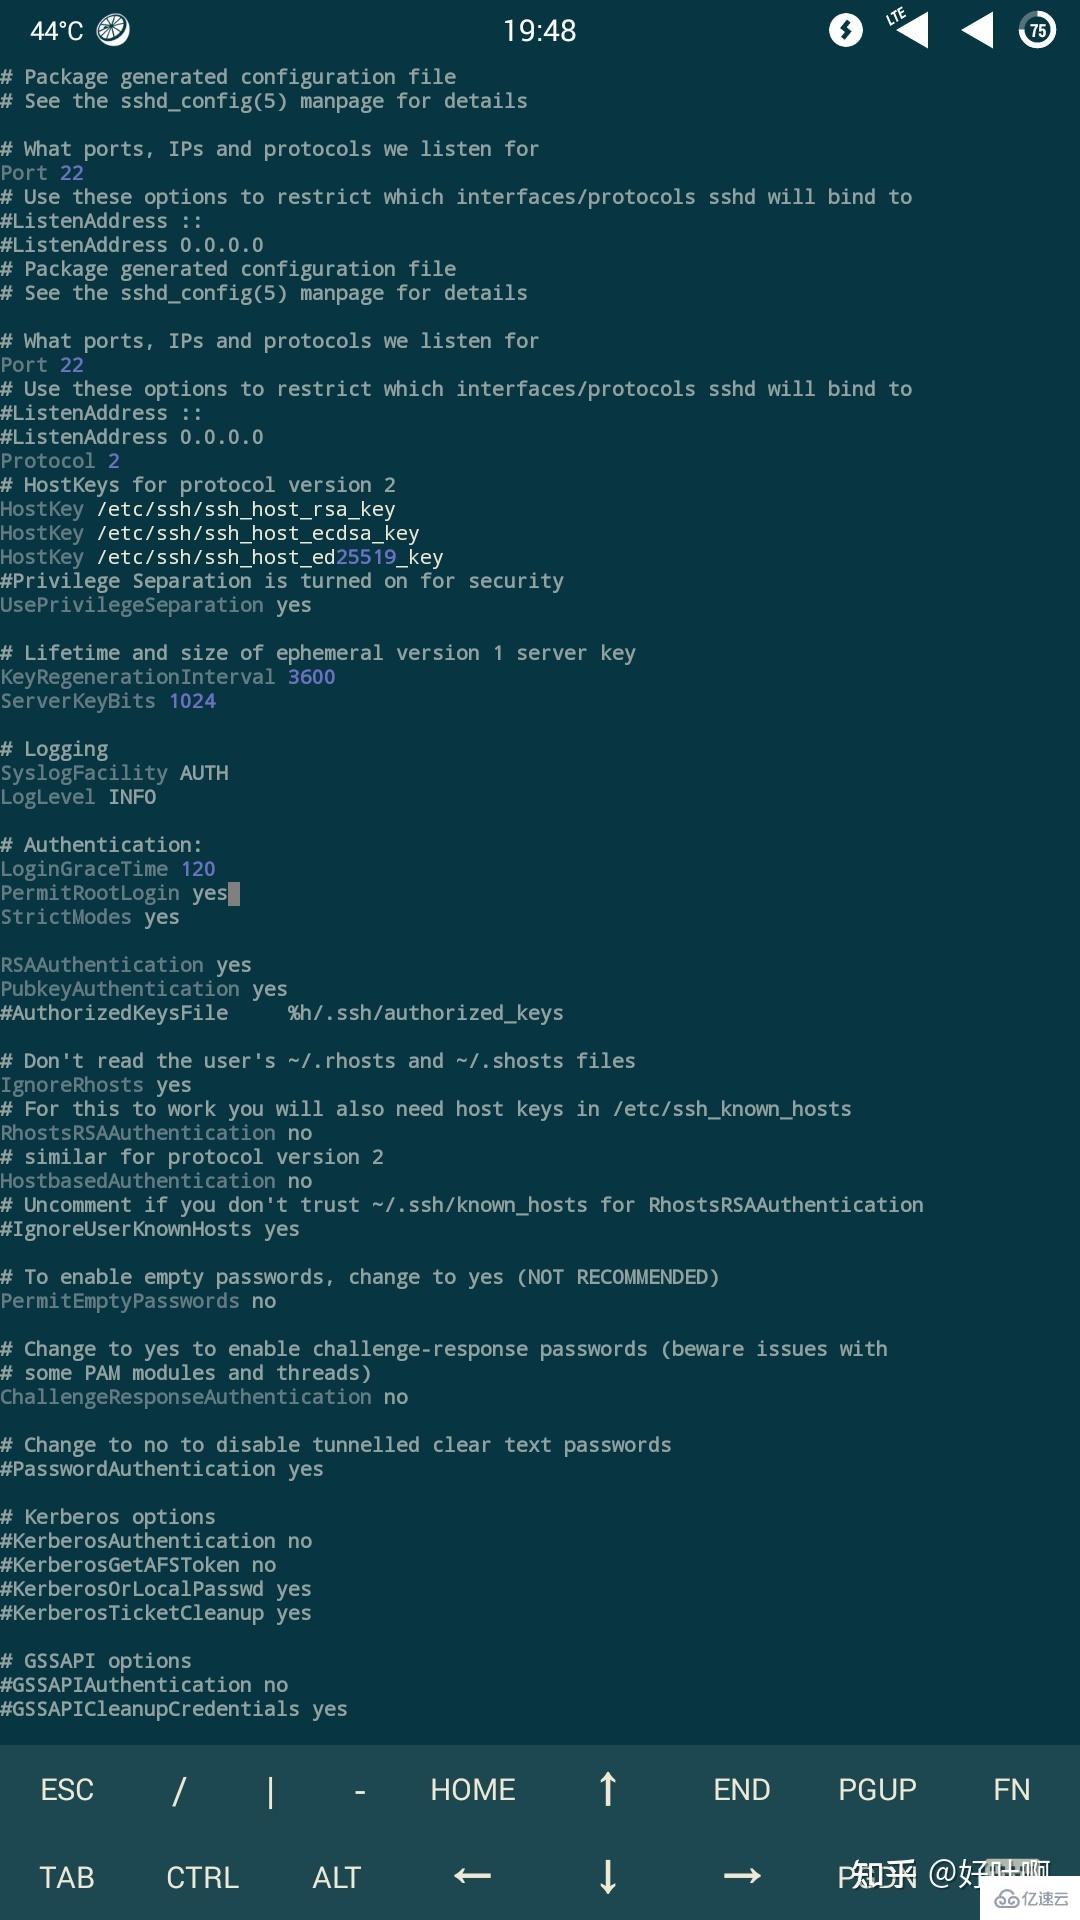
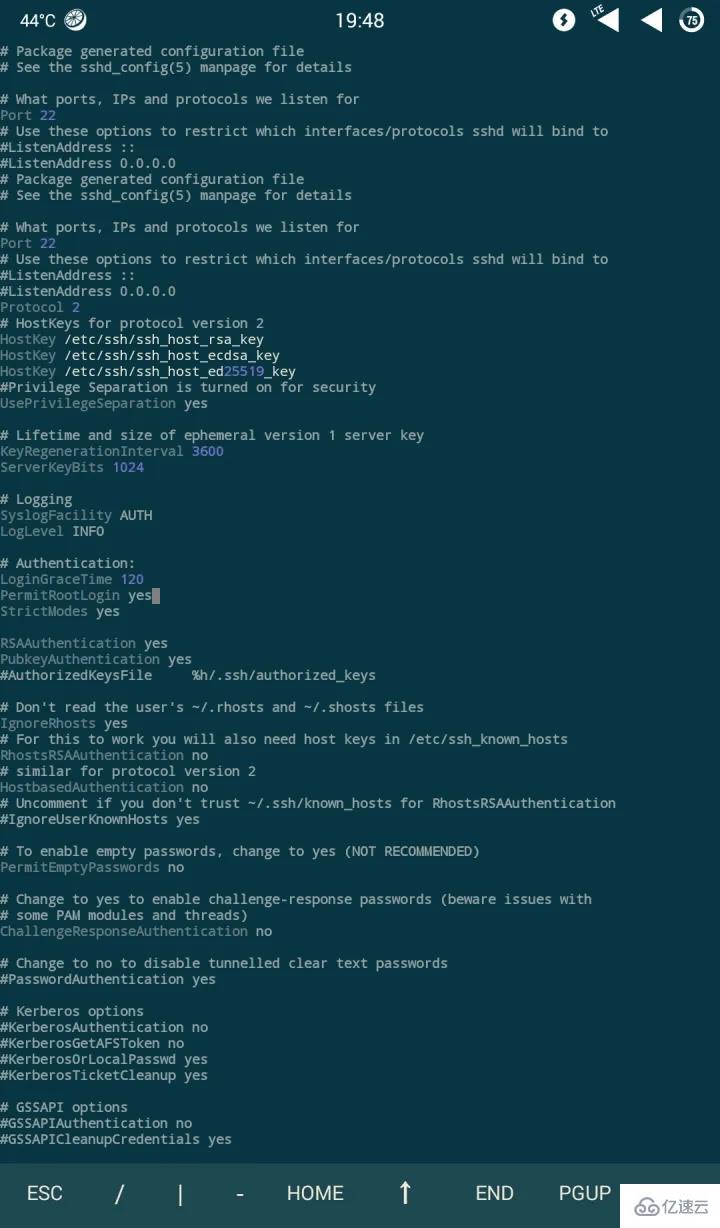
vim /etc/ssh/sshd_config #Use the vim editor to open the /etc/ssh/sshd_config file
After opening the file, type i Enter the editing mode, click on any blank position of the terminal to pop up the special key keyboard, use the up and down cursors to scroll through the file, find the PermitRootLogin item in the #Authentication section of the file, change it to yes, after the change is completed, click on the special key keyboard "ESC" key to exit the editing mode, type: wq! on the keyboard to save and force exit the file to complete the editing operation of the file.
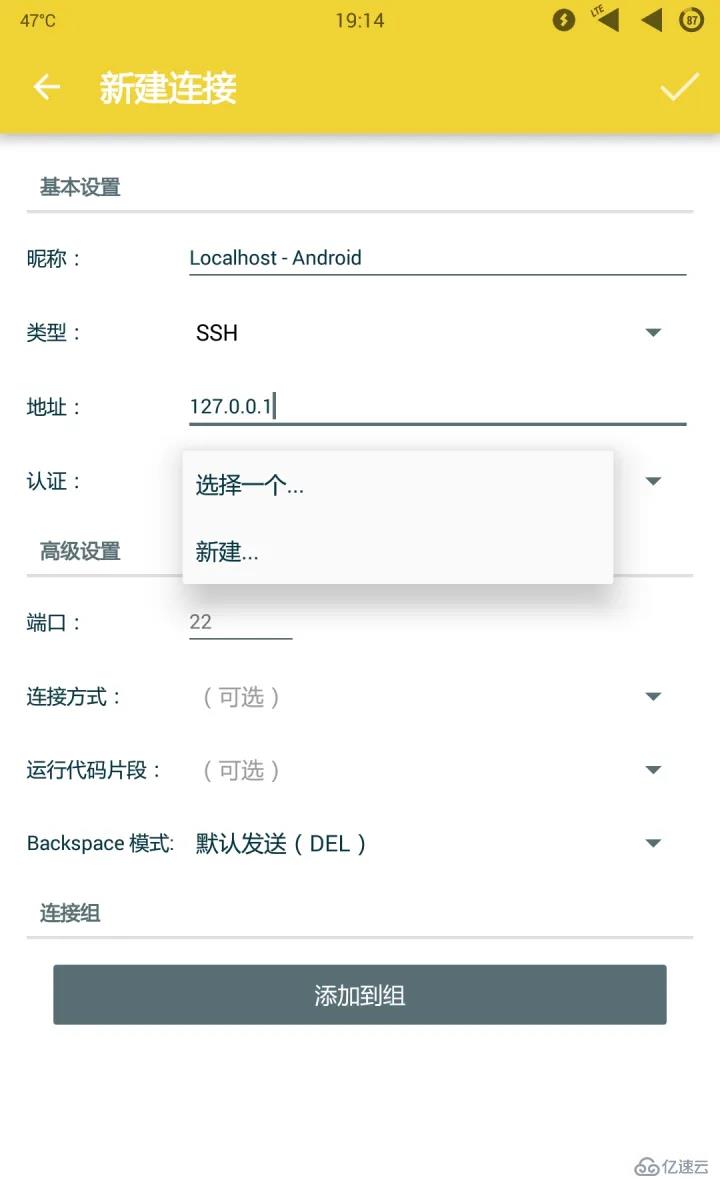
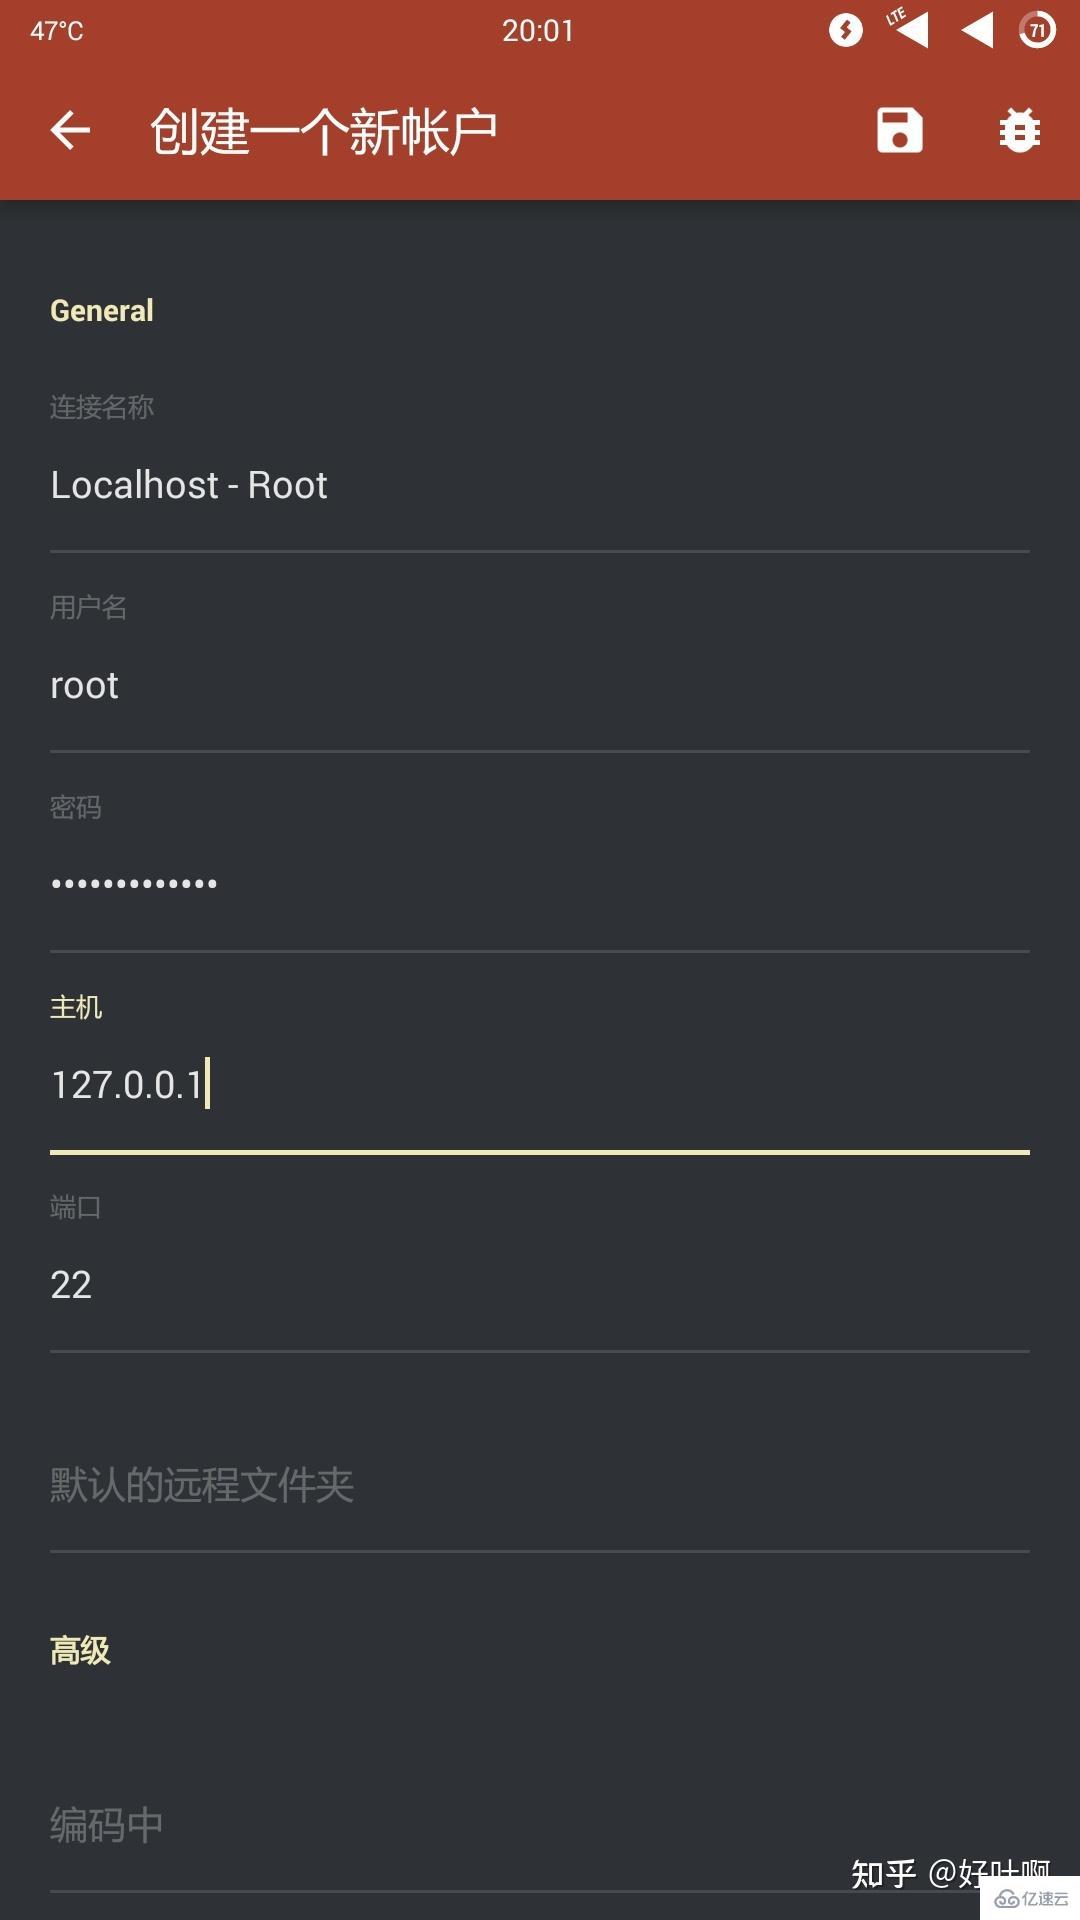
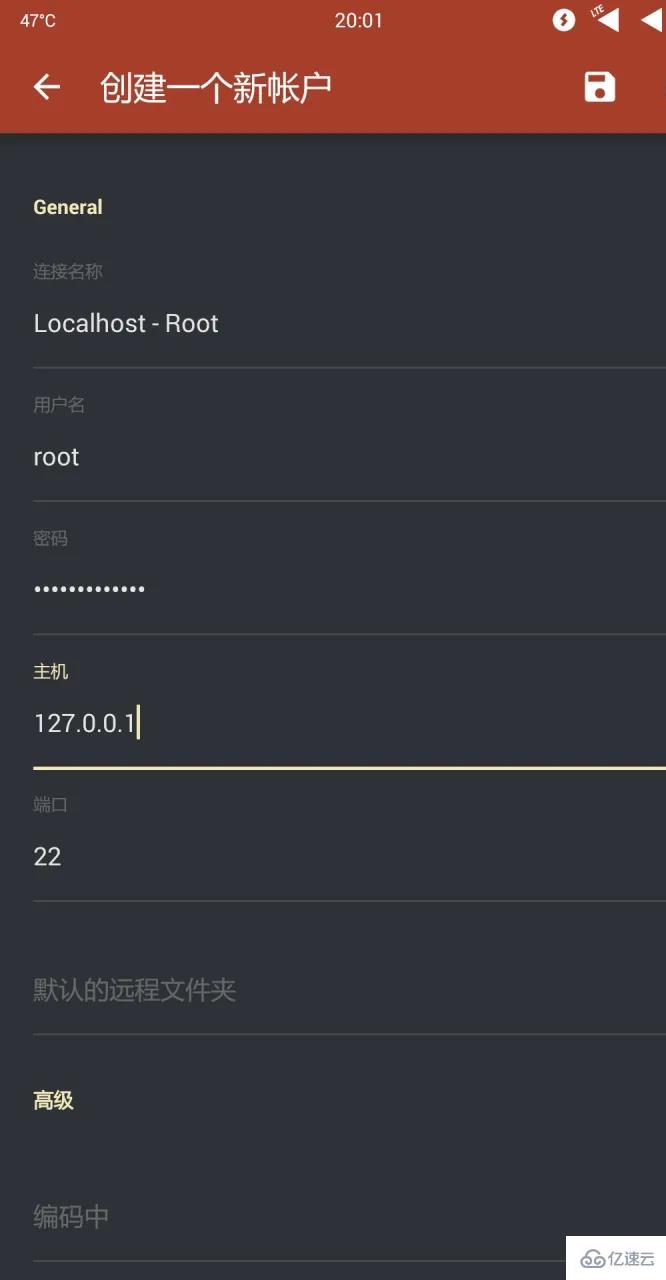
Open Linux Deploy, stop and then start the Linux system. Open "Turbo Client" - Sidebar - Create a new account - SFTP to create a new SFTP connection (some file managers, such as ES File Explorer (ESFile Explorer) and SE File Manager (Solid Explorer) also have SFTP functions, If you don’t want to install TurboFTP, you can use them instead):
External storage/linux.img, and then uninstall Linux Deploy and restart your phone to completely uninstall.
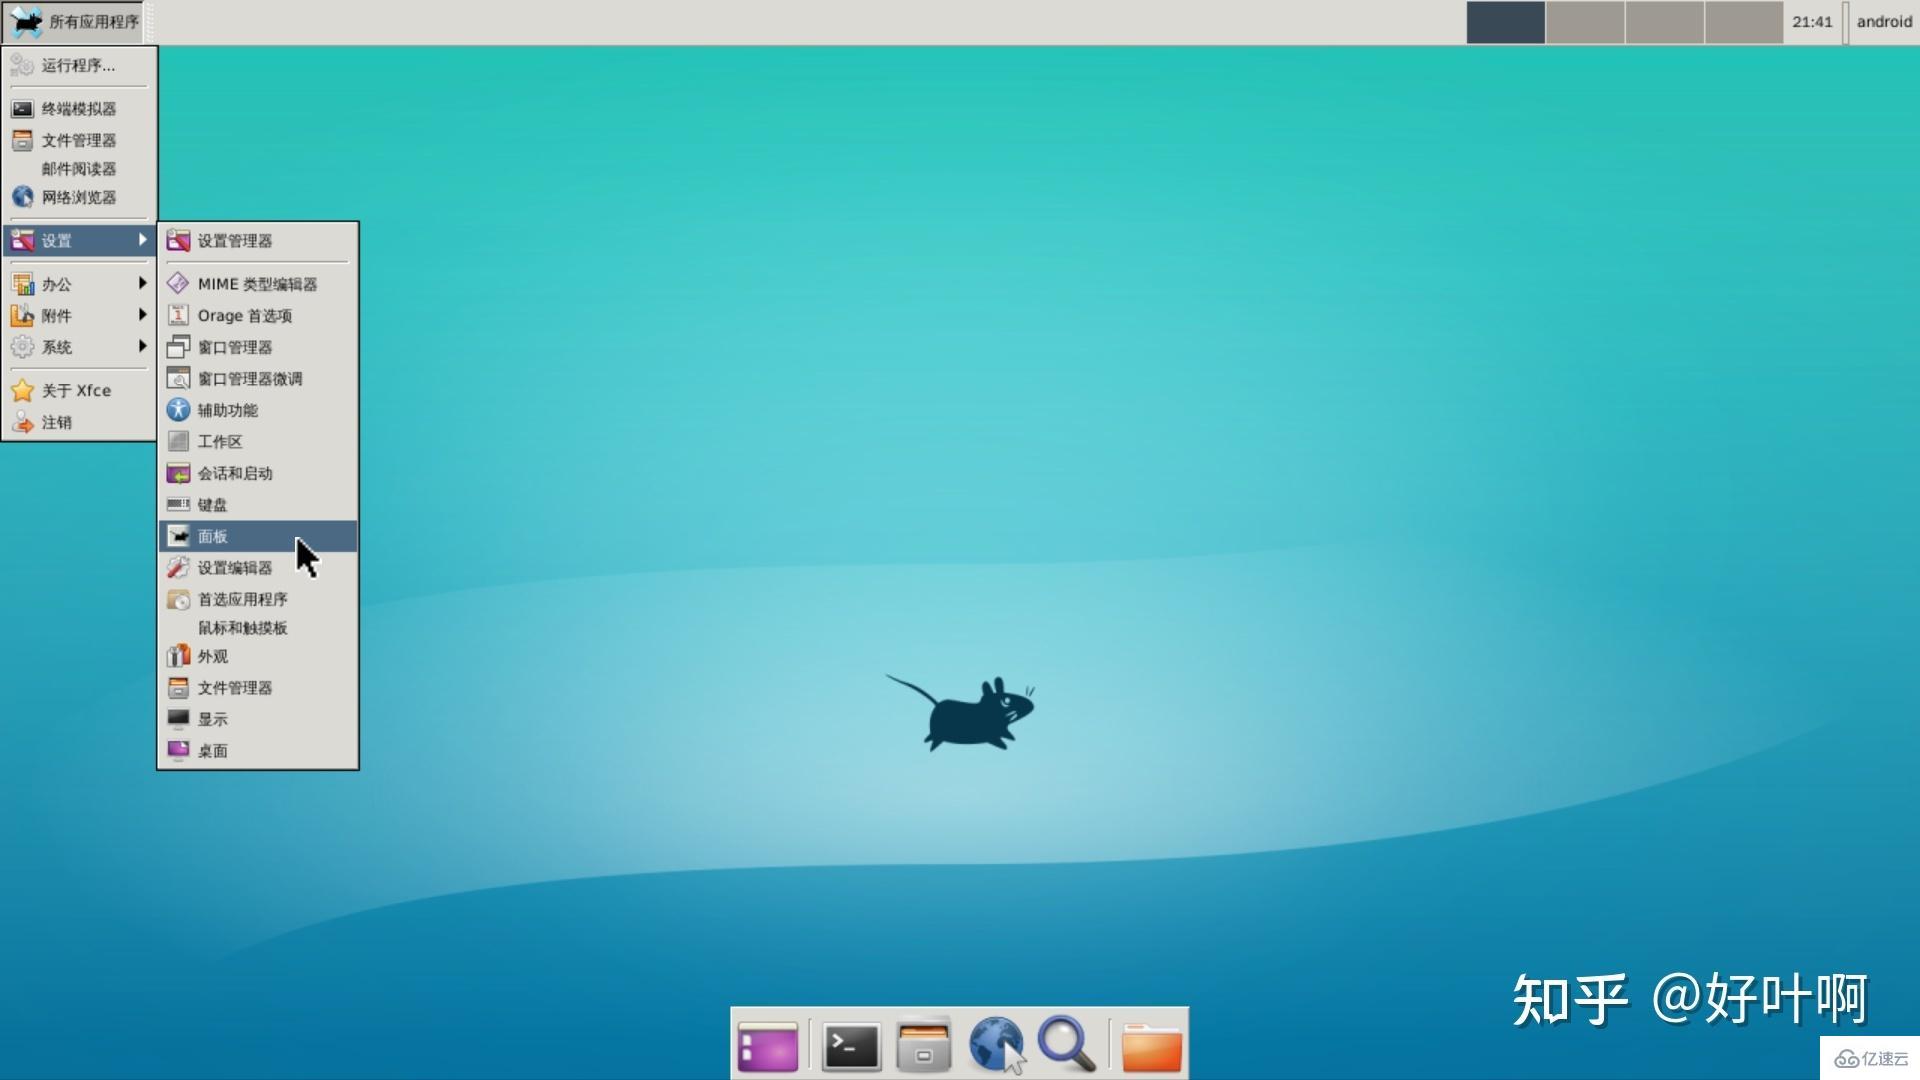
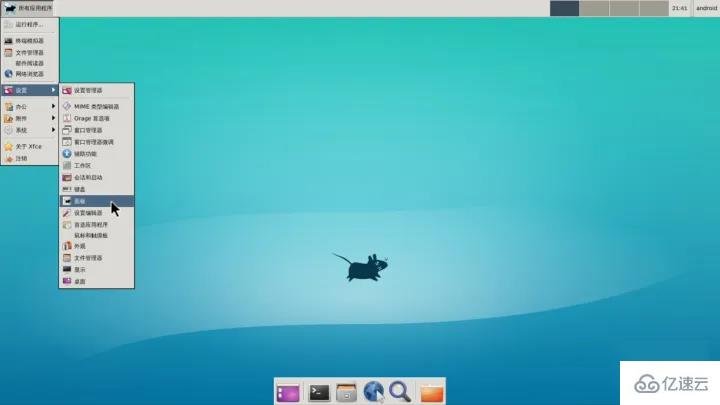
Install the graphical environment
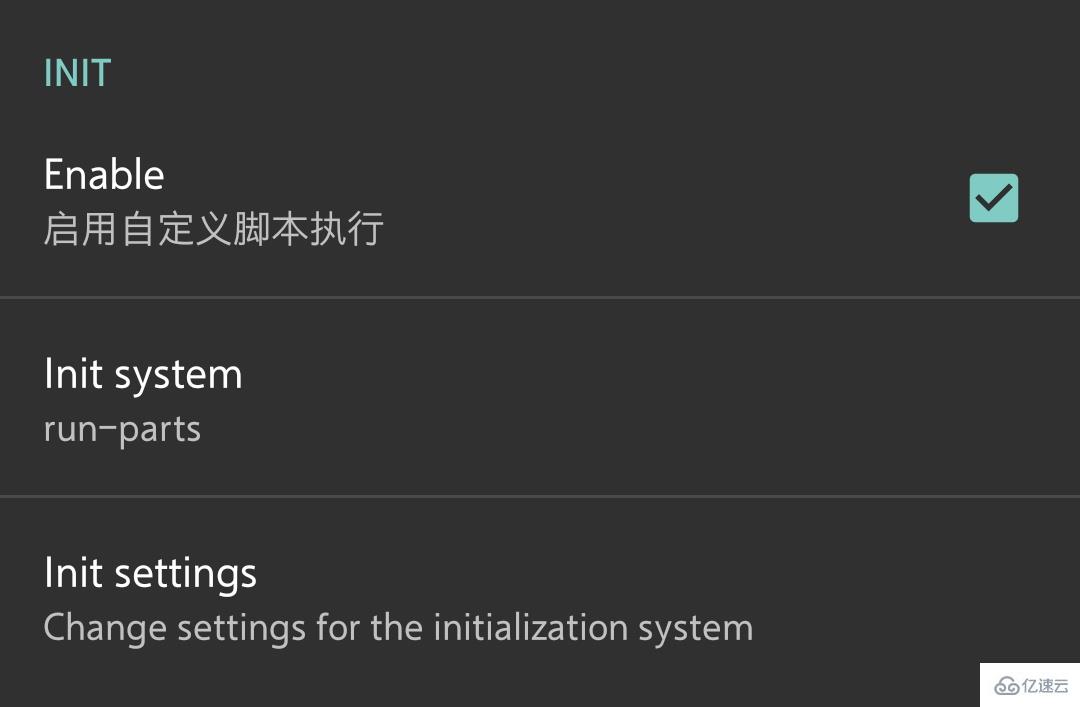
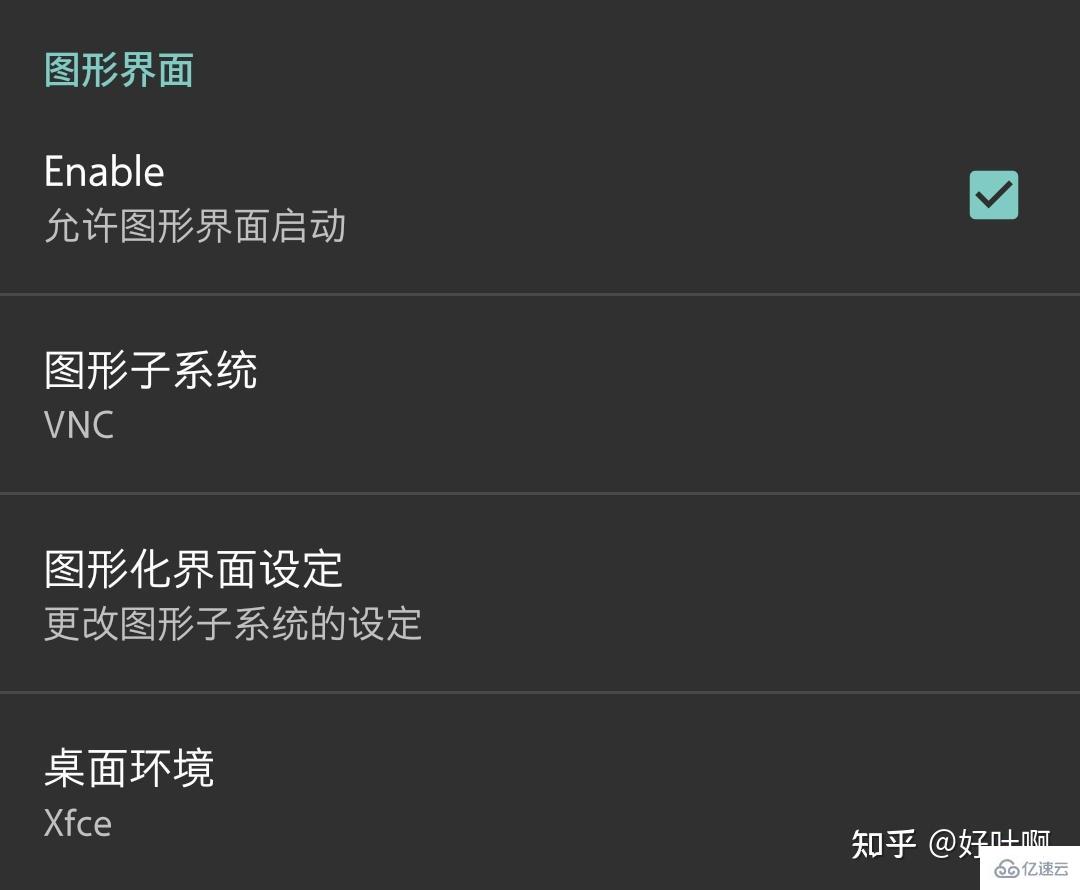
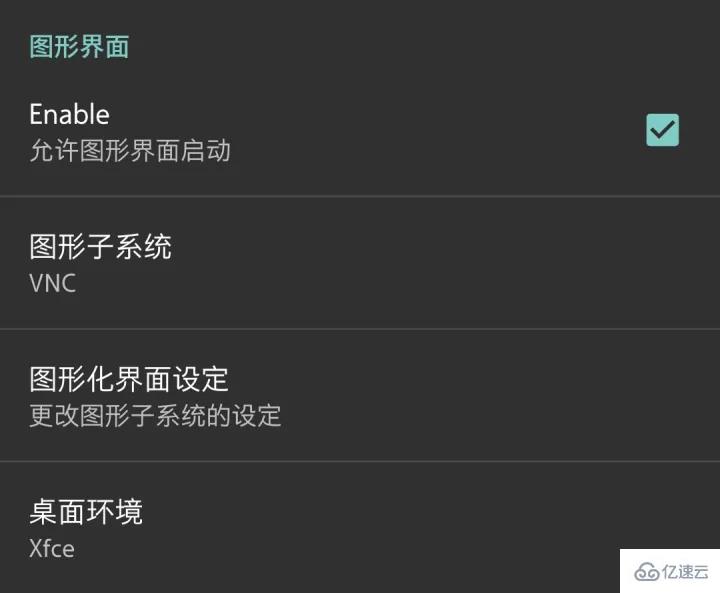
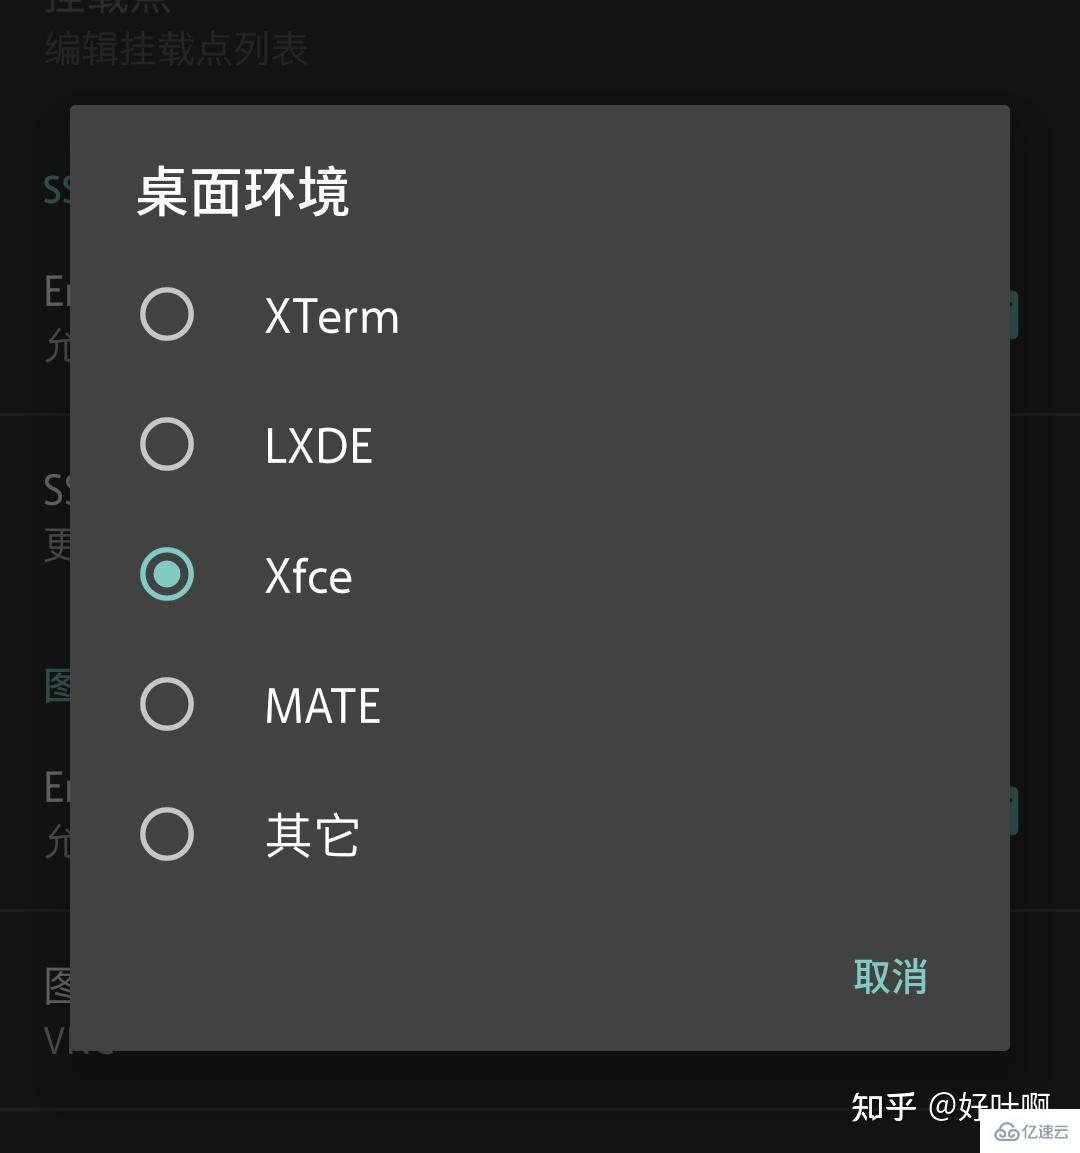
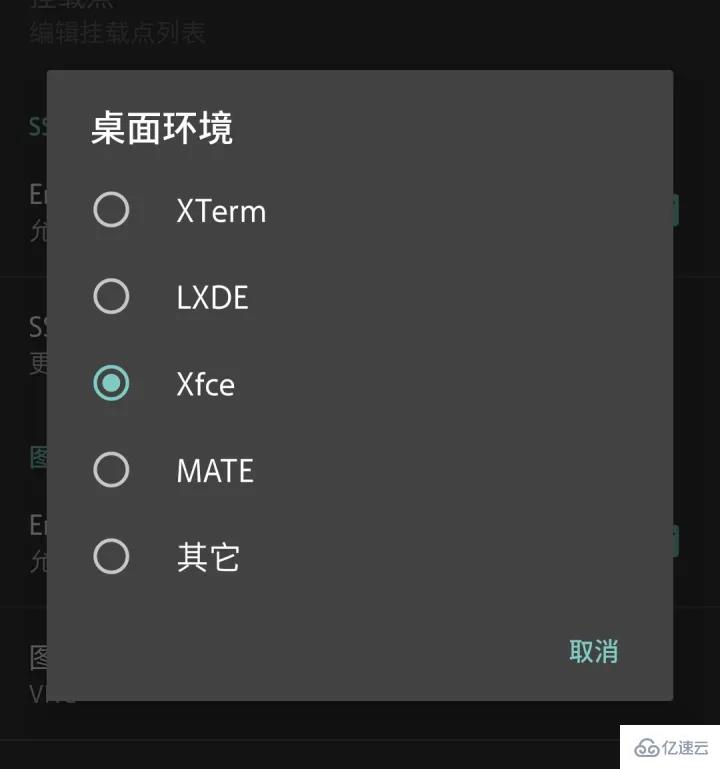
Modify the following configuration items: INIT: Check: Enable custom script execution (other configurations of INIT remain unchanged ) Graphical interface: Tick: Allow graphical interface to start Graphics subsystem: VNC Graphical interface settings: Keep the default configuration Desktop environment: Choose as needed, the one chosen here is LXDE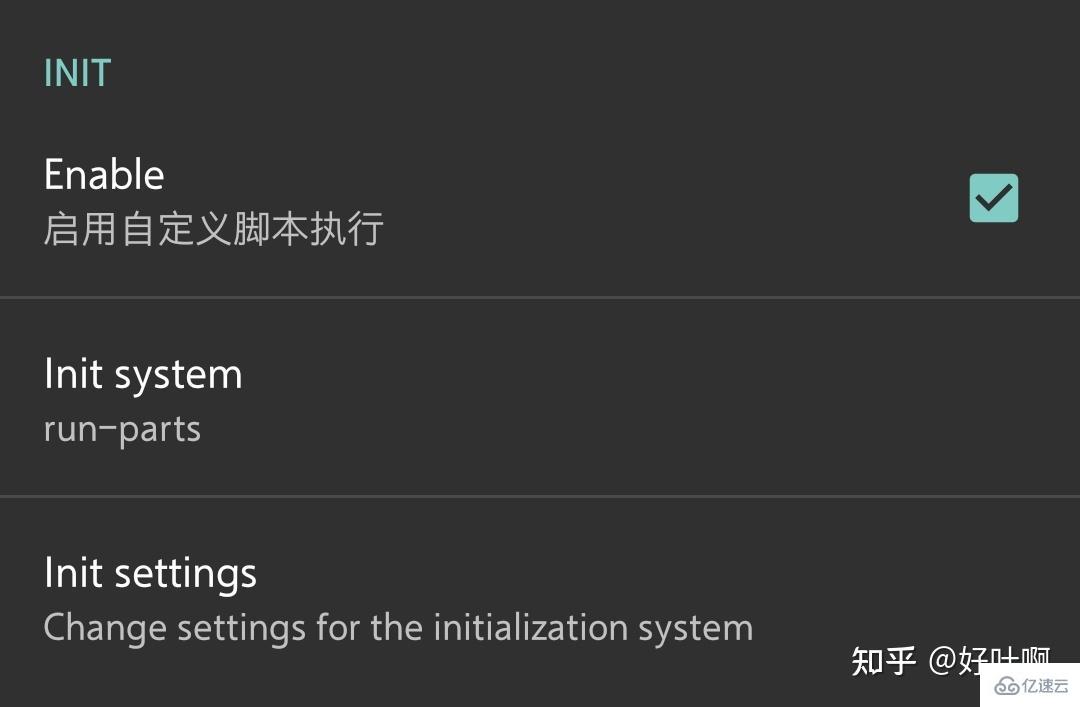
Copy
vncserver command, the system will ask you to set a VNC password less than 8 digits. You need to enter the password twice and submit it. , there will be a prompt after the VNC password setting is completed, ignore it, type n to submit)
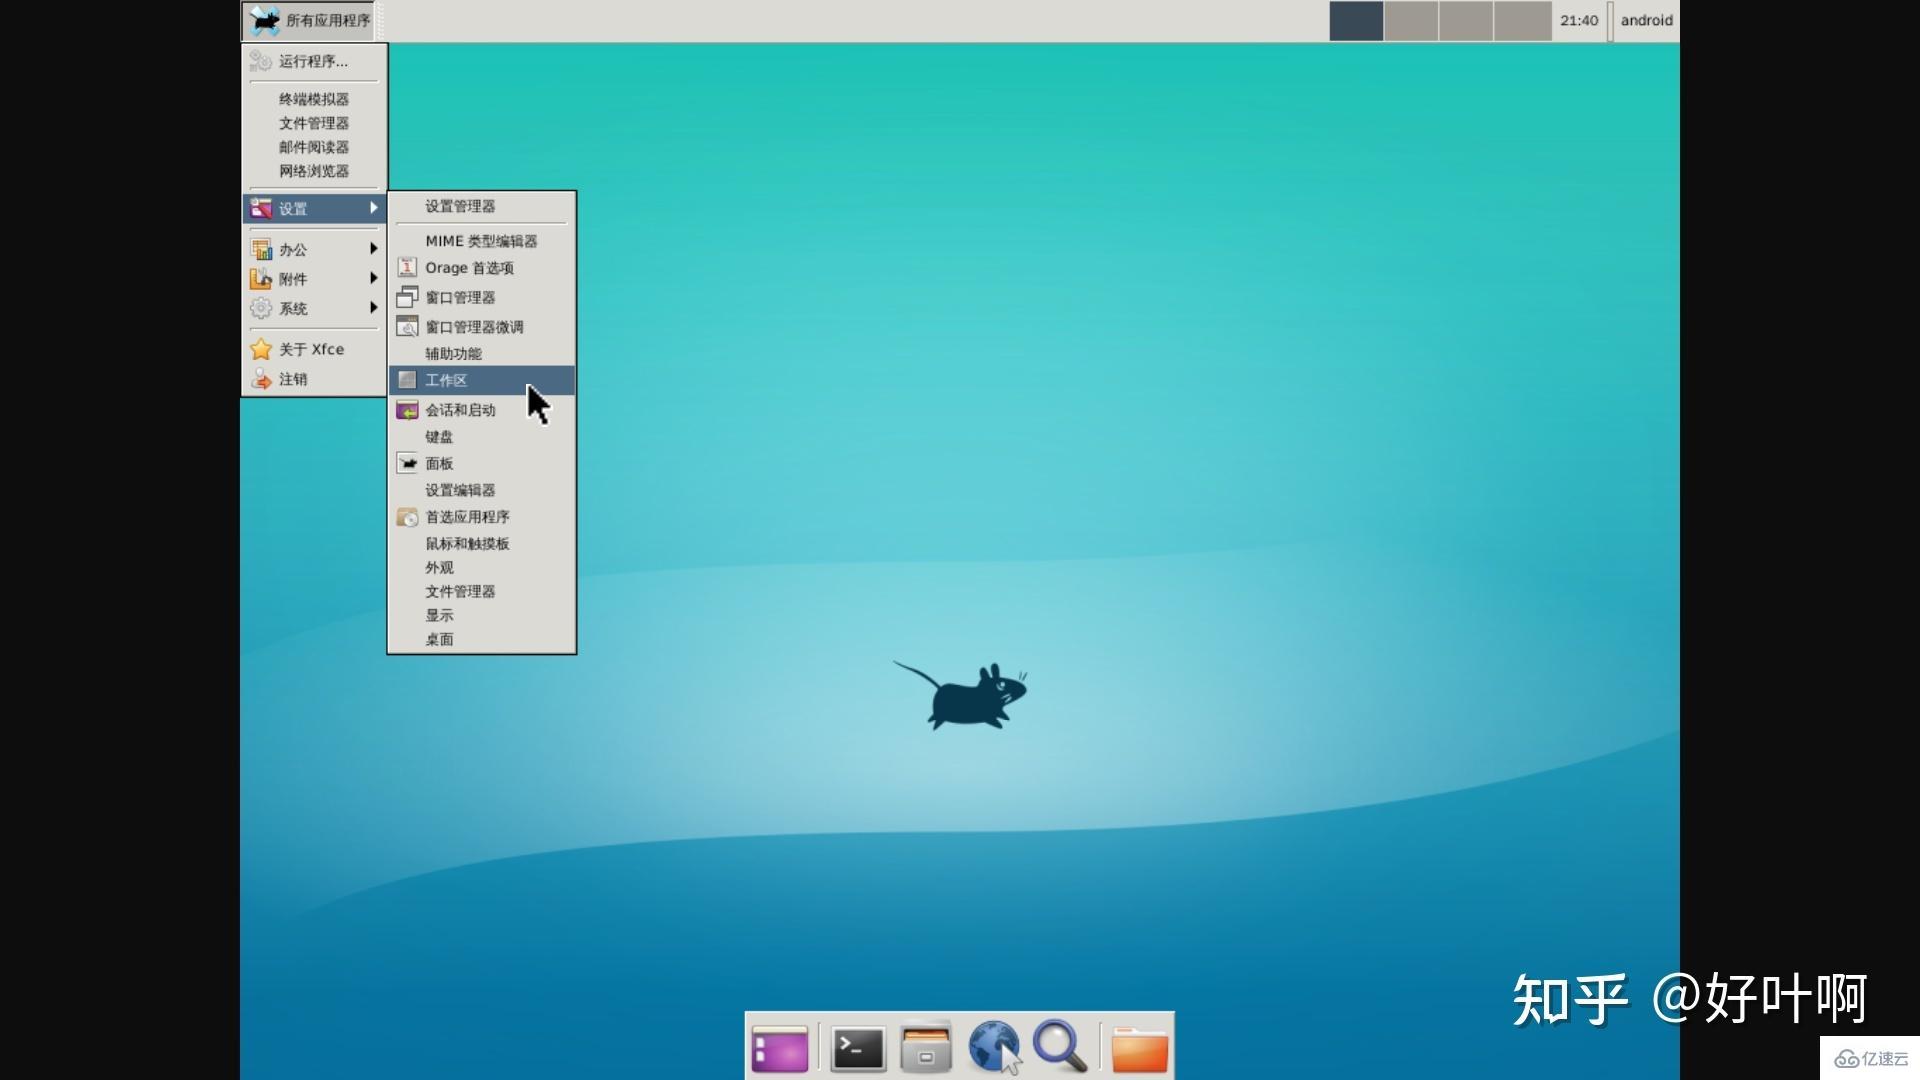
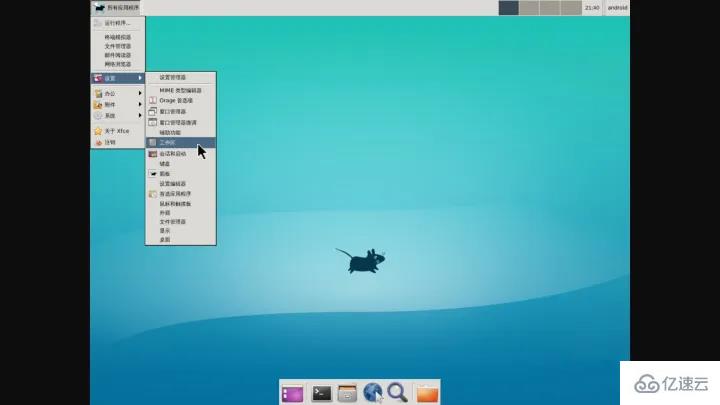
Enter the graphical interface:
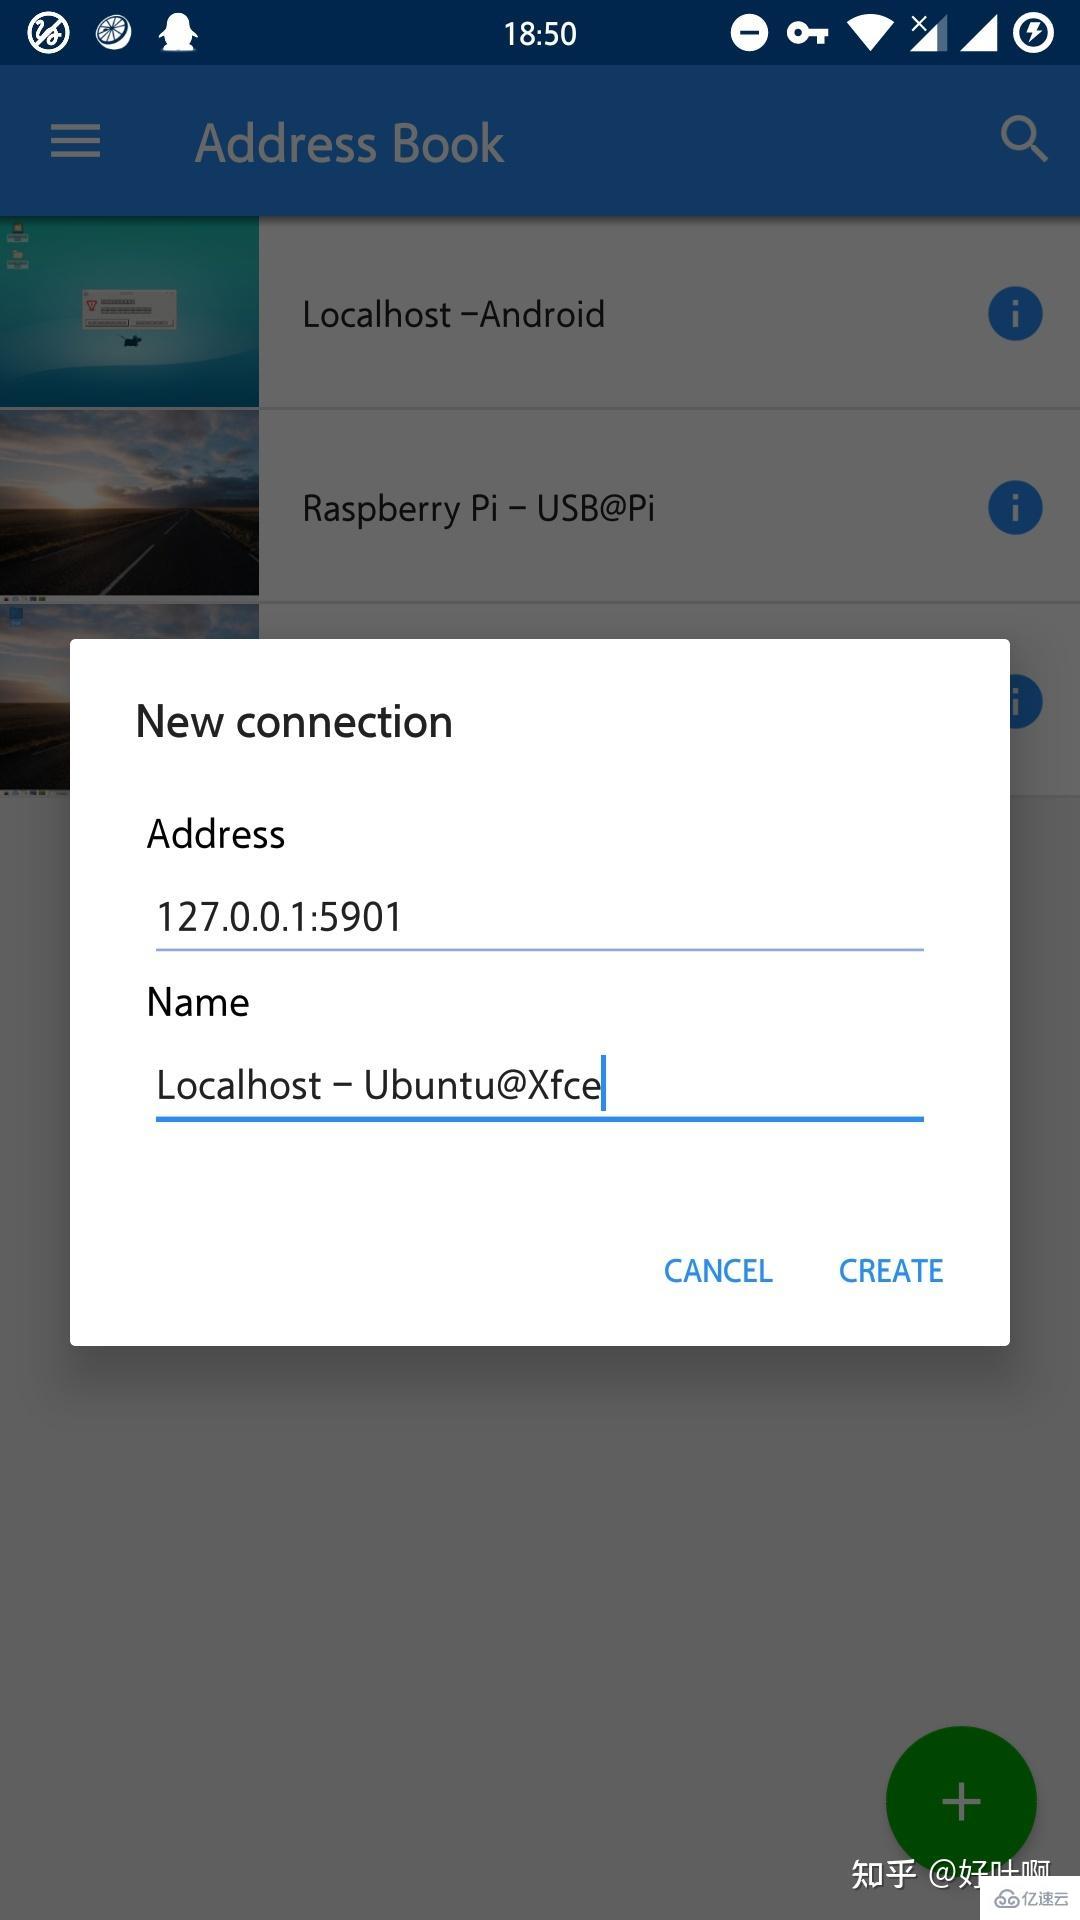
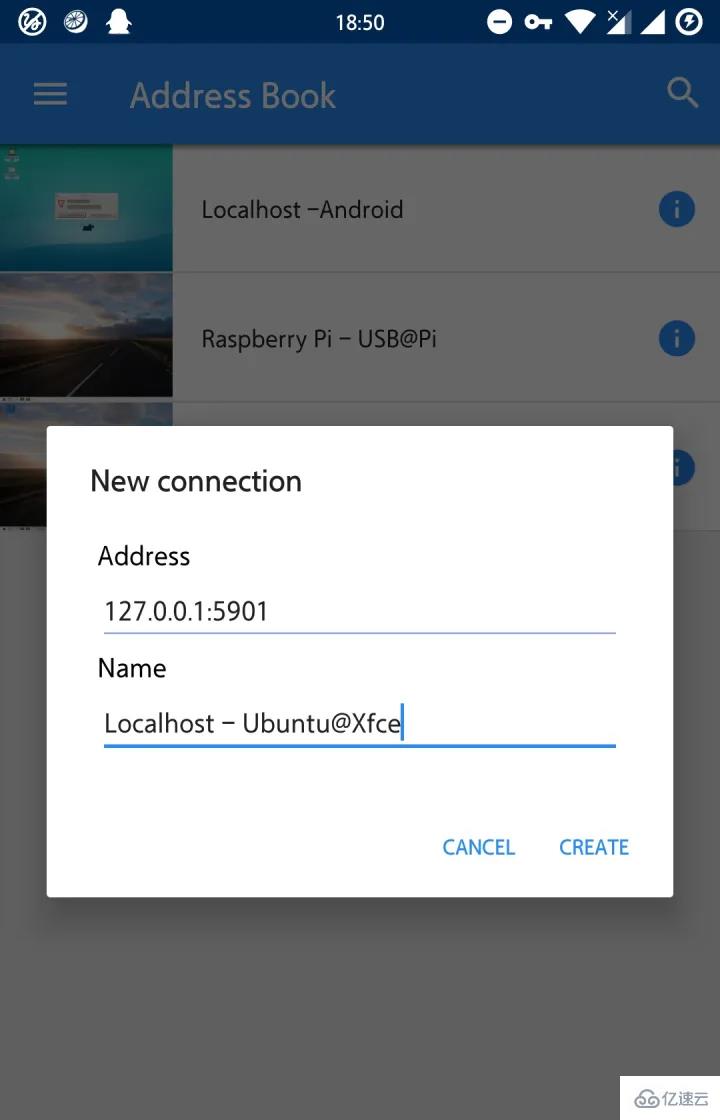
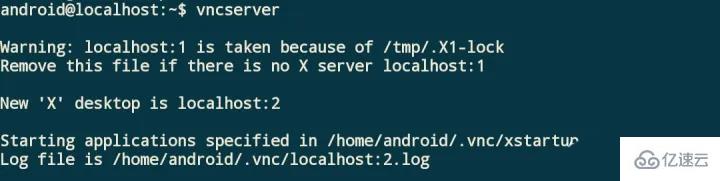
Then we use VncViewer to connect to the graphical interface we just deployed: Open VncViewer, click the " " button in the lower right corner to add a VNC session: Address: 127.0.0.1:5901 Name : Localhost - Ubuntu@Xfce Among them, the "Address" item is the address of the VNC server. Since we need to connect to the local VNC server, just fill in 127.0.0.1. In addition, we also need to specify the VNC port after the address, because the information just returned by the terminal:New 'X' desktop is localhost:1The desktop session number is specified as 1, so the port is 5900 1=5901. If we open multiple virtual desktops and their session numbers are 2, 3, 4..., then their respective ports are 5902, 5903, 5904... and so on. Moreover, the server address and port need to be separated by an English colon. The "Name" item is the address specified by the user for this VNC session. In order to distinguish it from other sessions, we fill in Localhost - Ubuntu@Xfce. In fact, you can fill in anything you want.
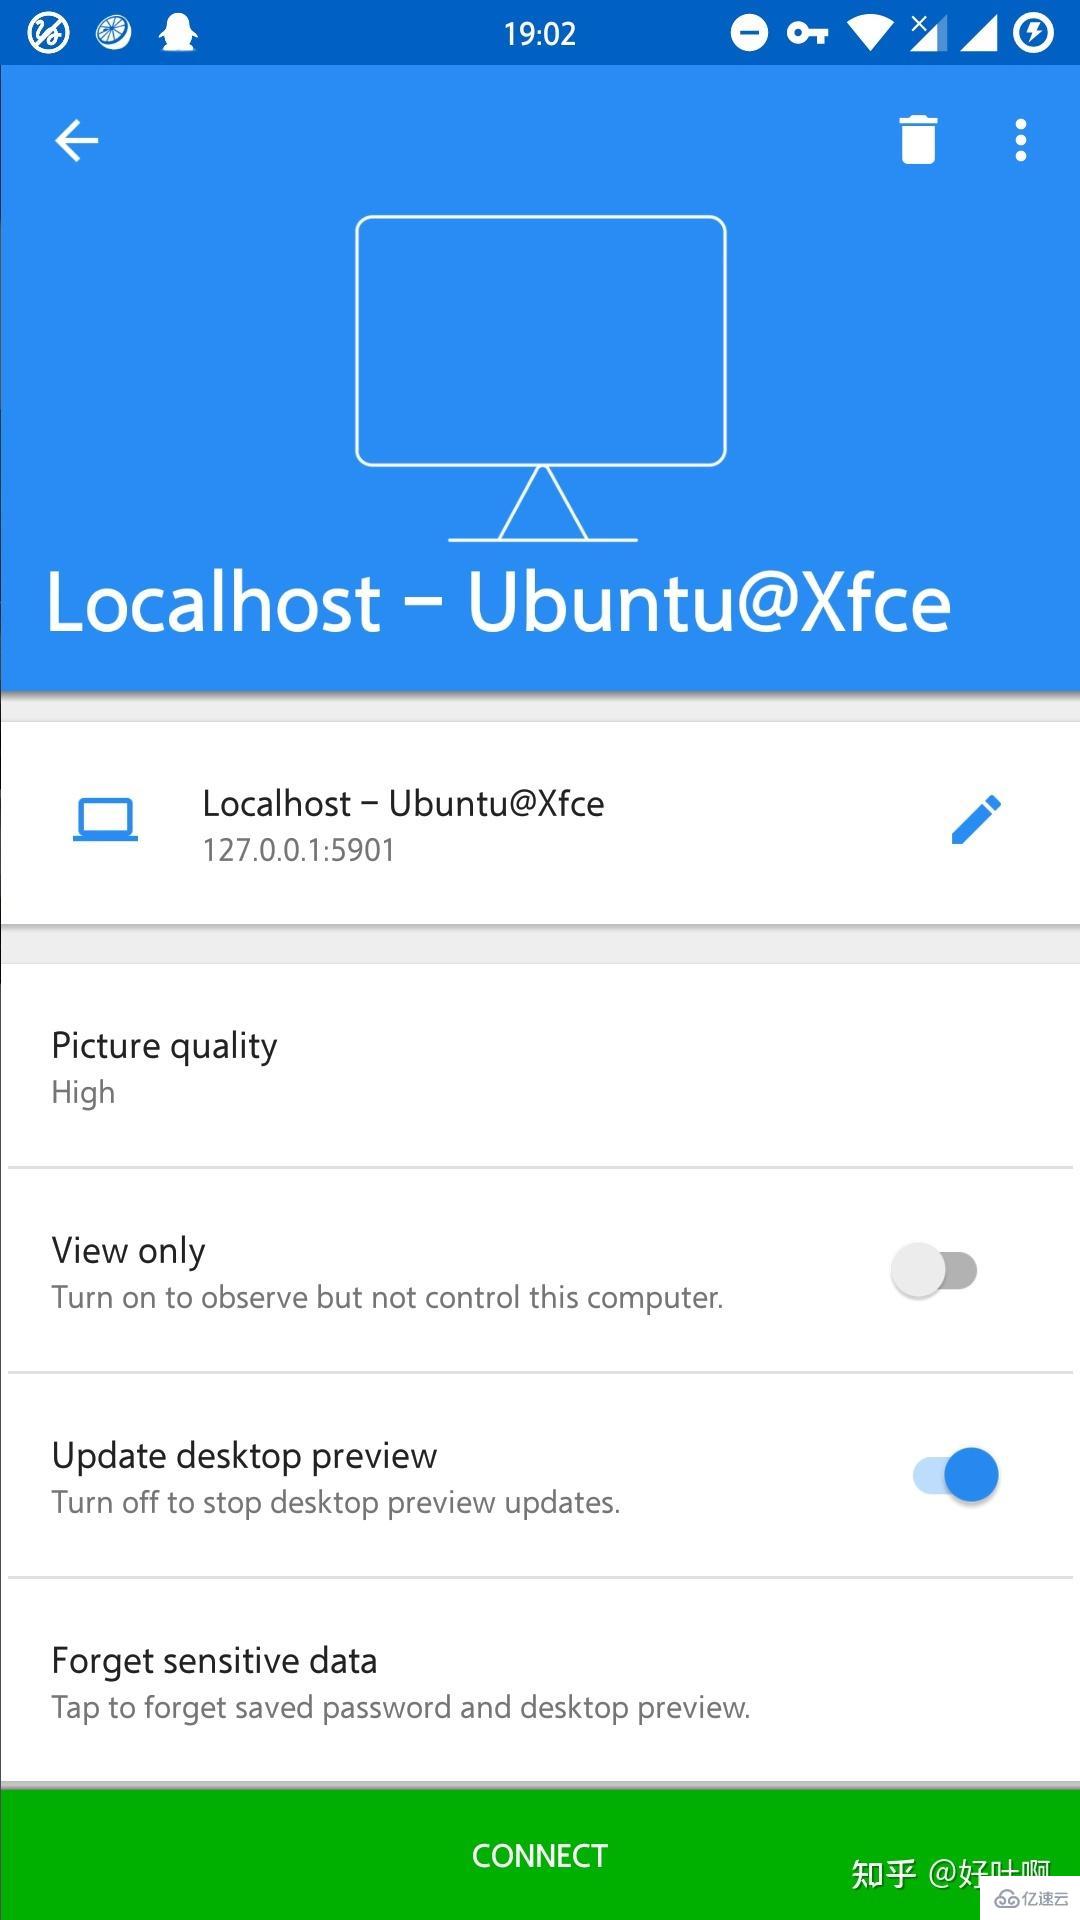
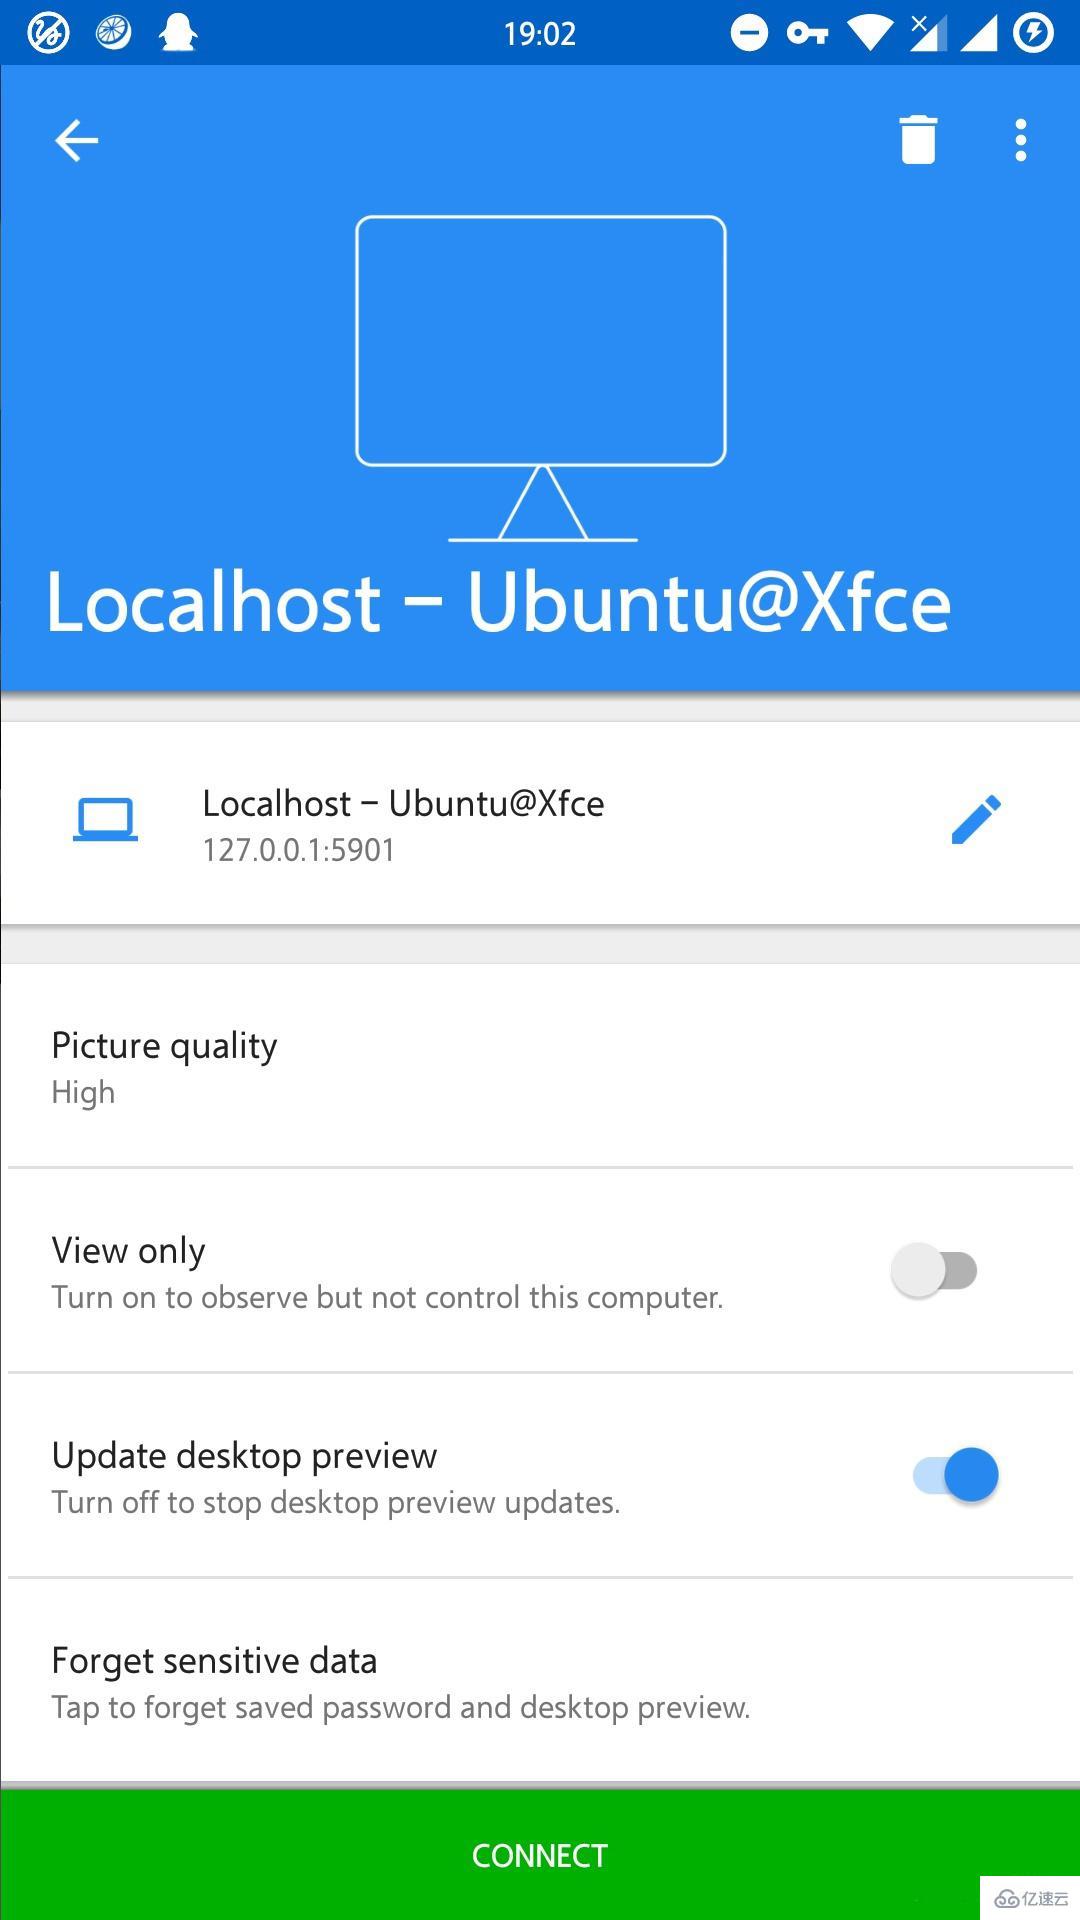 ## After confirming that the information is correct, click the green "CONNECT" button below to start connecting to the VNC session (if you have not set a VNC password before, you still need to enter it during the VNC connection process password, then you can try entering the password of the android user):
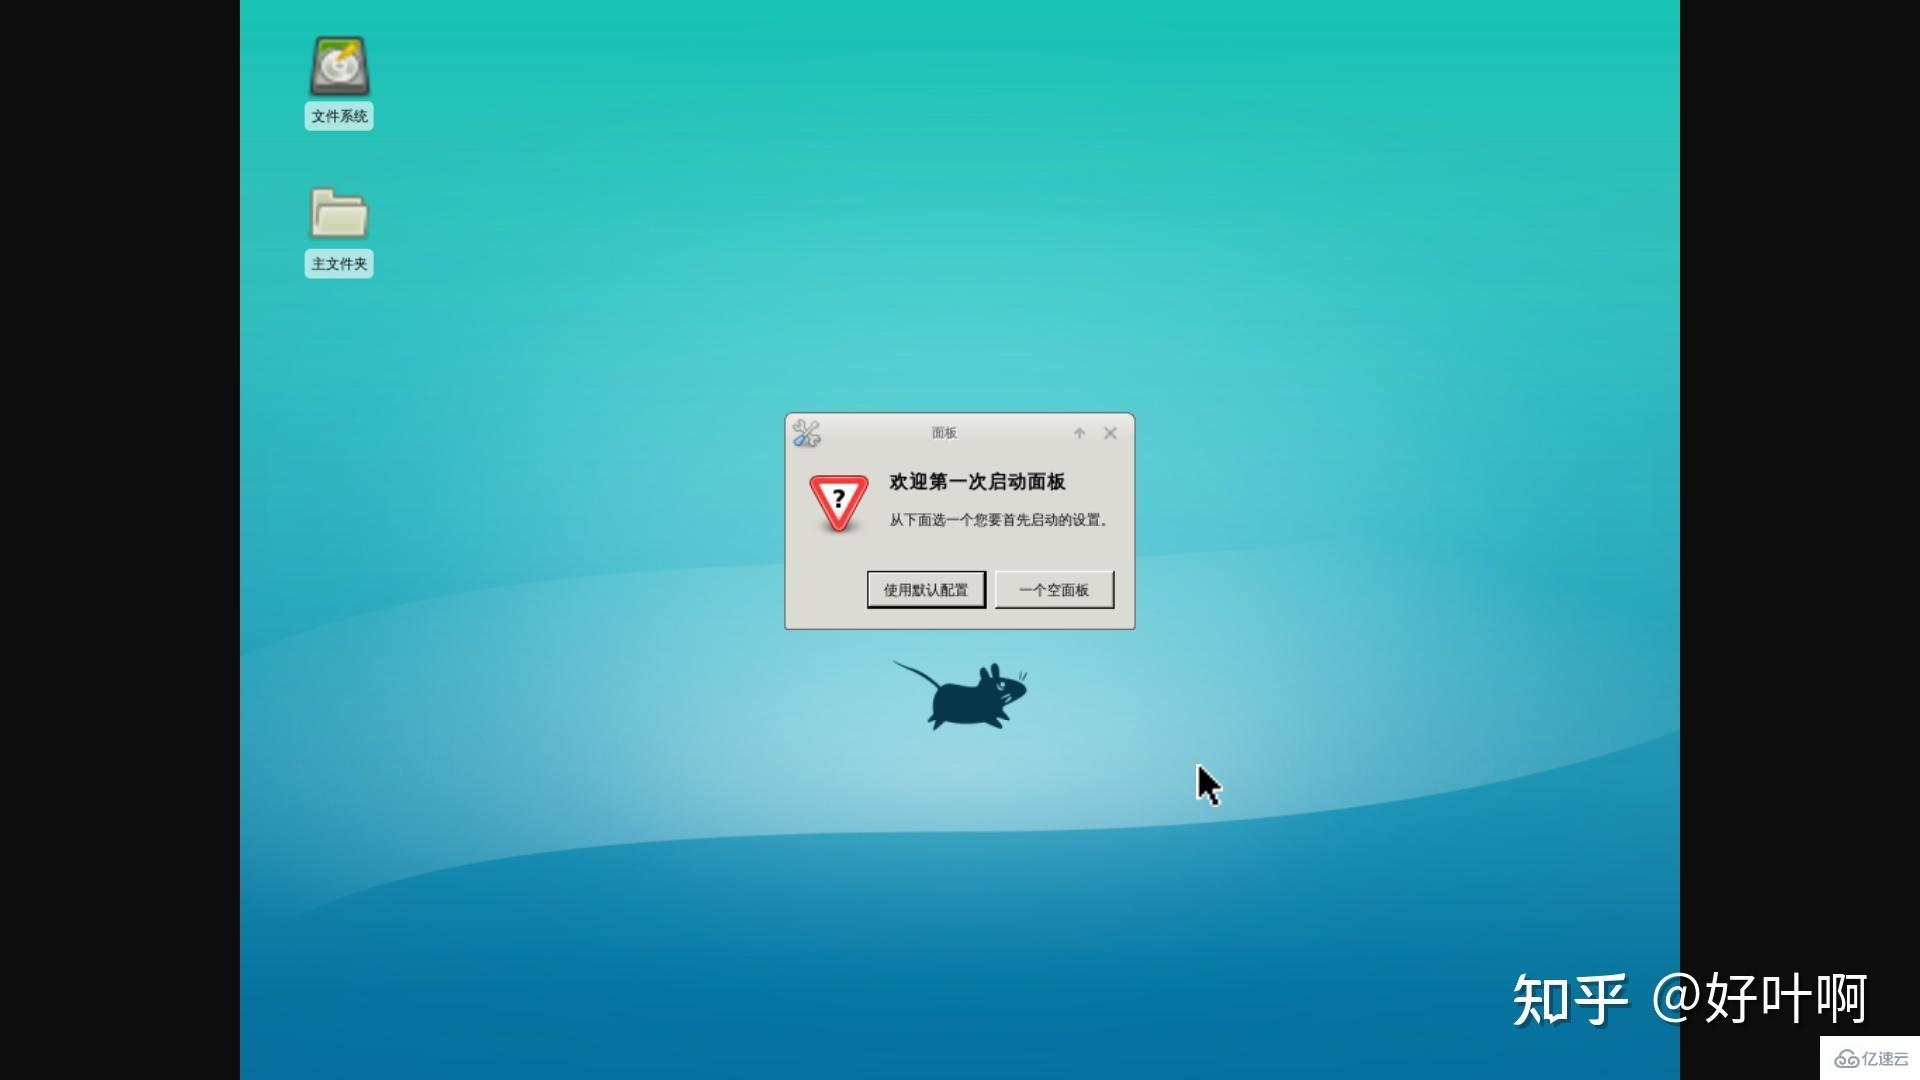
Possible problems:
1. When you open a VNC session, After stopping the Linux system and restarting the Linux system, execute the vncserver command again. The system may report the following error: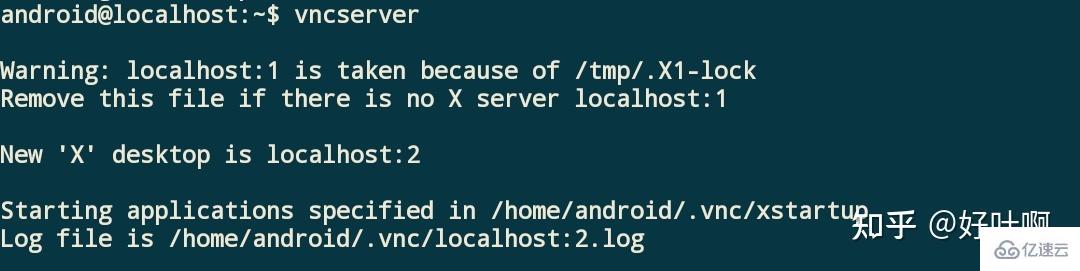
rm -rf /tmp/.X11-unix/X[1-9]After the execution is completed, execute
vncserver again, and the session number will be reset to 1. In order to prevent this problem caused by stopping and restarting the Linux system every time, we can edit the /etc/rc.local file and insert these two commands before exit 0 in this file:
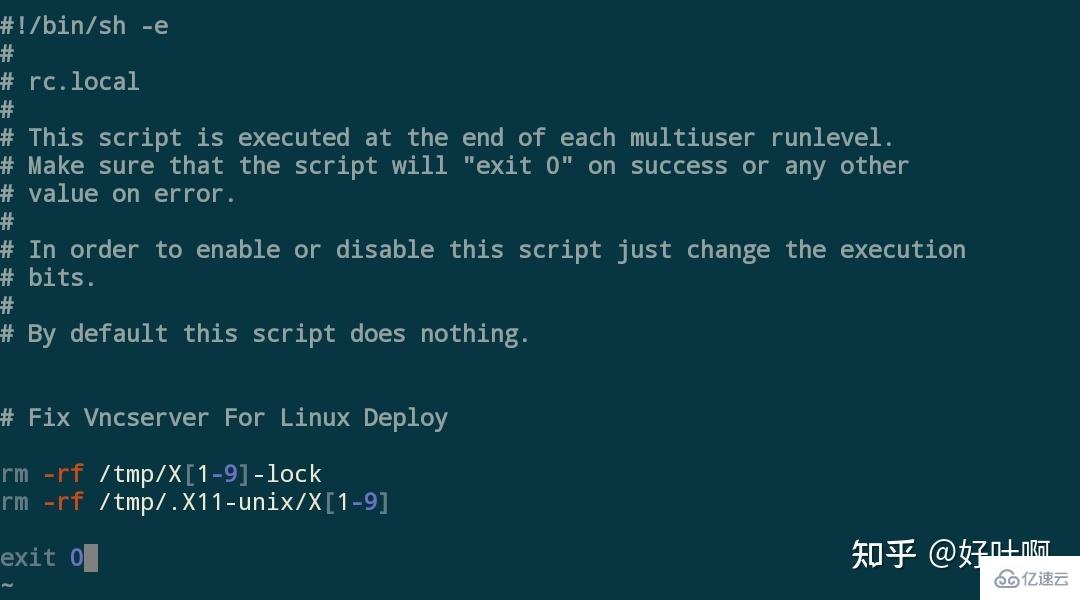
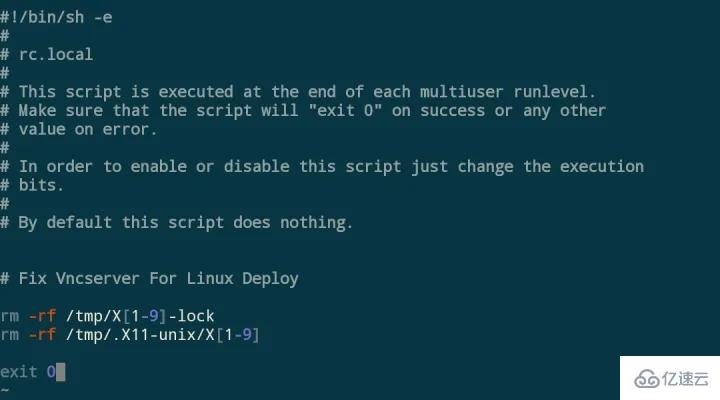 ## After editing is completed, save it. After performing this step, Linux Deploy will execute these two commands for us after starting the Linux system and before stopping the Linux system, so that no more errors will be reported~
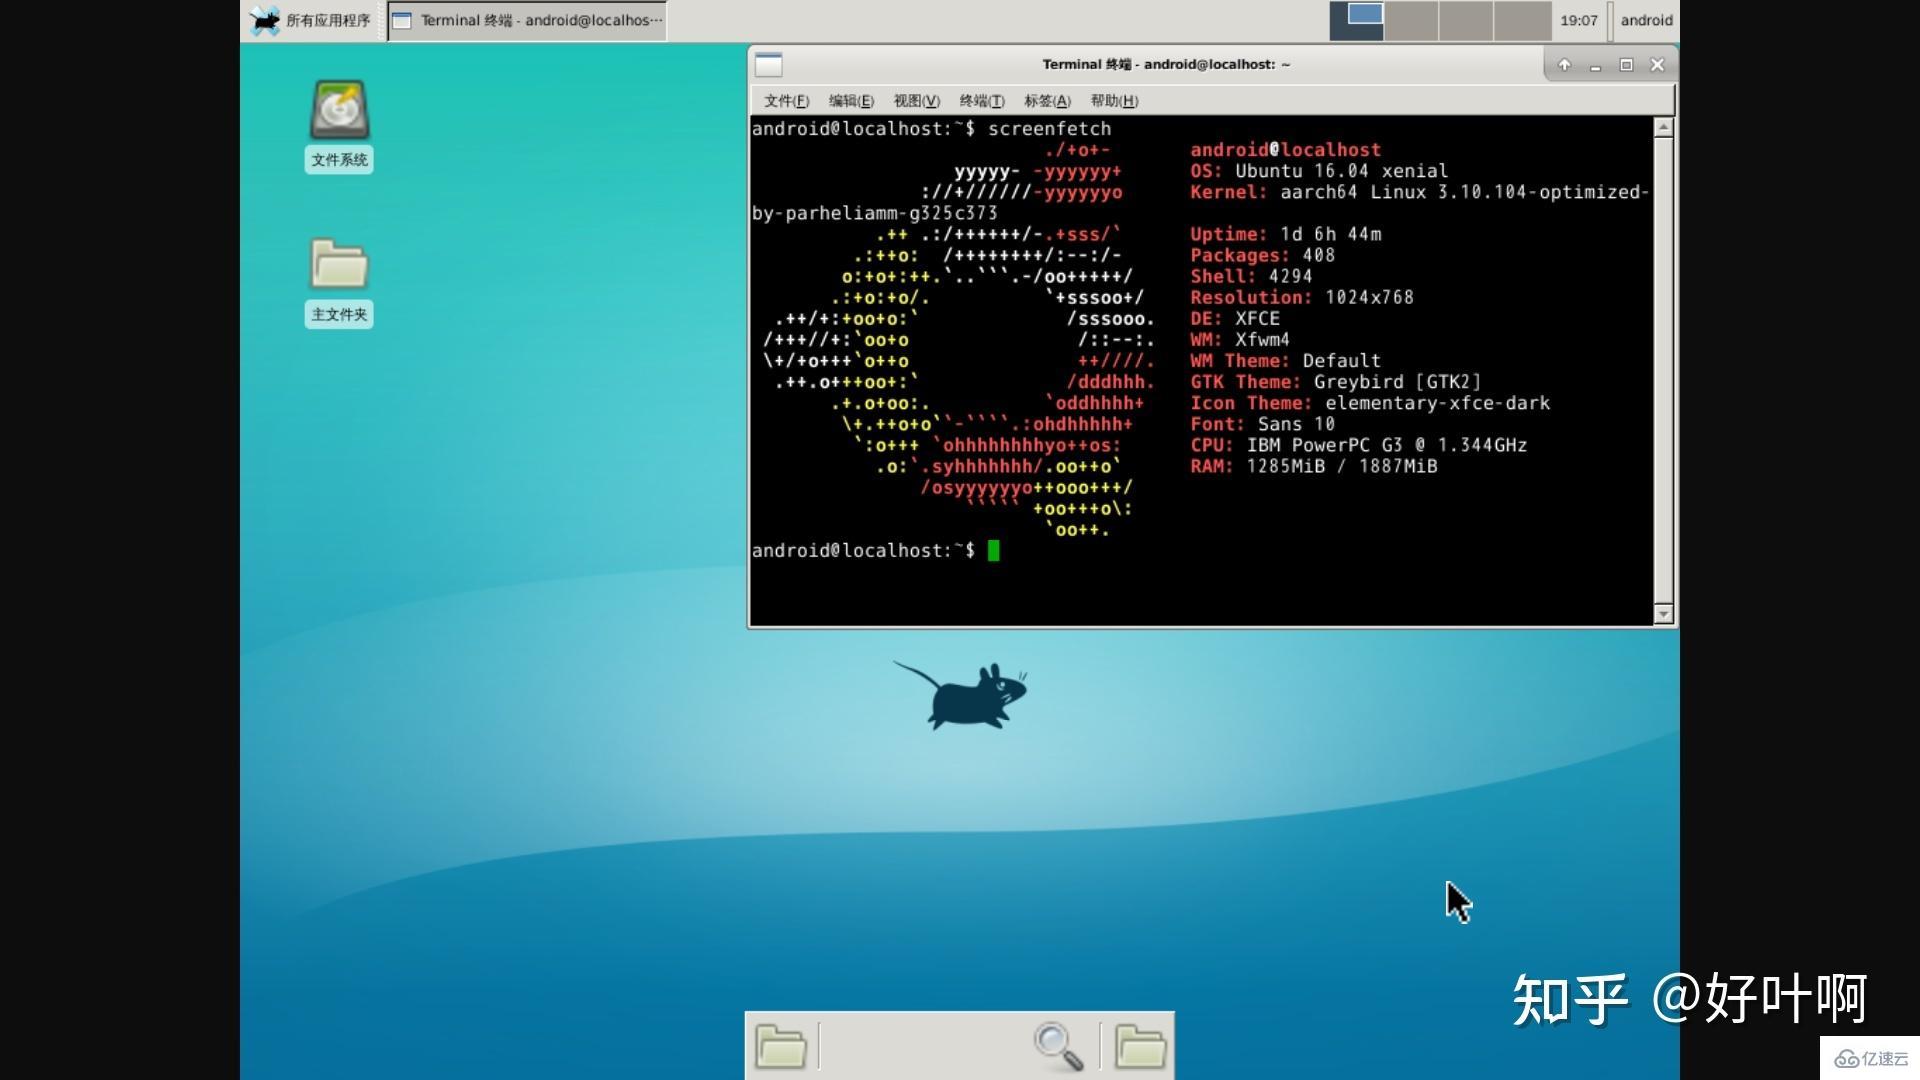
2. vncserver default The resolution is 1024×768, but the resolution of most mobile phone screens on the market is 720P (1280×720), 1080P (1920×1080), or even 2K (2560×1440). The default resolution of vncserver is 1024×768. It may be the case that the VNC image cannot fill the screen. At this time, we need to modify the VNC resolution to adapt to the screen. After testing, taking the 1080P screen as an example, setting the resolution to 720P can make the VNC image fill the screen and not fit the screen. affect the display effect. The adjustment method is to add the
-geometry parameter after each execution of the vncserver command. For example, if I need to adjust the VNC resolution to 720P (1280×720), then start vncserver , execute: vncserver -geometry 1280x720
to set the screen resolution of the newly opened VNC virtual session to 1280×720. It is worth noting that thex
in 1280x720 in the command is the lowercase letter x, not the multiplication sign × in mathematics. The following is a comparison between 1280×720 resolution and 1024×768 resolution (reducing the VNC Viewer screen to the minimum):
 Obviously, on a 1080P screen, setting the VNC resolution to 1280×720 can make the image fill the screen and provide better visual effects. .
 If you find it a bit troublesome to enter such a long list of commands every time you start vncserver, you can edit the
~/.bashrc file and add a line of alias definition at the location shown in the figure below: vim ~/.bashrc #Edit~/.bashrc
alias vncserver='vncserver -geometry 1280x720'Copy

 After that, every time the
 command is executed, the resolution of the newly opened VNC session will be set to 1280×720. <h3 id="strong-Upgrading-ubuntu-strong"><strong>Upgrading ubuntu</strong></h3>
<p data-pid="mGD1_aOi">You will find that ubuntu can only be installed to 18.04</p>
<p data-pid="VAMIrQXy">The way to upgrade is to install Ubuntu and then upgrade directly. </p>
<p data-pid="kkln5K-O">After logging into the desktop using VNC, use the terminal to install the updater</p><pre class='brush:php;toolbar:false;'>sudo apt install update-manager-core</pre><p data-pid="60gRnUq3">Update all packages to the latest version</p><pre class='brush:php;toolbar:false;'>sudo apt update && sudo apt upgrade
sudo do-release-upgrade</pre><p data-pid="vbrcayHf">If authenticate 'focal.tar.gz' against ' appears focal.tar.gz.gpg' Authentication failed error, first install gnupg and execute the following instructions: </p><pre class='brush:php;toolbar:false;'>sudo apt install gnupg gnupg1 gnupg2
sudo apt-key adv --keyserver keyserver.ubuntu.com --recv-keys 871920D1991BC93C</pre><h4 id="Execute-sudo-do-release-upgrade-again-enter-y-to-start-updating-the-system-and-follow-the-terminal-instructions-to-update">Execute sudo do-release-upgrade again, enter y to start updating the system, and follow the terminal instructions to update. </h4><p data-pid="AHGX18es">If prompted Please Install All Available Updates Before Upgrading</p><pre class='brush:php;toolbar:false;'>apt clean
apt autoclean
sudo apt update
sudo apt upgrade -y
sudo apt dist-upgrade</pre><h4 id="Execute-sudo-do-release-upgrade-again-enter-y-to-start-updating-the-system-and-follow-the-terminal-instructions-to-update">Execute sudo do-release-upgrade again, enter y to start updating the system, and follow the terminal instructions to update. </h4><p data-pid="UIeefVlm">If nothing else goes wrong, the system has been upgraded normally. </p><p data-pid="sw0Qe6Hi">After the upgrade, you need to go back to the linux deploy configuration item and change the username to root. The password can remain unchanged. The reason is that after the upgrade, the original android username does not have root permissions</p><blockquote data-pid="Q8L66PKi">After modifying the user name, be sure to click the configuration option of linux deploy to reconfigure</blockquote><p data-pid="7_t4ca32"><strong># Updated on 2023.3.8 If you encounter "The required dependency 'apt (>= 2.0.4)' is not installed." Need to modify the /etc/apt/source.list file</strong></p><pre class='brush:php;toolbar:false;'>## /etc/apt/source.list
deb http://ports.ubuntu.com/ focal multiverse main universe
deb-src http://ports.ubuntu.com/ focal multiverse main universe
deb http://ports.ubuntu.com/ focal-updates main universe multiverse
deb-src http://ports.ubuntu.com/ focal-updates main universe multiverse
deb http://ports.ubuntu.com/ focal-security main universe multiverse
deb-src http://ports.ubuntu.com/ focal-security main universe multiverse</pre>
The above is the detailed content of What is the function of linux deploy. For more information, please follow other related articles on the PHP Chinese website!

Hot AI Tools

Undress AI Tool
Undress images for free

Undresser.AI Undress
AI-powered app for creating realistic nude photos

AI Clothes Remover
Online AI tool for removing clothes from photos.

Clothoff.io
AI clothes remover

Video Face Swap
Swap faces in any video effortlessly with our completely free AI face swap tool!

Hot Article
Hot Tools

Notepad++7.3.1
Easy-to-use and free code editor

SublimeText3 Chinese version
Chinese version, very easy to use

Zend Studio 13.0.1
Powerful PHP integrated development environment

Dreamweaver CS6
Visual web development tools

SublimeText3 Mac version
God-level code editing software (SublimeText3)


 How to make PHP container support automatic construction? Continuously integrated CI configuration method of PHP environment
Jul 25, 2025 pm 08:54 PM
How to make PHP container support automatic construction? Continuously integrated CI configuration method of PHP environment
Jul 25, 2025 pm 08:54 PM
To enable PHP containers to support automatic construction, the core lies in configuring the continuous integration (CI) process. 1. Use Dockerfile to define the PHP environment, including basic image, extension installation, dependency management and permission settings; 2. Configure CI/CD tools such as GitLabCI, and define the build, test and deployment stages through the .gitlab-ci.yml file to achieve automatic construction, testing and deployment; 3. Integrate test frameworks such as PHPUnit to ensure that tests are automatically run after code changes; 4. Use automated deployment strategies such as Kubernetes to define deployment configuration through the deployment.yaml file; 5. Optimize Dockerfile and adopt multi-stage construction
 How to build an independent PHP task container environment. How to configure the container for running PHP timed scripts
Jul 25, 2025 pm 07:27 PM
How to build an independent PHP task container environment. How to configure the container for running PHP timed scripts
Jul 25, 2025 pm 07:27 PM
Building an independent PHP task container environment can be implemented through Docker. The specific steps are as follows: 1. Install Docker and DockerCompose as the basis; 2. Create an independent directory to store Dockerfile and crontab files; 3. Write Dockerfile to define the PHPCLI environment and install cron and necessary extensions; 4. Write a crontab file to define timing tasks; 5. Write a docker-compose.yml mount script directory and configure environment variables; 6. Start the container and verify the log. Compared with performing timing tasks in web containers, independent containers have the advantages of resource isolation, pure environment, strong stability, and easy expansion. To ensure logging and error capture
 Linux vs Windows: Which Operating System is Better for You?
Jul 29, 2025 am 03:40 AM
Linux vs Windows: Which Operating System is Better for You?
Jul 29, 2025 am 03:40 AM
Windowsisbetterforbeginnersduetoeaseofuse,seamlesshardwarecompatibility,andsupportformainstreamsoftwarelikeMicrosoftOfficeandAdobeapps.2.LinuxoutperformsWindowsonolderorlow-resourcehardwarewithfasterboottimes,lowersystemrequirements,andlessbloat.3.Li
 How to Securely Erase a Hard Drive on Linux
Jul 24, 2025 am 12:08 AM
How to Securely Erase a Hard Drive on Linux
Jul 24, 2025 am 12:08 AM
Confirm the target hard disk device name (such as /dev/sda) to avoid accidentally deleting the system disk; 2. Use sudoddif=/dev/zeroof=/dev/sdXbs=1Mstatus=progress to overwrite the zero value in full disk, which is suitable for most scenarios; 3. Use sudoshred-v-n3/dev/sdX for three random data overwrites to ensure that it cannot be restored; 4. Optionally execute sudobadblocks-wsv/dev/sdX for destructive write tests; finally use sudohexdump-C/dev/sdX|head to verify whether it is all zero and complete safe erasing.
 How to Schedule Tasks on Linux with Cron and anacron
Aug 01, 2025 am 06:11 AM
How to Schedule Tasks on Linux with Cron and anacron
Aug 01, 2025 am 06:11 AM
cronisusedforpreciseschedulingonalways-onsystems,whileanacronensuresperiodictasksrunonsystemsthataren'tcontinuouslypowered,suchaslaptops;1.Usecronforexacttiming(e.g.,3AMdaily)viacrontab-ewithsyntaxMINHOURDOMMONDOWCOMMAND;2.Useanacronfordaily,weekly,o
 How to install software on Linux using the terminal?
Aug 02, 2025 pm 12:58 PM
How to install software on Linux using the terminal?
Aug 02, 2025 pm 12:58 PM
There are three main ways to install software on Linux: 1. Use a package manager, such as apt, dnf or pacman, and then execute the install command after updating the source, such as sudoaptininstallcurl; 2. For .deb or .rpm files, use dpkg or rpm commands to install, and repair dependencies when needed; 3. Use snap or flatpak to install applications across platforms, such as sudosnapinstall software name, which is suitable for users who are pursuing version updates. It is recommended to use the system's own package manager for better compatibility and performance.
 The Ultimate Guide to High-Performance Gaming on Linux
Aug 03, 2025 am 05:51 AM
The Ultimate Guide to High-Performance Gaming on Linux
Aug 03, 2025 am 05:51 AM
ChoosePop!_OS,Ubuntu,NobaraLinux,orArchLinuxforoptimalgamingperformancewithminimaloverhead.2.InstallofficialNVIDIAproprietarydriversforNVIDIAGPUs,ensureup-to-dateMesaandkernelversionsforAMDandIntelGPUs.3.EnabletheperformanceCPUgovernor,usealow-latenc
 What to do after installing linux
Jul 23, 2025 am 02:57 AM
What to do after installing linux
Jul 23, 2025 am 02:57 AM
AfterinstallingLinux,thefirststepsincludeupdatingyoursystem,installingessentialsoftware,settingupbackupandsecuritymeasures,andcustomizingtheinterfacetosuityourpreferences.1)Updateyoursystemusingtheappropriatecommandforyourdistro(e.g.,sudoaptupdate&am
