The Apple ecosystem includes products and apps that are exclusive to Apple devices, such as a Mac or iPhone. This makes it nearly impossible to access Apple apps like iMessage from non-Apple devices.
However, you can try some workarounds to help you access iMessage on Windows. This article provides you with the necessary steps on how to get and use iMessage on Windows.
Can MacOS apps run on Windows 11?
Traditionally, the Apple ecosystem has been designed so that non-Apple devices such as Android and Windows cannot access its products and apps. Apple has created the ecosystem in this way to help improve the security of its devices.
However, you can access Mac OS applications on a Windows computer. You should note that the steps involved are not simple and it usually takes quite some time to become familiar with the solution.
In summary, Mac OS applications are not designed to run on Windows, but with a few tweaks, you should be able to make your desired application run on a Windows PC.
How to get and use iMessage for Windows 11?
If you want to access the features and functionality provided by iMessage on your Windows PC, please follow these steps:
1. Use Chrome Remote Desktop to access iMessage
1.1 Install Remote Press the
- button on the desktop, enter the browser name, and then click. WindowsREnter
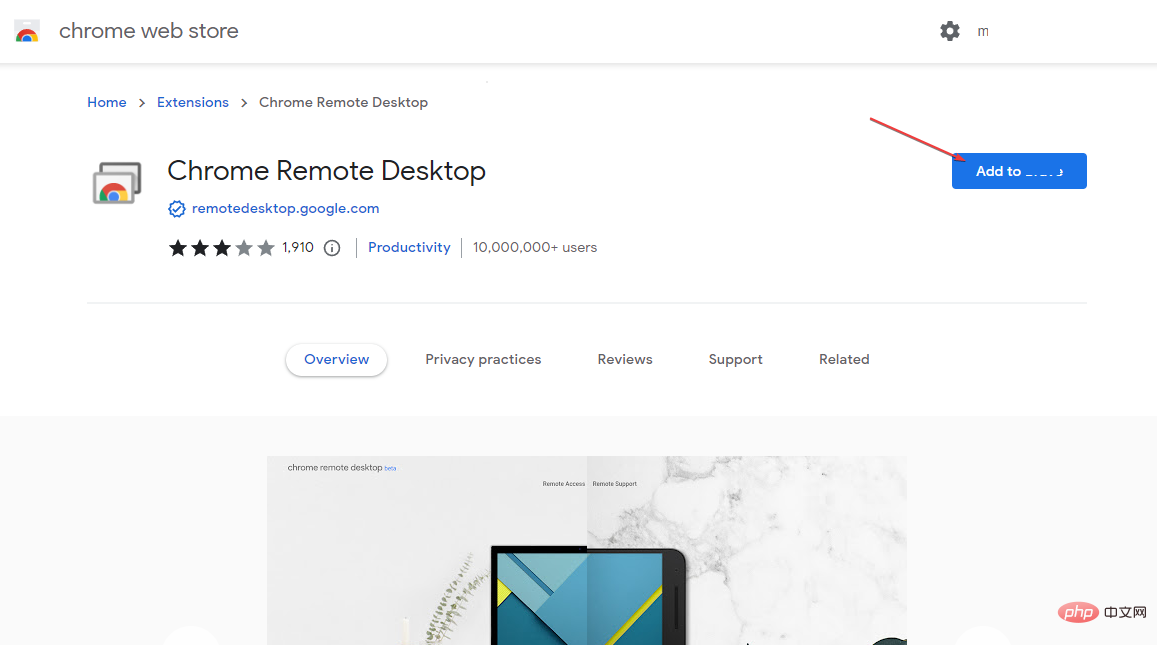
- Go to the Chrome Remote Desktop extension page.
- On your Macbook, launch the Google Chrome browser and navigate to the Chrome Remote Desktop extension page.

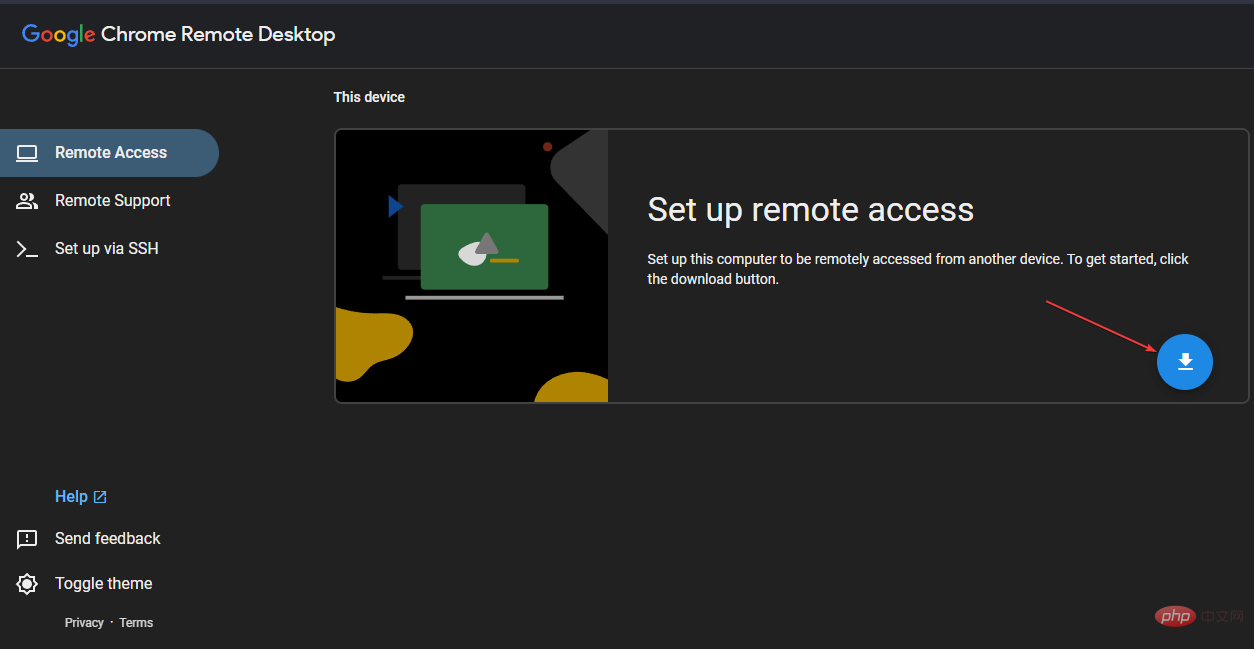
- Click the Download button under the Set Up Remote Access section on the right pane.

- You need to download the extension on both systems.
- In the next window, click the "Add to Chrome" button in the upper right corner, and then click the "Add extension" button.
- Wait for the installation to complete, then close the Chrome Web Store.
1.2 Set up Remote Desktop for iMessage
- After downloading the extension, Remote Desktop will automatically download the hosts file for Windows and Mac.
- In your browser, navigate to the Chrome Remote Desktop page and click the Accept and Install button in the right pane.
- In the next pop-up window, select Yes to allow Chrome to open the download .msi for Windows.
- Select Yes again in the User Account Control (UAC) window to allow Windows settings remote access.
- In the next window, type your preferred computer name or leave it as default and click Next.
- Enter your preferred PIN to connect remotely to your computer, then click "Start" to complete setup.
- Click "Yes" again in the next UAC window to allow your computer to set up a remote connection.
- Enter your Mac administrator password to allow Chrome Remote Desktop Host permissions.
- Chrome Remote Desktop setup will be completed in seconds on Windows and Mac.
- Let Chrome run on your Windows PC, then return to the Chrome desktop page on your Mac.
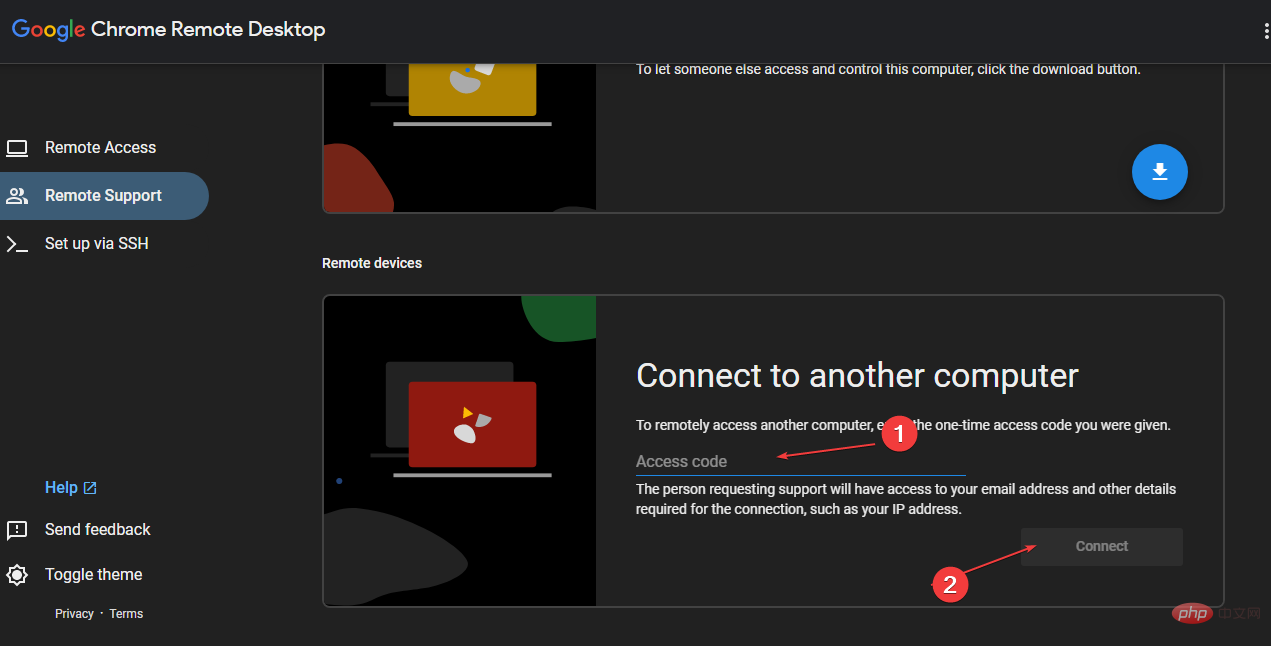
- Click on the Remote Support tab and Generate code under the "Share this screen" section.
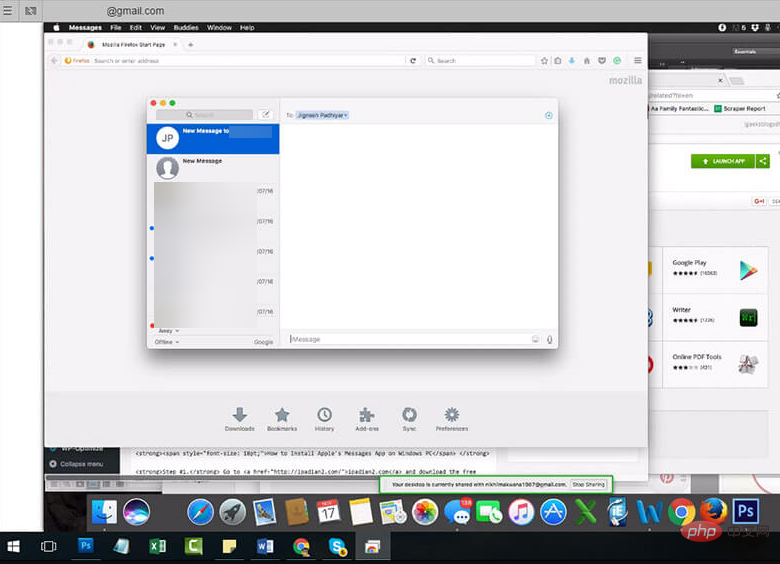
- On a Windows PC, navigate to the Chrome Remote Desktop window, select Remote Support, type the code generated on your Mac, and click Connect .

- Open iMessage on Mac to access the app from your Windows PC.
Expert Tips:
Sponsored
Some PC problems are difficult to solve, especially if they involve damage repository or lost Windows files. If you are having trouble fixing errors, your system may be partially corrupted.
We recommend installing Restoro, a tool that will scan your machine and determine what the fault is.
Click here to download and start repairing.
For the iMessage app to keep running on a Windows PC, your Mac must be running and connected to the Internet. You'll also need a Mac with iMessage installed and a computer running Windows 11.
2. Use the iPadian simulator
- button, enter the browser name, and then click . WindowsEnter
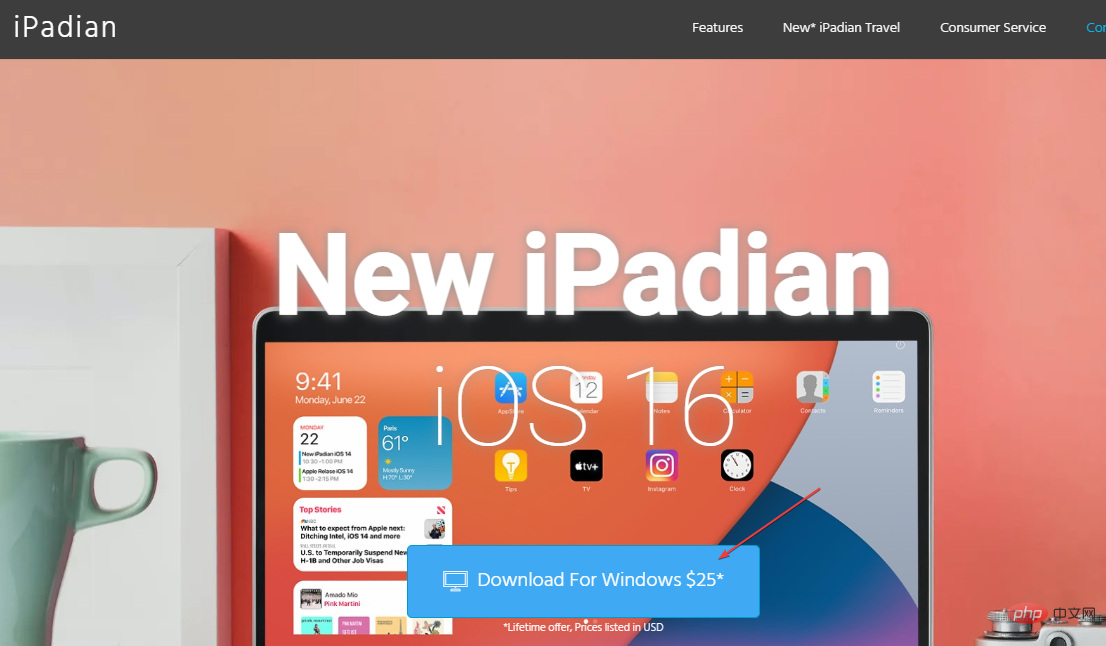
- Navigate to the iPadian official website on your Windows PC and click the "Download" button.

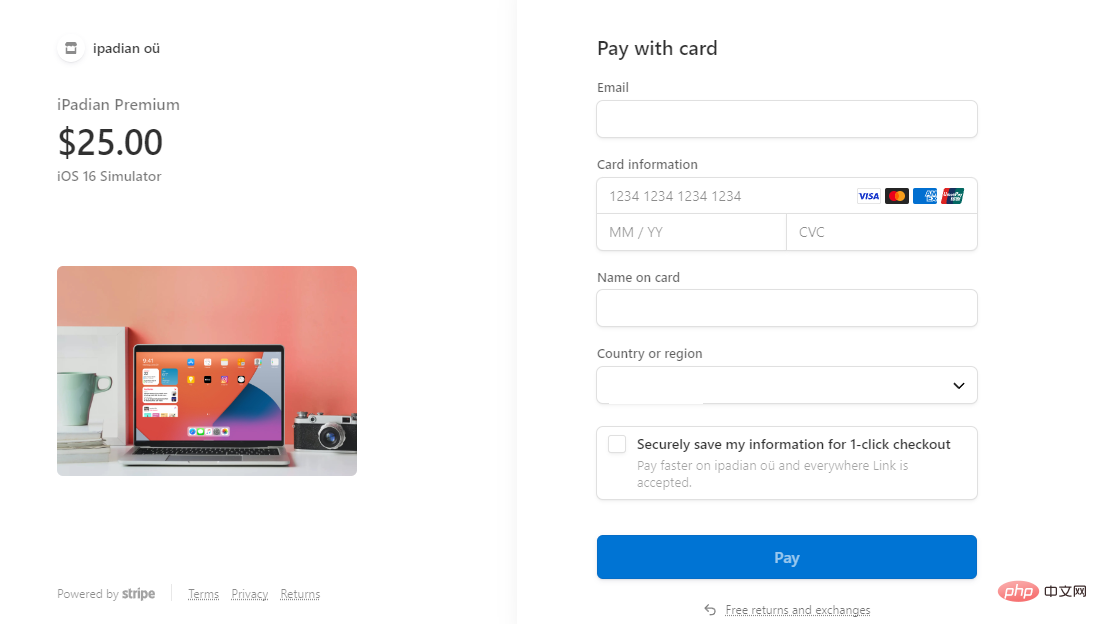
- You need to complete the payment process to download the emulator. You can choose to pay using PayPal or credit/debit card.

- After purchase, press to open File Explorer. WindowsE
- Navigate to the Downloads folder, find the .exe file you just downloaded, and double-click it to install the emulation device.
- Follow the on-screen instructions to complete the installation process and close the installer window when the installation is complete.
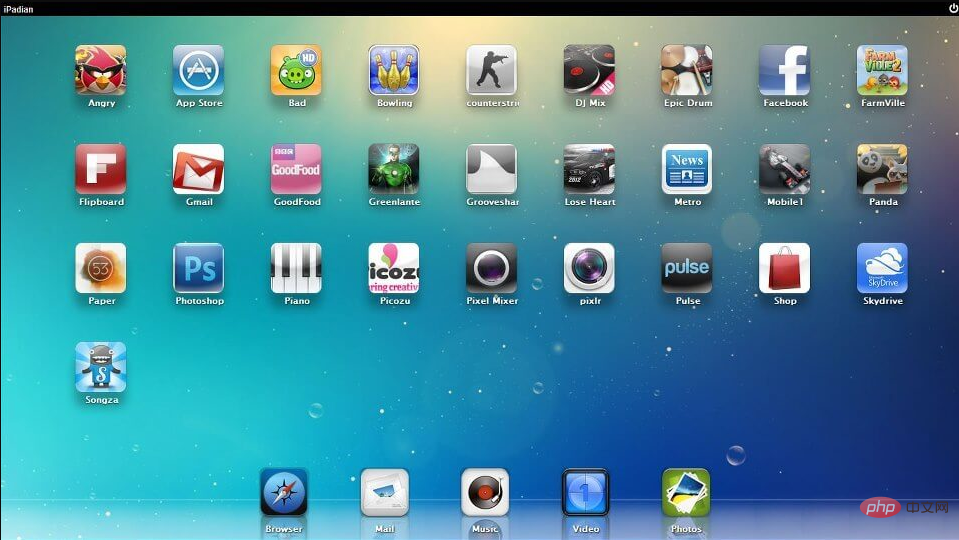
- Press the key, enter iPadian Emulator, and then click.WindowsSEnter
- IniPadian Emulator window, find the search bar and type iMessage.

- Click iMessage App from the search results and log in to your account using the correct Apple ID.
After successfully logging in, you can use the iMessage app on your Windows PC.
Accessing iMessage through the iPadian emulator is one of the most seamless processes and requires little to no technical knowledge. The only drawback is that you need to pay a subscription fee to get the software.
However, given how intuitive and easy it is to access iMessage from the iPadian emulator, this is likely your best option if you have the extra cash.
How to use iMessage app?
Once you have successfully accessed iMessage on your Windows PC, it’s time to learn how to use it. Here are the steps you should follow to use the iMessage app on Windows 11:
- Launch the iMessage app on your Windows PC.
- In the iMessage app, navigate to Settings and select the iMessage button.
- Then, log in with your Apple ID to access the iMessage app.
- Click the compass button to compose and send messages. You can also click the Attach button to attach files and documents to messages.

The Apple ecosystem is designed to prevent non-Apple devices from accessing its products and services. Apps like iMessage are built specifically for iOS devices.
However, by following the above workarounds, you should be able to run iMessage on your Windows 11 PC.
The above is the detailed content of iMessage for Windows 11: How to get and use it. For more information, please follow other related articles on the PHP Chinese website!

