Download iCloud Photos on Windows 11 PC
iCloud Photos integration with Windows 11 improves user experience as they can use both iOS and Windows devices to access all their photos. Before you proceed with the steps outlined in the post, make sure your PC has been updated to Windows 11 version 22H2.
- Update the Photos app via Microsoft Store and launch it. Click on the iCloud Photos application entry. Click the Get iCloud for Windows button.
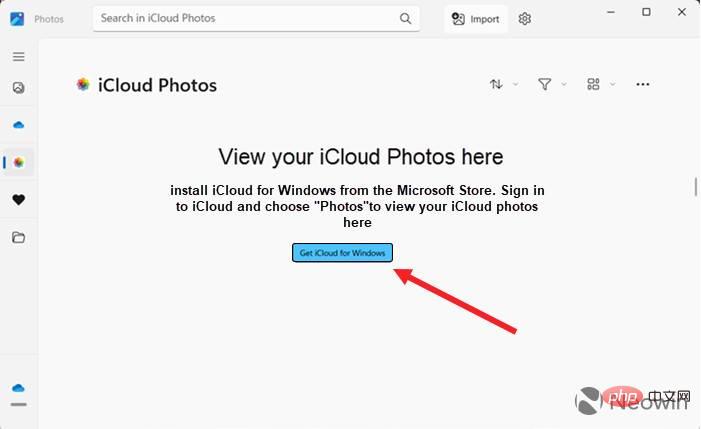
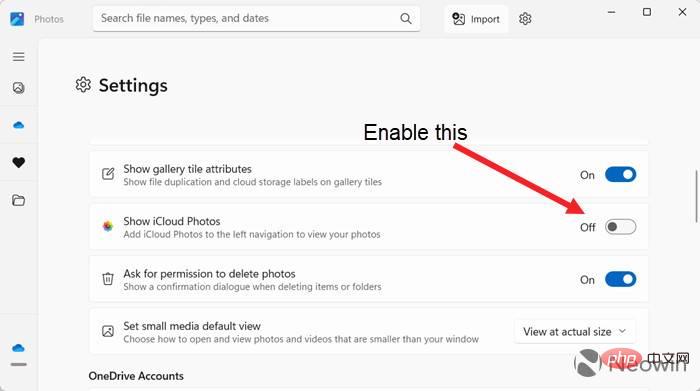
- If you don't see the iCloud Photos option, go to the Photos app's settings and turn on the Show iCloud Photos switch.
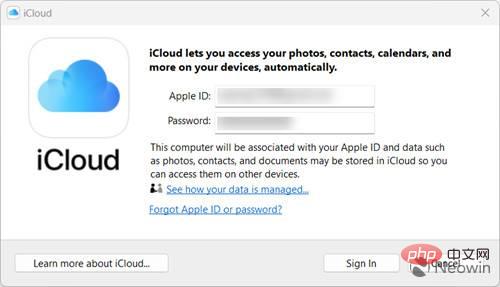
- Enter your Microsoft Account ID and password, then click the Get button to download iCloud for Windows. If requested, enter your iCloud account details to associate your computer with your Apple ID. Then, click the Login button.
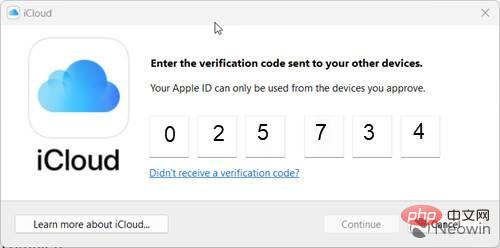
- Apple will send a verification code on your iPhone or other Apple device associated with your iCloud account. Enter the code on your Windows PC and click Continue.
- In the iCloud window that appears next, select the items you want to sync by checking the appropriate options, and click the Apply button when done.
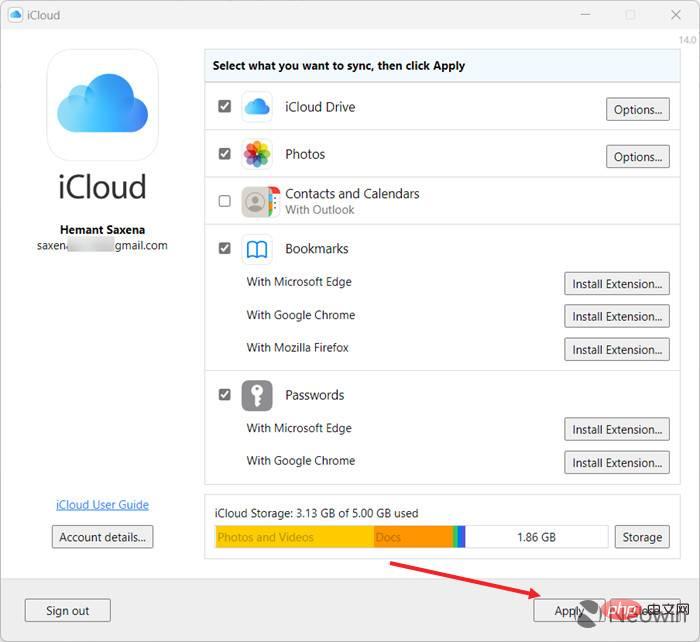
- Switch to the Photos app and see if it's downloading all your iCloud photos. Once the download is complete, you should be able to use all the photos on your iPhone on your Windows PC.
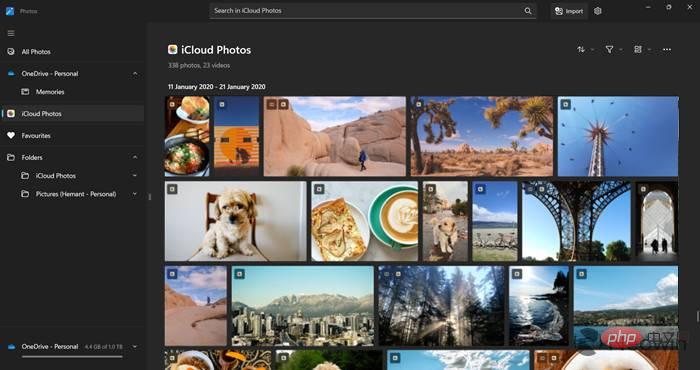
#Microsoft and Apple are well aware that many Windows users are also iPhone users. So an easy way to access your most cherished memories on both platforms and have more options to edit and organize them makes perfect sense. Hence, the availability of iCloud Photos on Windows PC.
The above is the detailed content of How to get iCloud Photos on Windows 11 PC. For more information, please follow other related articles on the PHP Chinese website!


