


How to perform third-party login on Weibo? The following article will introduce to you how to usenodeto implement third-party login on Weibo. I hope it will be helpful to you!

You can access Weibo third-party login without registration, which provides a better user experience. Today we will use nodejs to implement Weibo third-party login (other languages are also available) ). [Related tutorial recommendations:nodejs video tutorial]
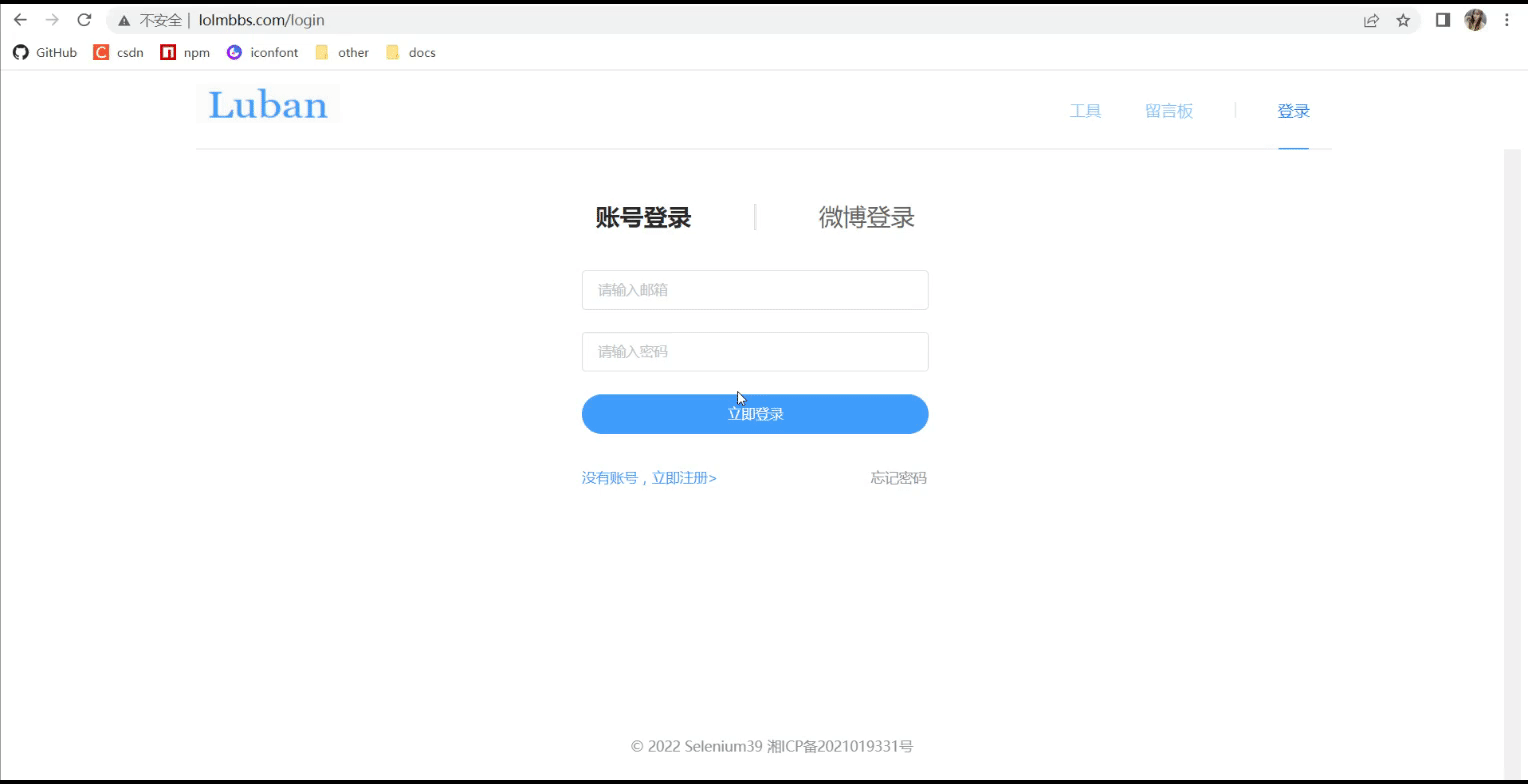
Online example: http://www. lolmbbs.com/login
1. Click the Weibo login button to log in
2. Scan the QR code to log in
Specific implementation
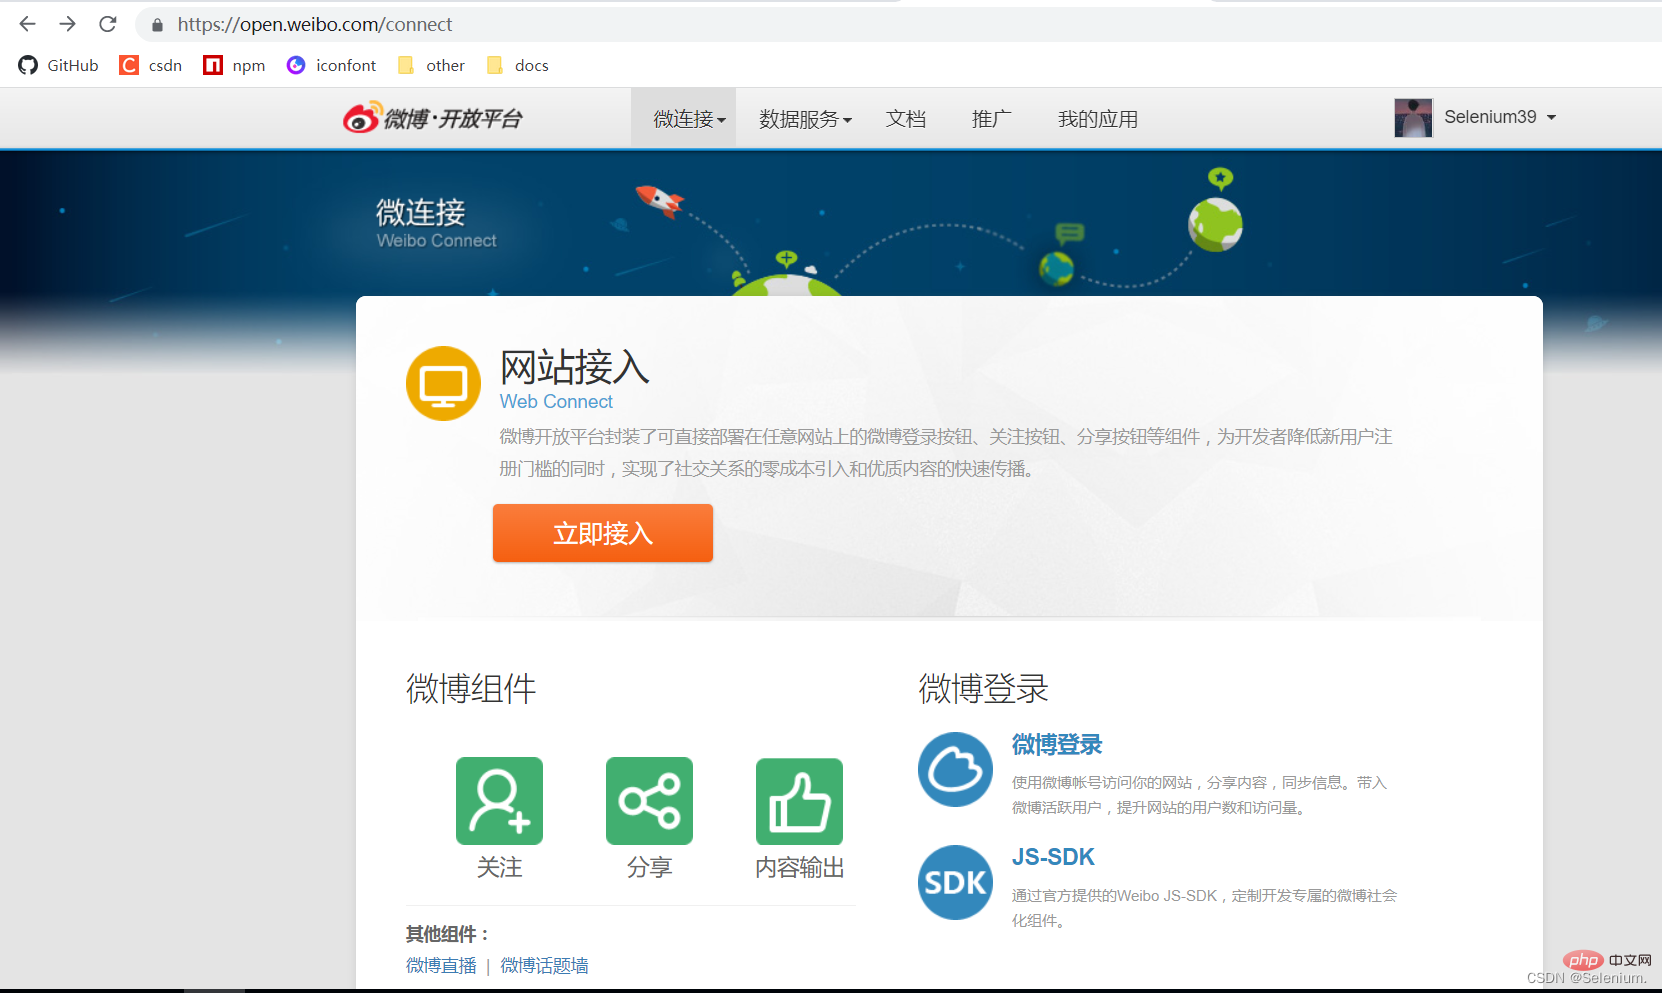
Log in to https://open.weibo.com/connect to apply for web website When accessing
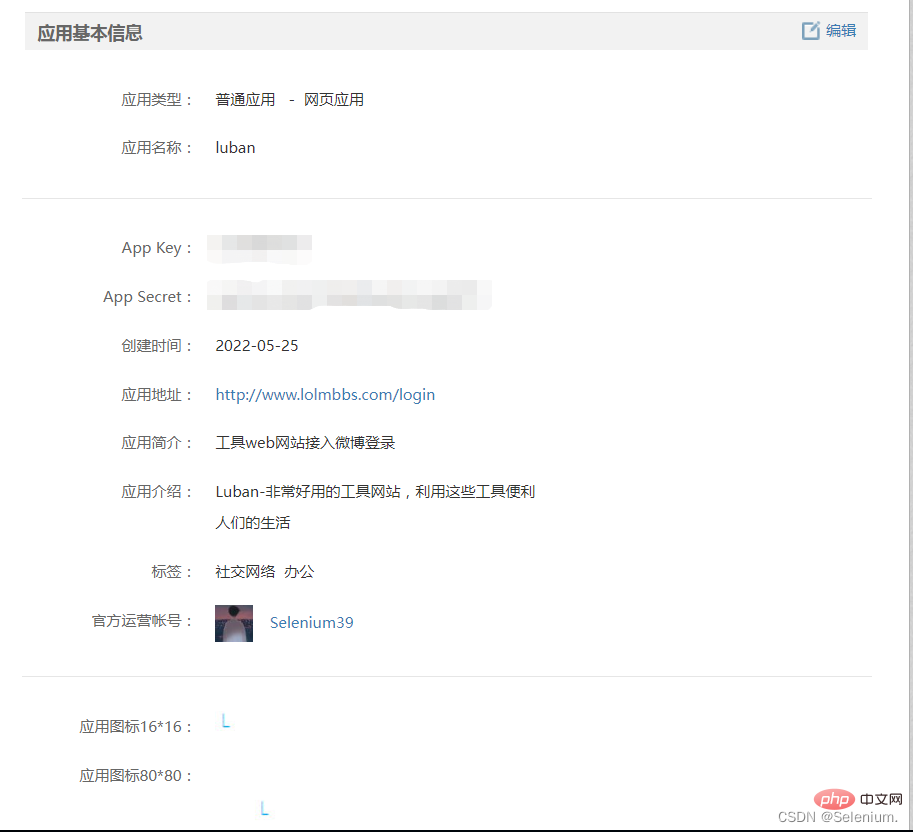
for local development, write the application address: 127.0.0.1
const weiboUrl = `https://api.weibo.com/oauth2/authorize?client_id=${weiboConfig.appKey}&response_type=code&redirect_uri=${weiboConfig.redirectUrl}`
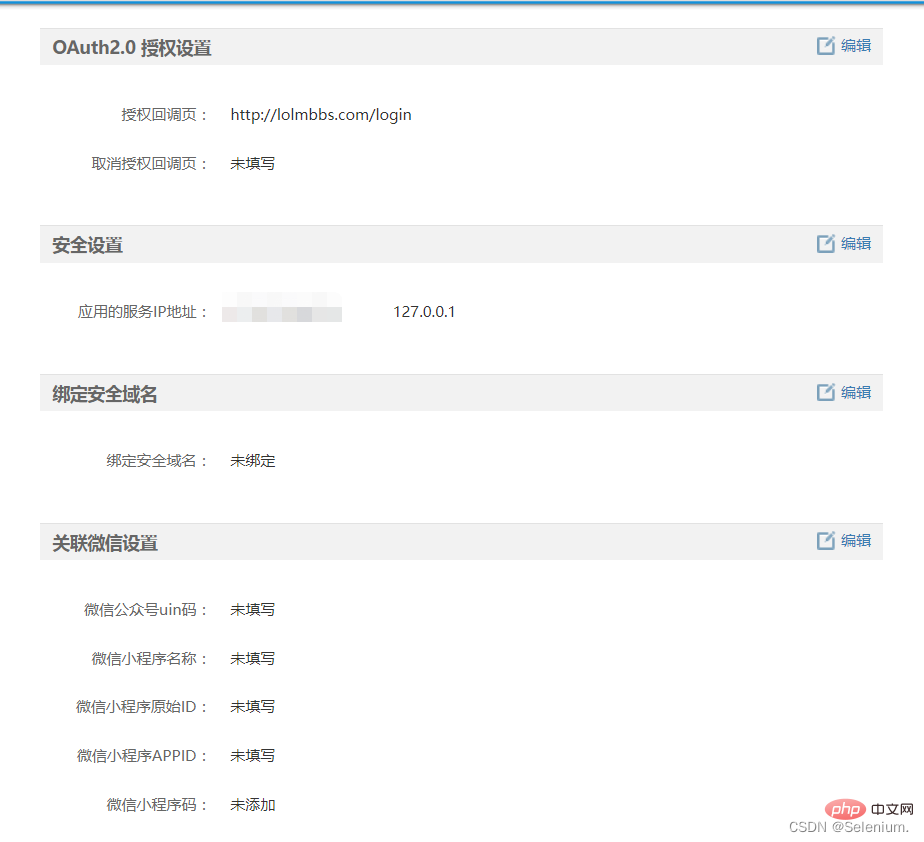
redirectUrl: Your front-end page that will be redirected after successful user authorization. I What is written here is http://127.0.0.1:8080/login
created() { const { code } = this.$route.query; if (code) { loginCallback({ code }).then((res) => { this.$message({ message: `${res.nickname} 欢迎您`, type: "success", }); this.setUser(res); this.$router.push("/tool/qr"); }); } }
async loginCallback(ctx) { let { code } = ctx.request.body if (!code) { return ctx.error(errCode.PARAMS_ERROR, '参数错误') } // 获取accessToken const { access_token, uid } = await got.post('https://api.weibo.com/oauth2/access_token', { form: { client_id: weiboConfig.appKey, client_secret: weiboConfig.appSecret, grant_type: 'authorization_code', redirect_uri: weiboConfig.redirectUrl, code } }).json() // 通过accessToken获取UserInfo const { id, name: nickname, avatar_hd: avatar } = await got.get(`https://api.weibo.com/2/users/show.json?access_token=${access_token}&uid=${uid}`).json() // 在自己的系统内创建User let [user, isCreate] = await WeiboUser.upsert({ id, nickname, avatar }) // 生成登录Token,通过userType区分是微博登录用户还是系统账号登录用户 const token = await jwt.createToken({ ...user.toJSON(), userType: 'weiboUser' }) return ctx.success({ nickname, avatar, token }) }
async getWeiboLoginQr(ctx) { const qrApi = `https://api.weibo.com/oauth2/qrcode_authorize/generate?client_id=${weiboConfig.appKey}&redirect_uri=${weiboConfig.redirectUrl}&scope=&response_type=code&state=&__rnd=${Date.now()}` const { url, vcode } = await got.get(qrApi).json() return ctx.success({ weiboQrUrl: url, vcode }) }
const id = setInterval(() => { getWeiboLoginQrStatus({ vcode }).then((res) => { const { status, url } = res; if (status === "3") { window.location = url; clearInterval(id); } }); }, 3000);
async getWeiboLoginQrStatus(ctx) { const { vcode } = ctx.request.query if (!vcode) { return ctx.error(errCode.PARAMS_ERROR, '参数错误') } const queryQrApi = `https://api.weibo.com/oauth2/qrcode_authorize/query?vcode=${vcode}&__rnd=${Date.now()}` const { status, url } = await got(queryQrApi).json() return ctx.success({ status, url }) }
nodejs tutorial!
The above is the detailed content of A brief analysis of how node performs third-party login on Weibo. For more information, please follow other related articles on the PHP Chinese website!


![[Web front-end] Node.js quick start](https://img.php.cn/upload/course/000/000/067/662b5d34ba7c0227.png)


