
Method: First open the software and draw the specified shape; then click the "ctrl enter" key on the keyboard to convert the path into a selection and fill it with color; then import the photo to be cropped into PS and place the mouse Between the photo and shape layers; finally hold down the "alt" key and click the left mouse button when the down arrow appears.

The operating environment of this tutorial: Windows 7 system, Adobe Photoshop CS6 version, Dell G3 computer.
Open ps and create a new size that you are satisfied with, as shown in the picture
Use the pen tool to outline the shape you want. Here I select the shape in the shape layer, as shown in the picture
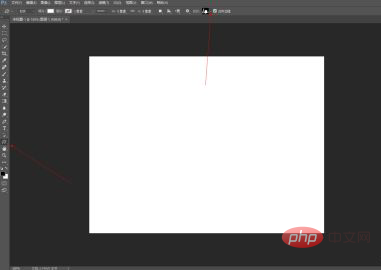
Select the shape you want, move and change the mouse, and draw the shape layer, as shown in the picture
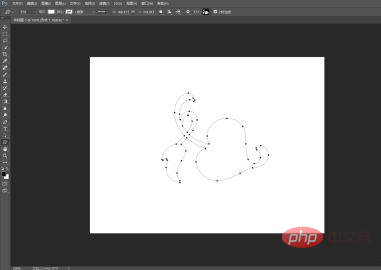
Click on the keyboard Ctrl enter to create, convert the path into a selection, create a new layer, select the color to be filled, (you can also directly rasterize the smart object without creating a new layer)
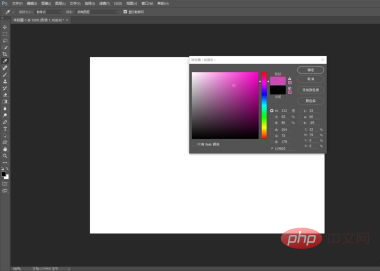
Alt delte, fill the selection with the foreground color
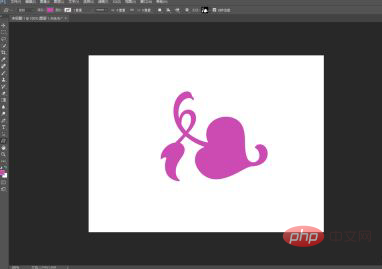
Pull the photo to be cropped into ps
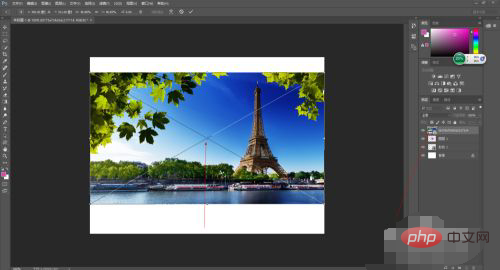
Place the photo to be cropped on the top layer of the layer, place the mouse in the red area, hold down Alt, and when the downward arrow appears, left-click
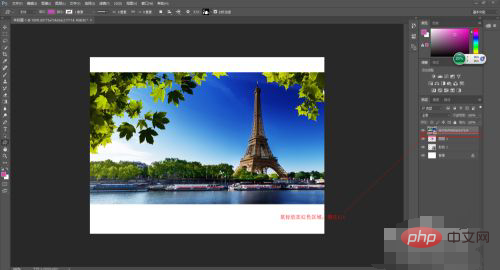
to select it. For cropped graphics, select the move tool to edit the content in the cropped graphics
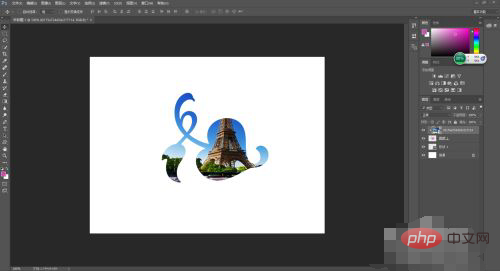
For more computer-related knowledge, please visit the FAQ column !
The above is the detailed content of How to change pictures into specific shapes in PS. For more information, please follow other related articles on the PHP Chinese website!