
Method: 1. Use the "yum install..." command to install the VNC service software; 2. Edit the vnc operation script; 3. Set the vnc password and start the service; 4. Open the 5901 port of the firewall; 5. Turn off SELinux and configure the "/etc/selinux/config" file.

#The operating environment of this tutorial: centos7 system, thinkpad t480 computer.
VNC requires a desktop installed on the system. If it is a production environment server and a minimal installation is used during installation, then perform the following operations according to the GNOME desktop.
# 列出的组列表里有GNOME Desktop。 yum grouplist #安装之 yum groupinstall -y "GNOME Desktop" # 安装完成后,修改默认启动方式为图形化界面 systemctl set-default graphical.target //设置成图形模式 # 如果要换回来 systemctl set-default multi-user.target //设置成命令模式 #然后重启系统即可
Step 1: Install the VNC service software, use the root user to execute the following commands (the following operations are performed under the root user unless otherwise specified):
yum install tigervnc-server -y
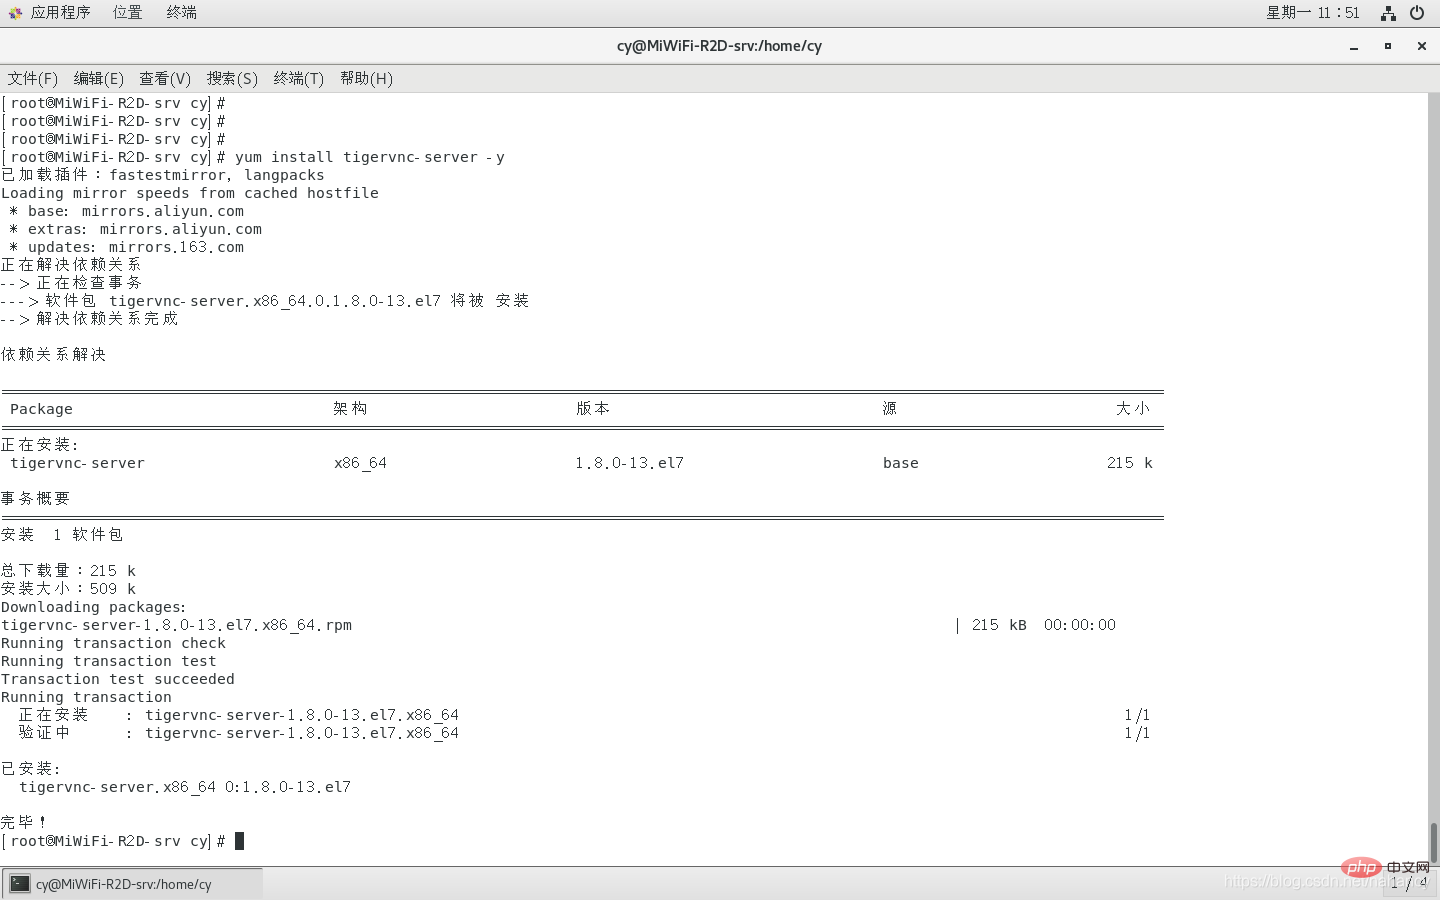
After installation, you can use the following command to verify whether the installation is successful:
rpm -qa|grep tigervnc-server
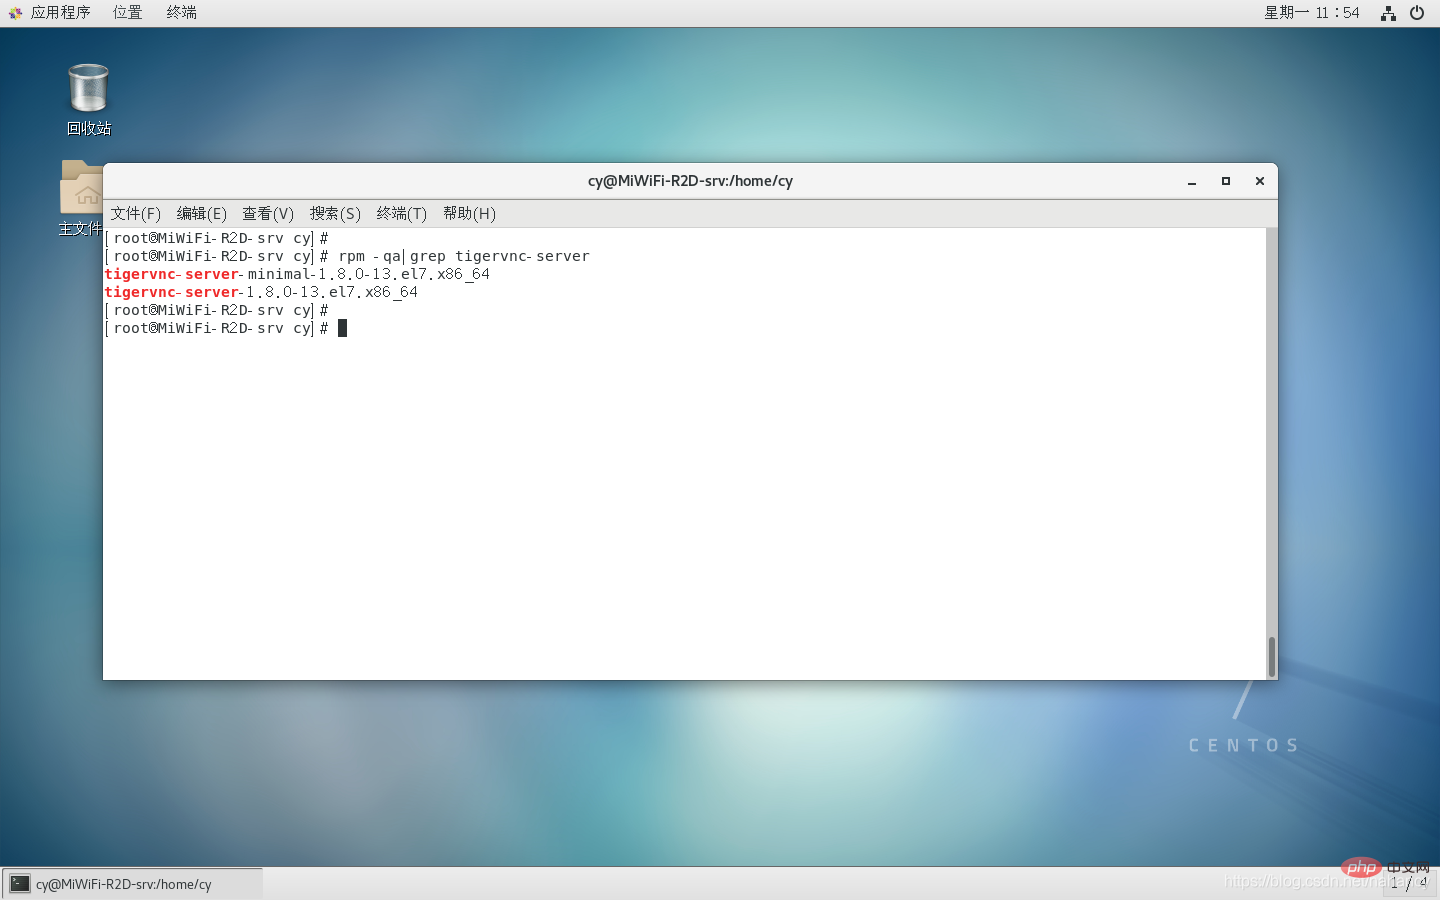
##Step 2: Copy the startup operation script of vnc, in vncserver@:1.service: 1 means "desktop number", the started port number is 5900, the desktop number is 5901, if there is another one, it is 2, the port number plus 1 is 5902, and so on:
cp /lib/systemd/system/vncserver@.service /etc/systemd/system/vncserver@:1.service
Step 3: Edit /etc/systemd/system/vncserver@:1.service
vim /etc/systemd/system/vncserver@\:1.service
 vnc configuration file before modification
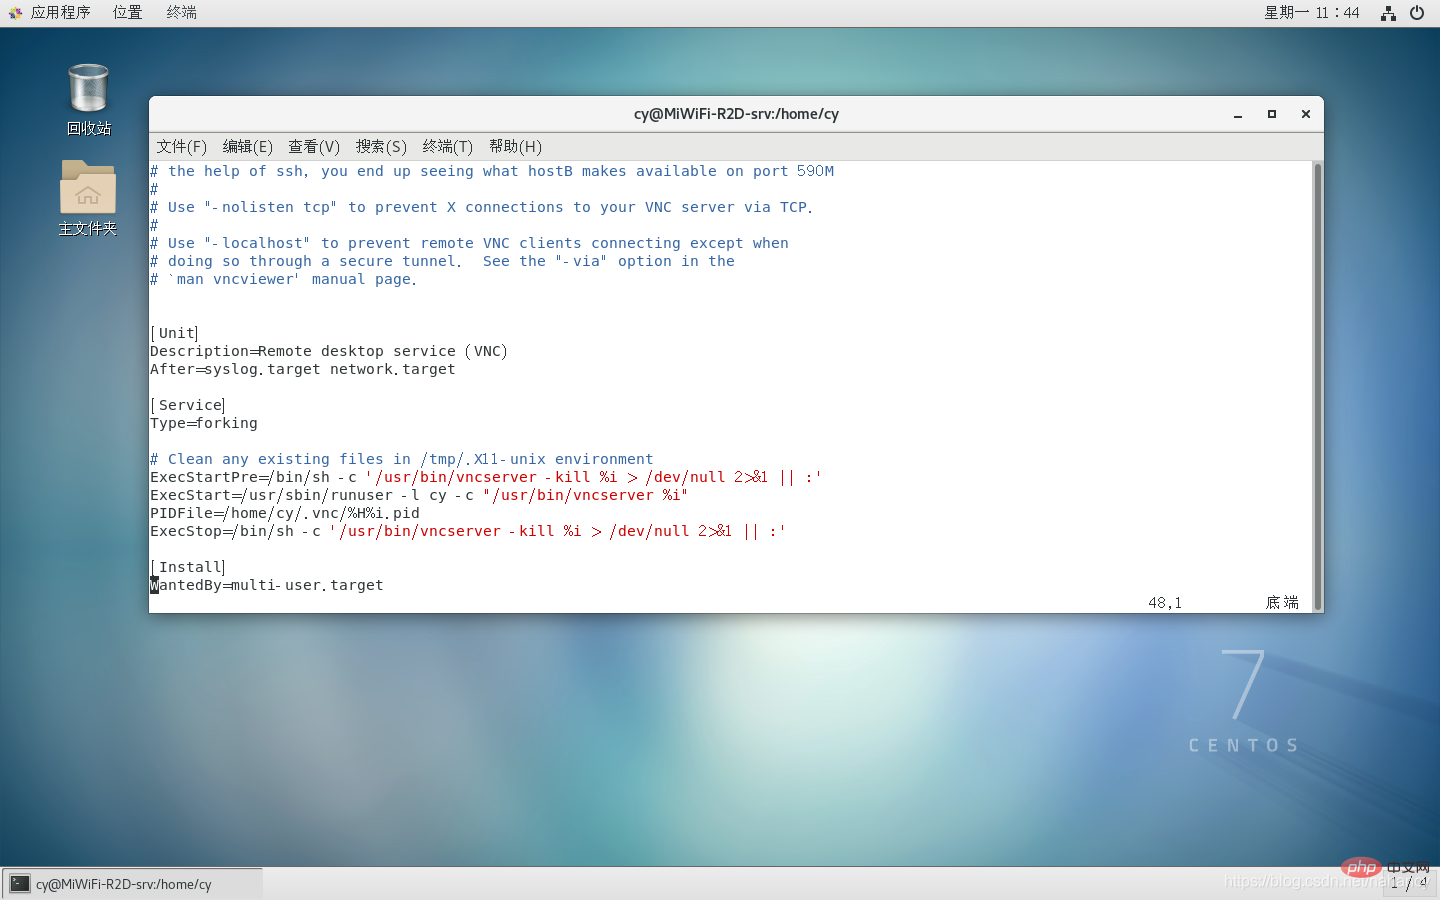 After modifying the vnc configuration file
Step 4: Set the vnc password, execute su cy, switch to the cy user just set in the configuration file, execute (this step is performed under the cy user), enter the password twice , after the input is completed, you will be prompted whether to set the view-only password ("View-onlypassword" password,only allows viewing, no control permissions.) This can be set or not:
vncpasswd
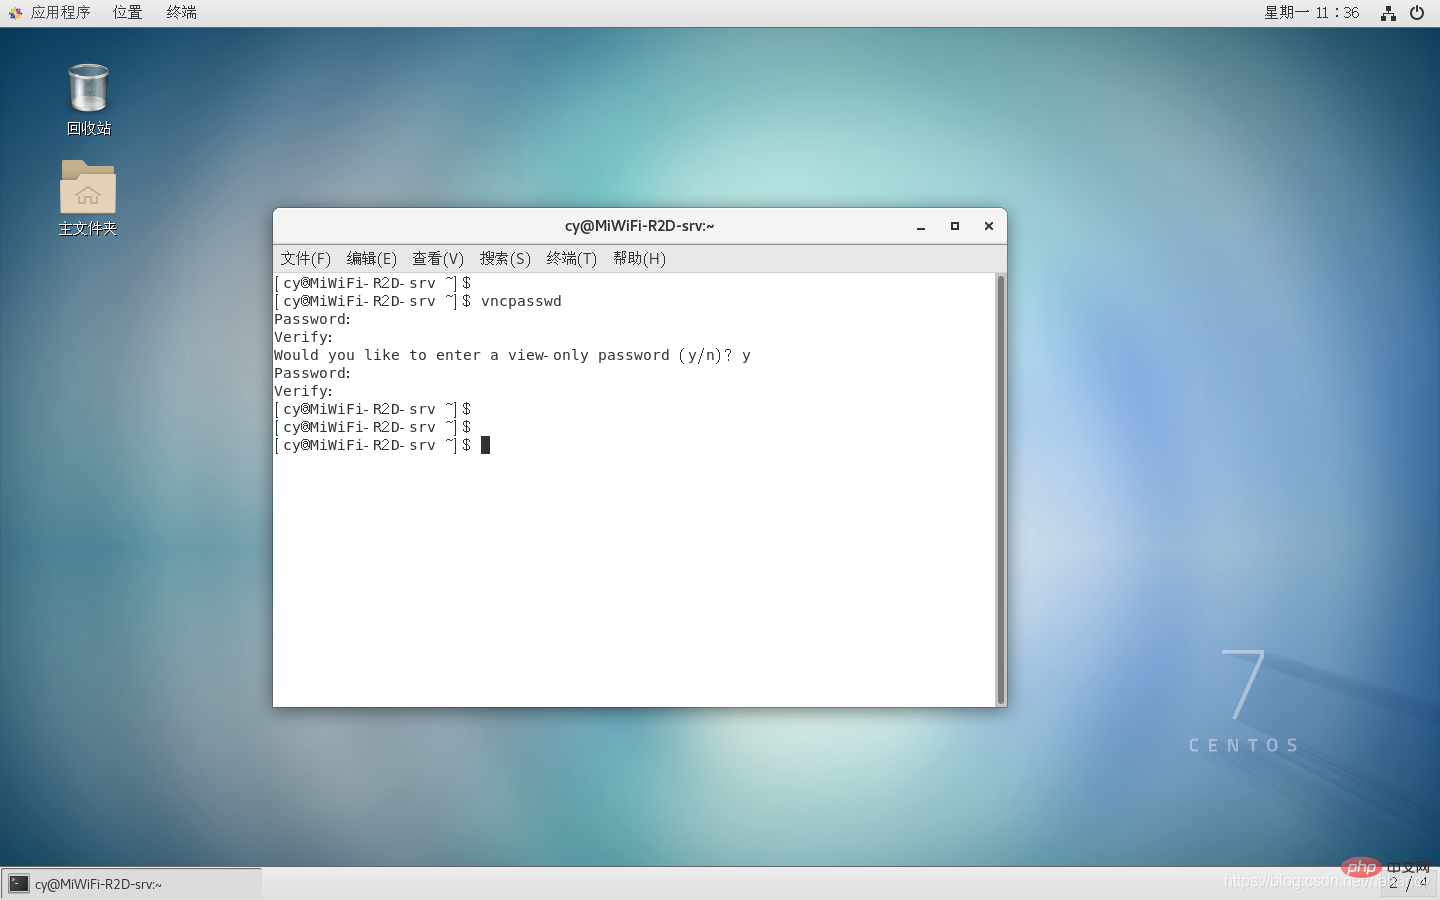
Step 5: Start the service:
systemctl start vncserver@\:1.service
systemctl daemon-reload
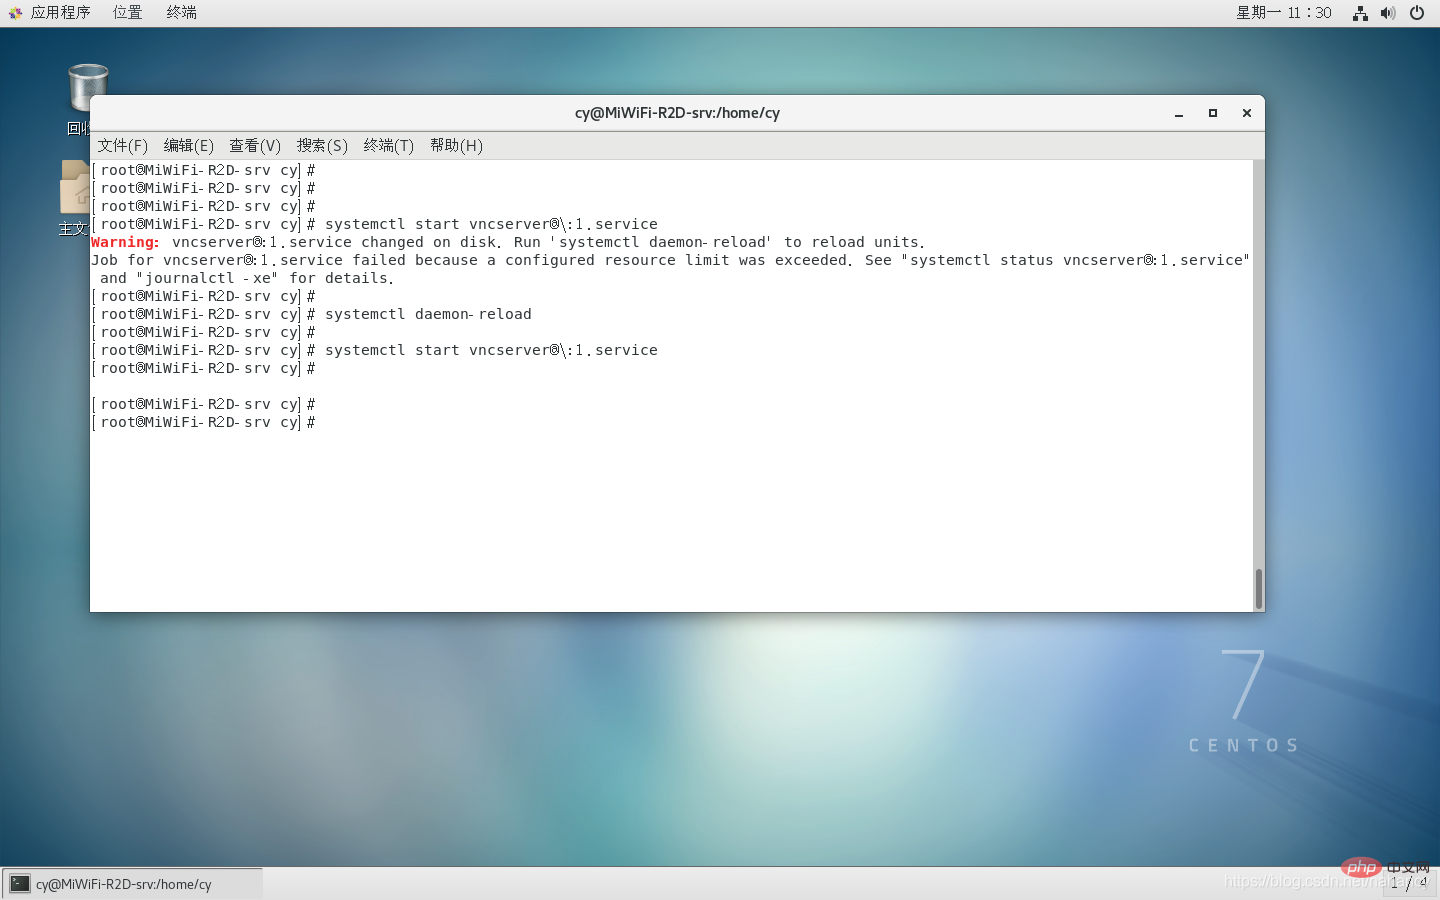
systemctl enable vncserver@\:1.service
Step 6: Check whether the port is listening:
netstat -lnpt|grep Xvnc
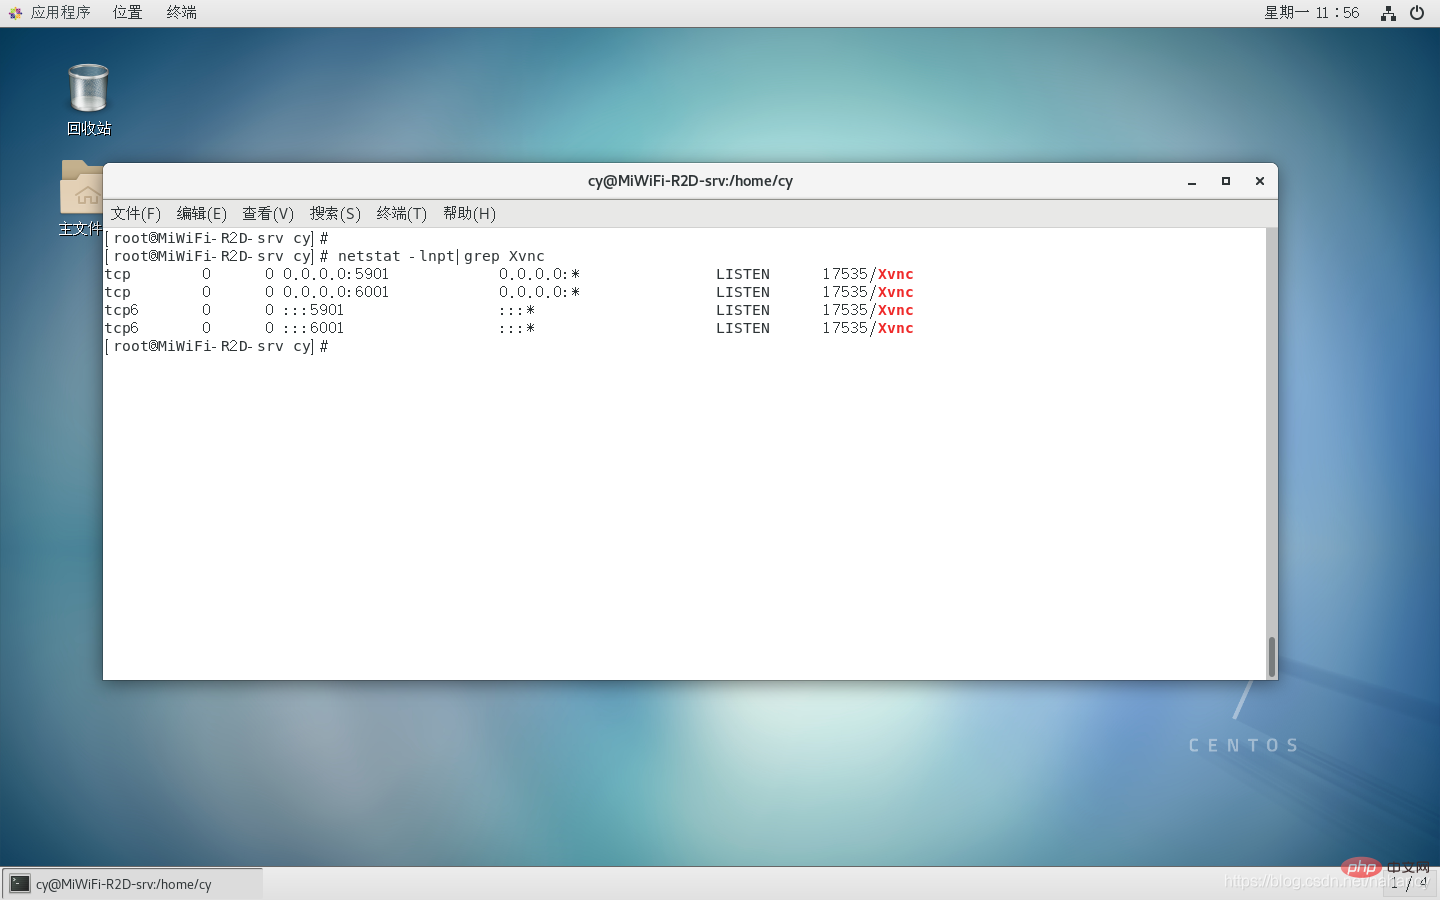 Here we can see that port 5901 has been monitored
Step 7: Open the 5901 port of the firewall:
firewall-cmd --zone=public --add-port=5901/tcp --permanent

systemctl stop firewalld.service
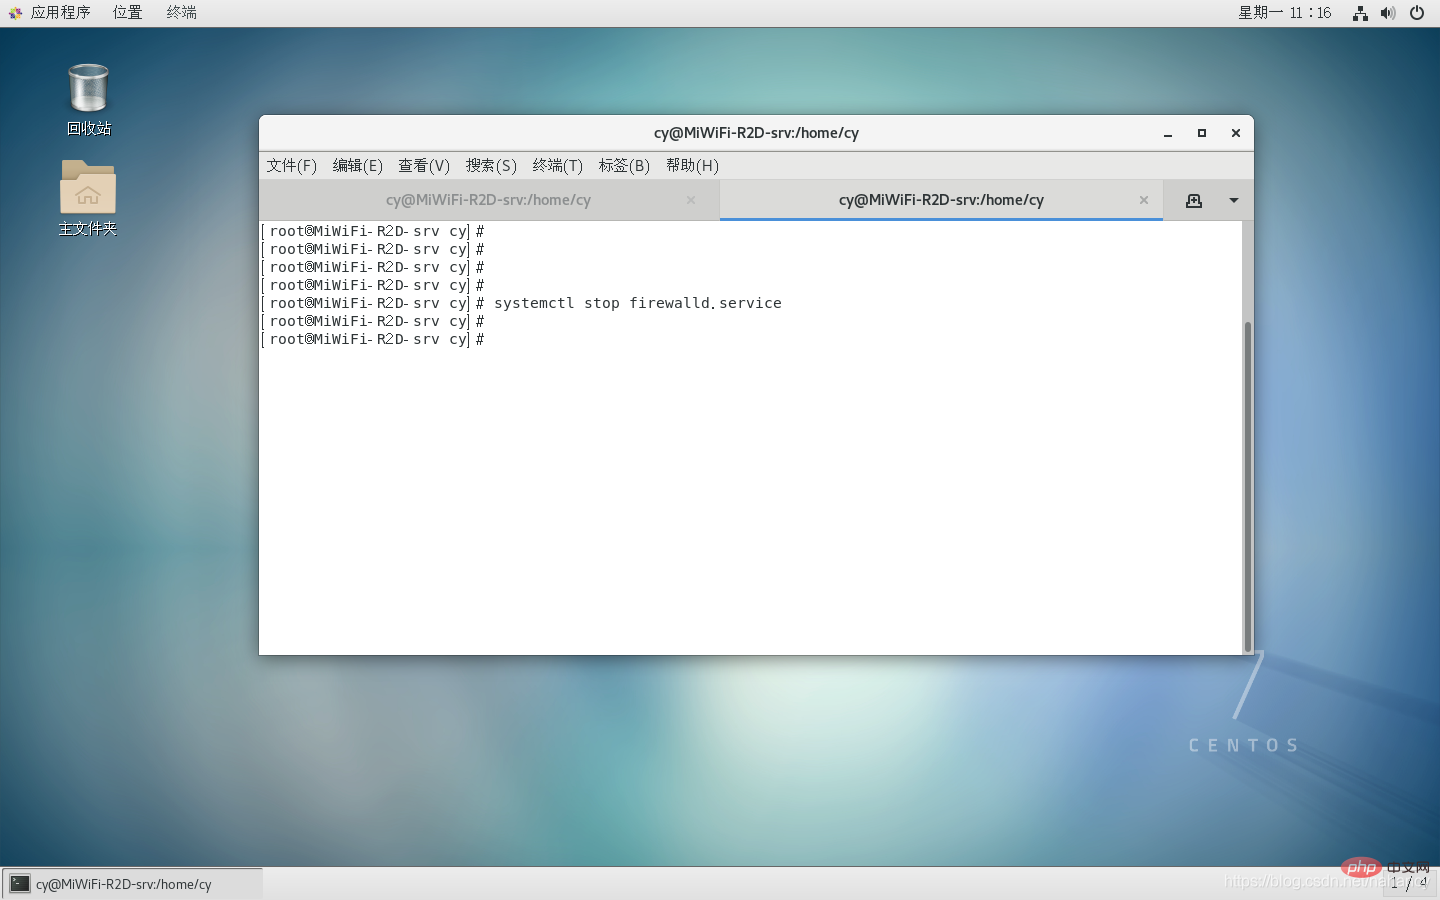
systemctl disable firewalld.service
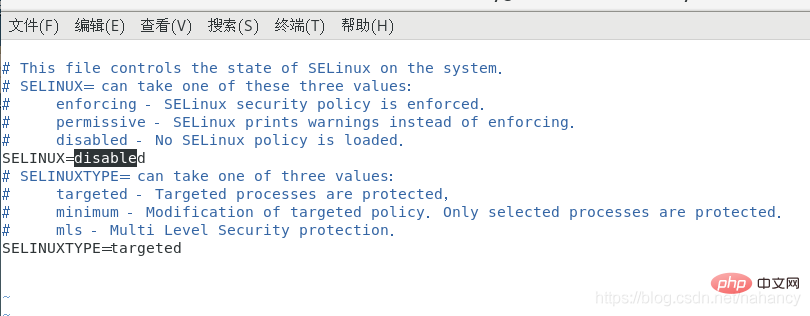
Step 8: Turn off SELinux and edit the /etc/selinux/config file:
vim /etc/selinux/config

Step 9: Enter the server IP:desktop number (such as 192.168.31.100:1) in the vnc client (vnc viewer), and press Enter after input:

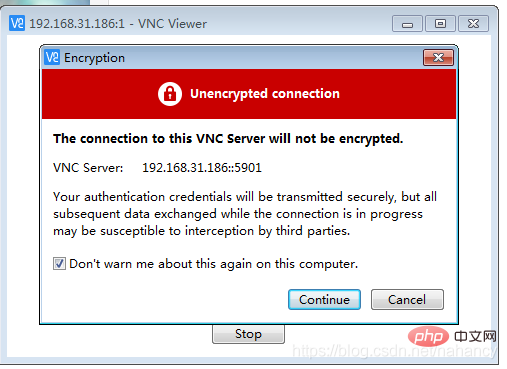
Step 10: After entering the IP, a confirmation will pop up, click contiue:
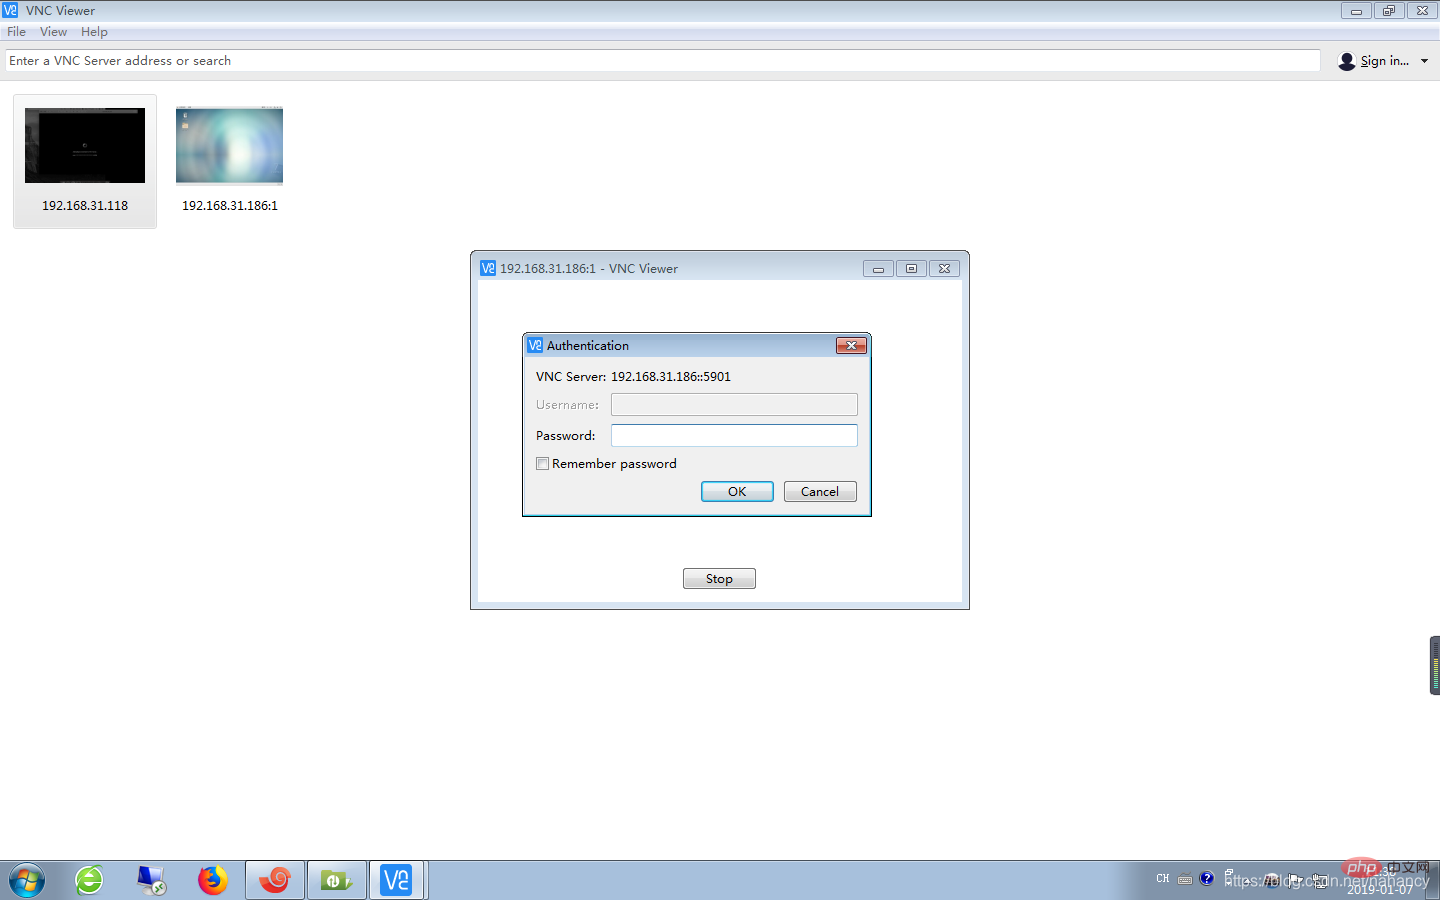
Step 11: Enter the vnc password:
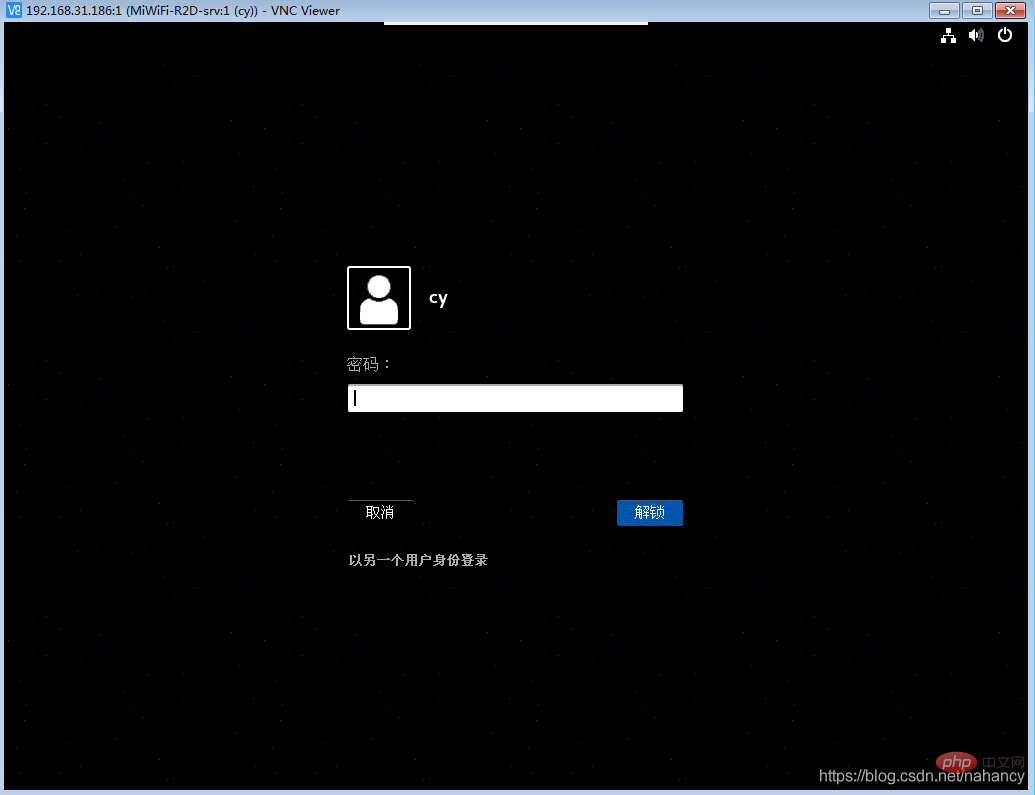
# #Step 12: Log in successfully, enter the password of the remote machine (after successful login, you need to enter the password of the user of the remote machine, if you do not have a password, you can enter the system directly):
Step 13: Successfully enter the remote desktop:

The above is the detailed content of How to install vnc on centos. For more information, please follow other related articles on the PHP Chinese website!