

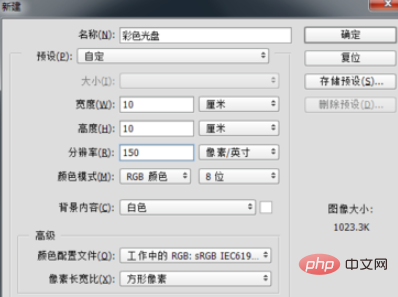
Open ps, create a new 10x10cm file with a resolution of 150, as shown in the picture:
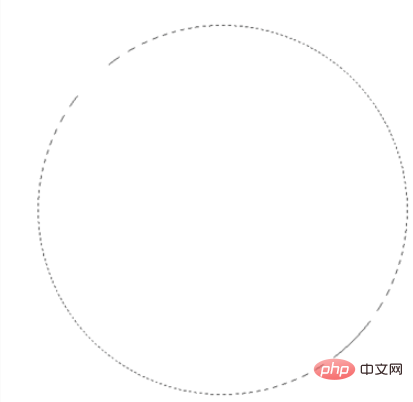
Create a new layer , select the Elliptical Marquee Tool, hold down the Shift Alt key to draw a circular selection, as shown in the figure:
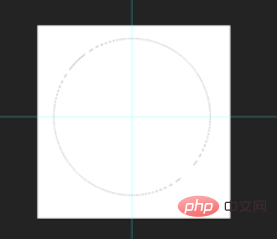
Press Ctrl R to display the ruler, and drag out two rulers Line, locate the center of the circle (that is, the intersection of the two ruler lines), as shown in the figure:
Select the gradient tool, and select "Angle Gradient" in the property bar. Just choose the fill color you like, as shown in the picture:

#After setting the properties of the gradient tool, click on the center of the selection and hold down the left mouse button outward. Drag, then release the mouse to fill the selected color. As shown in the picture:
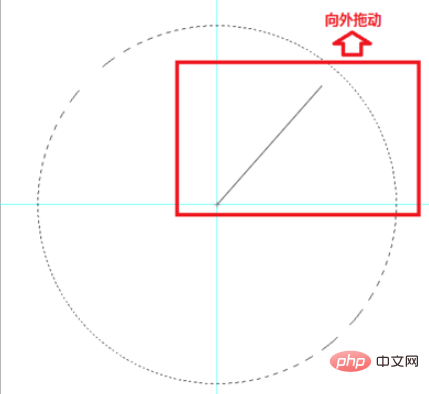
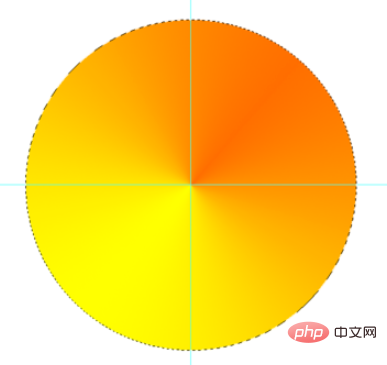
Press Ctrl D to cancel the selection, select the Elliptical Marquee Tool, and center on the intersection of the two ruler lines. Click and hold down the Shift Alt key to draw a circular selection, then press the Delete key to delete the selection content, then press Ctrl D to cancel the selection, press Ctrl ; to cancel the ruler line, and press Ctrl R to cancel the ruler. At this point, the color disc is completed.
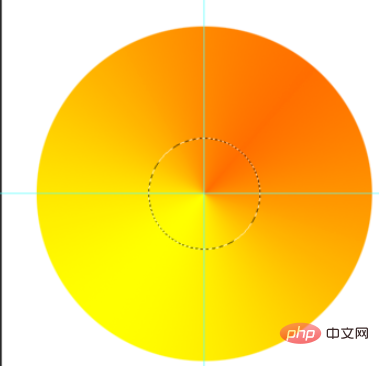
The final effect, as shown in the picture:

Recommended related articles and tutorials: ps tutorial
The above is the detailed content of How to use ps to create color disc. For more information, please follow other related articles on the PHP Chinese website!