

How to create perspective effect in ps?
The specific steps are as follows:
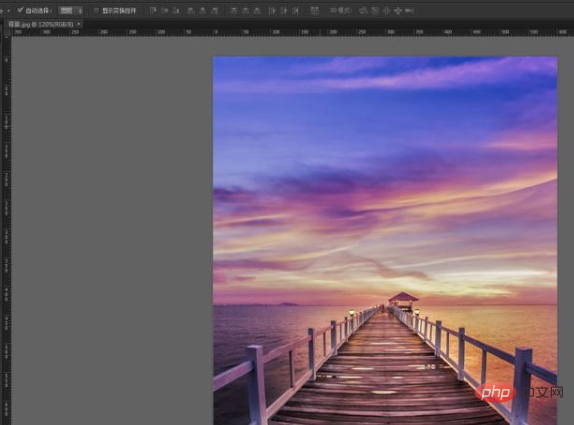
First open the background image in PS. As shown in Figure 1:
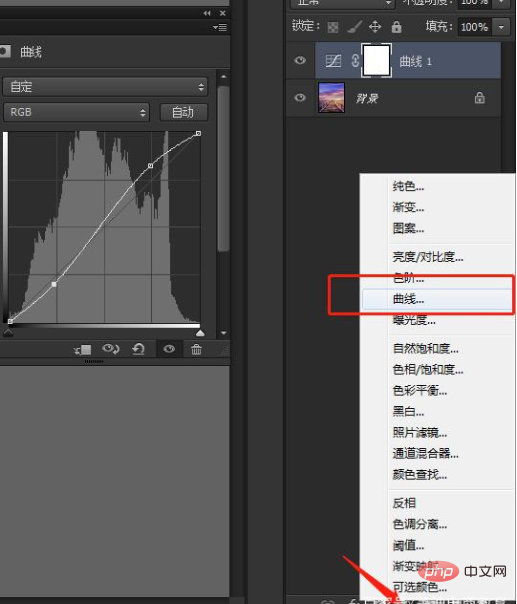
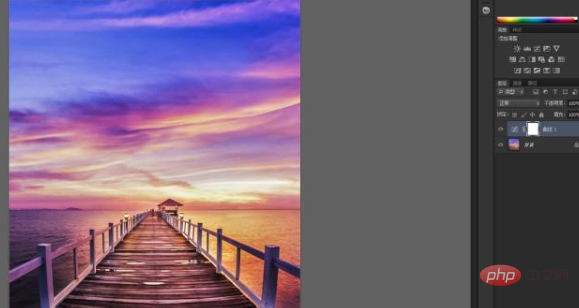
#2. In order to make the contrast between light and dark tones stronger in the entire background effect, you can add a curve to the background to adjust the contrast. As shown in Figure 2 and Figure 2.1 below:
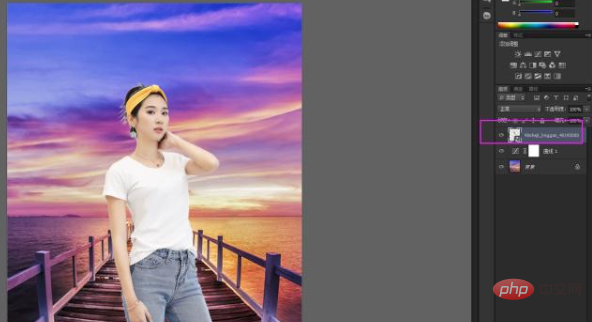
3. Place the model image on the background and transform it freely (Ctrl T) Adjust the size and position. As shown in Figure 3 below:
4. Use the pen tool or the lasso tool to select the area of the clothes and copy the selected clothes. As shown in Figure 4, Figure 4.1 below:
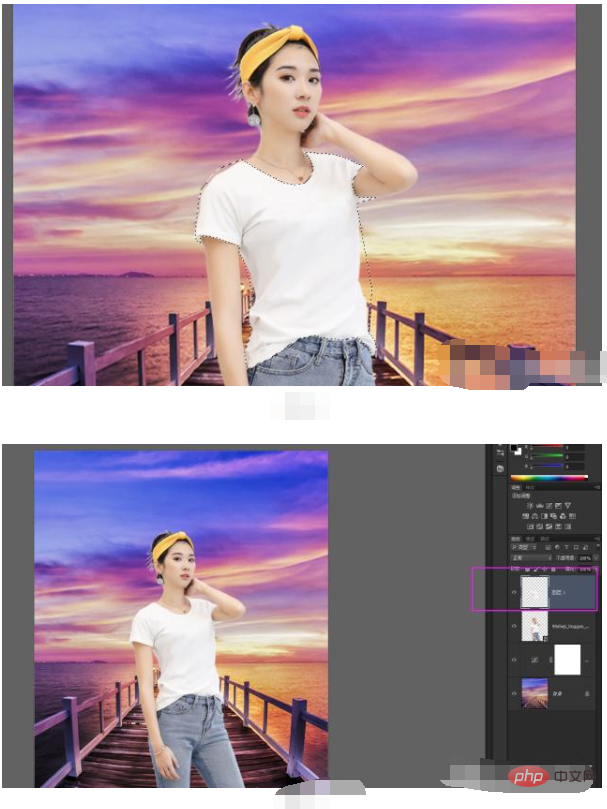
5. On the model’s layer, add a layer mask, and then remove the copied clothes layer from the selection. , fill the mask with black. Cancel the selection (Ctrl D) as shown in Figure 5:
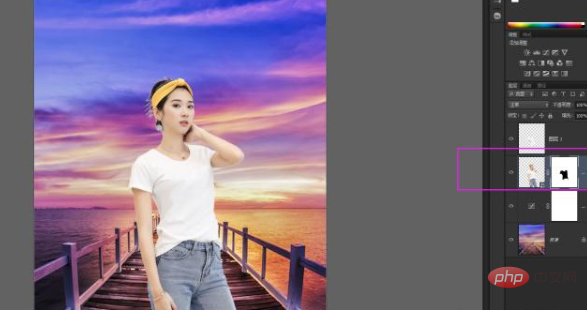
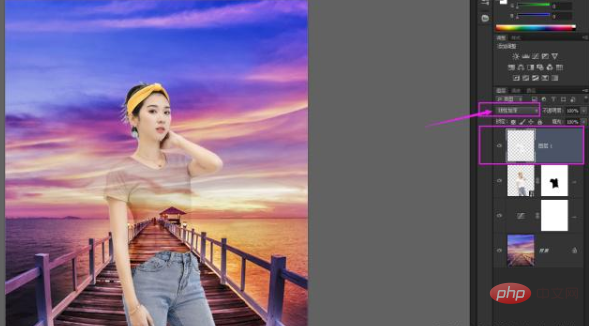
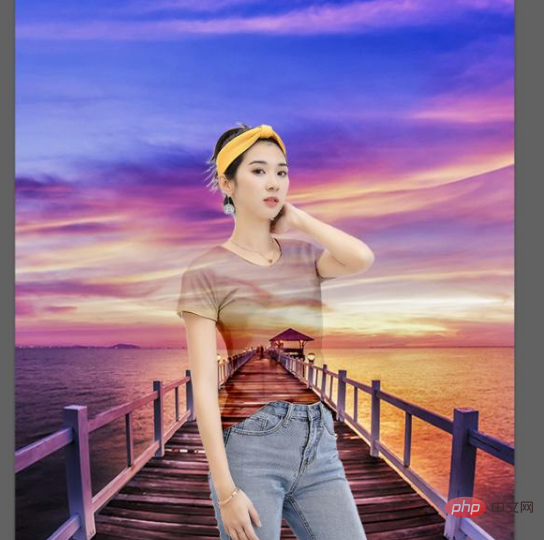
6. Select layer 1 (the copied dress) and directly change the layer’s blending mode. Become "linear deepening". (Since the color of the dress is white, there is no need to remove the color). As shown in Figure 6 below:
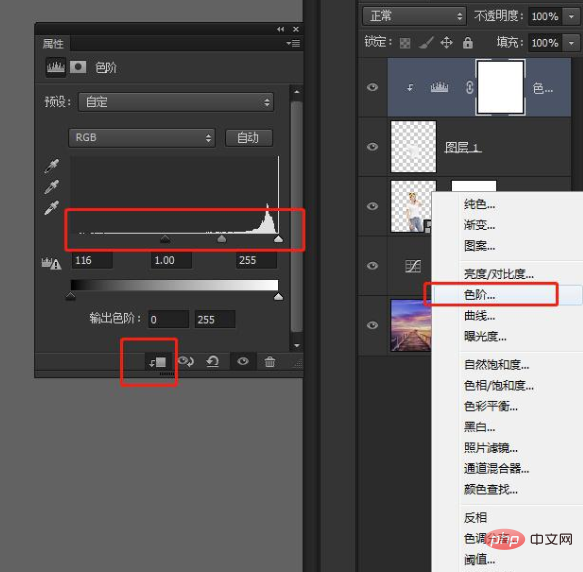
7. If you want to make the effect more obvious, you can also adjust the color levels. As shown in Figure 7 below, Figure 7.1:
The above is the detailed content of How to create perspective effect in PS. For more information, please follow other related articles on the PHP Chinese website!