
The specific steps for win10 system installation are as follows:
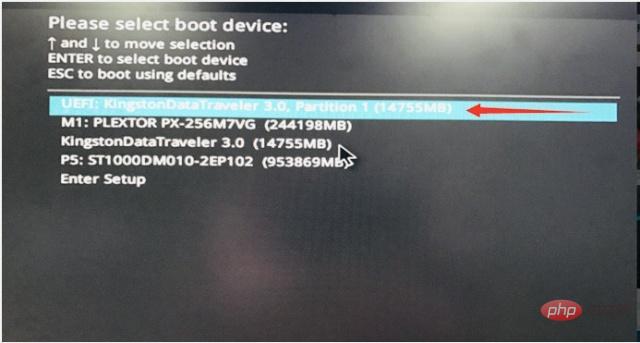
1. Press the startup shortcut key repeatedly to bring up the startup menu, and then select the startup USB disk. The corresponding choice we have is the boot USB disk in uefi mode. Then enter Enter and the interface will appear as shown in the figure.
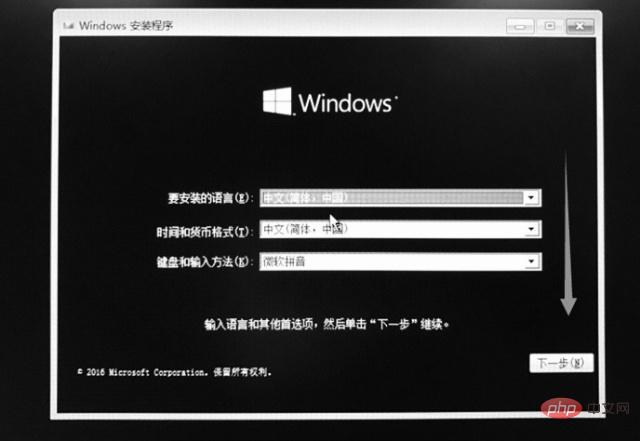
#2. For language settings, we can just choose the default. Select Next.
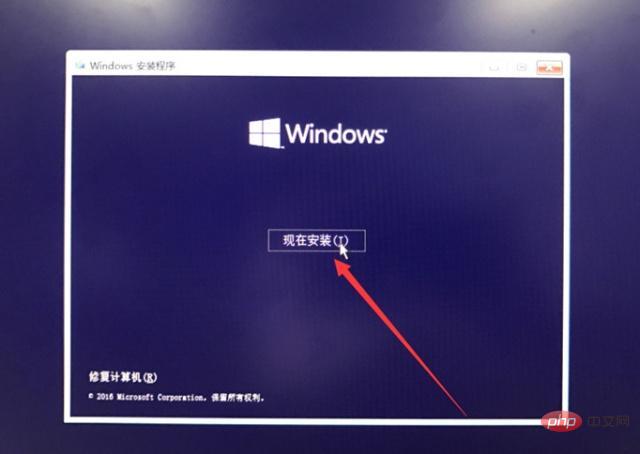
#3. Select "Install Now" on the installation interface
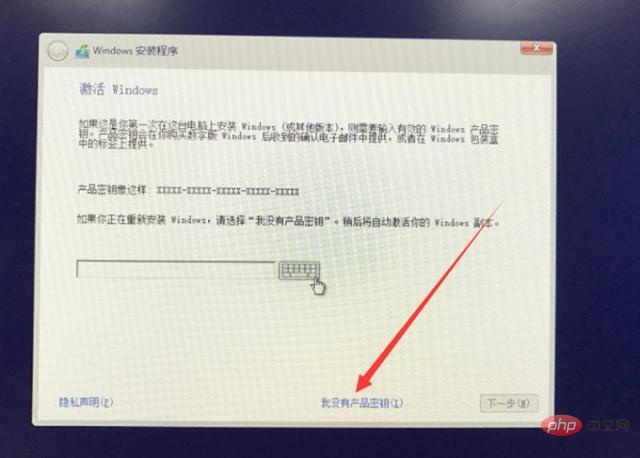
4. Select I don't have a product key.
#5. Various versions of win10 are listed here. We choose the professional version and click Next.
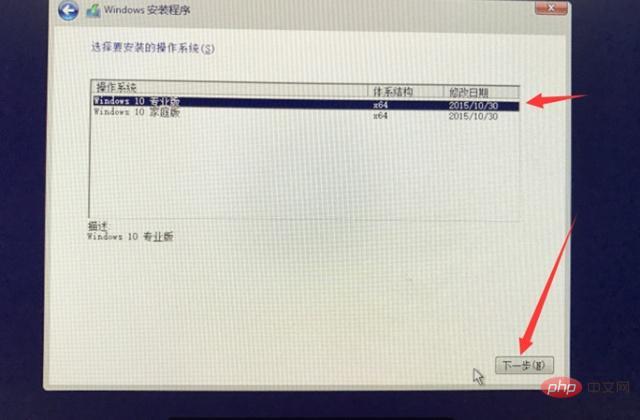
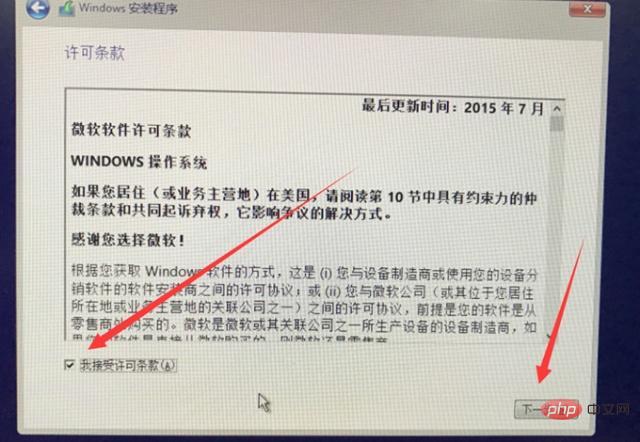
6. Microsoft’s installation agreement, we choose to agree to the terms and click Next
7. Installation method options, Select Custom Installation. Enter the partition interface.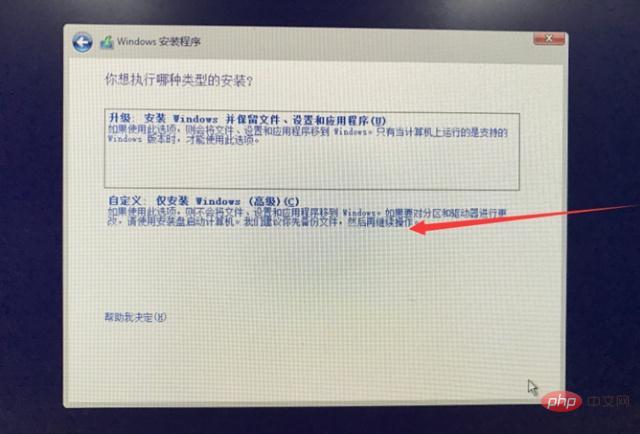
8. The partition interface has disk information. Does it show how many hard drives are installed in the computer? What is the capacity of each hard drive? Then we select the hard disk where we want to install the win10 system and create a new system partition.
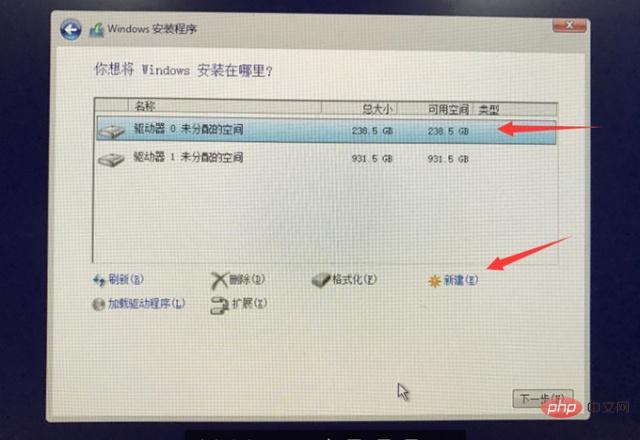
#9. Enter the partition size. For example, if you want to divide 60GB, enter 62220 and click Apply.
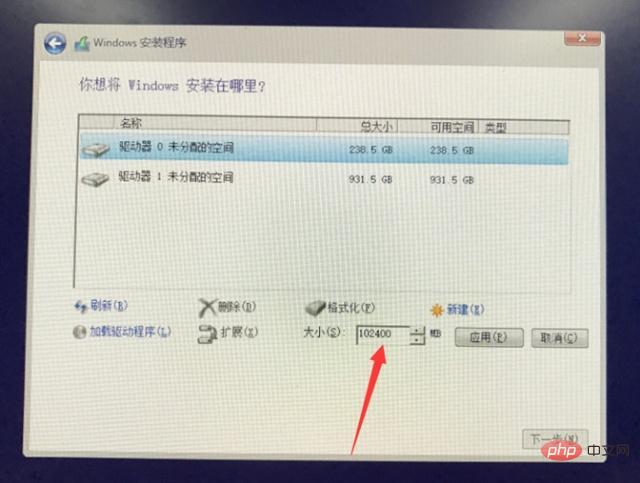
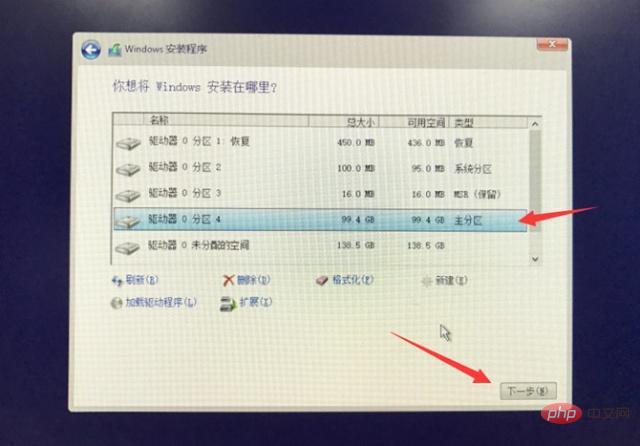
#10. After entering the partition size, you will see four partitions, namely recovery, system partition, reserved and primary partition. The first three partitions are used to record win10 boot and underlying files. At this point we only need to select the primary partition of partition 4 and select Next. What needs to be noted here is to leave other hard drives without partitions alone and wait until the system installation is completed before partitioning other hard drives.
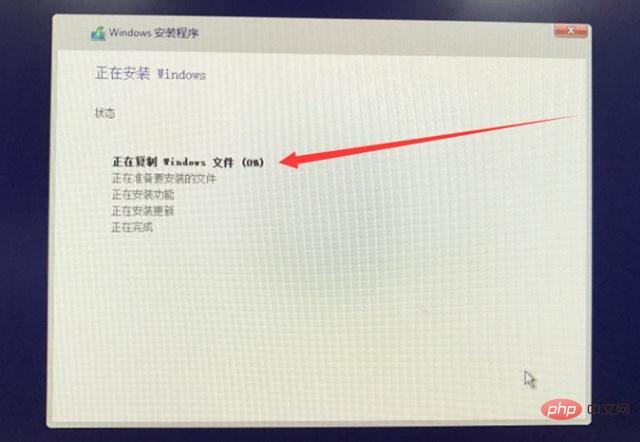
#11. This progress bar describes copying data from the USB disk to the primary partition of the hard disk. Directly wait for all progress bars to complete and restart to enter the following page.
12. Click Quick Settings
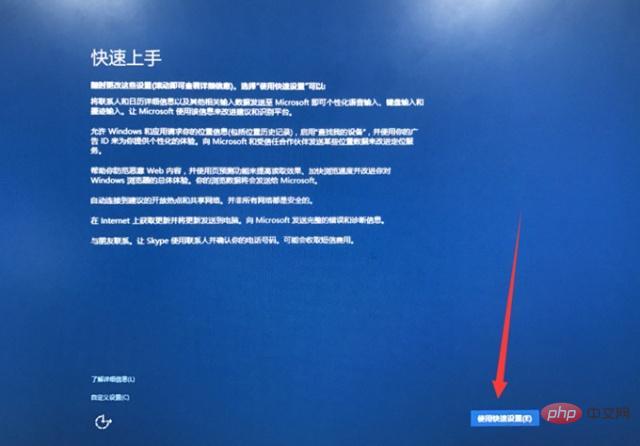
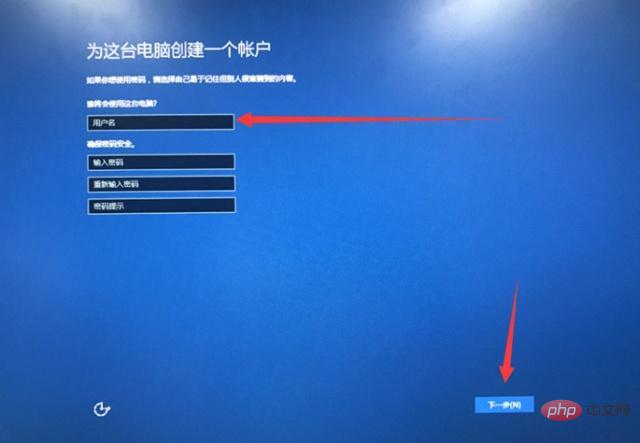
13. Customize the user name. It should be noted here that because the system versions are different, the content displayed in the above two pictures may be different.
The above is the detailed content of How to install win10 system. For more information, please follow other related articles on the PHP Chinese website!