
How to use HTML5 to drag and drop a single element? This article will introduce you to the How to implement drag and drop of individual elements using HTML5 code for dragging and dropping HTML elements. Let’s take a look at the specific implementation content.

By using the drag and drop feature of HTML5, you can drag and drop HTML page elements
Let’s look at a specific example
The code is as follows
SimpleDragDrop.html
<!DOCTYPE html>
<html>
<head>
<meta charset="utf-8" />
<title></title>
<link rel="stylesheet" href="SimpleDragDrop.css" />
<script>
function load() {
var box = document.querySelector('.box');
box.addEventListener('dragstart', onDragStart, false);
var zone = document.querySelector('.dropzone');
zone.addEventListener('dragover', onDragOver, false);
zone.addEventListener('drop', onDrop, false);
}
function onDragStart(e) {
e.dataTransfer.setData('text', this.id);
}
function onDragOver(e) {
e.preventDefault();
this.textContent = 'onDragOver';
}
function onDrop(e) {
e.preventDefault();
this.textContent = 'onDrop';
}
</script>
</head>
<body onload="load();">
<div class="box" draggable="true"></div>
<div id="dropzone" class="dropzone">
</div>
</body>
</html>SimpleDragDrop.css
.box {
  width:32px;
  height:32px;
  border:solid 1px #002f9f;
}
.dropzone {
  margin-top:16px;
  margin-bottom:16px;
  width: 280px;
  height: 64px;
  border: solid 1px #808080;
}Description:
<div class="box" draggable="true"></div>
  <div id="dropzone" class="dropzone"></div>
displays the two above on the page For divs, you can use class="box", id="dropzone". The dragged object is the div where the acceptance area is placed. For draggable objects, you can set draggable="true" to the draggable object.
  function load() {
        var box = document.querySelector('.box');
      box.addEventListener('dragstart', onDragStart, false);
      var zone = document.querySelector('.dropzone');
      zone.addEventListener('dragover', onDragOver, false);
      zone.addEventListener('drop', onDrop, false);
   }
    function onDragStart(e) {
      e.dataTransfer.setData('text', this.id);
    }
    function onDragOver(e) {
      e.preventDefault();
      this.textContent = 'onDragOver';
    }
    function onDrop(e) {
      e.preventDefault();
      this.textContent = 'onDrop';
}The above code assigns drag and drop events to each element.
For the element to be dragged, we set the "dragstart" event. When dragging is started, the onDragStart function will be executed.
For the element to be deleted, set the "dragover" "drop" event. When the dragged element enters the drag and drop area, the onDragOver function is executed, and when the element is dropped, the onDrop function will be executed.
In the case of dragstart, you must write code to set the value of the dataTransfer object. It does not use the values inserted into the dataTransfer, but without this code it will work without the data.
Running results
Use a web browser to display the above HTML file. The effect shown below will be displayed.
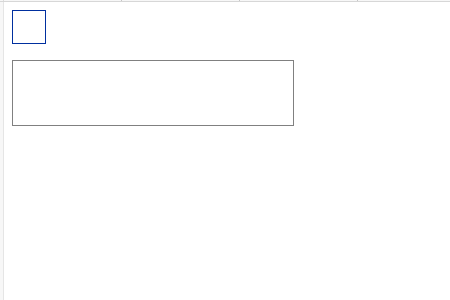
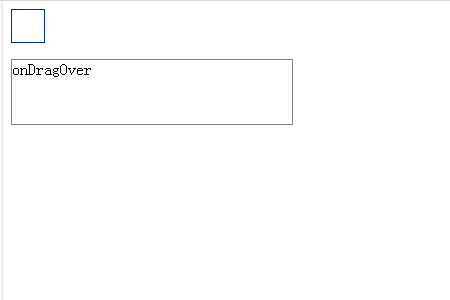
Drag the top box. If you drag it to the bottom frame, "onDragOver" will appear in the frame.
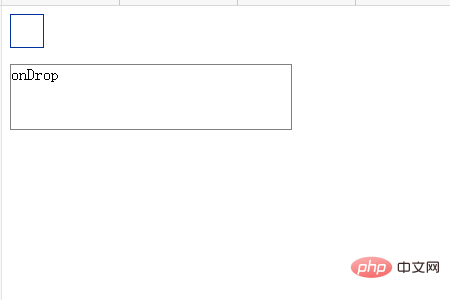
When you place it in the frame, the "onDrop" character will appear in the frame.
Example 2: Method of dragging and dropping elements with added events
The code is as follows
SimpleDragDrop2.html
<!DOCTYPE html>
<html>
<head>
<meta charset="utf-8" />
<title></title>
<link rel="stylesheet" href="SimpleDragDrop2.css" />
<script>
function load() {
var box = document.querySelector('.box');
box.addEventListener('dragstart', onDragStart, false);
box.addEventListener('dragend', onDragEnd, false);
var box = document.querySelector('.dropzone');
box.addEventListener('dragenter', onDragEnter, false);
box.addEventListener('dragover', onDragOver, false);
box.addEventListener('dragleave', onDragLeave, false);
box.addEventListener('drop', onDrop, false);
}
function onDragStart(e) {
e.dataTransfer.setData('Text', this.id);
this.textContent = 'onDragStart';
}
function onDragEnd(e) {
this.textContent = 'onDragEnd';
}
function onDragEnter(e) {
this.textContent = 'onDragEnter';
}
function onDragOver(e) {
e.preventDefault();
this.textContent = 'onDragOver';
}
function onDragLeave(e) {
this.textContent = 'onDragLeave';
}
function onDrop(e) {
e.preventDefault();
this.textContent = 'onDrop';
}
</script>
</head>
<body onload="load();">
<div id="box" class="box" draggable="true"></div>
<div id="dropzone" class="dropzone"></div>
</body>
</html>SimpleDragDrop.css
.box {
  width:32px;
  height:32px;
  border:solid 1px #d01313;
}
.dropzone {
  margin-top:16px;
  margin-bottom:16px;
  width: 280px;
  height: 64px;
  border: solid 1px #808080;
}Description:
 <div class="box" draggable="true"></div>
  <div id="dropzone" class="dropzone"></div>
As shown in the above example, two pages of DIVs are displayed on the page. For draggable objects, set draggable="true" to the draggable object.
function load() {
      var box = document.querySelector('.box');
      box.addEventListener('dragstart', onDragStart, false);
      box.addEventListener('dragend', onDragEnd, false);
      var box = document.querySelector('.dropzone');
      box.addEventListener('dragenter', onDragEnter, false);
      box.addEventListener('dragover', onDragOver, false);
      box.addEventListener('dragleave', onDragLeave, false);
      box.addEventListener('drop', onDrop, false);
    }
function onDragStart(e) {
      e.dataTransfer.setData('Text', this.id);
      this.textContent = 'onDragStart';
    }
function onDragEnd(e) {
            this.textContent = 'onDragEnd';
    }
function onDragEnter(e) {
      this.textContent = 'onDragEnter';
    }
function onDragOver(e) {
      e.preventDefault();
      this.textContent = 'onDragOver';
    }
function onDragLeave(e) {
      this.textContent = 'onDragLeave';
    }
function onDrop(e) {
      e.preventDefault();
      this.textContent = 'onDrop';
}The above code assigns drag and drop events to each element.
The "dragstart" and "dragend" events are assigned to elements on the dragged side. Once dragging starts, the ondstart function is called. After the dragging is completed, the ondos agEs function will be called.
The "dragenter", "dragover", "dragleave" and "drop" events are assigned to the element to be dragged. When the dragged element enters the drag-and-drop area, the onDragEnter function is executed. The onDragOver function is executed while being dragged in the drag-and-drop area. When it comes out of the drag-and-drop area, the OnDragLeave function is executed. When the dragged element is dropped, the onDrop function will be executed.
Running results
Use a web browser to display the above HTML file. The effect shown below will be displayed.
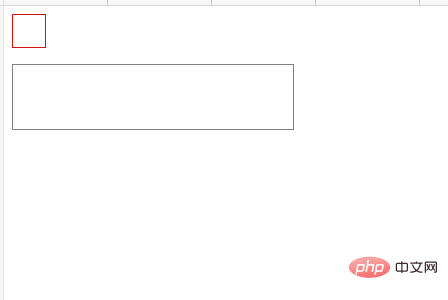
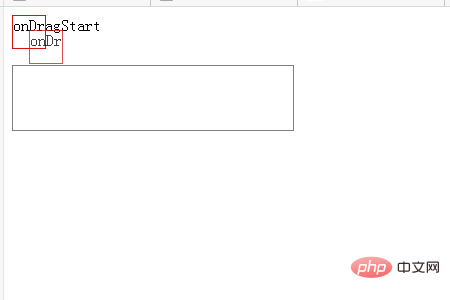
Drag the square area of the red area. The characters "onDragStart" are displayed in this area.
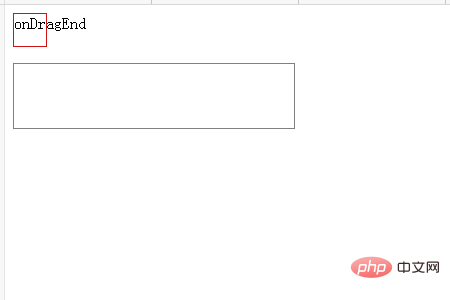
When you release the drag, you will see the area in the red box of the character of "onDragEnd".
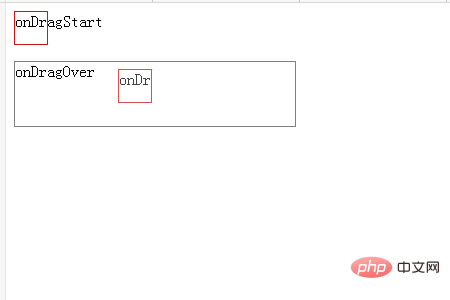
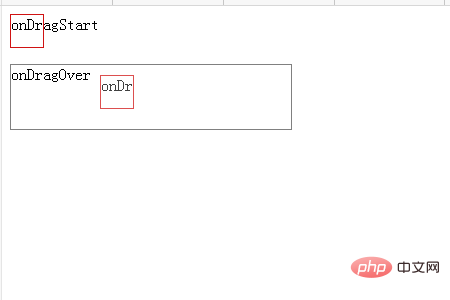
Drag the red box area again. When dragging and dropping into the bottom area, the characters "onDragOver" are displayed in the drop area.
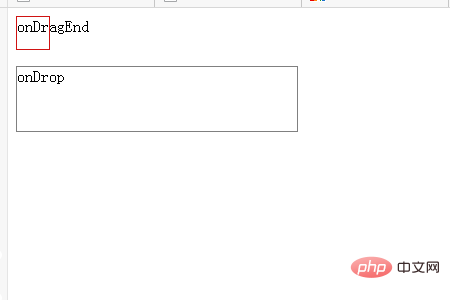
When you release the drag to the red box area of the drag and drop area, you will see the "onDrop" characters in the bottom area.
Drag the red box again to overlap the placement area. The "onDragOver" characters will be displayed.
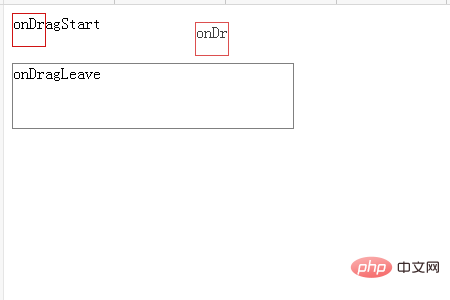
Drag the red box and drag it outside the drag and drop area. The character display in the drop area changes to "onDragLeave".
The above is the detailed content of How to implement drag and drop of individual elements using HTML5. For more information, please follow other related articles on the PHP Chinese website!
 How to get token
 Usage of get function in c language
 What is LAN
 Excel input value is illegal
 How to solve the problem of no internet access when the computer is connected to wifi
 How to establish a local area network in xp
 Will the Bitcoin inscription disappear?
 How to create a bitmap index in mysql