


Creating a bootable Windows 11 USB on a Mac is definitely more challenging than on a Windows PC, but it's not impossible. Let's explore a couple of different methods you can use to get the job done on your Mac.
You'll need the following items to create a bootable Windows 11 installer:
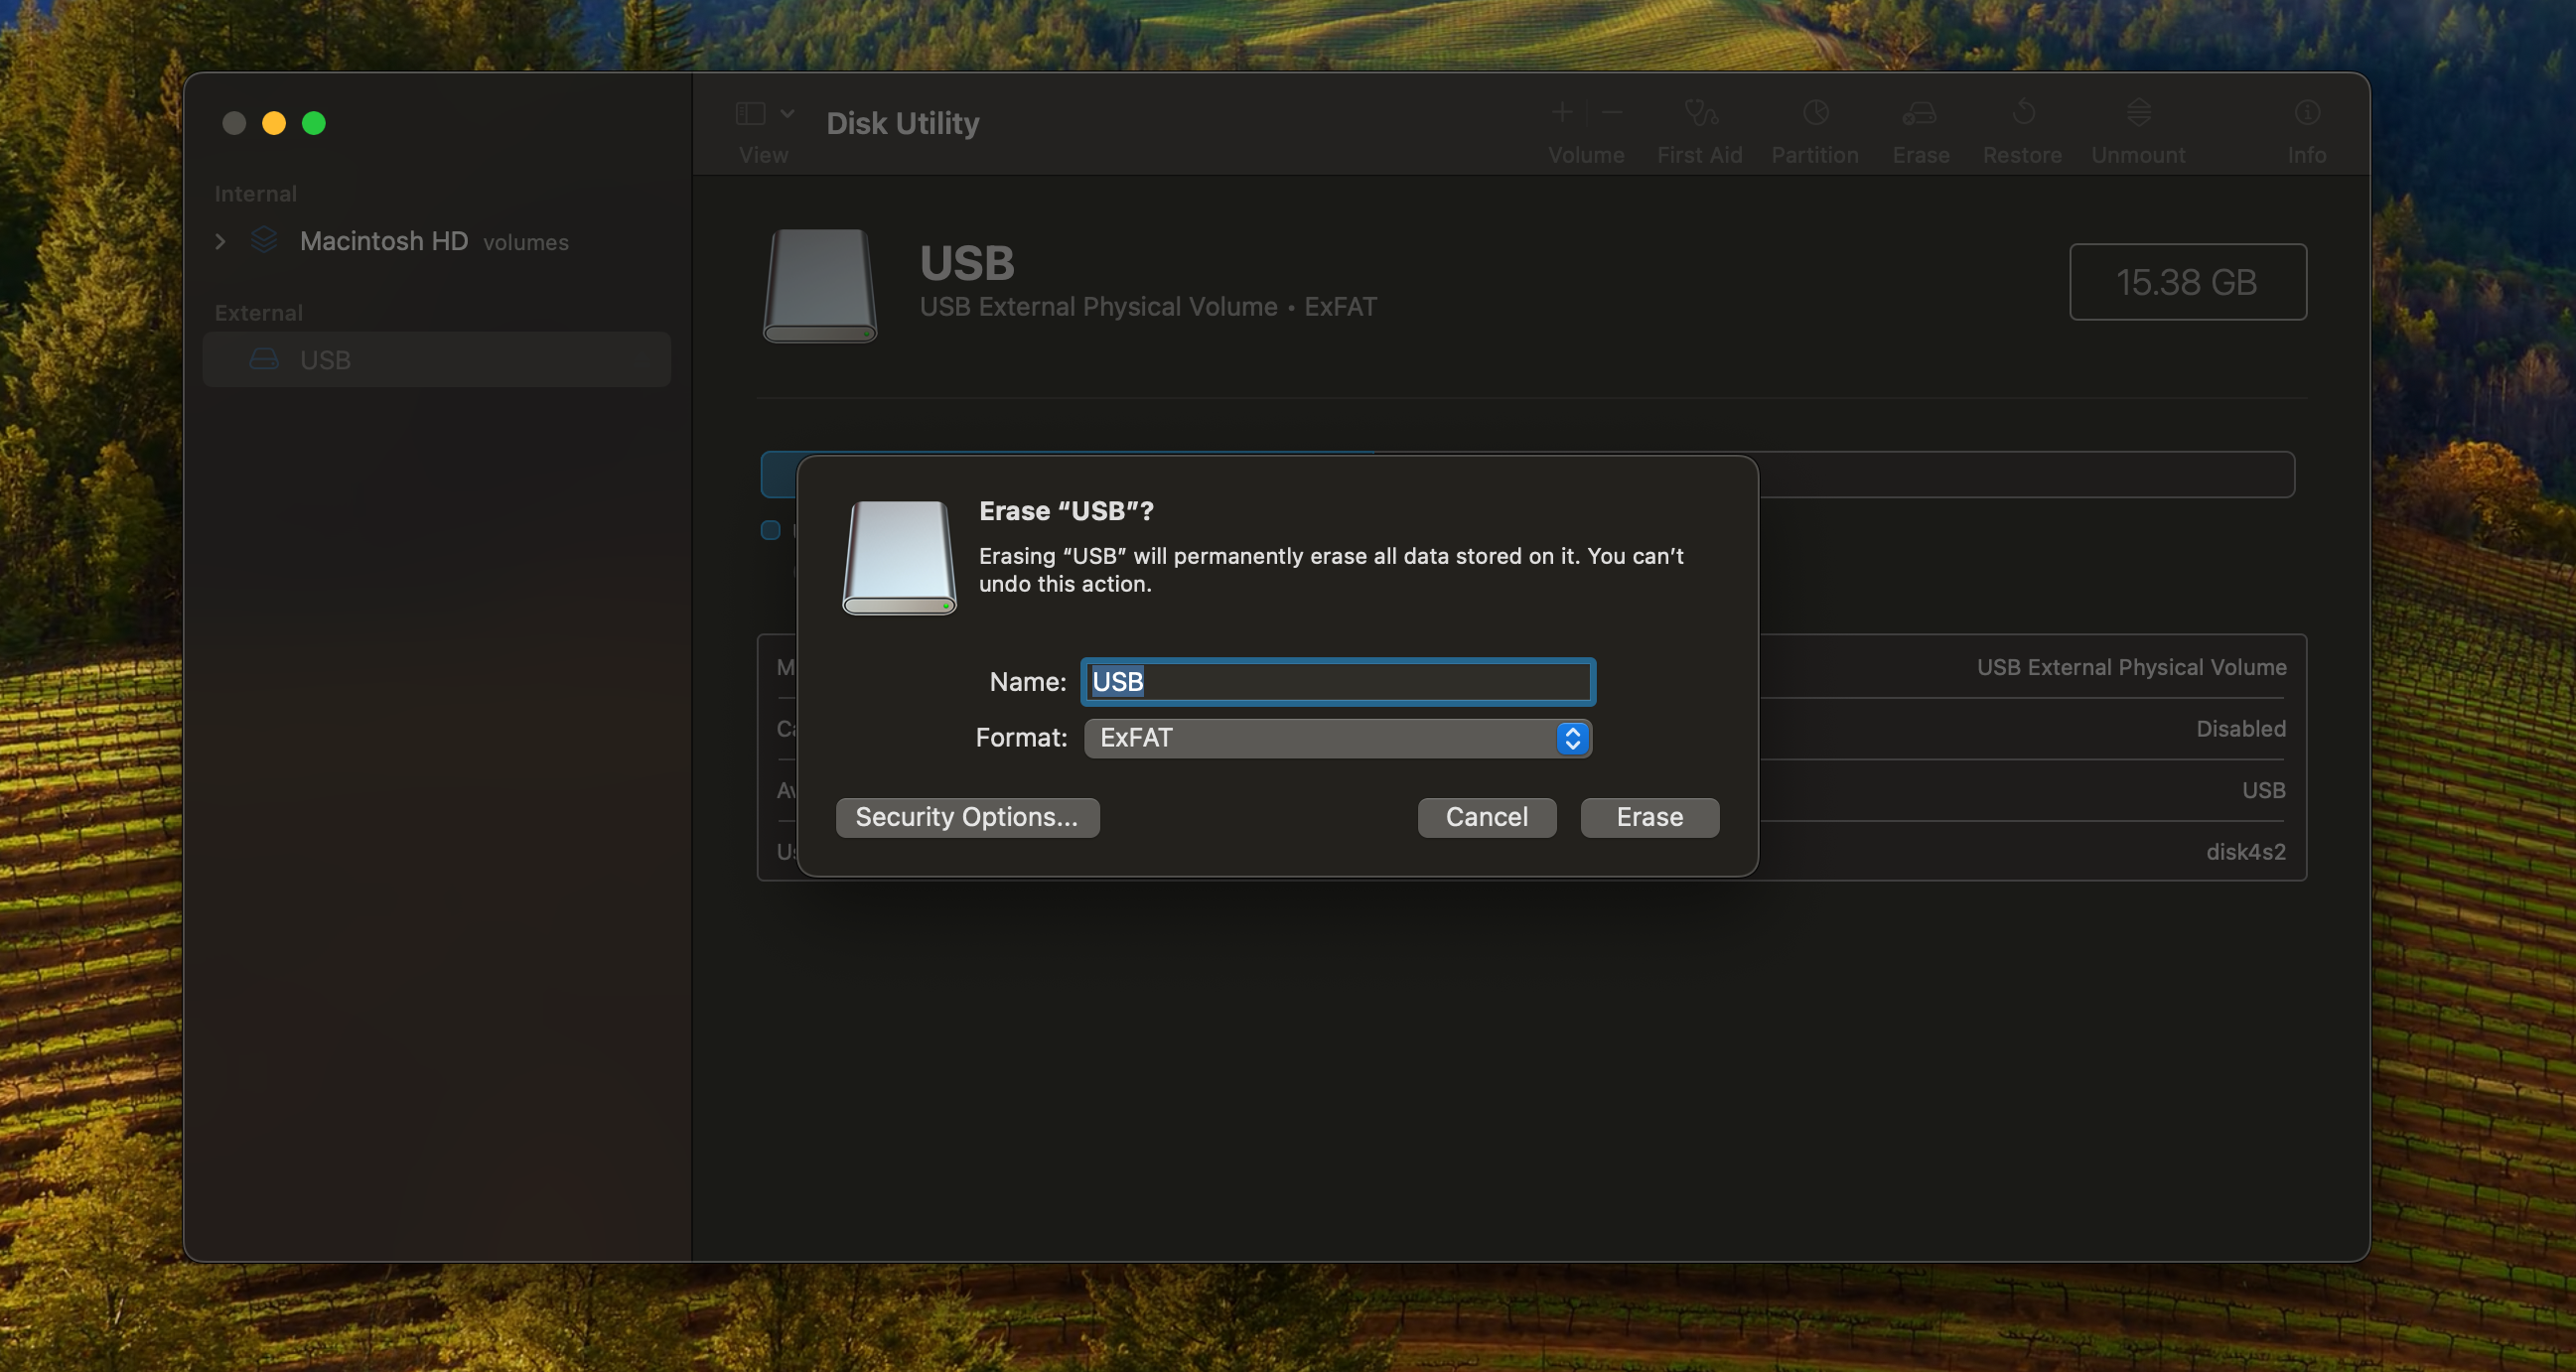
Both the methods below will completely erase your USB drive, so make sure to back up any important files first.
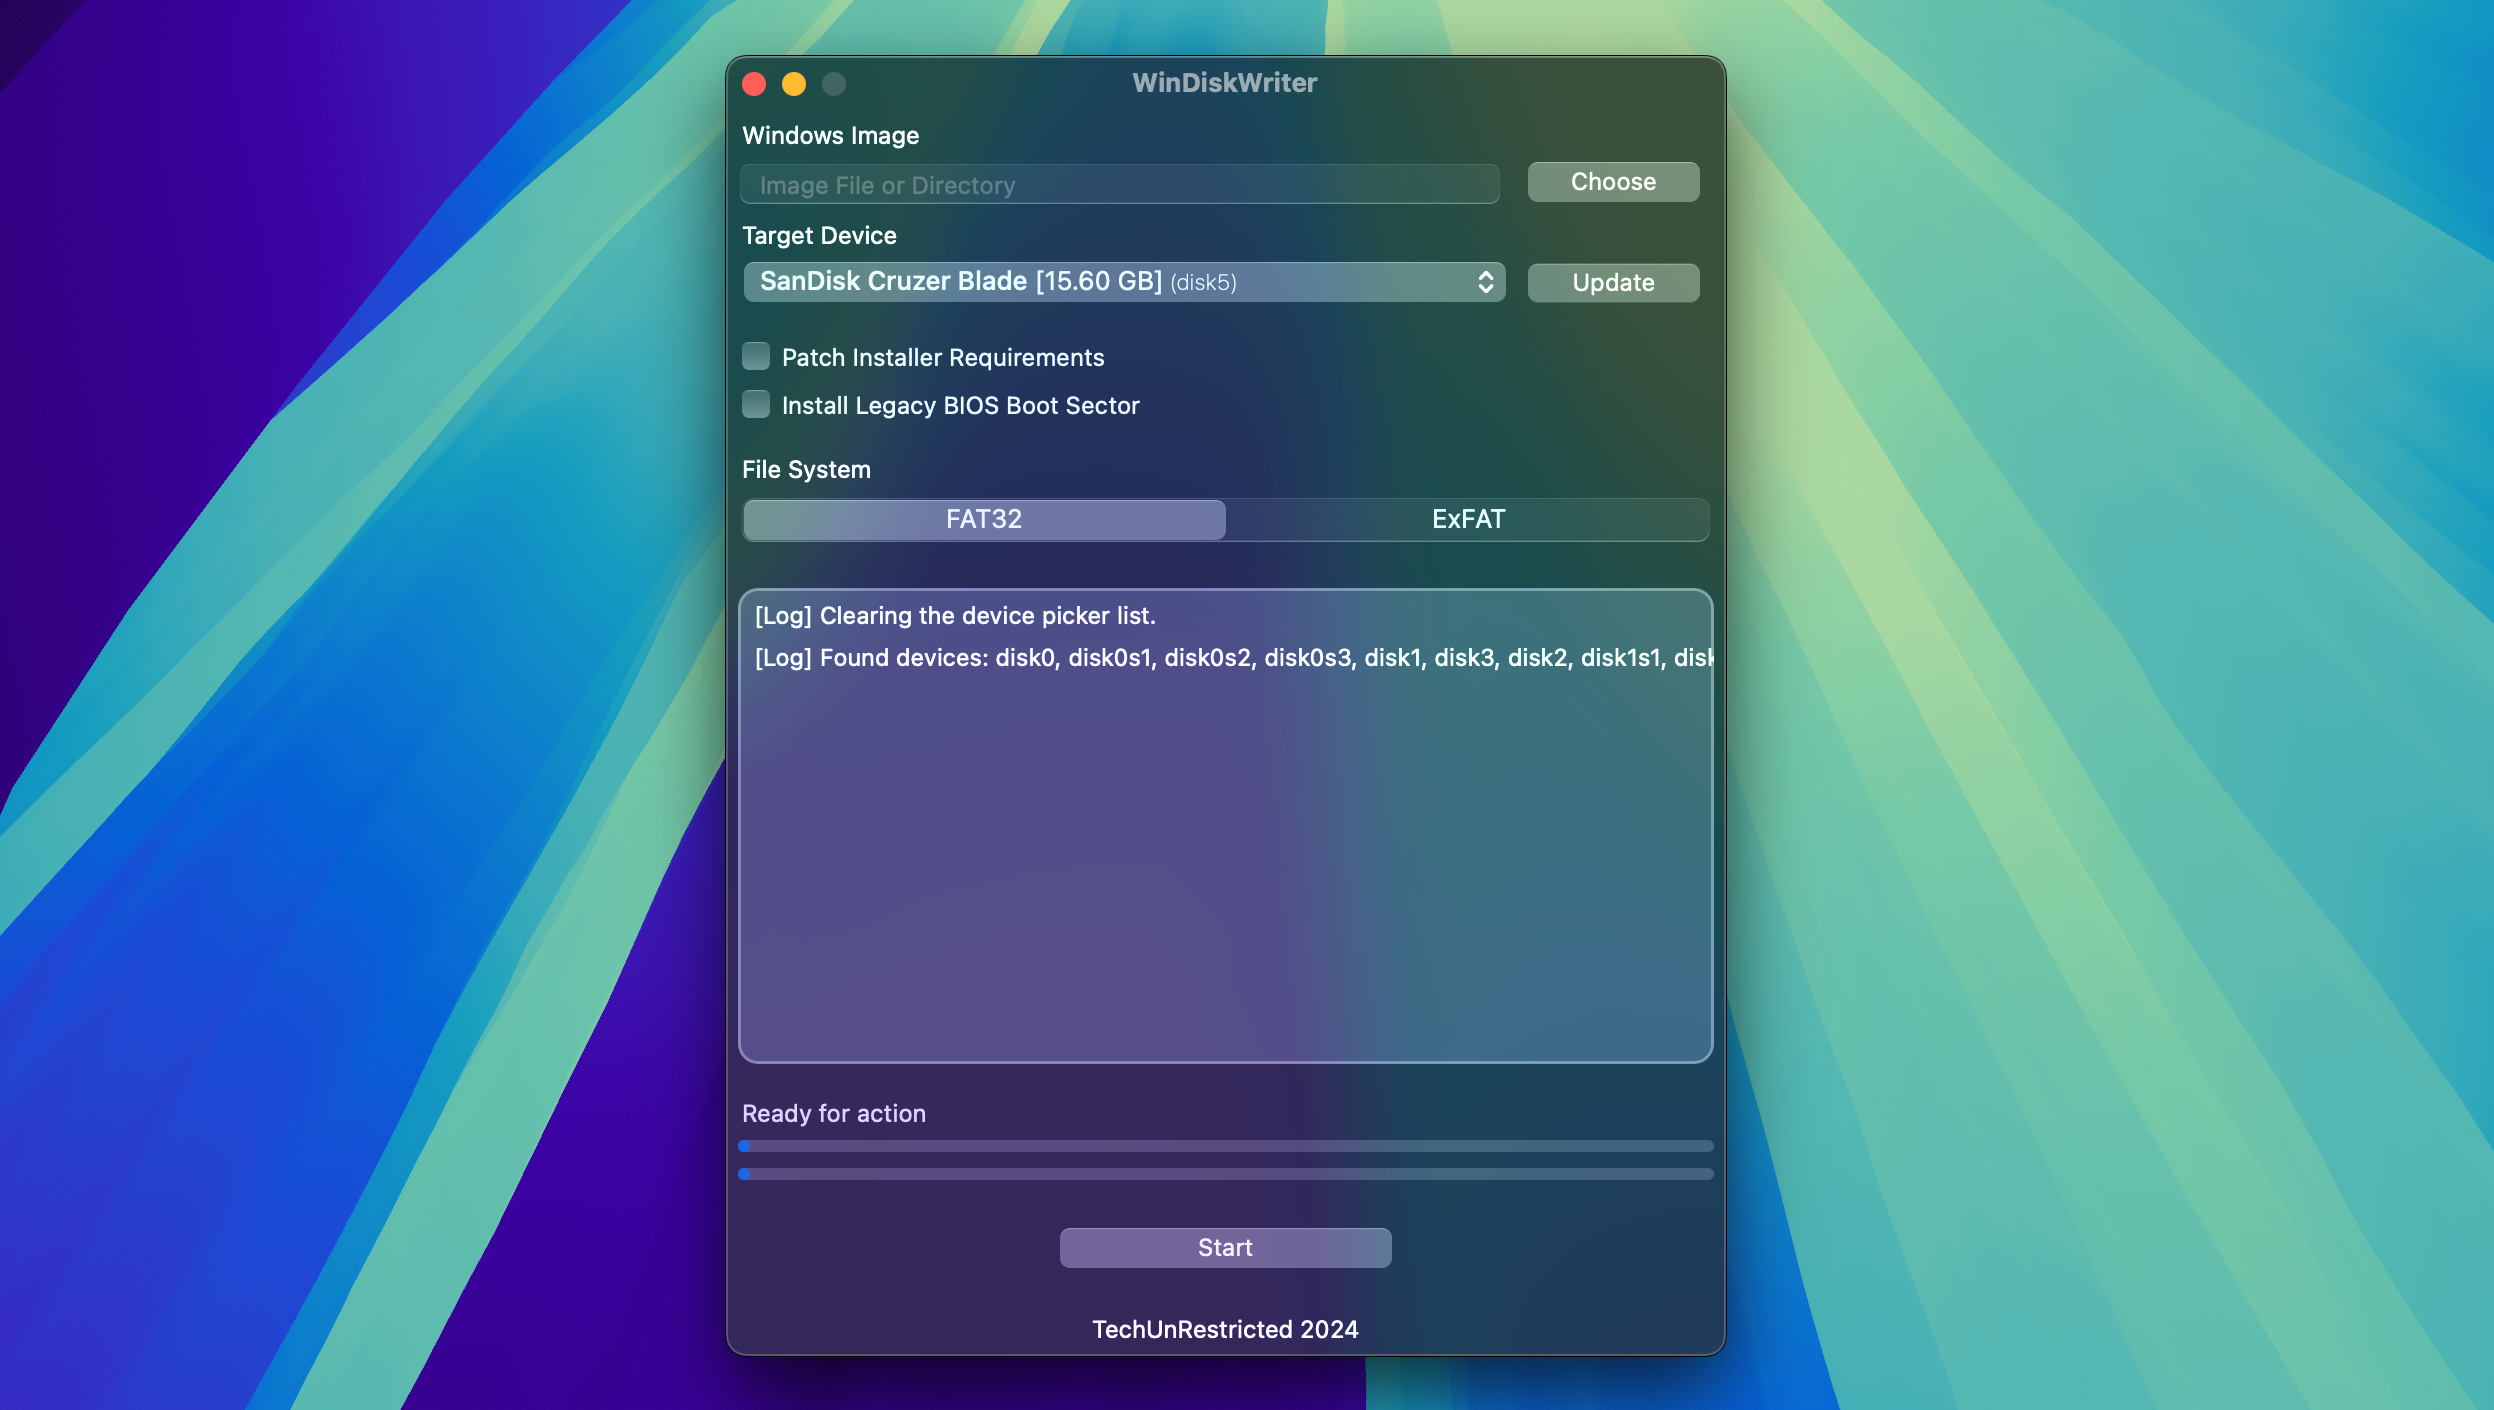
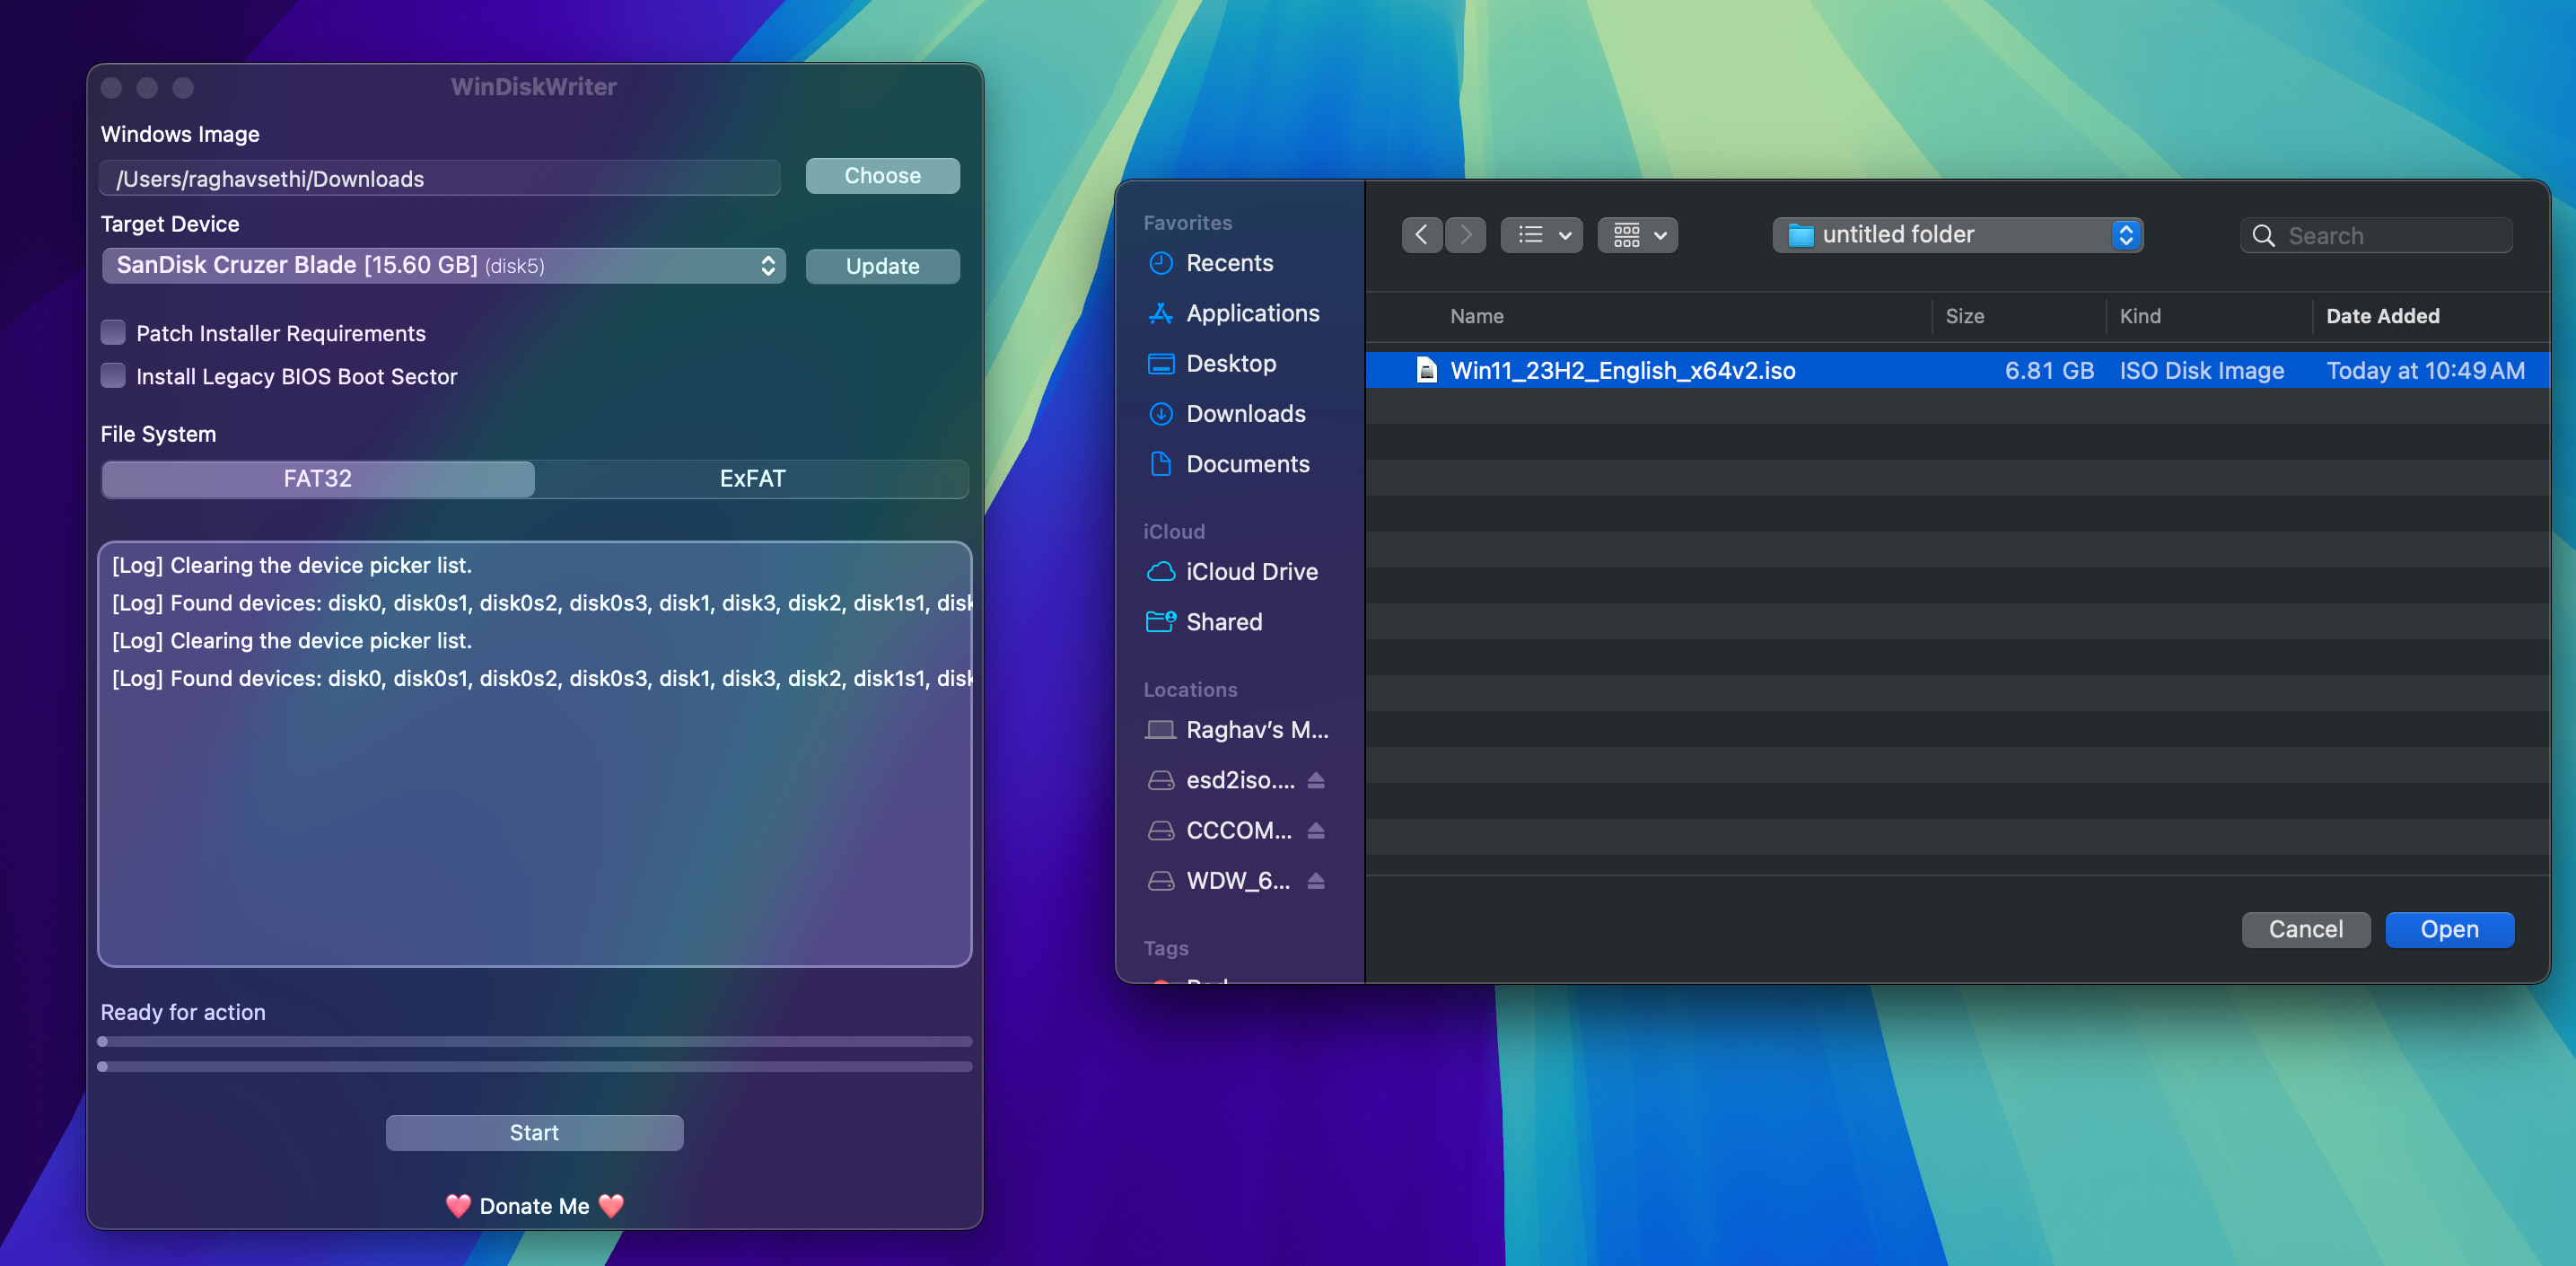
The simplest way to create a bootable Windows 11 USB is by using a third-party app. I recommend WinDiskWriter since it's open-source, lightweight, and has an easy-to-use interface.
Just connect your flash drive to your Mac and follow these steps to create a bootable Windows 11 disk with WinDiskWriter.
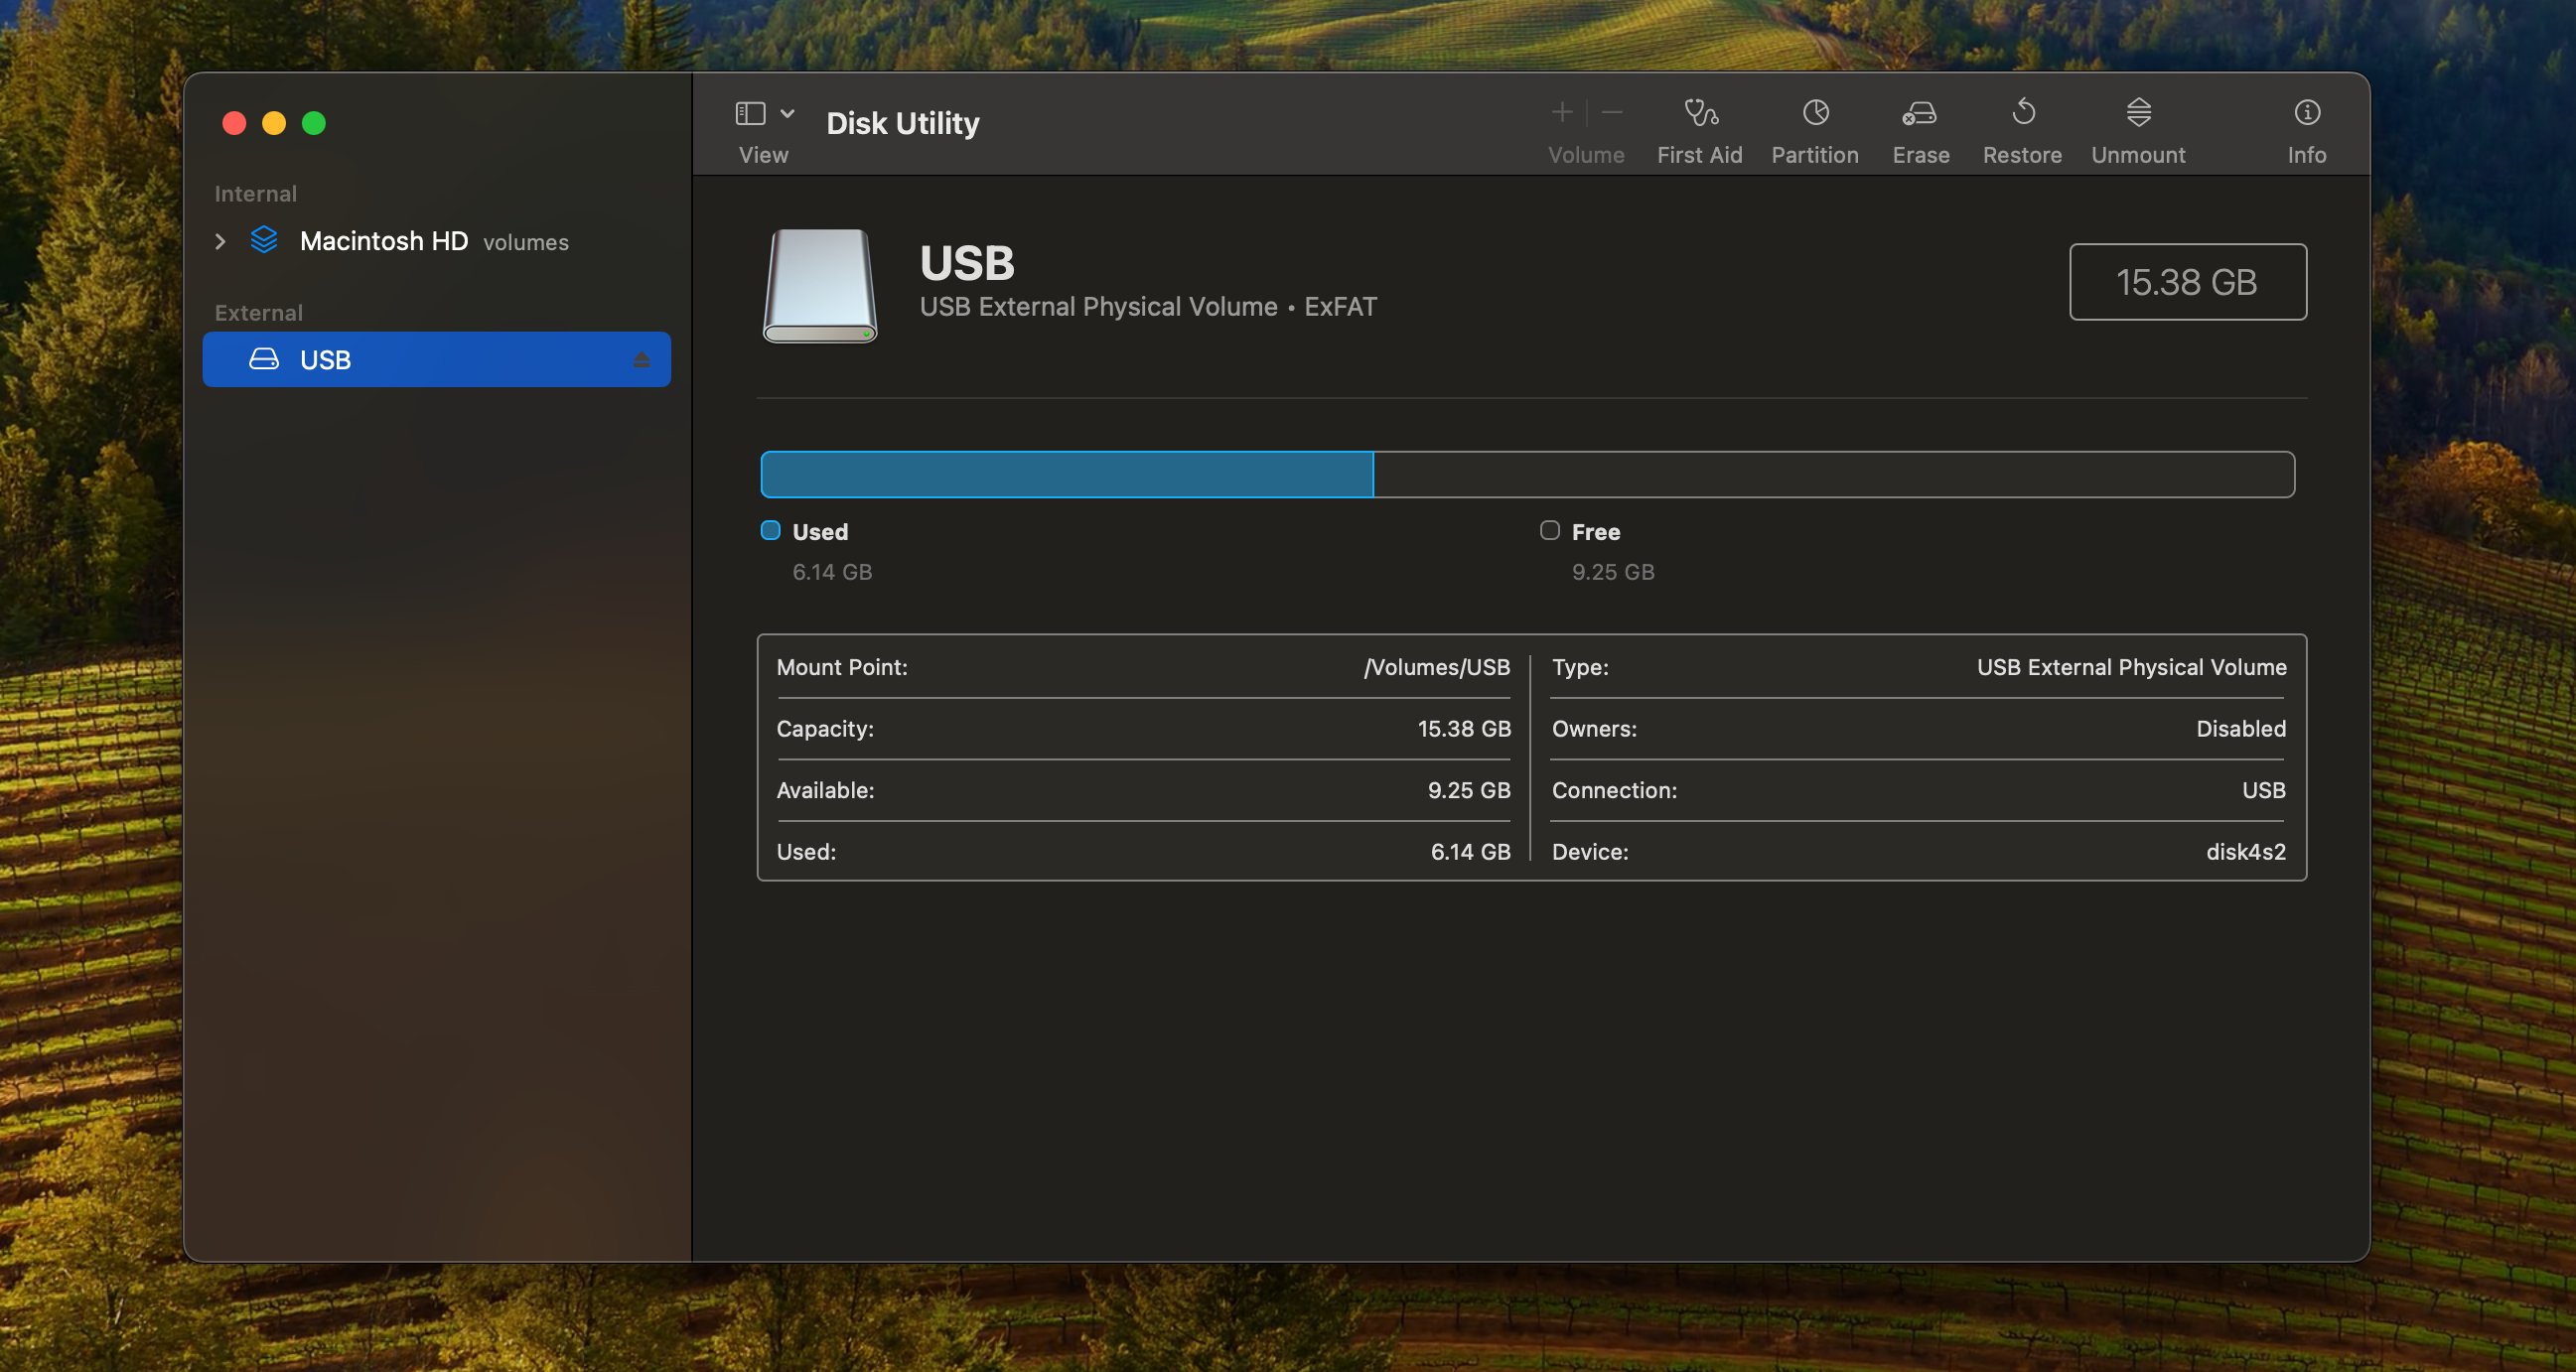
Once the process is complete, you can safely eject your USB drive and use it as a bootable drive on any PC.
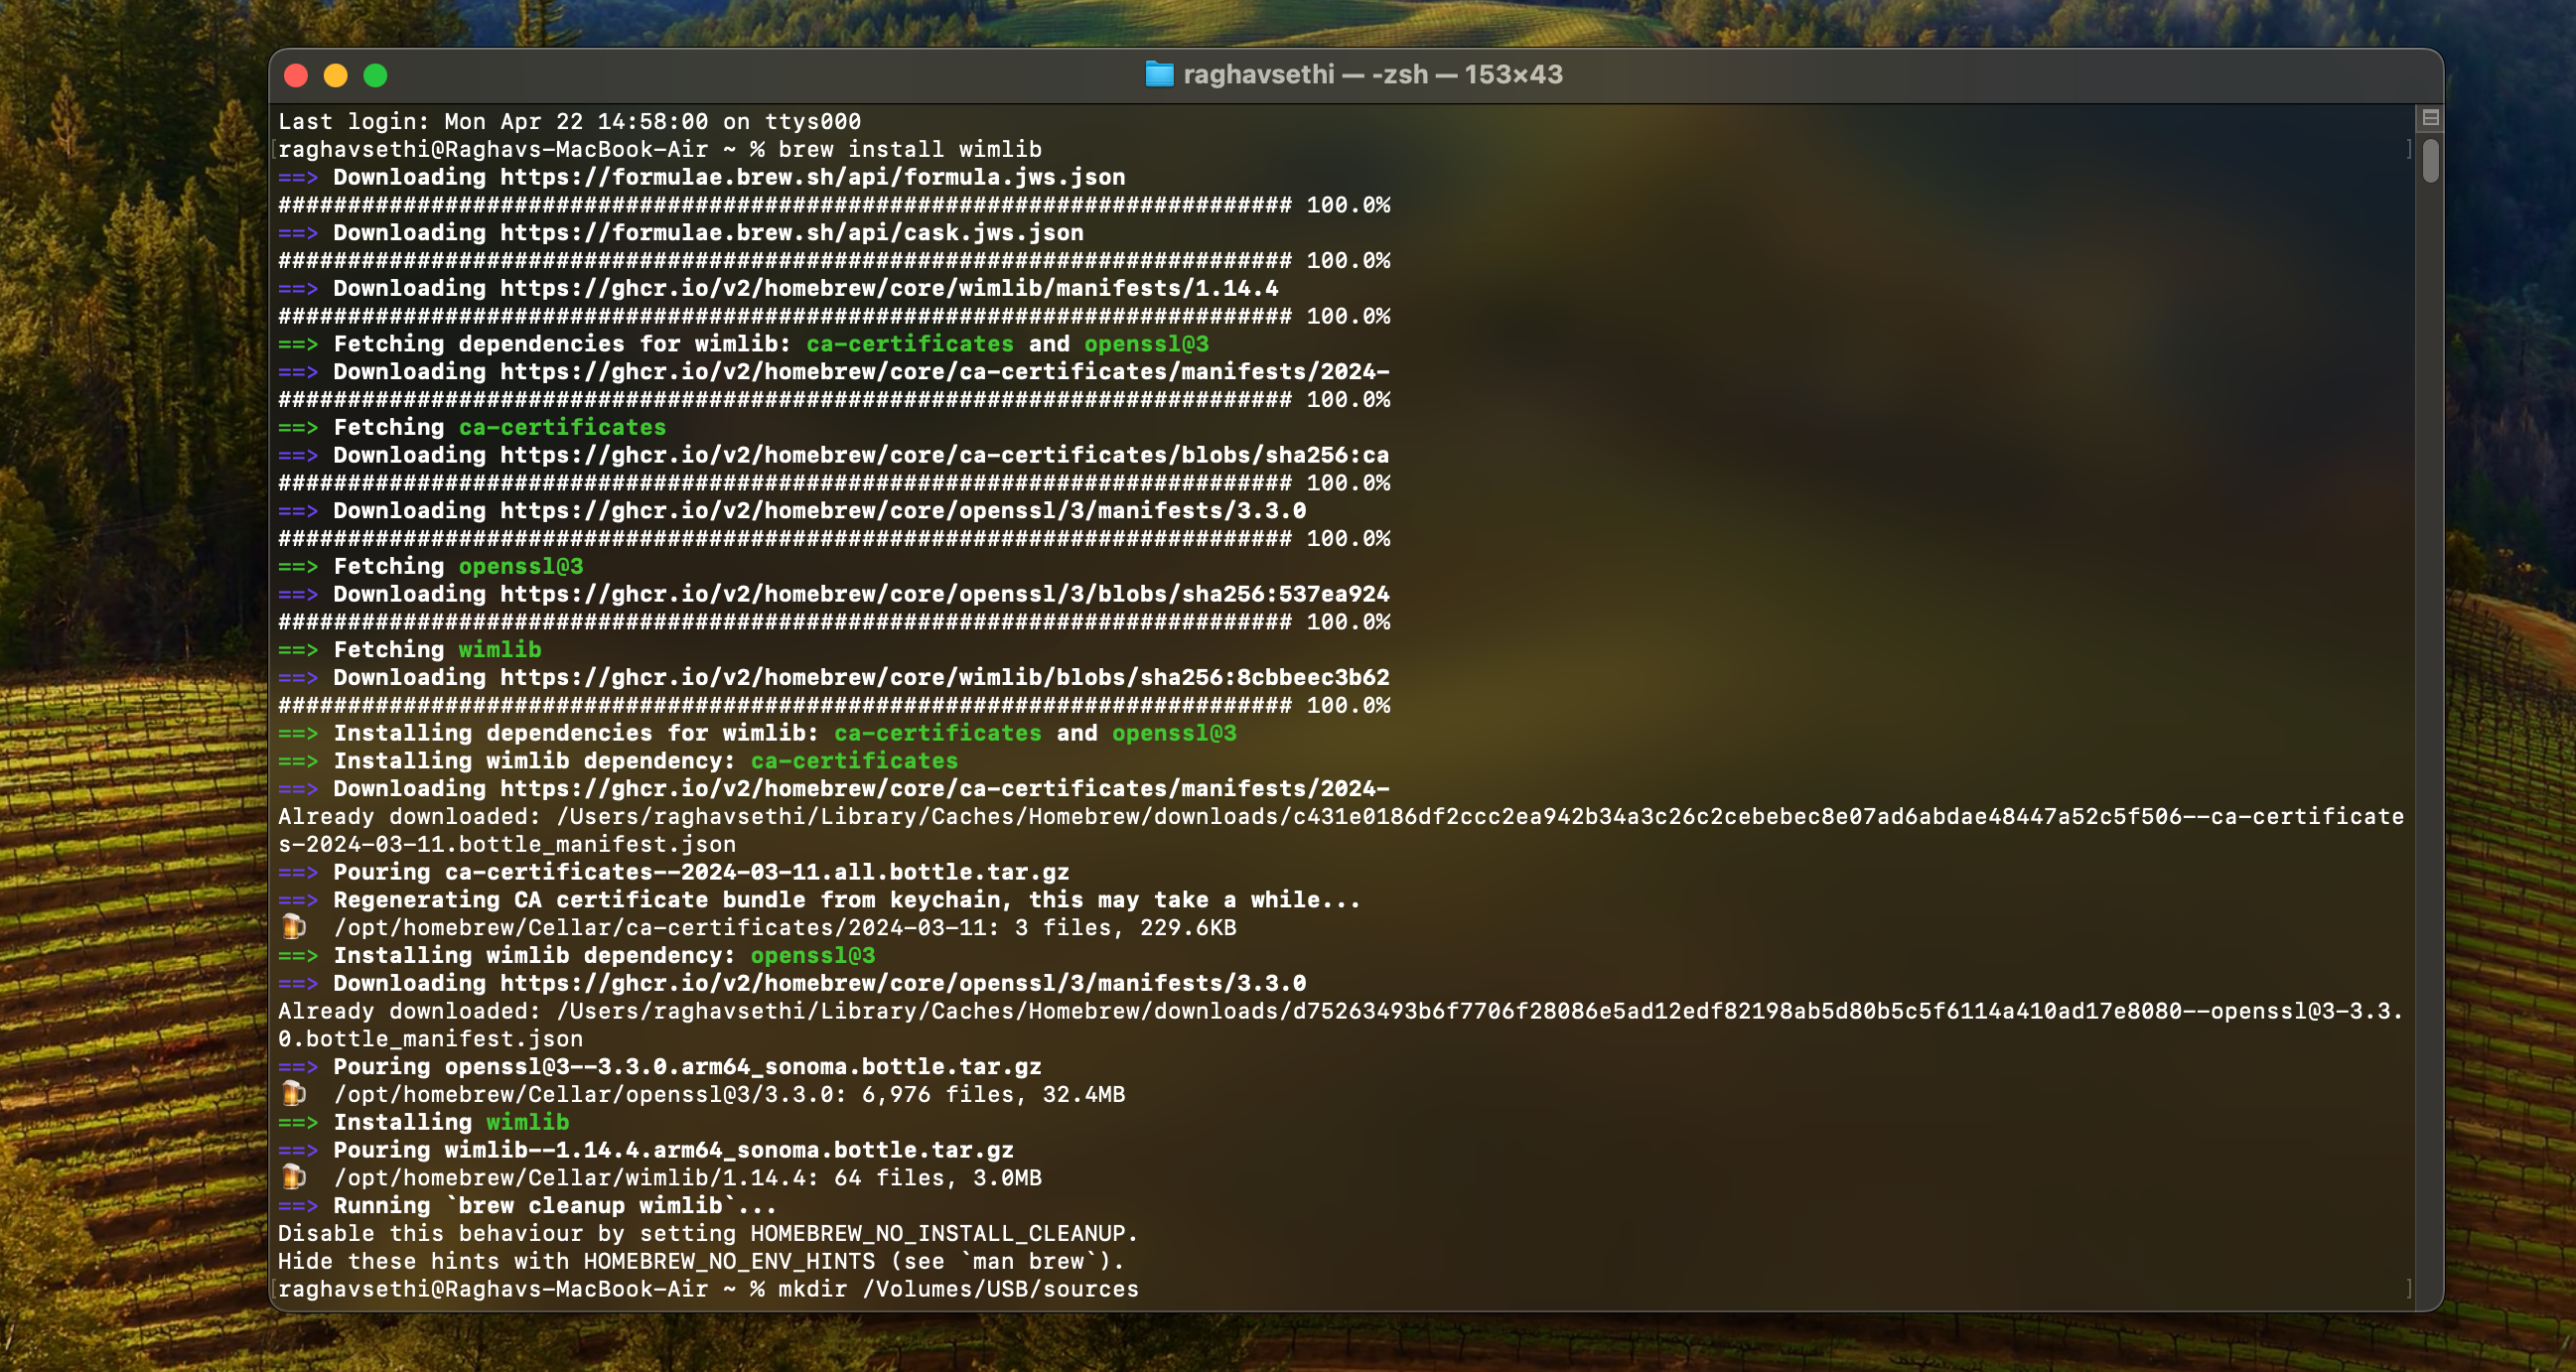
If you don't want to use a third-party app, you can manually create an installer using the Terminal app on your Mac. Before starting, make sure you install Homebrew on your Mac, as you'll need it later on.
<code class="hljs javascript">hdiutil mount ~/Downloads/Win11_23H2_English_x64v1.iso</code>
<code class="hljs sql">brew install wimlib</code>
<code class="hljs ">mkdir sources /Volumes/USB/sources</code>
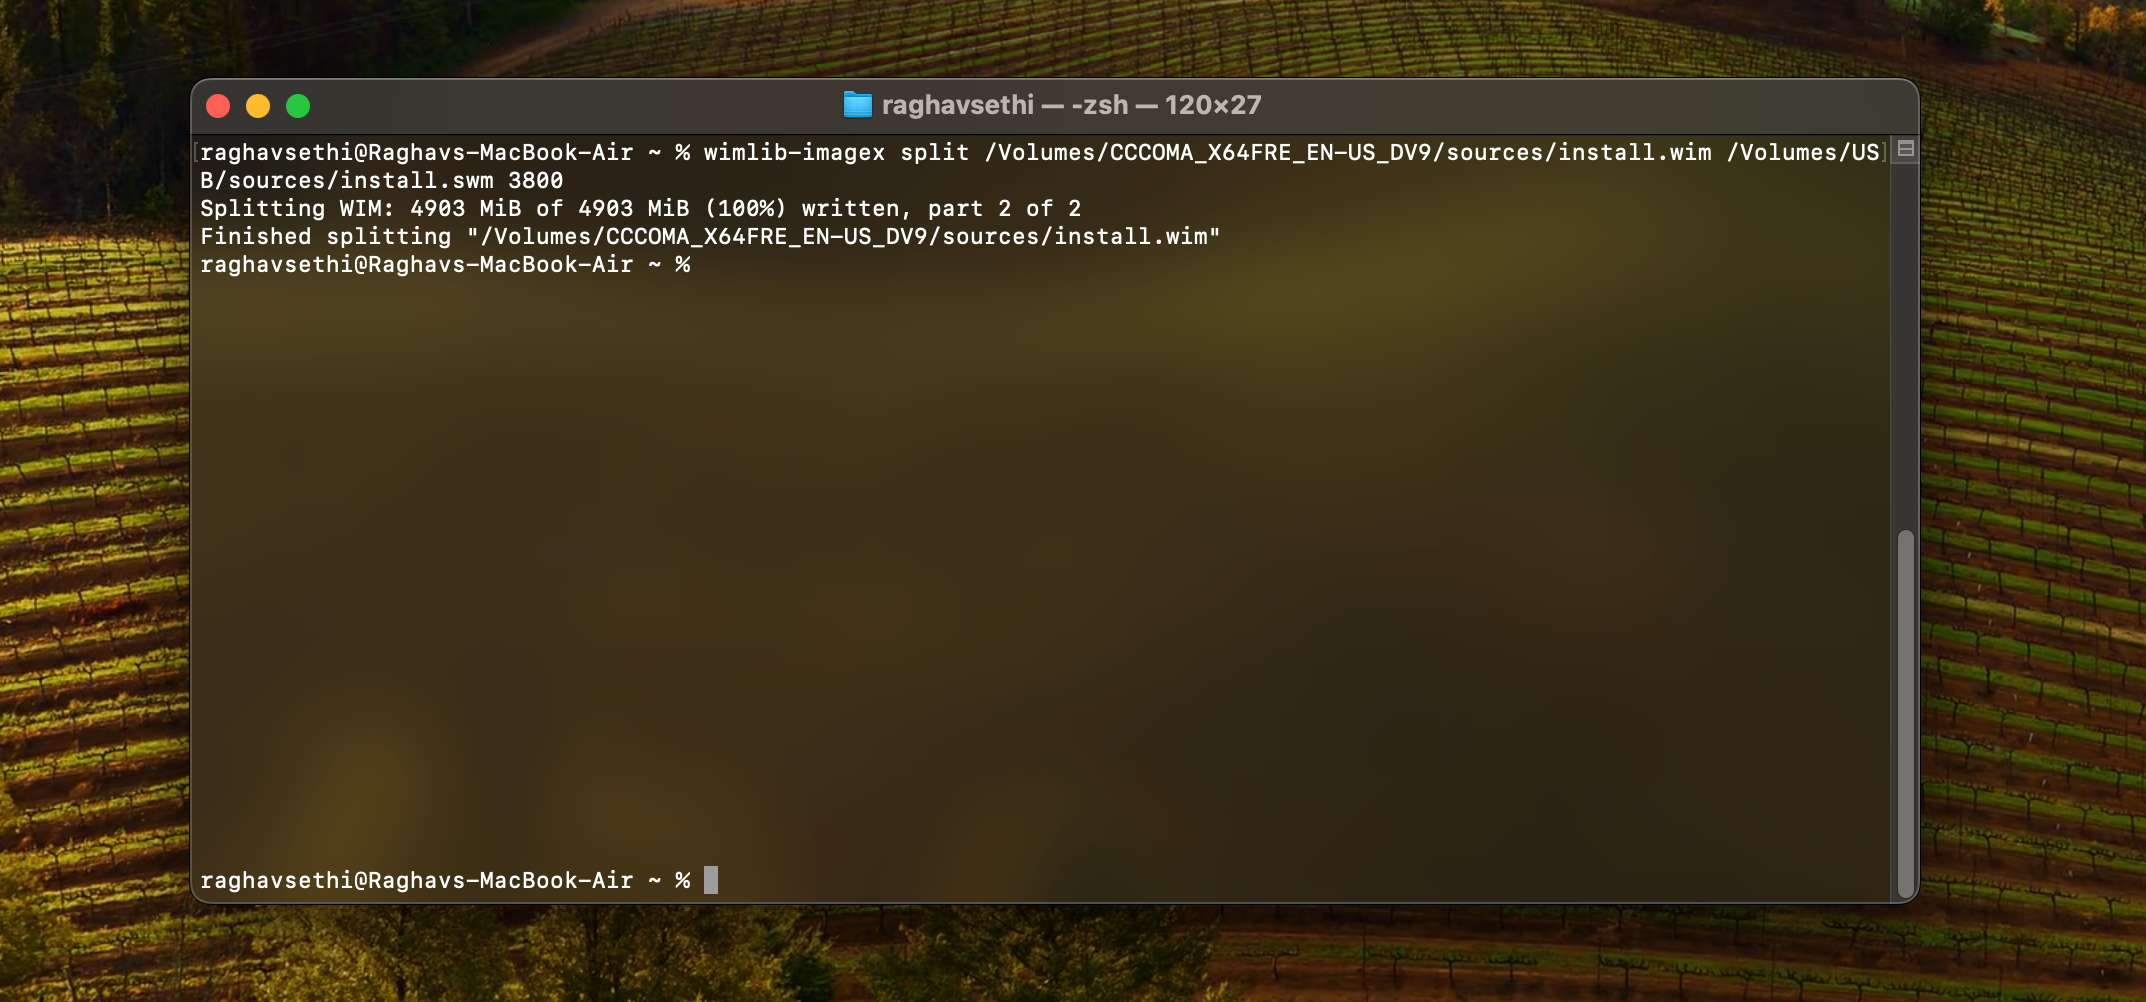
<code class="hljs xml">wimlib-imagex split /Volumes/CCCOMA_X64FRE_EN-US_DV9/sources/install.wim /Volumes/USB/sources/install.swm 3800</code>
<code class="hljs sql">rsync -vha --exclude=sources/install.wim /Volumes/CCCOMA_X64FRE_EN-US_DV9/* /Volumes/USB</code>
Now that your Windows 11 bootable disk is ready, you can use it to install a fresh copy of Windows on your PC. Creating a bootable Windows installer on a Mac isn't as simple as it is on a Windows PC, so if you're still having trouble, it might be easier to create the installer on Windows directly.
The above is the detailed content of 2 Ways to Create a Bootable Windows 11 USB With a Mac. For more information, please follow other related articles on the PHP Chinese website!
 The difference between Sass and less
 What to do if 302 found
 meta search engine
 Is the higher the computer CPU frequency, the better?
 What does bios mean?
 What does the other party show after being blocked on WeChat?
 What to do if the installation system cannot find the hard disk
 Cancel WeChat campaign


![[Web front-end] Node.js quick start](https://img.php.cn/upload/course/000/000/067/662b5d34ba7c0227.png)


